
 Pin it
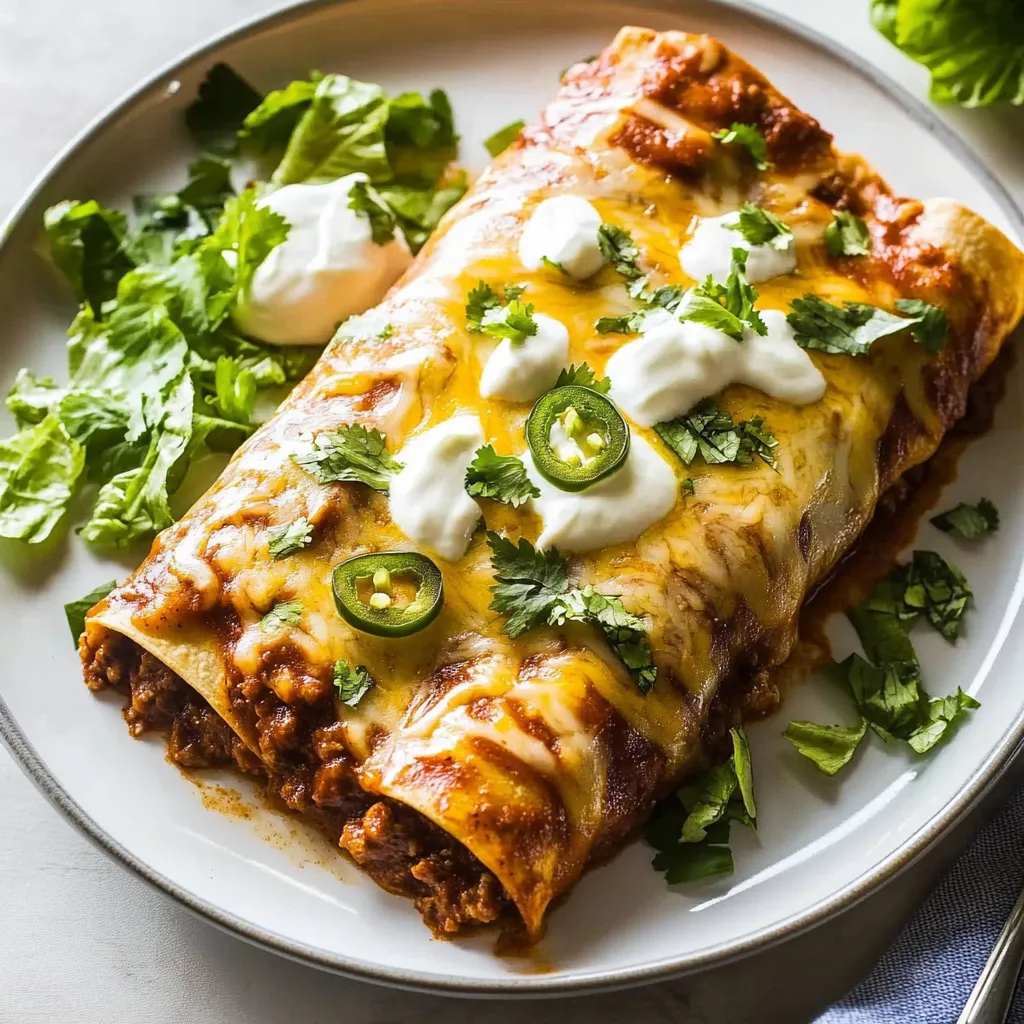
The hearty, comforting goodness of homemade beef enchiladas brings restaurant-quality Mexican flavor right to your family table. Seasoned ground beef wrapped in soft tortillas, smothered in rich enchilada sauce, and blanketed with melted cheese creates a satisfying meal that's perfect for busy weeknights yet special enough for weekend gatherings. These enchiladas strike the perfect balance of familiar and festive, making them a guaranteed hit with both picky eaters and food enthusiasts.
The first time I made these enchiladas for my family, my husband—who normally passes on leftovers—actually claimed the remaining enchiladas for his lunch the next day. My children, who typically eye anything with "green specks" suspiciously, devoured these without a single complaint about the onions and cilantro!
Ingredients That Make All The Difference
- Ground beef: Lean ground beef provides the perfect balance of flavor and texture without excessive grease. The meat stays juicy inside the enchiladas while still providing satisfying substance.
- Enchilada sauce: While store-bought works in a pinch, homemade enchilada sauce elevates these from good to exceptional. The depth of flavor from toasted dried chilies and spices can't be matched by canned alternatives.
- Flour tortillas: These sturdy wrappers hold up beautifully to the substantial filling and sauce. Look for the "soft taco" size rather than burrito-sized tortillas for the perfect enchilada proportions.
- Jalapeño: This modest heat contributor can be adjusted to your family's preference. Keep the seeds for a noticeable kick or remove them for just a hint of pepper flavor without overwhelming spice.
- Mexican-blend cheese: The combination of cheeses provides the perfect melt, stretch, and flavor. The variety of cheeses creates more complexity than using a single type.
Step-by-Step Instructions
- Step 1:
- Begin by preheating your oven to 350°F. This moderate temperature ensures your enchiladas heat through completely without burning the cheese or drying out the tortillas. While the oven heats, dice your onion, mince your garlic, and finely chop your jalapeño, adjusting the heat level by including or removing the seeds based on your preference for spice.
- Step 2:
- Heat a large skillet over medium-high heat and add a small amount of oil. When the oil is shimmering but not smoking, add your diced onions and jalapeño. Sauté these aromatics for about 5 minutes, stirring occasionally, until they become soft and translucent. The onions should lose their raw edge and develop a slight sweetness as they cook down.
- Step 3:
- Add the ground beef to your softened vegetables along with the minced garlic and a generous pinch of salt. Use a wooden spoon to break the beef into small, even crumbles as it cooks. Continue cooking for approximately 8 minutes or until the beef is completely browned with no pink remaining. The garlic should become fragrant but not burnt during this process.
- Step 4:
- If your beef has released excess fat during cooking, carefully tilt the pan and spoon off the excess, or drain the mixture in a colander if necessary. Return the beef mixture to the pan and stir in 1/4 cup of enchilada sauce. This addition infuses the meat with flavor and helps bind the filling together. Taste and adjust seasonings as needed, adding more salt if the mixture tastes flat.
- Step 5:
- Prepare your tortillas by warming them slightly. This crucial step prevents cracking and makes them pliable for rolling. The easiest method is to place them on a plate, cover with a damp paper towel, and microwave for 30 seconds. Alternatively, you can warm them individually in a dry skillet for a few seconds on each side.
- Step 6:
- To assemble each enchilada, place a warm tortilla on a plate and spoon approximately 1/3 cup of the beef mixture in a line down the center. The filling should be substantial but not so much that it prevents proper rolling. Sprinkle about 1 tablespoon of shredded cheese over the meat before rolling the tortilla tightly around the filling.
- Step 7:
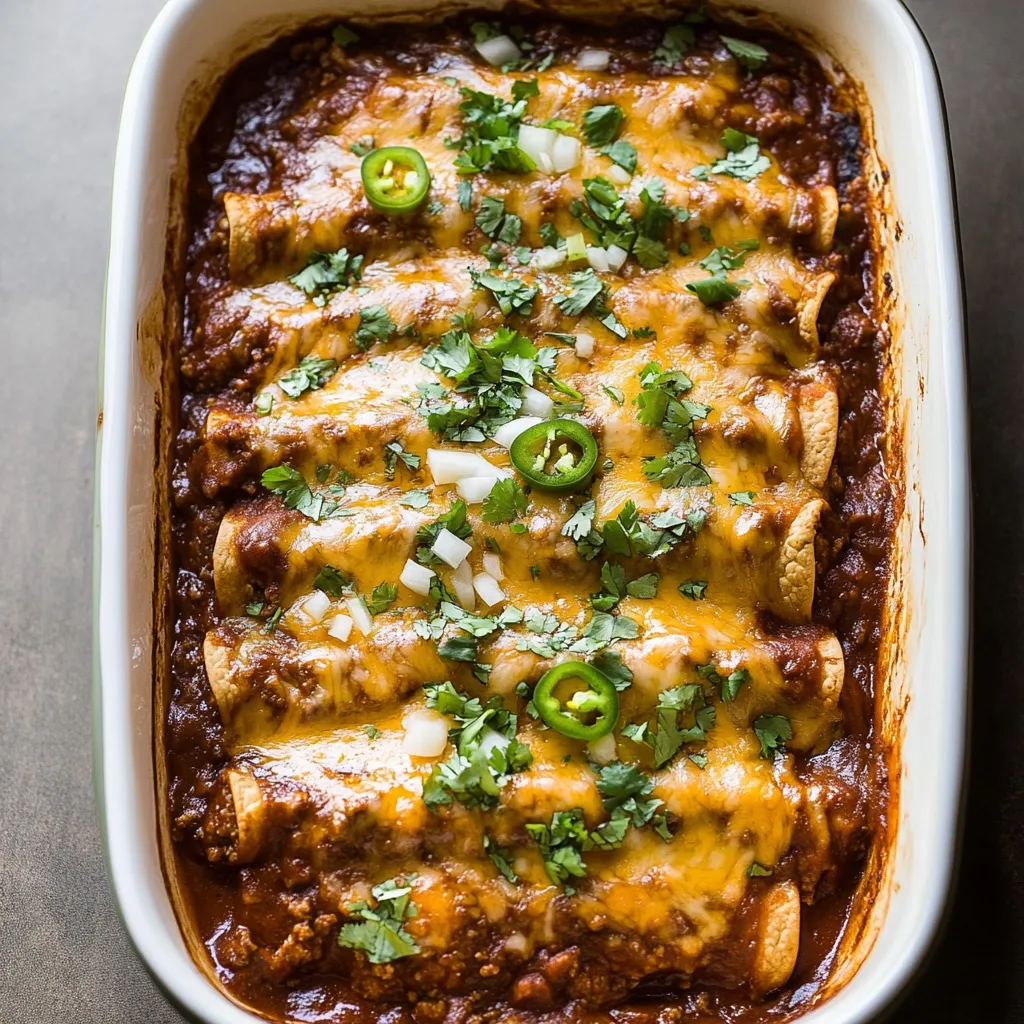
- Arrange your rolled enchiladas in a 9x13 baking dish, placing them seam-side down so they stay closed during baking. Position them snugly side by side to prevent unraveling. Depending on your tortilla size, you should be able to fit 8-10 enchiladas in a standard baking dish.
- Step 8:
- Pour 1 1/2 cups of enchilada sauce evenly over the arranged enchiladas, ensuring that all tortillas are covered to prevent them from drying out during baking. The sauce should coat the enchiladas generously but not completely submerge them. Sprinkle the remaining shredded cheese over the top in an even layer.
- Step 9:
- Bake uncovered in your preheated oven for approximately 20 minutes or until the cheese is completely melted and bubbly, with the edges beginning to turn golden brown. Allow the enchiladas to rest for 5 minutes before serving to let the sauce thicken slightly and make serving easier. Garnish with fresh toppings like diced onions, chopped cilantro, or sliced avocado just before serving.
 Pin it
I discovered the secret to these enchiladas during a cooking class where the instructor insisted on making fresh enchilada sauce from scratch. I was skeptical about the extra effort but found it made such a dramatic difference that I've never gone back to store-bought. My family now recognizes the distinctive aroma of toasting chilies as a sign that their favorite dinner is on the way!
Customize Your Heat Level
These enchiladas can be adapted to suit any spice preference, from mild to fiery. For a family-friendly version that pleases everyone, I often prepare the base beef filling without jalapeños, then sauté a separate small batch with extra peppers for the heat-lovers in my household. This way, each person gets their preferred spice level without making separate meals.
The Make-Ahead Magic
What makes these enchiladas truly special for busy households is their make-ahead potential. I often prepare everything through the assembly stage on Sunday afternoon, cover the baking dish tightly, and refrigerate. Then on Monday evening when everyone's schedule is chaotic, I simply pour over the sauce, add cheese, and bake. Dinner is ready with virtually no effort on the busiest night of the week.
Freezer-Friendly Feast
For longer-term planning, these enchiladas freeze beautifully either before or after baking. For best results, I freeze them before adding sauce and cheese. Wrapped tightly, they keep for up to three months. When ready to enjoy, thaw overnight in the refrigerator, add the sauce and cheese, and bake as directed, adding about 10 extra minutes to the baking time.
I've come to cherish this recipe not just for its delicious results, but for the way it brings my family together around the table on even the busiest evenings. The smiles that appear when the aroma of these enchiladas fills our home remind me that good food is about more than just nutrition—it's about creating moments of connection in our hectic lives. Whether served with simple sides for a weeknight dinner or as part of a larger Mexican feast for weekend guests, these beef enchiladas never disappoint.
Frequently Asked Questions
- → Can I make these enchiladas ahead of time?
- Yes! You can assemble them up to 24 hours ahead and refrigerate. Add 5-10 minutes to the baking time if cooking from cold.
- → Can I use corn tortillas instead of flour?
- Absolutely. Corn tortillas are more traditional. Just warm them first so they don't crack when rolling.
- → How do I store leftover enchiladas?
- Store in an airtight container in the fridge for up to 4 days. Reheat in the microwave or oven until hot.
- → Can I freeze these enchiladas?
- Yes! Freeze them before or after baking. If freezing after baking, cool completely first. They'll keep for up to 3 months.
- → What can I serve with beef enchiladas?
- Mexican rice, refried beans, a simple salad, or corn make great sides for enchiladas.
- → Can I use chicken instead of beef?
- Definitely! Cooked shredded chicken works great as a substitute for the ground beef in this recipe.