
 Pin it
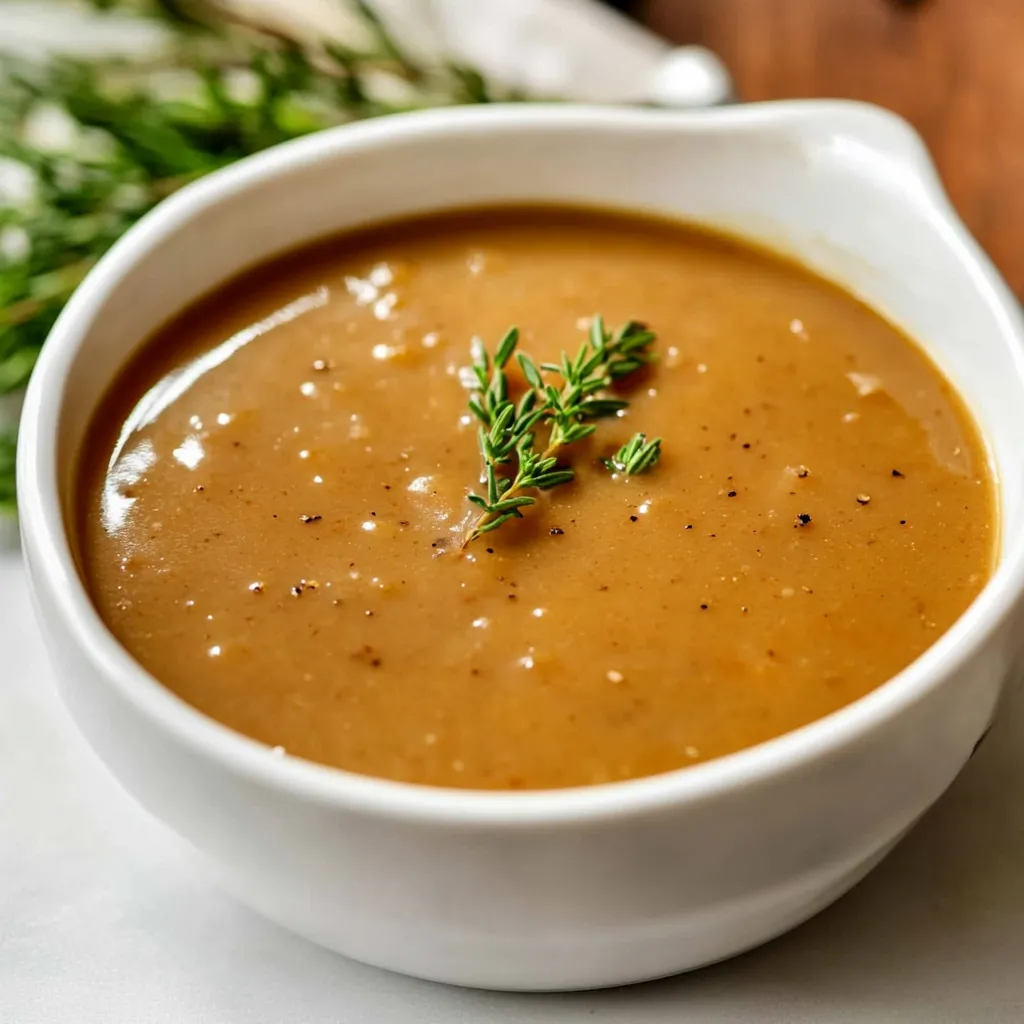
Gravy intimidates a lot of home cooks because it seems like one of those things that requires precise technique and years of experience to get right, but the truth is that good gravy comes down to understanding one simple ratio and knowing how to whisk properly. This turkey gravy uses just four basic ingredients - butter, flour, turkey drippings, and seasoning - to create that silky, savory sauce that ties an entire Thanksgiving meal together. The key is building a roux first by cooking butter and flour together until they form a paste, then gradually whisking in the flavorful drippings from your roasted turkey until everything emulsifies into smooth, lump-free gravy. What makes this version particularly good is using those pan drippings that have all the concentrated flavor from the roasted turkey, herbs, and any seasonings you used, rather than relying on store-bought stock that tastes generic and flat. Once you've made gravy from scratch and tasted how much better it is than the stuff from a jar or packet, you'll never go back to the convenience versions that taste like salty brown water.
I used to be terrified of making gravy from scratch because my grandmother was famous for her silky-smooth gravy and I was convinced I'd never be able to replicate it. The first few times I tried, I got nervous and dumped all the drippings in at once instead of adding them gradually, which created lumpy gravy that looked like it had cottage cheese floating in it. After watching a few tutorials and understanding that the secret was just patience and constant whisking, I finally made a batch that turned out perfectly smooth. When I served it at Thanksgiving that year, my grandmother tasted it, nodded approvingly, and said "You've got it now," which might be the proudest moment of my cooking life. Now I actually look forward to making gravy because it feels like one of those classic cooking skills that connects me to generations of home cooks who came before.
Ingredients and What Makes Them Essential
- Unsalted Butter (4 tablespoons, ½ stick): Butter forms half of your roux and adds rich flavor to the finished gravy. Use unsalted so you can control the salt level precisely, since turkey drippings can vary wildly in saltiness depending on how you seasoned your bird. The butter should be at room temperature or at least soft enough to melt quickly when you add it to the pan.
- All-Purpose Flour (¼ cup): Flour is what thickens the gravy by forming a roux with the butter, then swelling and creating body when combined with the liquid drippings. All-purpose flour works perfectly, though you can use gluten-free 1:1 baking flour if needed. Make sure your flour is fresh and not stale or lumpy - old flour can give gravy an off taste.
- Turkey Drippings and Stock (4 cups total): This is where all your flavor comes from. The drippings are the fat and juices that collect in the bottom of your roasting pan after cooking a turkey, mixed with any caramelized bits stuck to the pan. These drippings contain concentrated turkey flavor, rendered fat, and if you used herbs or seasonings on your turkey, all those flavors too. You'll likely need to supplement the drippings with turkey or chicken stock to reach 4 cups total liquid. Use low-sodium stock so the gravy doesn't become overly salty.
- Kosher Salt and Black Pepper (to taste): These basic seasonings bring out all the other flavors and balance the richness of the gravy. Start conservatively since you can always add more but you can't remove it once it's in. Freshly ground black pepper tastes significantly better than pre-ground pepper that's been sitting for months.
- Fresh Herbs (optional, for garnish or stirring in): Fresh thyme, rosemary, or parsley add brightness and visual appeal. Strip the leaves from woody stems before chopping finely. These are completely optional but nice if you want to elevate the gravy.
Step-by-Step Instructions
- Collect and Measure the Drippings:
- Once your roasted turkey comes out of the oven, transfer it to a cutting board to rest and turn your attention to the roasting pan. The bottom of that pan contains liquid gold - a mixture of rendered turkey fat, juices that have seeped out during cooking, and all those caramelized brown bits stuck to the pan called fond. Carefully tilt the roasting pan and pour all these drippings into a large measuring cup or fat separator. If you have a fat separator, this is ideal because it allows the fat to float to the top while the flavorful juices settle at the bottom, and you can pour off just the juices through the spout at the base. If you don't have a fat separator, just let the drippings sit in the measuring cup for about 5 minutes - the fat will rise to the top naturally. You can skim off and discard some of that fat with a spoon if there's an excessive amount, but leave a few tablespoons because you need some fat for flavor. Now measure what you have. You need 4 cups of liquid total. If your drippings only amount to 2 cups, add 2 cups of turkey or chicken stock to reach 4 cups total. If you have 3 cups of drippings, add 1 cup of stock. The combination of drippings plus stock is what you'll be working with. If you somehow have more than 4 cups of drippings, lucky you - save the extra in the fridge for making more gravy later or use it to make soup.
- Make the Roux:
- Place a large saucepan or deep skillet over medium heat and let it warm up for about 30 seconds. Add your 4 tablespoons of butter and let it melt completely, swirling the pan to coat the bottom. Once the butter is fully melted and just starting to foam slightly, sprinkle in about 2 tablespoons of your ¼ cup of flour. Immediately start whisking vigorously, breaking up any clumps of flour and incorporating it thoroughly into the melted butter. The mixture will form a thick paste - this is your roux. Continue cooking this roux, whisking constantly, for about 2 minutes. You want it to cook long enough to get rid of that raw flour taste but not so long that it starts browning significantly. The roux should smell toasty and nutty rather than pasty and raw, and it should be bubbling gently as you whisk. This cooking time is important because raw flour makes gravy taste chalky and unpleasant, while properly cooked roux creates smooth, flavorful gravy.
- Add the Drippings Gradually:
- Here's where patience becomes crucial. With your whisk in one hand and your measuring cup of drippings and stock in the other, start adding the liquid to the roux very slowly - just a splash at first, maybe ¼ cup. Whisk vigorously as you add it, incorporating that first addition completely before adding more. The mixture will seize up and look impossibly thick at first, which is normal. Keep whisking energetically, making sure you're scraping the bottom and sides of the pan where roux might be hiding. Once that first addition is fully incorporated and smooth, add another ¼ cup of liquid and whisk again until smooth. Continue this process, adding liquid in small increments and whisking thoroughly after each addition. As you add more liquid, the mixture will start to loosen up and become more pourable. You can gradually increase the amount you add with each pour as the gravy gets thinner - by the time you're halfway through your liquid, you can probably add ½ cup at a time instead of ¼ cup. The key is never dumping in large amounts of liquid all at once, which would create lumps that are nearly impossible to whisk out. Take your time and whisk constantly, being thorough and patient. By the time you've added all 4 cups of liquid, you should have smooth, lump-free gravy that looks thin and watery - don't worry, it'll thicken as it simmers.
- Simmer and Thicken:
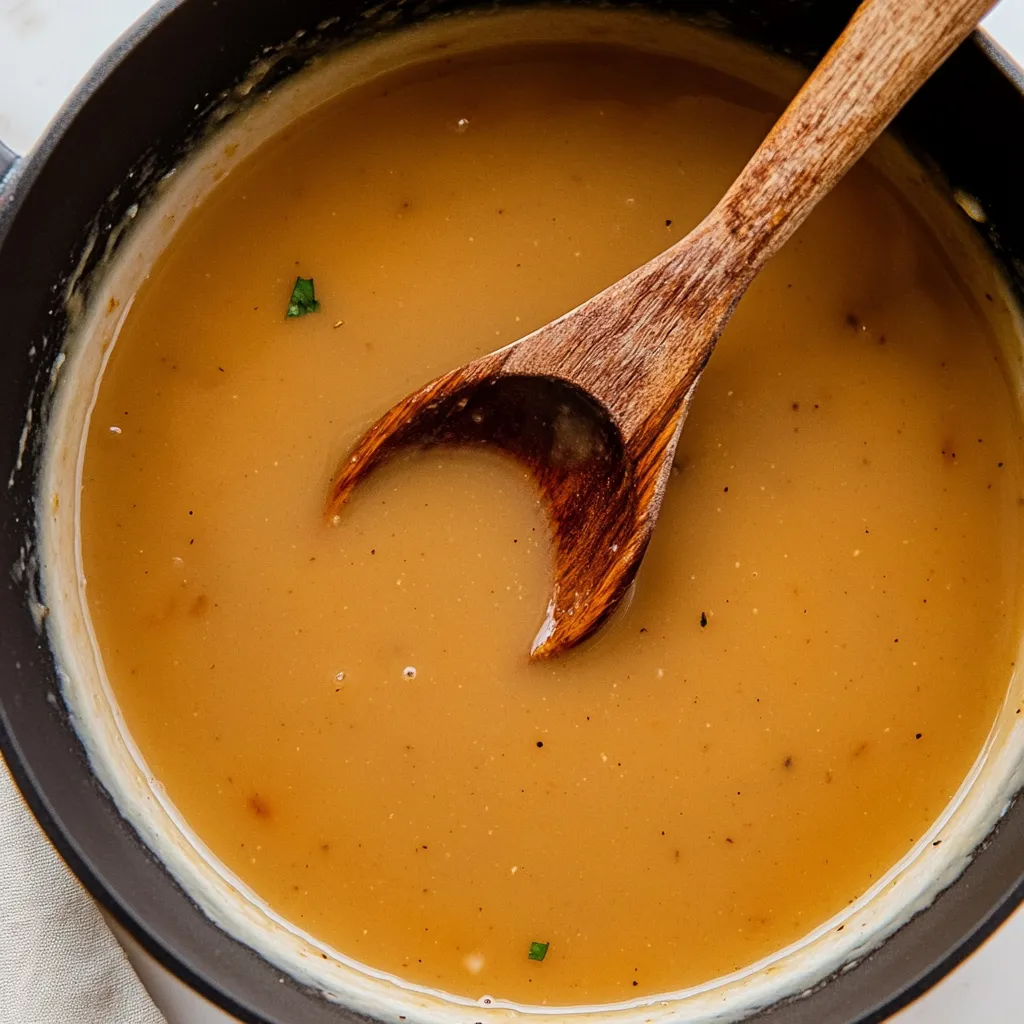
- Once all your liquid is incorporated, reduce the heat to medium-low so the gravy is just gently simmering - you should see small bubbles occasionally breaking the surface, not a vigorous rolling boil. Boiling gravy can break the emulsion and make it separate, plus it can cause it to reduce too quickly and become overly thick or even scorched on the bottom. Let the gravy simmer gently, stirring occasionally with a wooden spoon or whisk, for about 5 to 10 minutes. During this time, the flour will fully hydrate and swell, thickening the gravy. You'll notice it transforming from thin and watery to coating the back of your spoon when you dip it in. The gravy should be thick enough to coat your spoon but still pourable - it should fall from the spoon in a smooth stream, not plop off in globs. If it seems too thick, whisk in a bit more stock or drippings, a few tablespoons at a time, until you reach your desired consistency. If it's too thin after 10 minutes of simmering, continue cooking for another 5 minutes to let more moisture evaporate. Remember that gravy will continue to thicken as it cools, so make it slightly thinner than your ideal serving consistency.
- Season and Finish:
- Once your gravy has reached the right thickness, it's time to taste and season. Use a clean spoon to taste a small amount - be careful because it's hot. The gravy should taste rich and savory with pronounced turkey flavor. Add salt gradually, starting with ¼ teaspoon, stirring it in, and tasting again. Continue adding salt in small increments until the gravy tastes properly seasoned and all the flavors pop. You might need anywhere from ¼ teaspoon to 1 teaspoon total depending on how salty your turkey drippings were. Add several grinds of fresh black pepper and stir them in. Taste one more time and adjust if needed. If you're using fresh herbs, you can stir in 1 to 2 teaspoons of finely chopped fresh thyme, rosemary, or parsley at this point for extra flavor and color. Give everything a final whisk to make sure it's perfectly smooth and well-combined. Turn off the heat and transfer the gravy to a gravy boat or serving bowl. If you're not serving immediately, keep it warm by placing it in a heat-proof bowl set over a pot of barely simmering water, stirring occasionally to prevent a skin from forming on top.
 Pin it
My father-in-law is notoriously picky about gravy and has sent restaurant gravy back multiple times for being too thin, too thick, or too bland. The first Thanksgiving I hosted, I was terrified to serve him my homemade gravy because I knew he'd have opinions. I used drippings from a turkey I'd roasted with lots of herbs and butter, and I tasted and adjusted the seasoning probably five times before I was satisfied. When he took his first bite of mashed potatoes with my gravy, he paused, looked up, and said "This is excellent gravy. Really excellent." Coming from him, that was basically a standing ovation. Now he specifically requests that I make the gravy every year, even when we're at someone else's house, which makes me feel like I've achieved some kind of culinary validation I didn't even know I needed.
Understanding the Science of Roux and Thickening
A roux is one of the foundational techniques in French cooking and forms the base of countless sauces, from béchamel to gumbo. It's simply fat and flour cooked together, but understanding what happens during that cooking process helps you make better gravy. When you cook flour in fat, several things occur. First, the fat coats the individual starch granules in the flour, which helps them disperse evenly in liquid later rather than clumping together. Second, the heat breaks down the raw starch molecules and removes that chalky, pasty flavor that uncooked flour has. Third, if you cook the roux long enough, the flour begins to toast and develop nutty, complex flavors - though for this gravy recipe, you only cook it briefly to a light color. When you add liquid to your roux, the starch granules absorb water and swell dramatically, creating thickness and body. The longer flour cooks in liquid, the more it swells, which is why simmering time is crucial. The ratio of fat to flour to liquid determines final thickness - more flour relative to liquid creates thicker sauce, while more liquid relative to flour creates thinner sauce. Understanding these principles means you can adjust on the fly if your gravy is too thick or thin.
The Critical Importance of Turkey Drippings Quality
Not all turkey drippings are created equal, and the quality of your drippings directly impacts the quality of your gravy. If you roasted a plain, unseasoned turkey, your drippings will be bland and won't make exciting gravy no matter how perfectly you execute the technique. This is why seasoning your turkey well before roasting matters so much - those herbs, butter, salt, and any other seasonings you use will all end up in the drippings and flavor your gravy. If you used a compound butter with fresh herbs rubbed under the turkey skin, those herb flavors infuse into the drippings. If you added vegetables like onions, carrots, and celery to the roasting pan, they'll contribute sweetness and depth to the drippings. Those caramelized brown bits stuck to the bottom of your roasting pan, called fond, contain incredibly concentrated flavor from proteins and sugars that have undergone the Maillard reaction. When you deglaze the pan with stock to scrape up that fond, you're capturing all that flavor for your gravy. This is why making gravy from scratch using real drippings tastes exponentially better than making it with just stock - you're building on a foundation of deep, concentrated, complex flavors rather than starting from scratch.
Common Gravy Problems and How to Fix Them
Even experienced cooks occasionally encounter gravy issues, but nearly all of them can be fixed if you know what to do. Lumpy gravy happens when you add liquid too quickly or don't whisk vigorously enough. To fix it, pour the gravy through a fine-mesh strainer into a clean pot, pressing on the lumps with a spoon to push the smooth gravy through while leaving lumps behind. Or use an immersion blender to blend out the lumps directly in the pot. Too-thick gravy is easy to fix - just whisk in more stock or drippings a few tablespoons at a time until you reach desired consistency. Too-thin gravy needs more cooking time to reduce and thicken, or you can make a slurry by mixing 1 tablespoon flour with 2 tablespoons cold water until smooth, then whisking this into the simmering gravy and cooking for a few more minutes. Gravy that tastes floury wasn't cooked long enough after adding the liquid - continue simmering it for 5 more minutes to fully cook the starch. Greasy gravy has too much fat floating on top - skim it off with a spoon or ladle. Bland gravy needs more salt, more pepper, or a splash of something acidic like lemon juice or vinegar to brighten the flavors. Broken gravy that looks curdled or separated can sometimes be saved by vigorously whisking while adding small amounts of cold stock.
Making Gravy Without Drippings
If you're serving a pre-cooked turkey, buying a turkey breast instead of a whole bird, or skipping turkey altogether, you won't have drippings but you can still make decent gravy. The key is building flavor in other ways. Start by browning 4 tablespoons of butter in your saucepan until it turns golden and smells nutty - this brown butter adds complexity that straight melted butter doesn't provide. Use high-quality turkey or chicken stock, preferably homemade if you have it, as your liquid. To boost flavor, sauté some finely diced onion, carrot, and celery in the butter before adding flour, then strain them out before serving. Add a splash of soy sauce or Worcestershire sauce for umami depth. Include a bay leaf and fresh thyme sprigs while the gravy simmers, removing them before serving. Some people add a tablespoon of bourbon or cognac for richness. A small amount of tomato paste, maybe a teaspoon, adds color and depth without making it taste like tomato. While this approach won't replicate the depth of flavor you get from real turkey drippings, these additions create a gravy that's much better than simply mixing flour and stock.
Advance Preparation and Reheating Strategies
One of the best things about gravy is that you can make it ahead of time, which is invaluable when you're managing a complex holiday meal. You can make gravy up to three days before Thanksgiving and store it in an airtight container in the refrigerator. When chilled, gravy will become quite thick and gel-like because of the gelatin from the turkey, which is completely normal. To reheat, transfer the cold gravy to a saucepan and warm it over medium-low heat, whisking frequently. As it heats, it will thin out and return to its original pourable consistency. You'll likely need to add some stock or water to thin it to the right consistency - add it gradually, a few tablespoons at a time, whisking after each addition. Gravy can also be reheated in the microwave - transfer it to a microwave-safe bowl, heat in 1-minute intervals, whisking between each interval until hot and smooth. For make-ahead gravy, consider making it slightly thicker than you ultimately want it, because you can always thin it during reheating but you can't easily thicken it without making more roux. Gravy can also be frozen for up to three months. Freeze it in portions in freezer bags laid flat, or in ice cube trays for small amounts. Thaw in the refrigerator overnight before reheating.
Serving Suggestions and What to Pair With Gravy
While turkey and mashed potatoes are the classic gravy pairings, don't limit yourself to just those two dishes. Gravy elevates so many Thanksgiving sides and mains. Pour it over stuffing or dressing to add moisture and flavor. Drizzle it over roasted vegetables like Brussels sprouts or green beans. Use it to top biscuits for a savory breakfast or brunch. Serve it with roasted chicken, pork tenderloin, or even meatloaf throughout the year. Some people like gravy on their dinner rolls, using them like edible spoons to sop up the sauce. It's delicious over egg noodles or mashed sweet potatoes. For leftover turkey sandwiches, warm gravy makes an incredible dipping sauce or can be drizzled directly on the sandwich. The beauty of homemade gravy is its versatility - once you have a jar of it in your fridge, you'll find yourself adding it to all sorts of meals. When serving gravy at a formal dinner, use a proper gravy boat with a saucer underneath to catch drips. For casual family meals, a small pitcher or even a mason jar works fine. Always put a ladle or small spoon with the gravy so people can serve themselves easily.
Scaling This Recipe for Different Crowd Sizes
This recipe yields about 4 cups of gravy, which serves roughly 6 to 8 people when used moderately on turkey and sides. For larger Thanksgiving gatherings, you'll want to scale up. The good news is that gravy scales perfectly as long as you maintain the ratio of fat to flour to liquid. For a double batch serving 12 to 16 people, use 8 tablespoons butter, ½ cup flour, and 8 cups liquid. You'll need a larger saucepan to accommodate the volume. For a half batch serving 3 to 4 people, use 2 tablespoons butter, 2 tablespoons flour, and 2 cups liquid. The cooking time remains approximately the same regardless of batch size - the roux still needs about 2 minutes of cooking, and the gravy still needs 5 to 10 minutes of simmering to thicken. When making large batches, the main challenge is collecting enough drippings. If you're roasting multiple turkeys or a very large turkey, you'll have plenty. If you're making a big batch but only have drippings from one average-sized bird, supplement heavily with turkey or chicken stock. Some people make multiple batches rather than one huge batch, which gives you more control and reduces the risk of scorching in an overly full pot.
 Pin it
After making gravy for probably fifteen Thanksgivings now, it's become one of those cooking tasks I actually look forward to rather than stressing about. There's something deeply satisfying about transforming those drippings from the bottom of the roasting pan into something silky and delicious that ties the entire meal together. Every year I make it, I understand a little better how to read the consistency, how much salt it needs, when to stop adding liquid. It's one of those skills that you can only really learn through repetition and paying attention to what works and what doesn't. The first time I made perfect, smooth, well-seasoned gravy, I felt like I'd unlocked some kind of secret cooking achievement. Now it's second nature, and I can make it while simultaneously checking on other dishes and chatting with family members, barely even thinking about the technique because my hands know what to do. That confidence is what makes holiday cooking enjoyable instead of stressful - when you have a few techniques mastered so thoroughly that they don't require your full concentration, you can actually relax and enjoy the process of feeding people you love.
Frequently Asked Questions
- → Can I make turkey gravy ahead of time?
- Yes, you can make it up to 3 days ahead. Store it in the fridge and reheat gently on the stove, adding a splash of broth if it's too thick.
- → What if I don't have enough turkey drippings?
- Just add chicken broth to make up the difference. You need about 4 cups of liquid total, so use whatever drippings you have and fill the rest with broth.
- → How do I fix lumpy gravy?
- Pour it through a fine mesh strainer to remove lumps, or use an immersion blender to smooth it out. Whisking constantly while adding liquid helps prevent lumps.
- → Can I freeze leftover turkey gravy?
- Absolutely. Let it cool completely, then freeze in containers or ice cube trays for up to 3 months. Thaw in the fridge before reheating.
- → How do I make gluten-free turkey gravy?
- Simply swap the all-purpose flour for your favorite gluten-free flour blend. The method stays exactly the same.
- → Why is my gravy too thin?
- Let it simmer a bit longer to thicken up, or whisk in a small amount of flour mixed with cold water. Add it slowly until you get the thickness you want.