
 Pin it
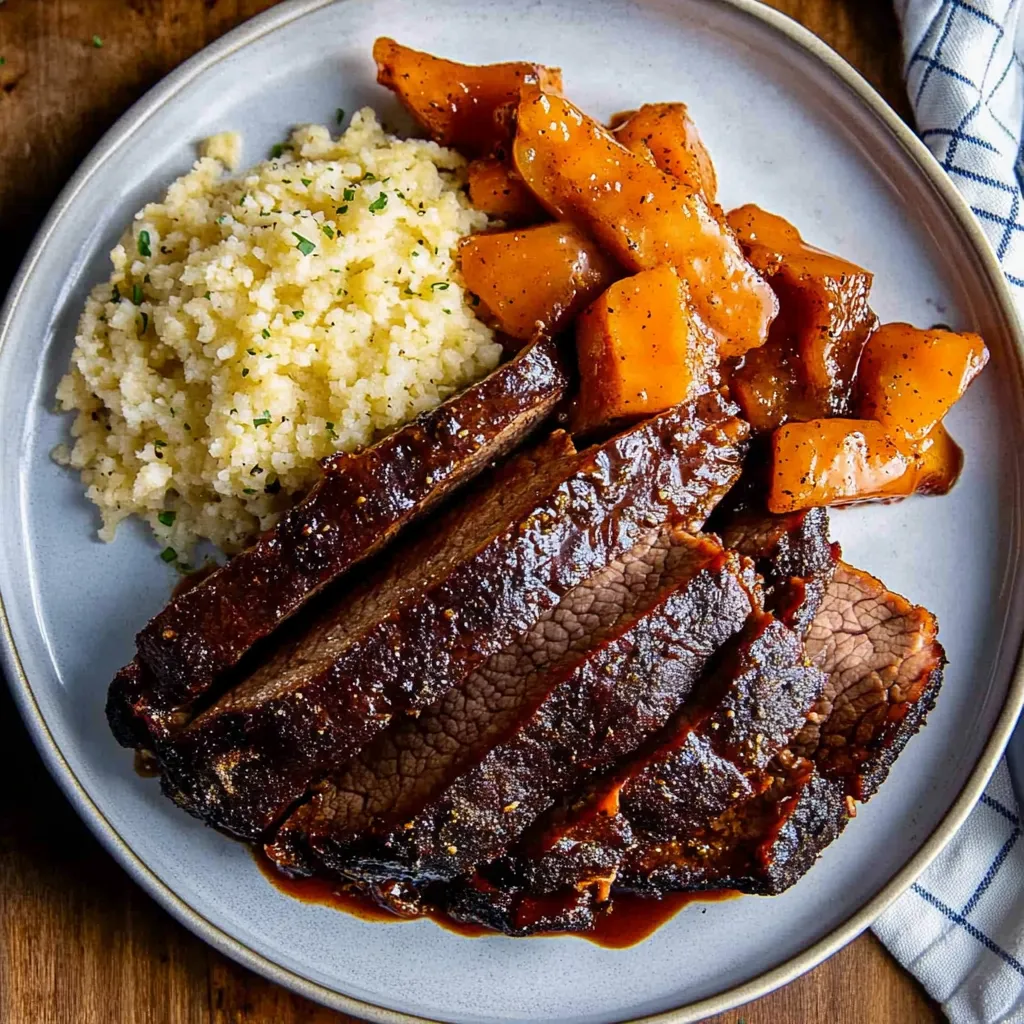
Nothing beats the comfort of tender, juicy brisket that falls apart with every bite. This oven-roasted brisket brings all those smoky BBQ flavors right into your kitchen, no matter what the weather looks like outside. The meat gets coated in a perfect blend of spices, then slow-cooked until it practically melts in your mouth, creating the most incredible sauce as it cooks.
I discovered this method during a particularly rainy summer when I was craving BBQ but couldn't use the grill. After trying it once, I was completely hooked. There's something so satisfying about putting this in the oven and knowing that in a few hours, you'll have restaurant-quality brisket without any of the fuss.
Essential Ingredients and What Makes Them Special
- Beef brisket (flat cut preferred): Look for one with about a quarter-inch fat layer still on top, which keeps everything moist and adds richness to the final sauce
- Smoked paprika: This gives you that authentic BBQ flavor without actually smoking the meat, adding depth and that beautiful color
- Worcestershire sauce: Creates layers of flavor that build as the meat cooks, mixing with the drippings for an incredible sauce
- Quality BBQ sauce: Choose one you actually enjoy eating straight from the bottle, since this will coat your finished brisket
- Fresh garlic powder and onion powder: These blend better than fresh when making a dry rub and won't burn during the long cooking time
- Ground cumin and cayenne: Just enough heat and earthiness to balance the sweetness of the BBQ sauce
Step-by-Step Cooking Instructions
- Prepare your brisket and workspace:
- Line a large roasting pan or baking dish with heavy-duty foil, making sure there's enough overhang to completely seal the pan later. Place your brisket fat-side up in the center. If your brisket has more than a quarter-inch of fat on top, trim it down with a sharp knife, but don't remove it completely since that fat will keep your meat moist and create flavor as it renders.
- Create and apply the spice rub:
- In a small bowl, combine 2 teaspoons each of smoked paprika, kosher salt, garlic powder, and onion powder, plus 1 teaspoon each of dried thyme, black pepper, and ground cumin, and just a pinch of cayenne pepper. Use your hands to massage this mixture all over both sides of the brisket, really working it into the meat. Don't be shy here - you want every inch covered with this flavorful coating.
- Add the liquid elements:
- Drizzle about 2 tablespoons of Worcestershire sauce evenly over the top of the seasoned brisket, then spread about half a cup of your favorite BBQ sauce over the entire surface using an offset spatula or the back of a spoon. Make sure you get good coverage, as this will help create that incredible cooking sauce.
- Seal and start the slow cooking process:
- Cover the entire pan tightly with foil, making sure there are no gaps where steam can escape. Preheat your oven to 300 degrees and place the sealed pan on the center rack. Here's the hardest part - don't peek for the first 2 hours. I know it's tempting, but opening that foil releases all the steam that's working to make your brisket tender.
- Flip and continue cooking:
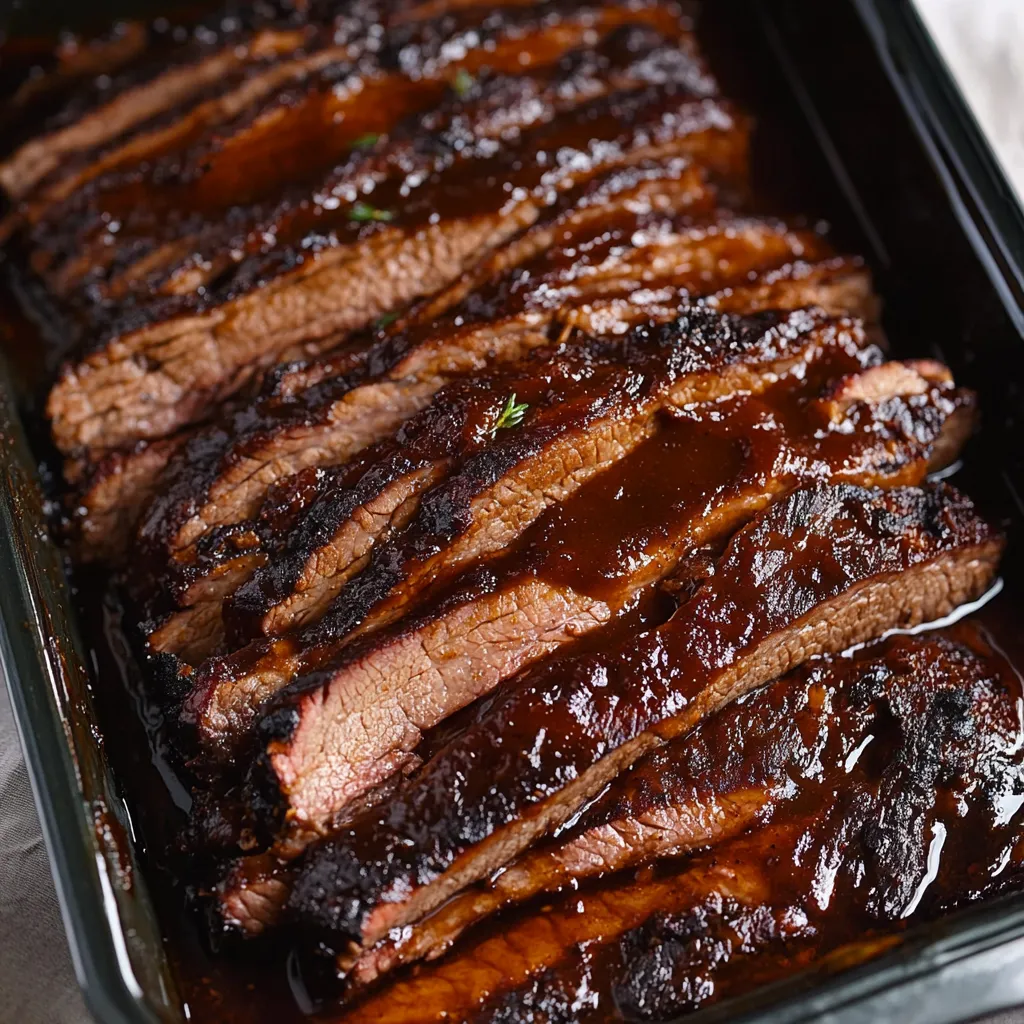
- After exactly 2 hours, carefully remove the pan and flip the brisket over. The meat should already be looking darker and more tender. Re-seal with the foil and return to the oven for another 1.5 to 2 hours, depending on the size of your brisket. You'll know it's done when you can easily slice through it with a knife - it should offer very little resistance.
 Pin it
My family goes absolutely crazy for the sauce that forms during cooking. It's this perfect combination of the spice rub, meat drippings, and BBQ sauce that creates something way better than any store-bought sauce. I always make sure to have plenty of crusty bread on hand because someone always wants to soak up every last drop from their plate.
Understanding Brisket Cuts and Selection
When you're at the butcher counter, you'll typically see two different cuts of brisket available. The flat cut, which I always recommend for oven roasting, has a more uniform thickness that cooks evenly throughout. It's leaner than the point cut and slices beautifully for presentation. The point cut, on the other hand, has more marbling and fat, making it better suited for smoking or when you want meat that shreds easily for sandwiches. I've found that Costco consistently carries well-trimmed flat cuts that save you the hassle of dealing with excess fat at home.
Temperature Control and Timing Secrets
Low and slow is the only way to go with brisket, and that 300-degree temperature is absolutely crucial. Any higher and you risk drying out the outside before the inside becomes tender. Any lower and you'll be waiting all day without achieving that perfect texture. I learned this the hard way when I tried rushing a brisket at 350 degrees for a dinner party - the outside was tough and the inside was still chewy. Now I always start my brisket early in the morning, knowing it'll be perfectly done by evening without any stress.
The Magic of Resting and Slicing
Once your brisket comes out of the oven, resist the urge to slice into it immediately. Let it rest in that foil for at least 15-20 minutes - this allows the juices to redistribute throughout the meat instead of running all over your cutting board. When you do slice, use a sharp knife and cut against the grain in slices about a quarter-inch thick. I always save the first slice for myself as a little cook's reward, and it never fails to make me smile when I see how tender and juicy it turned out.
Leftover Magic and Storage Wisdom
Brisket leftovers are honestly sometimes better than the original meal. The flavors continue to develop overnight, and the meat stays incredibly moist when stored properly in the refrigerator. I always save any extra cooking liquid and store it with the sliced meat - this keeps everything from drying out and gives you that incredible sauce for reheating. Cold brisket also makes amazing sandwiches, and I've been known to eat it straight from the fridge while standing at the kitchen counter.
Serving Size Planning and Party Preparation
When I'm planning for a crowd, I calculate about half a pound of raw brisket per person, knowing it'll shrink during cooking to about 6 ounces of actual serving size. For big gatherings, I often cook two smaller briskets rather than one huge one - they cook more evenly and I can experiment with different BBQ sauce flavors. Starting the brisket early in the day also means your oven is free for side dishes later, and your guests will be greeted by the most incredible aroma when they arrive.
After making this brisket countless times for family dinners, potlucks, and weekend gatherings, I can honestly say it never gets old. There's something deeply satisfying about creating restaurant-quality BBQ in your own oven, especially when people ask for the recipe and can't believe how simple it actually is. The combination of that smoky spice rub with the slow cooking method creates layers of flavor that develop over hours, resulting in meat so tender it practically falls apart on your fork. Every time I make this, I'm reminded why it's become one of my most requested recipes - it's proof that the best comfort food doesn't have to be complicated, just done with patience and care.
Frequently Asked Questions
- → How long does it take to cook brisket in the oven?
- Cook the brisket at 300°F for about 3 hours total - 2 hours covered, then flip and cook another 1-2 hours until tender.
- → Should I trim the fat off my brisket?
- Trim most of the fat but leave about ¼ inch. This helps keep the meat moist and adds flavor to the cooking juices.
- → How do I know when the brisket is done?
- The brisket is ready when you can slice through it easily with a knife. It should be fork-tender and not tough or chewy.
- → Which way should I slice the brisket?
- Always slice against the grain. Look for the direction of the muscle fibers and cut perpendicular to them for tender slices.
- → Can I make this brisket ahead of time?
- Yes, cooked brisket keeps in the fridge for 3-4 days. Reheat gently in a low oven with foil to keep it moist.
- → What temperature should I cook the brisket at?
- Cook at 300°F for the best results. This low temperature ensures the meat becomes tender without drying out.