
 Pin it
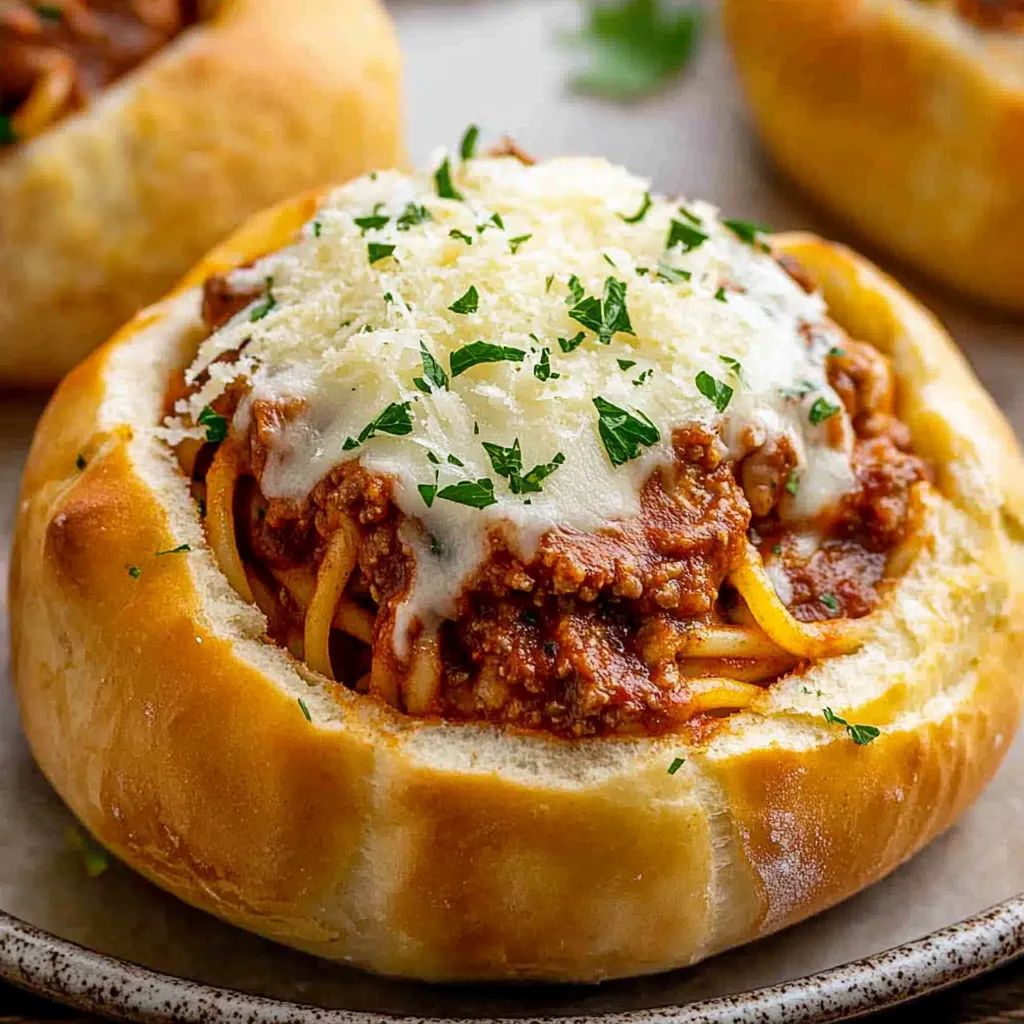
These incredible spaghetti garlic bread bowls transform ordinary pasta night into an absolutely fun and delicious handheld experience that eliminates messy plates while delivering all the comfort of traditional spaghetti and meat sauce. By hollowing out crusty rolls, brushing them with garlic butter, and filling them with perfectly seasoned pasta, you create an edible bowl that's crispy on the outside and wonderfully saucy on the inside.
I created these spaghetti bread bowls completely by accident during a chaotic Saturday when my kids had friends over and I was tired of cleaning pasta sauce off every surface in my dining room. The first time I served them, one of my son's pickiest friends devoured two entire bowls and asked if he could take one home to show his mom. Now these have become the most requested meal for sleepovers and casual dinners because they make eating pasta so much more fun and manageable.
Ingredients and Why They Matter
- Crusty sourdough or French rolls: provide the essential structure to hold the pasta while developing a golden, crispy exterior that won't fall apart
- Fresh garlic cloves: create that punchy, aromatic flavor that makes the garlic butter coating absolutely irresistible
- Unsalted butter: forms the rich base for the garlic mixture and helps create a moisture barrier that keeps the bread from getting soggy
- Ground beef or Italian sausage: adds hearty protein and rich flavor that makes these bowls feel like a complete, satisfying meal
- Whole milk mozzarella and fresh Parmesan: create the perfect melty cheese combination that gets beautifully golden and bubbly on top
- Quality marinara or passata: provides the foundation for a rich sauce that clings perfectly to the pasta without being too watery
- Dry red wine: adds depth and complexity to the sauce that elevates it from ordinary to restaurant-quality
- Fresh herbs like basil and oregano: brighten the entire dish and add that authentic Italian flavor profile
Step-by-Step Instructions
- Create the meat sauce foundation:
- Heat 2 tablespoons olive oil in a large, heavy-bottomed pan over medium-high heat. Add 1 diced medium onion and cook for 5-7 minutes until softened and lightly golden. Add 4 minced garlic cloves and stir for 30 seconds until fragrant, being careful not to let it burn.
- Brown the meat properly:
- Add 1 pound ground beef to the pan, breaking it up with a wooden spoon. Cook until deeply browned with crispy edges, about 8-10 minutes. Don't rush this step - those browned bits create incredible flavor. Stir in 2 tablespoons tomato paste and cook for 1 minute until it darkens and becomes fragrant.
- Build the sauce depth:
- Pour in 1/2 cup dry red wine, scraping up any browned bits from the bottom of the pan. Let it bubble and reduce by half, about 3-4 minutes. Add 2 cups marinara sauce, 1/2 cup beef broth, 1 tablespoon Worcestershire sauce, 1 teaspoon dried oregano, and a pinch of sugar. Simmer for 15-20 minutes until thickened.
- Prepare the bread bowls:
- Preheat your oven to 425°F. Using a sharp knife, cut a circle in the top of 6 crusty rolls (about 5-6 inches in diameter), then carefully hollow out the insides, leaving a 1/2-inch thick shell all around. Save the bread pieces for breadcrumbs or snacking.
- Make the garlic butter coating:
- In a small bowl, mix 6 tablespoons melted butter with 4 minced garlic cloves, 2 tablespoons chopped fresh parsley, and 1/4 cup grated Parmesan cheese. Using a pastry brush, coat the inside and outside of each bread bowl thoroughly with this mixture.
- Cook the pasta perfectly:
- Bring a large pot of salted water to a rolling boil. Add 12 ounces spaghetti and cook for exactly 2 minutes less than the package directions for al dente. The pasta should still have a slight bite since it will continue cooking in the oven. Drain without rinsing.
- Combine pasta and sauce:
- Add the hot, drained pasta to the meat sauce and toss with tongs until every strand is well coated. Let this mixture sit for 5 minutes to cool slightly and allow the flavors to meld together.
- Fill the bread bowls carefully:
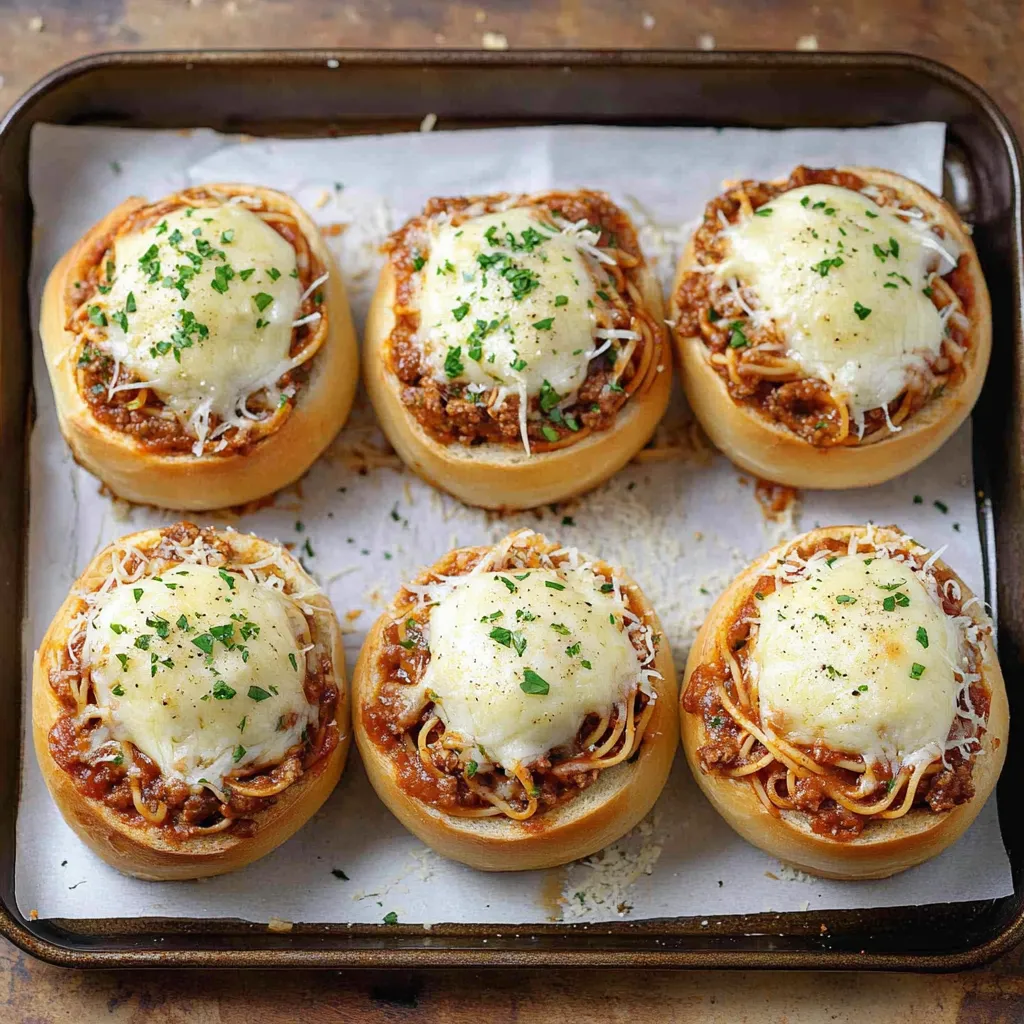
- Place the prepared bread bowls on a parchment-lined baking sheet. Using tongs, twirl portions of the pasta mixture into each bowl, filling them generously but not overflowing. Press down gently to pack the pasta in.
- Add the cheese topping:
- Sprinkle 1 1/2 cups shredded mozzarella cheese over the filled bowls, making sure some cheese goes right to the edges where it will create those amazing cheese pulls. Top with an additional 1/4 cup grated Parmesan for extra flavor.
- Bake to golden perfection:
- Bake for 8-10 minutes until the bread is golden and crispy around the edges and the cheese is completely melted. Switch to broil for 1-2 minutes, watching carefully, until the cheese develops beautiful golden-brown spots. Let cool for 3-5 minutes before serving.
 Pin it
I learned through trial and error that choosing the right bread is absolutely critical for success. My first attempt used those soft Hawaiian rolls because that's what I had on hand, and they basically dissolved into the sauce within minutes. Now I always use crusty Portuguese or sourdough rolls from my local bakery that have enough structure to hold up to the sauce while still being tender enough to bite through easily.
Perfecting the Sauce Consistency and Flavor
The key to an amazing meat sauce for these bread bowls lies in building layers of flavor and achieving the right consistency. Taking the time to properly brown the meat creates those delicious caramelized bits that add incredible depth to the sauce. The wine reduction step might seem unnecessary, but it concentrates flavors and adds a sophistication that elevates this from kid food to something adults crave too. The sauce needs to be thick enough that it won't make the bread soggy, but not so thick that it becomes pasty. It should coat the pasta beautifully and have enough moisture to keep everything tender during baking. I always taste and adjust the seasoning at the end, adding salt, pepper, or a pinch more sugar to balance the acidity of the tomatoes.
Bread Bowl Preparation Techniques
Creating the perfect bread bowl requires a delicate balance - you want to remove enough bread to hold a generous portion of pasta, but leave enough structure that the bowl doesn't collapse. I use a sharp serrated knife to cut the initial circle, then switch to a spoon to carefully scoop out the interior, working slowly to avoid breaking through the sides. The garlic butter coating serves multiple purposes beyond just adding incredible flavor. It creates a moisture barrier that helps prevent the bread from becoming soggy too quickly, and it promotes that beautiful golden browning that makes these bowls look so appetizing. Make sure to brush every surface, paying special attention to the interior where the pasta will sit.
Pasta Cooking and Assembly Tips
The timing of the pasta cooking is crucial for achieving the perfect texture in the final dish. Since the pasta will continue cooking in the hot bread bowls in the oven, starting with slightly undercooked pasta ensures it doesn't become mushy. I always taste a strand before draining - it should still have a slight firmness in the center. When filling the bread bowls, I use tongs to twirl the pasta into neat portions that fit nicely in each bowl. This technique not only looks more professional but also helps control portion sizes and ensures the pasta stays contained during eating. Don't pack it too tightly, as the pasta needs some room to expand slightly during the final baking.
Cheese Selection and Melting Techniques
The combination of mozzarella and Parmesan creates the ideal cheese topping for these bread bowls. Mozzarella provides that satisfying stretch and meltiness that everyone loves, while Parmesan adds sharp, nutty flavor and helps create those beautiful golden-brown spots under the broiler. Using freshly grated cheese makes a significant difference in both flavor and melting quality. When applying the cheese, make sure to get some right to the edges of the bread bowls. As it melts, it will flow down the sides slightly and create those amazing cheese pulls that make these bowls so Instagram-worthy. The brief broiling step at the end develops those gorgeous browned spots that add both visual appeal and deeper flavor.
Storage and Make-Ahead Strategies
While these bread bowls are definitely best enjoyed fresh from the oven, you can do quite a bit of prep work ahead of time to make the final assembly quick and easy. The meat sauce actually improves in flavor when made a day ahead and stored in the refrigerator. You can also hollow out the bread bowls earlier in the day and store them covered at room temperature. For the best results, I recommend making the garlic butter coating just before assembly to maintain its fresh flavor. If you need to prep everything completely ahead of time, assemble the filled bowls but wait to add the cheese until just before baking. This prevents the cheese from drying out and ensures optimal melting.
These spaghetti garlic bread bowls have become one of my family's most beloved comfort food creations because they perfectly combine the familiar flavors we all love with a fun, interactive presentation that makes every meal feel like a special occasion. There's something magical about watching people's faces light up when they realize they can eat the entire thing, bowl and all, and the way these bring everyone together around the table while eliminating the usual pasta-eating mess is pure genius. They've proven that sometimes the best recipes come from practical solutions to everyday problems, transforming a moment of frustration into a new family tradition.
Frequently Asked Questions
- → Can I make the bread bowls ahead of time?
- Yes, you can hollow out the rolls and brush with garlic butter up to 4 hours ahead. Store covered at room temperature until ready to fill and bake.
- → What happens to the bread I remove from the rolls?
- Save the bread pieces to make breadcrumbs or croutons. You can also toast them with garlic butter for a side snack while cooking.
- → Can I use different pasta shapes?
- Spaghetti works best because it fits nicely in the bowls, but you can use penne or rigatoni if that's what you have on hand.
- → How do I prevent the bread bowls from getting soggy?
- Make sure to brush the inside with garlic butter, which creates a barrier. Also, don't fill the bowls too early before baking.
- → Can I freeze leftover bread bowls?
- The filled bowls don't freeze well, but you can freeze the meat sauce separately for up to 3 months and make fresh bread bowls when needed.
- → What size rolls work best for this recipe?
- Use crusty dinner rolls about 4-5 inches wide. Sourdough rolls or small round loaves work perfectly for this recipe.