
 Pin it
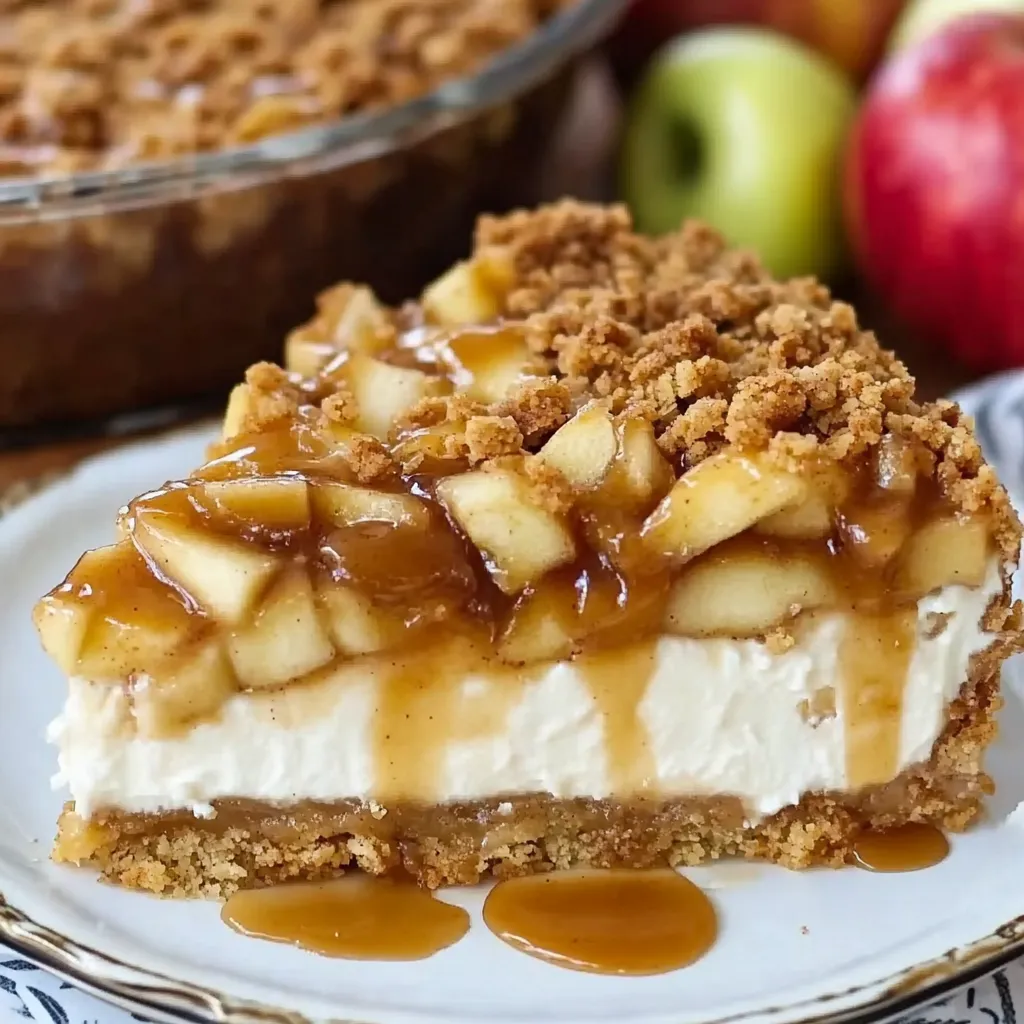
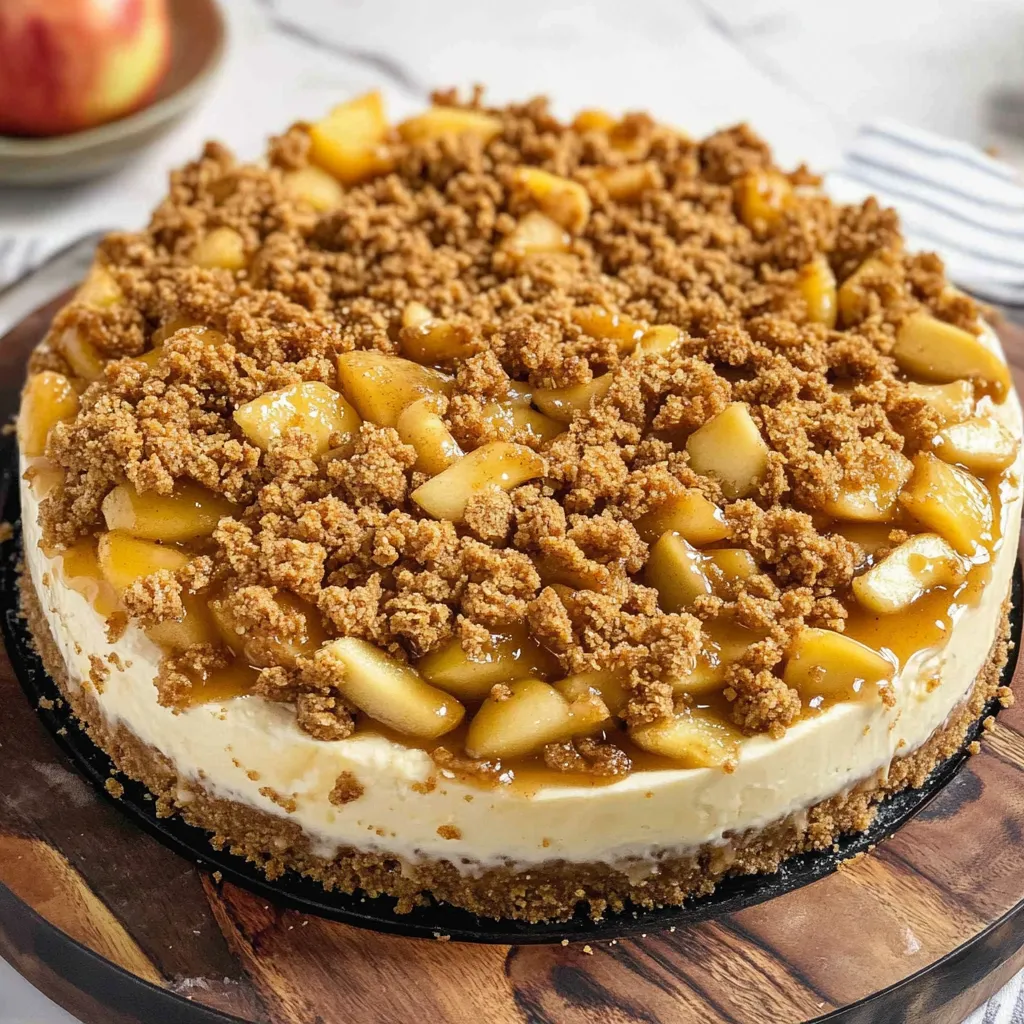
This stunning apple crisp cheesecake brings together two beloved fall desserts in one show-stopping creation. A buttery graham cracker crust supports a silky brown sugar and cinnamon cheesecake layer, topped with tender caramelized apples and a golden oat streusel. The beauty of this dessert lies in how it captures all the cozy flavors of autumn while requiring no baking for the cheesecake itself, making it perfect for busy holiday entertaining.
I created this recipe during a particularly hectic Thanksgiving when my oven was completely occupied with the turkey and side dishes. I wanted something that felt special and seasonal but didn't require baking, and this combination seemed perfect. The first time I served it, my guests couldn't believe it wasn't baked - the textures and flavors are so complex and well-developed. Now it's become my signature fall dessert, and I make it for every autumn gathering.
Essential Ingredients and Selection Tips
- Full-fat cream cheese: Must be brick-style, not spreadable, and brought to room temperature for smooth mixing without lumps
- Fresh apples: Choose firm varieties like Granny Smith for tartness or Honeycrisp for sweetness; avoid soft apples that will turn mushy when cooked
- Light brown sugar: The molasses content adds caramel notes that complement the apples; make sure it's soft and not hardened
- Greek yogurt: Full-fat variety works best and adds tanginess while lightening the texture of the cheesecake
- Old-fashioned rolled oats: These maintain better texture than quick oats and provide the signature crunch of apple crisp
- Quality butter: Use unsalted so you can control the salt level; needs to be cold for the topping and melted for the crust
Detailed Step-by-Step Instructions
- Start with the crisp topping preparation:
- Preheat your oven to 350°F and line a large baking sheet with parchment paper. In a medium bowl, whisk together 1 cup all-purpose flour, 1/2 cup light brown sugar, 1/2 cup old-fashioned rolled oats, and 1/2 teaspoon salt until evenly combined. Add 6 tablespoons cold unsalted butter cut into small cubes, then use your fingertips or a pastry cutter to work the butter into the dry ingredients until the mixture resembles coarse crumbs with some pea-sized pieces remaining. This uneven texture is what creates the perfect crispy clusters.
- Bake the topping to golden perfection:
- Spread the crumb mixture evenly on your prepared baking sheet, breaking up any large clumps with your fingers. Bake for 10-15 minutes, stirring once halfway through, until the mixture is golden brown and fragrant. Watch carefully during the last few minutes to prevent burning. Remove from the oven and use a fork to break apart any overly large pieces while still warm. Set aside to cool completely - this step is crucial as warm topping will melt the cheesecake layer.
- Caramelize the apples properly:
- Peel and core 3 medium apples, then cut them into 1/2-inch chunks. Heat 2 tablespoons butter in a large skillet over medium heat until melted and foaming. Add the apple pieces in a single layer - don't worry if the pan looks crowded, as they'll shrink as they cook. Cook for 8-10 minutes, stirring occasionally, until the edges are golden brown and the apples are tender but still hold their shape. Sprinkle in 3 tablespoons brown sugar and cook for another 2 minutes until the sugar melts and coats the apples. Remove from heat and let cool to room temperature.
- Create the perfect graham cracker crust:
- In a food processor, pulse 1 1/2 cups graham cracker crumbs with 1/4 cup brown sugar until well combined. With the processor running, slowly drizzle in 6 tablespoons melted butter until the mixture holds together when squeezed and resembles wet sand. Press this mixture firmly into the bottom of a 9-inch springform pan, using the bottom of a measuring cup to create an even, compact layer. Make sure to press the crumbs slightly up the sides to create a small rim. Place in the freezer for 15 minutes to set while you prepare the filling.
- Master the no-bake cheesecake technique:
- In a large bowl, use an electric mixer to beat 24 ounces room-temperature cream cheese until completely smooth and fluffy, about 3-4 minutes. Scrape down the sides of the bowl frequently to ensure even mixing. Add 3/4 cup brown sugar, 1 teaspoon ground cinnamon, and 1/2 cup Greek yogurt, beating until perfectly smooth and no lumps remain. The mixture should be light and airy at this point.
- Fold in the whipped topping carefully:
- Add 8 ounces thawed whipped topping to the cream cheese mixture and fold it in gently using a rubber spatula. Use a folding motion rather than stirring to maintain the light, airy texture. The mixture should be smooth and creamy with no streaks of whipped topping visible. This step creates the perfect no-bake cheesecake consistency that's neither too dense nor too light.
- Assemble with precision:
- Remove the crust from the freezer and spread the cheesecake filling evenly over the surface, smoothing it with an offset spatula. Use a slotted spoon to distribute the cooled caramelized apples evenly over the cheesecake layer, leaving behind any excess liquid in the pan. Finally, sprinkle the cooled crisp topping evenly over the entire surface, pressing it gently into the cheesecake to help it adhere.
- Chill for proper setting:
- Cover the cheesecake with plastic wrap, being careful not to let it touch the topping. Refrigerate for at least 4 hours, but preferably overnight. The long chilling time allows the flavors to meld and the cheesecake to set to the perfect sliceable consistency. When ready to serve, run a thin knife around the edges to loosen, then carefully remove the springform ring.
 Pin it
The first time I attempted this recipe, I made the mistake of adding warm crisp topping directly to the cheesecake, and it created a melted mess. I learned that patience is key with layered desserts like this - each component needs to be at the right temperature for successful assembly. Now I always make the topping first thing in the morning and let it cool completely while I prepare everything else. My family has come to associate the smell of that topping baking with special occasions.
Understanding No-Bake Cheesecake Structure
No-bake cheesecakes rely on the fat content in cream cheese and the stabilizing properties of whipped topping to achieve their signature texture. Unlike baked cheesecakes that set through egg coagulation, no-bake versions depend on proper chilling and the right ratio of ingredients. The Greek yogurt adds tanginess while helping to lighten the texture, preventing the dessert from being too dense or heavy.
Apple Selection and Preparation Techniques
Different apple varieties bring distinct characteristics to this dessert. Tart apples like Granny Smith provide acidic balance to the sweet cheesecake, while sweeter varieties like Gala or Fuji contribute more caramel notes when caramelized. The key is cooking them just until tender but not mushy - they should hold their shape while developing those golden, caramelized edges that add both flavor and visual appeal.
Achieving Perfect Streusel Texture
The secret to great streusel lies in the butter temperature and mixing method. Cold butter creates distinct pockets of fat that melt during baking, creating steam that lifts and separates the flour mixture into crispy clusters. Pre-baking the topping ensures it stays crunchy even after sitting on the moist cheesecake, preventing the sogginess that often plagues layered desserts.
Temperature Control for Assembly
Each component must be at the correct temperature for successful layering. The crust should be set and cold, the cheesecake filling should be at room temperature for easy spreading, the apples should be cooled to prevent melting the cheesecake, and the streusel should be completely cool and crispy. This careful attention to temperature prevents layers from bleeding into each other.
Make-Ahead Strategy and Storage
This dessert actually benefits from being made ahead, as the flavors have time to meld and develop complexity. The cheesecake layer firms up beautifully overnight, making it much easier to slice cleanly. However, if freezing, add the crisp topping after thawing to maintain its texture. Individual portions can be pre-sliced and wrapped for convenient single servings.
This recipe has become my solution for every fall potluck and holiday gathering because it satisfies both apple crisp lovers and cheesecake enthusiasts in one spectacular dessert. The combination of textures keeps people coming back for more - that contrast between the creamy cheesecake, tender apples, and crunchy topping creates such an interesting eating experience. I've had guests tell me it's better than having to choose between two separate desserts, and several have asked me to make it specifically for their own special occasions.
Frequently Asked Questions
- → Do I need to bake this cheesecake?
- No, this is a no-bake cheesecake. You only bake the crispy oat topping for 10-15 minutes, then everything else is assembled and chilled.
- → How long does this cheesecake need to chill?
- The cheesecake needs at least 4 hours to set properly, but overnight chilling gives you the best results and cleanest slices.
- → What type of apples work best for this recipe?
- Medium-sized apples like Granny Smith, Honeycrisp, or Gala work well. Choose apples that hold their shape when cooked and aren't too sweet.
- → Can I make this cheesecake ahead of time?
- Yes! This dessert actually tastes better when made a day ahead. It can be stored covered in the refrigerator for up to 3 days.
- → How do I get clean slices when serving?
- Use a clean, sharp knife and wipe it clean between each cut. Dipping the knife in warm water also helps create smoother slices.
- → Can I substitute the whipped topping?
- You can use homemade whipped cream instead of store-bought whipped topping, but make sure it's stable and not too soft.