
 Pin it
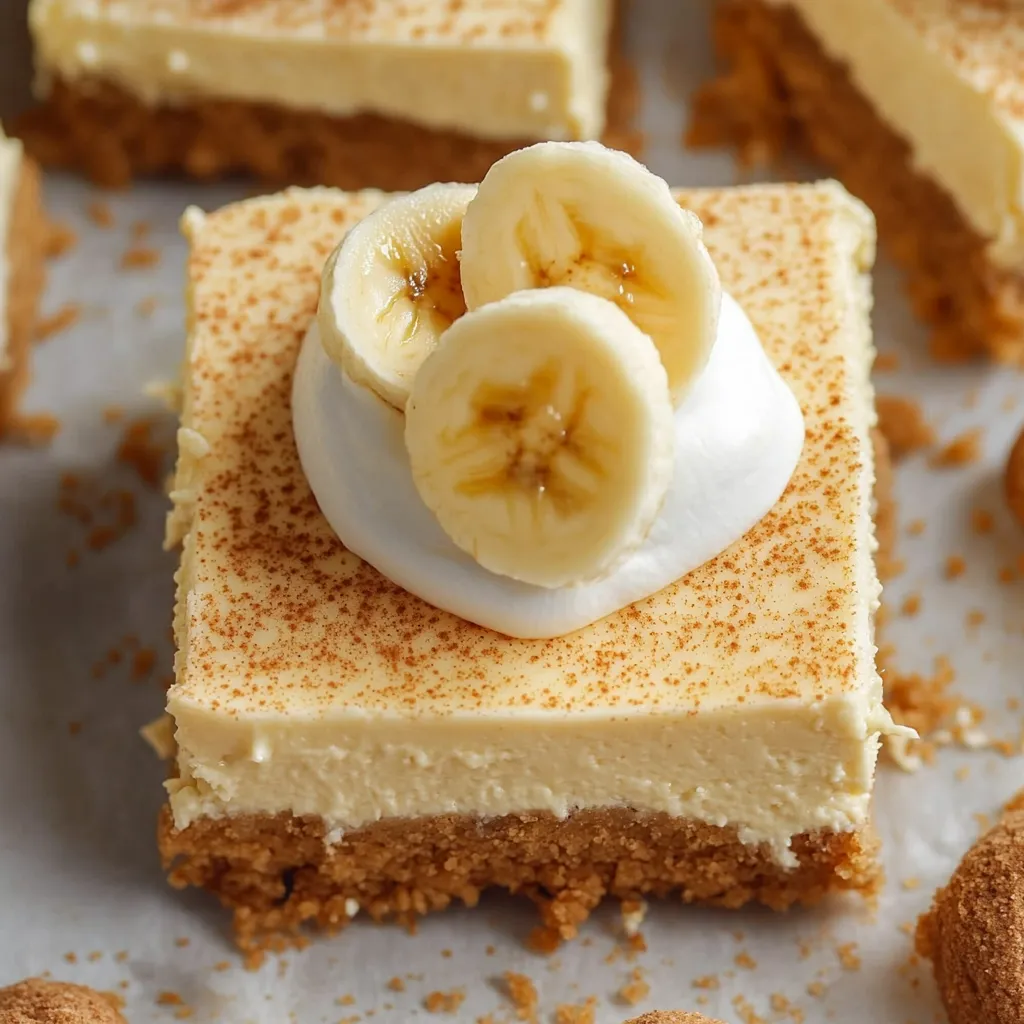
These no-bake banana pudding cheesecake bars combine two beloved desserts into one irresistible treat. A buttery vanilla wafer crust supports a velvety-smooth banana pudding cheesecake layer that's rich yet light. Perfect for hot summer days when turning on the oven feels like torture, these bars deliver all the nostalgic flavor of banana pudding with the creamy decadence of cheesecake—no baking required!
I created this recipe during a particularly brutal Boston heatwave when even the thought of turning on the oven made me break into a sweat. My husband is absolutely obsessed with banana cream pie and cheesecake, so combining the two seemed like a perfect solution. The first time I made these, he ate three bars in one sitting! Now they've become our go-to summer dessert for cookouts and family gatherings—people always assume they took hours to make and I never correct them.
Ingredients
- 2 cups vanilla wafer crumbs (about 60 cookies): These iconic cookies create the perfect sweet, buttery foundation with that classic banana pudding flavor
- 3 tablespoons brown sugar: Adds depth and a subtle caramel note to the crust that complements the banana flavor
- ½ cup unsalted butter, melted: Binds the crust together and adds rich buttery flavor
- Pinch of salt: Enhances all the flavors and balances the sweetness
- 16 oz cream cheese, softened: The key to the creamy cheesecake texture—make sure it's completely softened for best results
- ½ cup granulated sugar: Sweetens the filling without being overwhelming
- ¼ cup sour cream, room temperature: Adds tanginess and contributes to the silky texture
- 1 teaspoon pure vanilla extract: Enhances the overall flavor with warm, aromatic notes
- 1 cup heavy whipping cream: Creates lightness in the filling while maintaining richness
- 1 (3.4 oz) package instant banana pudding mix: Provides concentrated banana flavor without the fuss
Step-by-Step Cooking Instructions
- Step 1:
- Prepare your pan: Line an 8-inch square baking dish with parchment paper, leaving some overhang on the sides for easy removal later. If you don't have parchment, lightly grease the dish with butter or cooking spray instead. The parchment method makes for the cleanest slices and easiest serving.
- Step 2:
- Make the crust: Place the vanilla wafers in a food processor and pulse until they become fine crumbs. If you don't have a food processor, place the cookies in a ziplock bag and crush them with a rolling pin. Add the brown sugar and a pinch of salt to the crumbs and pulse to combine. Pour in the melted butter and pulse again until the mixture resembles wet sand and holds together when pressed between your fingers.
- Step 3:
- Form and chill the crust: Transfer the crumb mixture to your prepared baking dish. Using the bottom of a measuring cup or a flat-bottomed glass, press the crumbs firmly and evenly into the bottom of the pan. The more firmly you press, the better your crust will hold together when sliced. Place the crust in the freezer for 20 minutes or the refrigerator for 30-40 minutes to firm up while you prepare the filling.
- Step 4:
- Start the cheesecake filling: In a large mixing bowl using an electric mixer, beat the softened cream cheese and granulated sugar on medium speed until completely smooth and creamy, about 2 minutes. Don't rush this step—thorough beating now prevents lumps later. Scrape down the sides of the bowl at least once during mixing to ensure everything is well incorporated.
- Step 5:
- Add remaining ingredients: Beat in the room temperature sour cream and vanilla extract just until combined. In a separate small bowl, whisk together the heavy cream and instant banana pudding mix until the pudding dissolves. The mixture will become thick almost immediately—this is normal. Add this pudding mixture to the cream cheese mixture in three additions, beating well after each addition until fully incorporated and smooth.
- Step 6:
- Assemble and chill: Remove the crust from the refrigerator or freezer and pour the cheesecake filling over it. Use a spatula to smooth the top into an even layer. Cover the dish with plastic wrap, being careful not to let the wrap touch the surface of the filling. Refrigerate for at least 8 hours or overnight until completely set and firm enough to slice cleanly.
- Step 7:
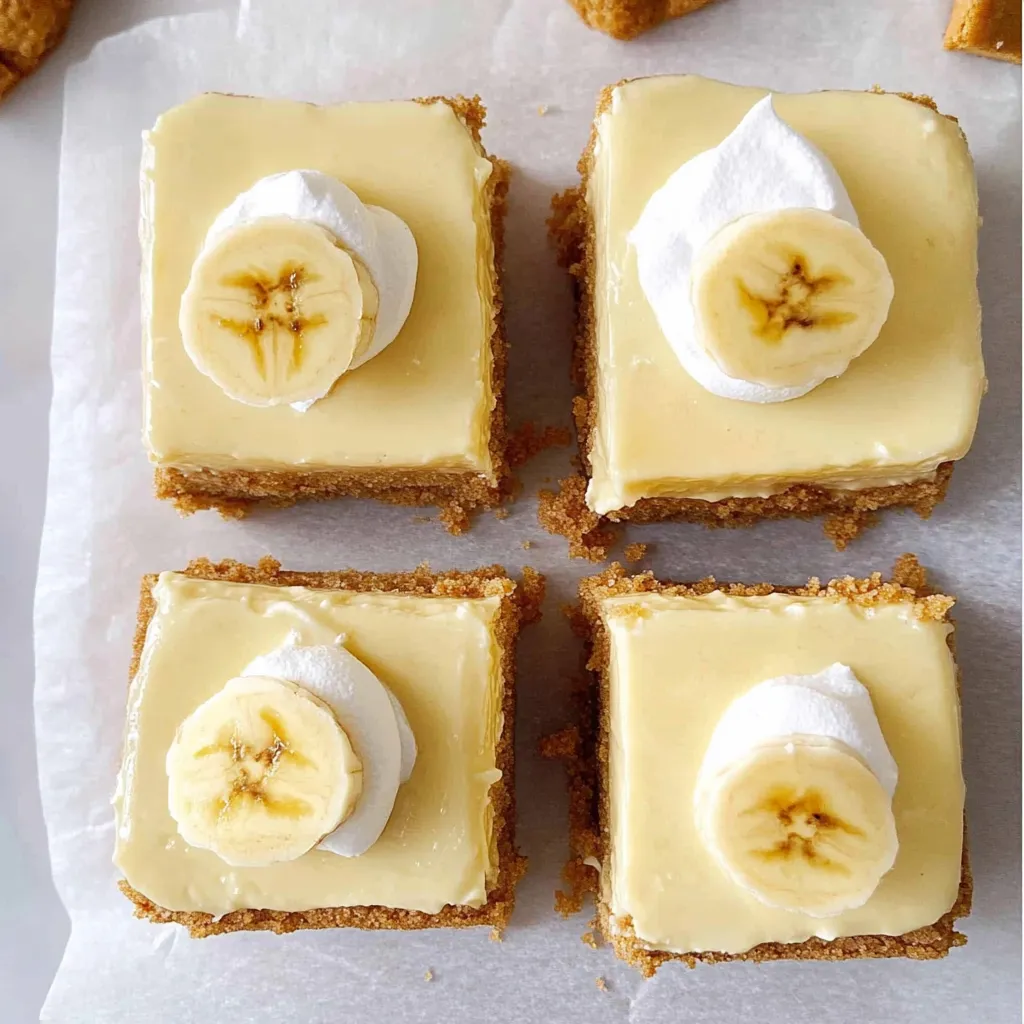
- Serve with style: When ready to serve, use the parchment paper overhang to lift the entire dessert out of the pan and transfer it to a cutting board. With a sharp knife, cut into 16 squares, wiping the knife clean between cuts for the neatest presentation. For an extra-special touch, top each square with a slice of fresh banana, a dollop of whipped cream, and a whole vanilla wafer just before serving.
 Pin it
The Secret to Perfect Texture
The key to these cheesecake bars lies in the temperature of your ingredients and the proper chilling time. I learned this the hard way after my first attempt resulted in a filling that wasn't quite smooth.
Room temperature ingredients are absolutely crucial for achieving that perfect silky texture. Cold cream cheese or sour cream will create little lumps in your filling that no amount of mixing can eliminate. I now make it a habit to set these ingredients out on the counter about an hour before I plan to make the bars.
Another game-changer was discovering the perfect ratio of heavy cream to pudding mix. Too much pudding makes the bars too dense, while too little doesn't provide enough banana flavor or setting power. The one-to-one ratio in this recipe creates that perfect balance where the bars are firm enough to hold their shape when sliced but still maintain a creamy, mousse-like texture.
My mother-in-law famously dislikes "fancy" desserts and typically sticks to her traditional family recipes. When she visited last summer, I served these bars without mentioning they were cheesecake (just calling them "banana pudding squares"). She loved them so much that she asked for the recipe before leaving—the ultimate compliment from a woman who rarely makes anything she didn't learn from her grandmother!
Beyond the Basic Bar
While these bars are perfect as written, I love how versatile the base recipe is for different variations and presentations:
For a chocolate-banana version that's absolutely divine, add a layer of chocolate ganache on top of the chilled bars. Simply heat 1/2 cup of heavy cream until steaming, pour over 1 cup of chocolate chips, let sit for a minute, then stir until smooth. Spread over the chilled bars and refrigerate until set before slicing.
When I'm feeling fancy, I'll turn these into individual parfaits instead of bars. Layer crushed vanilla wafers, the cheesecake filling, and sliced bananas in clear glasses or jars for an elegant presentation that showcases all the beautiful layers.
For special occasions, try dressing up the bars with a brûléed banana topping. Place thin banana slices on each bar, sprinkle with a little sugar, and use a kitchen torch to caramelize the sugar. This adds a wonderful contrasting texture and elevated presentation.
I've been making these bars for three summers now, and they've become something friends and family specifically request when we get together. What started as a way to avoid using the oven during a heatwave has become one of my signature desserts. The combination of nostalgic banana pudding flavor with the luxury of cheesecake creates something truly special that bridges the gap between homey comfort food and impressive dessert.
Frequently Asked Questions
- → Can I make these cheesecake bars ahead of time?
- Yes! These bars actually need to chill for at least 8 hours, making them perfect for preparing a day ahead of your event.
- → How long do these cheesecake bars last in the fridge?
- When stored covered in the refrigerator, these bars will last 4-5 days. Add the banana slices just before serving.
- → Can I freeze these banana pudding cheesecake bars?
- Yes, you can freeze them for up to 3 months. Wrap individual pieces well and thaw overnight in the fridge before serving.
- → Do I need to bake the crust?
- No, this is completely no-bake! Just chill the crust in the freezer for 20 minutes while you make the filling.
- → Can I use regular pudding mix instead of banana flavor?
- Sure! You can substitute vanilla pudding mix and add mashed ripe banana for a similar flavor profile.