
 Pin it
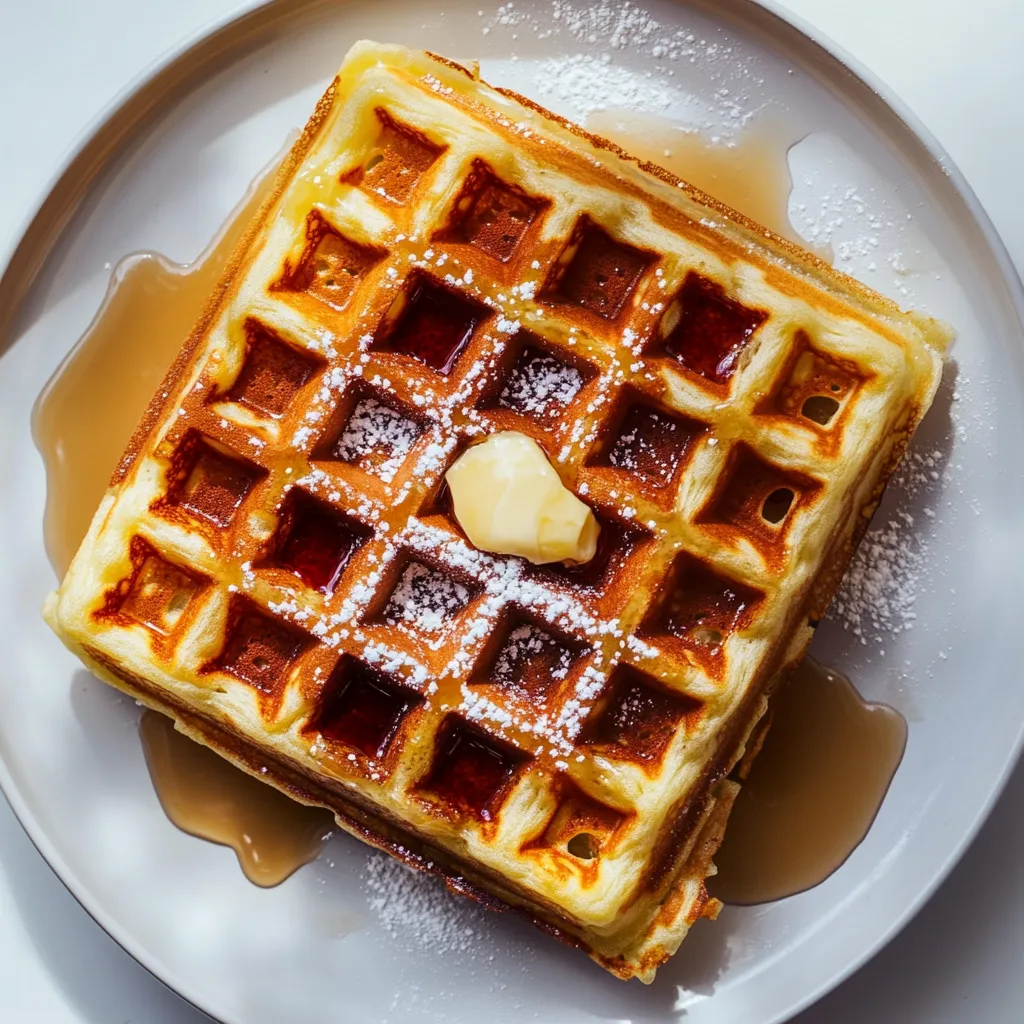
This waffle recipe creates the perfect balance of textures - golden and crispy on the outside while remaining light and fluffy inside. With simple pantry ingredients and minimal effort, you'll have restaurant-quality waffles at home that freeze beautifully for quick breakfasts throughout the week. Once you master this basic recipe, you can customize with endless sweet or savory toppings.
I've been making these waffles nearly every weekend for my family, and they consistently turn out perfect. The key discovery was finding that perfect flour measurement and learning not to overmix the batter - two simple techniques that transformed my waffle game completely!
Essential Ingredients
- For the Dry Mixture:
- 2 cups all-purpose flour (270 grams): Creates the perfect structure
- ¼ cup granulated sugar: Adds sweetness and helps with browning
- 1 tablespoon baking powder: Provides the perfect rise for fluffy waffles
- ½ teaspoon salt: Enhances flavor and balances sweetness
- For the Wet Mixture:
- 1¾ cups milk: Provides moisture and creates tender texture
- 2 large eggs: Adds richness and structure
- 1 teaspoon vanilla extract: Enhances overall flavor profile
- ½ cup unsalted butter, melted: Creates richness and crispy exterior
Detailed Cooking Instructions
- Step 1: Prepare Your Waffle Iron
- Start by preheating your waffle maker to medium-high or high heat. The iron needs to be properly heated before adding any batter - this is crucial for achieving that perfectly crisp exterior. If your waffle iron has adjustable settings, opt for a higher setting for crispier results.
- Step 2: Mix Your Dry Ingredients
- In a large bowl, whisk together flour, sugar, baking powder, and salt until well combined. This even distribution ensures consistent flavor and leavening throughout your waffles. If measuring by volume rather than weight, remember to fluff the flour first, then spoon it into the measuring cup and level off.
- Step 3: Combine Your Wet Ingredients
- In a separate medium bowl, whisk together milk, eggs, and vanilla extract. Pour in the melted butter while whisking continuously. The separate mixing of wet ingredients ensures everything is evenly incorporated before meeting the dry ingredients.
- Step 4: Create Your Batter
- Pour the wet ingredients into the dry ingredients. Using a wooden spoon or rubber spatula, stir just until combined. The batter will look slightly lumpy, and that's perfect - overmixing develops gluten, which results in tough waffles rather than light and fluffy ones.
- Step 5: Cook to Golden Perfection
- Lightly grease your hot waffle iron with butter, oil, or cooking spray. Pour approximately ⅓ cup of batter (adjust based on your waffle maker's size) onto the center of the iron. Close the lid and cook until golden brown and crisp, usually 3-5 minutes depending on your waffle maker.
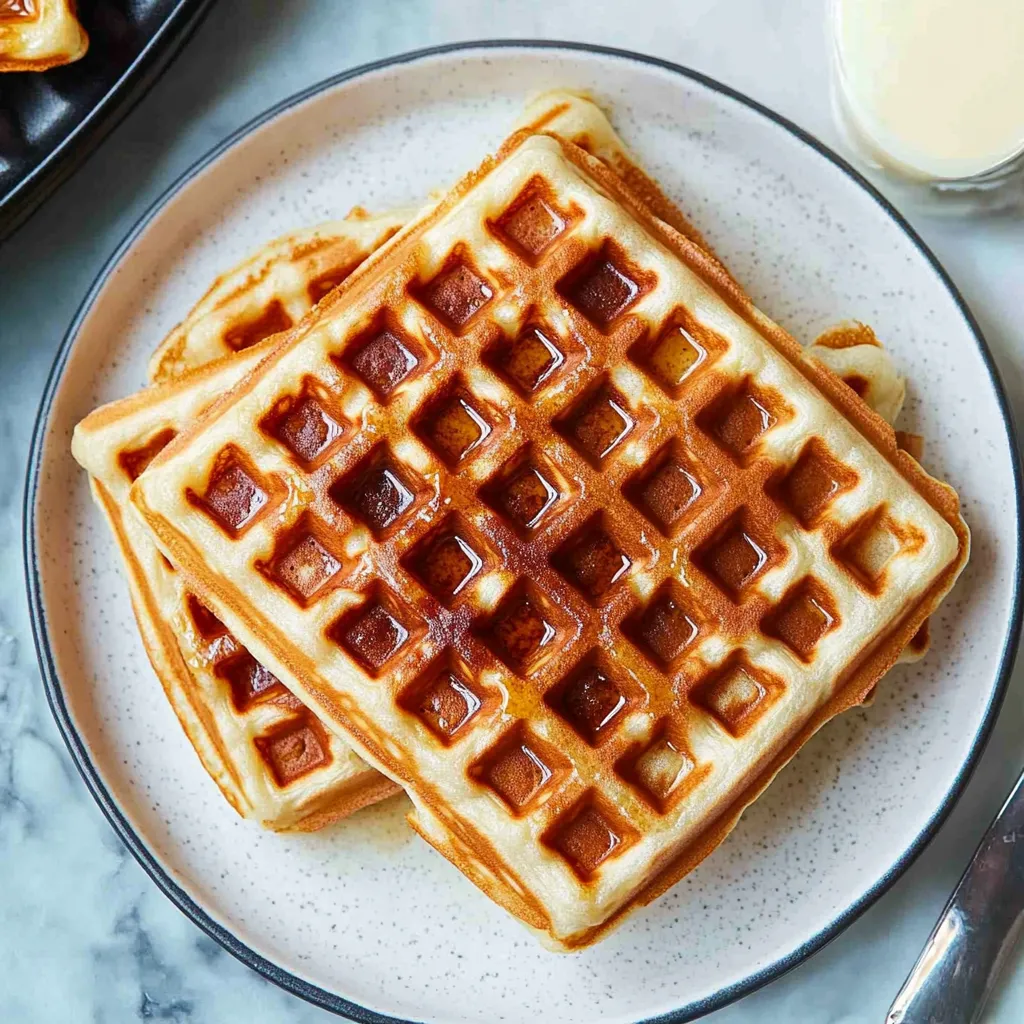
- Step 6: Keep Them Crispy
- Transfer cooked waffles directly to a wire cooling rack rather than stacking them on a plate. This allows air to circulate around the entire waffle, preventing steam from softening that perfect crispy exterior. If making multiple batches, you can place the rack in a 200°F oven to keep waffles warm.
 Pin it
I've found that adding the melted butter to the other wet ingredients rather than directly to the dry ingredients prevents any chance of the butter resolidifying and creating uneven pockets in the batter.
Make-Ahead and Storage Tips
These waffles freeze beautifully! Allow them to cool completely on a wire rack, then place in a single layer on a baking sheet and freeze until solid. Transfer to a freezer bag or container with parchment between layers. To reheat, simply pop them in the toaster or toaster oven directly from frozen.
After making this recipe countless times, I've discovered that the key to waffle success lies in two critical factors: proper measurement of ingredients (especially flour) and restraint when mixing the batter. These simple techniques transform ordinary ingredients into extraordinary waffles that rival any brunch restaurant offering.
Frequently Asked Questions
- → Can I make waffle batter ahead of time?
- You can make the batter up to 24 hours ahead and store it covered in the refrigerator. The waffles might be slightly less fluffy, but still delicious.
- → How do I keep waffles crispy?
- Place cooked waffles on a wire rack instead of stacking them. You can also keep them warm in a 200°F oven on a wire rack while cooking the rest.
- → Can I freeze these waffles?
- Yes! Cool completely, then freeze in a single layer before transferring to a freezer bag. Reheat in a toaster or oven for a quick breakfast.
- → What can I add to waffle batter for more flavor?
- Try adding cinnamon, nutmeg, lemon zest, or fold in blueberries, chocolate chips, or chopped nuts for variety.
- → Why are my waffles not crispy?
- Make sure your waffle iron is hot enough before adding batter. Also, don't stack warm waffles as the steam will make them soggy.