
 Pin it
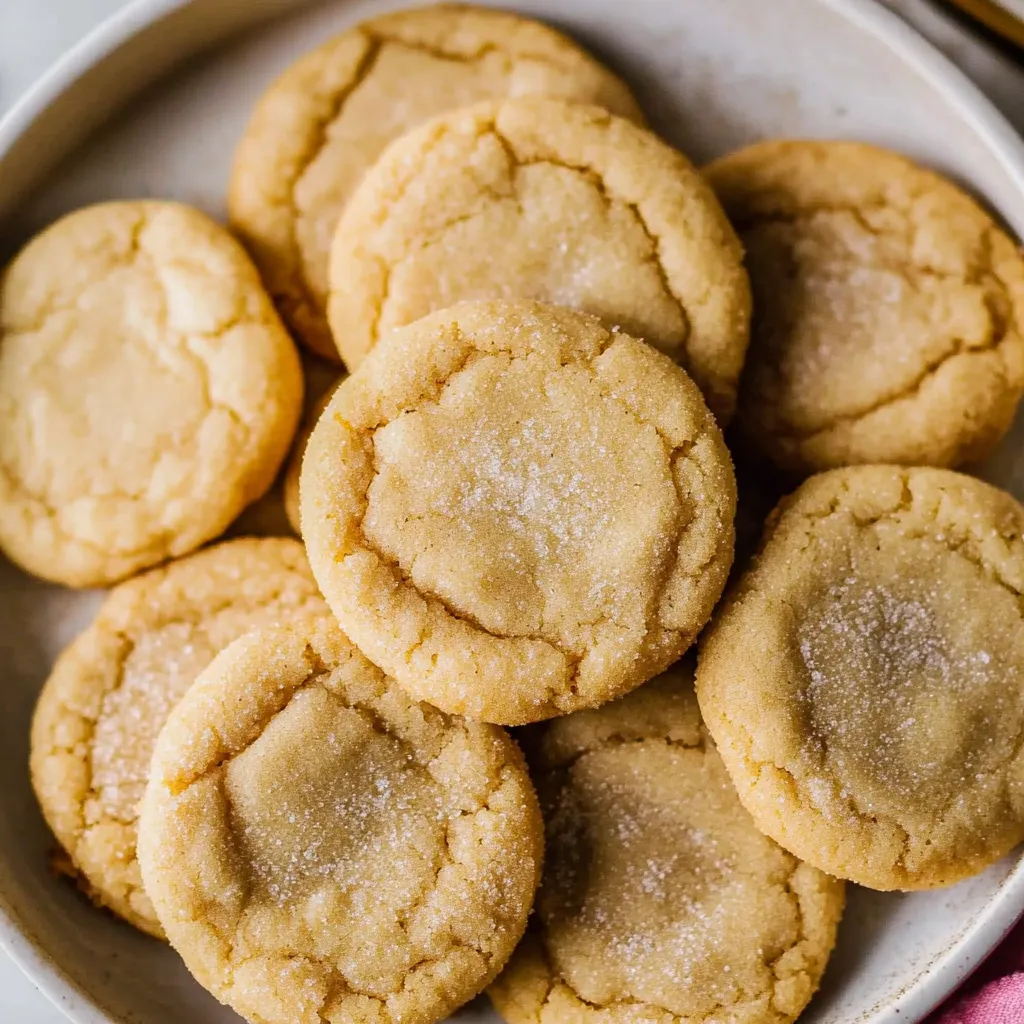
These brown sugar cookies have become my go-to recipe when I need something that tastes indulgent but comes together quickly with ingredients I always have on hand. I developed this recipe when my youngest son kept saying he loved the flavor of chocolate chip cookies but wished the chocolate chips weren't there to "interrupt" the cookie taste. The combination of browned butter and dark brown sugar creates this incredible depth of flavor that's rich and warm without being overly sweet. Now these are the cookies I make when I want to fill the house with that amazing baking aroma but don't want to deal with complicated ingredients or techniques.
The secret is browning half the butter, which adds these incredible toffee notes that make people think you did something much more complicated than you actually did. My husband always asks what makes these taste so special, and he's amazed when I tell him it's basically just brown sugar and butter. Even my mother-in-law, who's pretty particular about her baked goods, asks me to make these every time she visits.
Ingredients You'll Need
- Unsalted butter (1 cup, divided): half gets browned for extra flavor, half stays regular for proper texture
- Dark brown sugar (1 cup, packed): the extra molasses creates incredible chewiness and rich flavor
- Large egg (1 whole): provides structure and helps bind everything together
- Egg yolk (1 additional): adds extra richness and creates that perfect chewy texture
- Pure vanilla extract (2 teaspoons): enhances all the other flavors beautifully
- All-purpose flour (2 1/4 cups): provides the structure without making them tough
- Baking soda (1 teaspoon): gives just enough lift to keep them from being dense
- Salt (1/2 teaspoon): essential for bringing out all those rich flavors
For Rolling:
- Granulated sugar or additional brown sugar: creates a slightly crispy exterior
Step-by-Step Instructions
 Pin it
- Brown half the butter for incredible flavor depth.
- Place 1/2 cup (1 stick) of butter in a small saucepan over medium heat. Stir constantly as it melts and begins to foam. Continue cooking for 2-3 minutes after it starts bubbling, stirring constantly, until it turns golden brown and smells nutty and toasted. Remove from heat immediately and transfer to your mixing bowl along with the remaining 1/2 cup of softened butter.
- Create the perfect base mixture.
- Add the packed dark brown sugar to the bowl with both butters. Using an electric mixer, beat for 4-5 minutes until the mixture becomes glossy and smooth. This step is crucial for developing the right texture - don't rush it. The mixture should look lighter in color and feel less gritty when properly mixed.
- Add the binding ingredients for perfect texture.
- Beat in the whole egg, egg yolk, and vanilla extract, mixing for about 1 minute until everything is well incorporated. The mixture should look smooth and cohesive at this point, with no streaks of egg visible.
- Incorporate dry ingredients gently.
- Add the flour, baking soda, and salt all at once. Using a wooden spoon or spatula, fold the dry ingredients into the wet mixture just until combined. Don't overmix - stop as soon as you can't see any dry flour streaks. Overmixing develops too much gluten and creates tough cookies.
- Chill for the best texture.
- Cover the bowl with plastic wrap and refrigerate for 15 minutes. This chilling time helps the flour hydrate properly and makes the dough easier to handle. It also helps prevent the cookies from spreading too much during baking.
- Shape and coat for perfect presentation.
- Preheat your oven to 350°F and line light-colored baking sheets with parchment paper. Roll the chilled dough into golf ball-sized portions and roll each ball in granulated sugar or brown sugar. Place them on the baking sheets about 2 inches apart to allow for spreading.
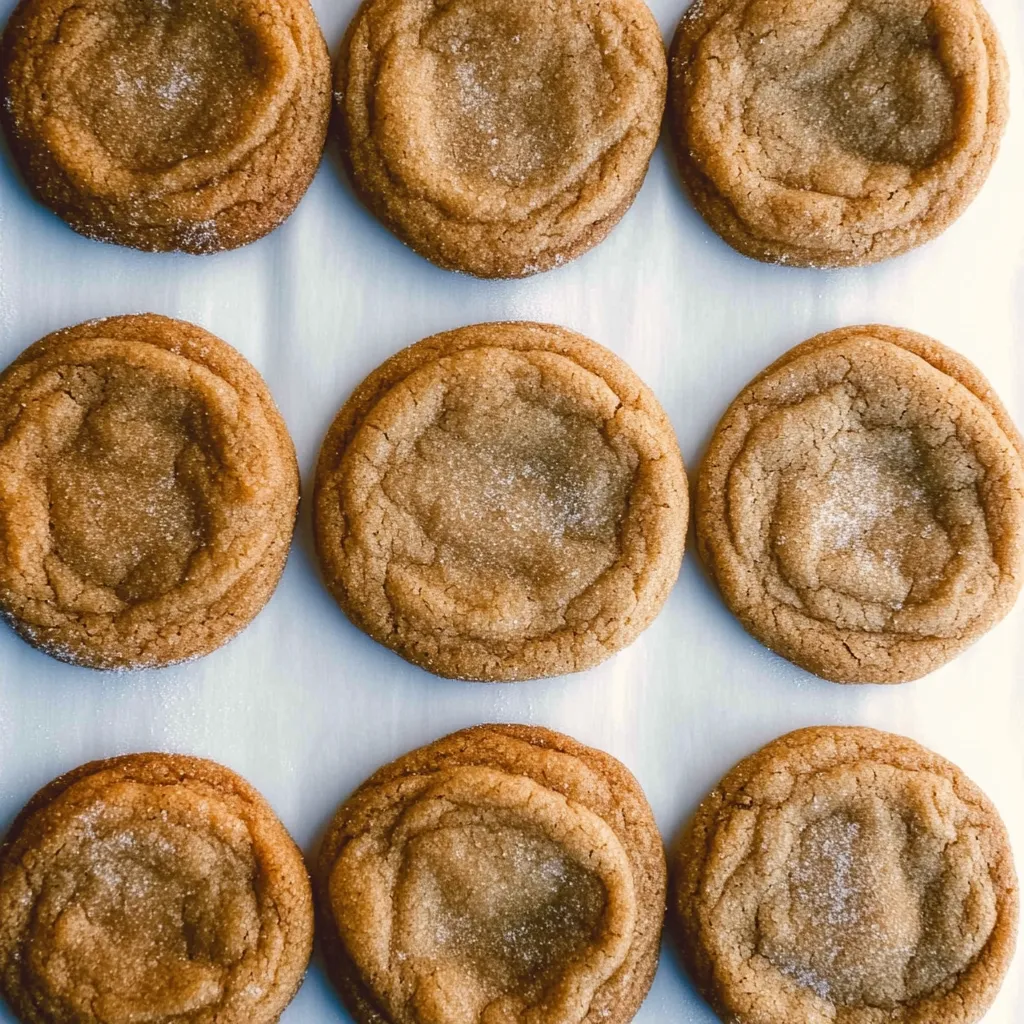
- Bake to golden perfection.
- Bake for 10-12 minutes, watching carefully to avoid overbaking. The cookies should look slightly underdone in the center when you remove them - they'll continue cooking on the hot pan. The edges should be set but the centers should still look soft and slightly glossy.
Mastering the Browned Butter Technique
Browning butter might seem intimidating, but it's actually quite simple once you understand what to look for. The butter will foam up as the water evaporates, then settle down and start turning golden. You'll know it's ready when it smells nutty and toasted. Don't let it go too dark or it becomes bitter.
Getting the Mixing Right
That 4-5 minute mixing time for the butter and brown sugar isn't arbitrary - it's what creates the glossy, smooth texture that leads to perfectly chewy cookies. The mixture should look significantly lighter and feel much smoother when properly beaten. This step aerates the mixture and dissolves the sugar properly.
Understanding the Chilling Process
The 15-minute chill time serves multiple purposes. It allows the flour to fully hydrate, makes the dough easier to handle, and helps prevent excessive spreading during baking. Don't skip this step even if you're in a hurry - it makes a real difference in the final texture.
Recognizing Perfect Doneness
These cookies are best when they look slightly underbaked. The centers should still appear soft and slightly shiny when you remove them from the oven. They'll continue cooking on the hot pan and will be perfectly set once cooled. Overbaked cookies become hard and lose that signature chewy texture.
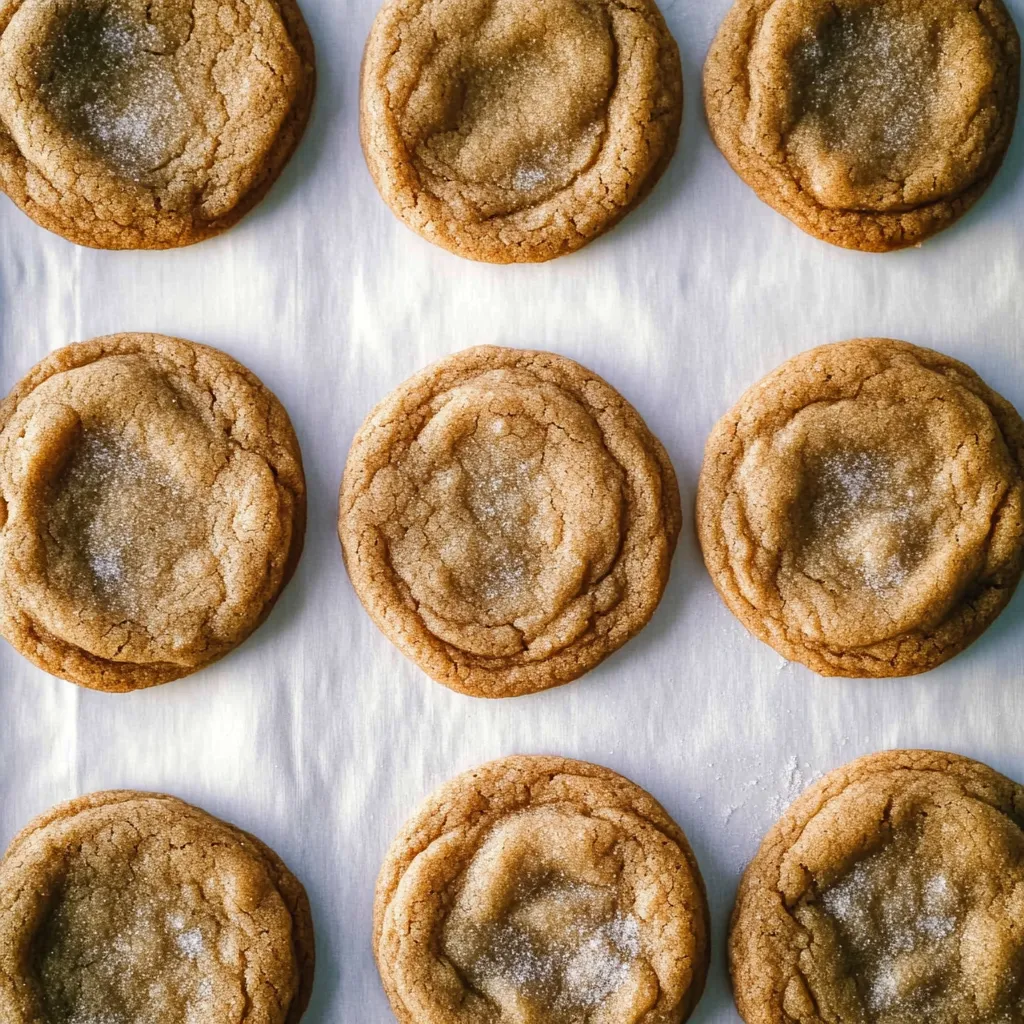
Storage Tips for Maximum Freshness
Store these cookies in an airtight container at room temperature for up to a week. The brown sugar helps them retain moisture, so they stay soft much longer than many other cookie types. You can also freeze the baked cookies for up to three months or freeze the dough balls for quick baking later.
I learned the importance of proper mixing time when my first batch came out flat and dense because I didn't beat the butter and sugar long enough. Taking those extra few minutes to really develop the mixture creates the perfect texture that makes these cookies special. My teenage daughter, who usually prefers store-bought cookies, actually prefers these homemade ones.
 Pin it
These brown sugar cookies have become one of those recipes that makes my kitchen feel like the heart of our home. The combination of rich, buttery flavor with that perfect chewy texture creates something that feels both nostalgic and special. They're the kind of cookies that disappear from the cookie jar quickly and always leave people asking when I'll make them again.
Frequently Asked Questions
- → Why do I need to brown half the butter?
- Browning butter adds a nutty, caramel flavor that makes these cookies taste richer and more complex.
- → Can I use light brown sugar instead?
- Yes, but dark brown sugar gives better flavor and chewiness. Light brown sugar will make lighter colored cookies.
- → How do I know when they're done baking?
- They should look slightly underbaked when you take them out. They'll firm up as they cool on the pan.
- → Why do I need to chill the cookie dough?
- Chilling prevents the cookies from spreading too much and helps them keep their shape while baking.
- → How long do these cookies stay fresh?
- Store them in an airtight container for up to 5 days. They'll stay soft and chewy if properly stored.