
 Pin it
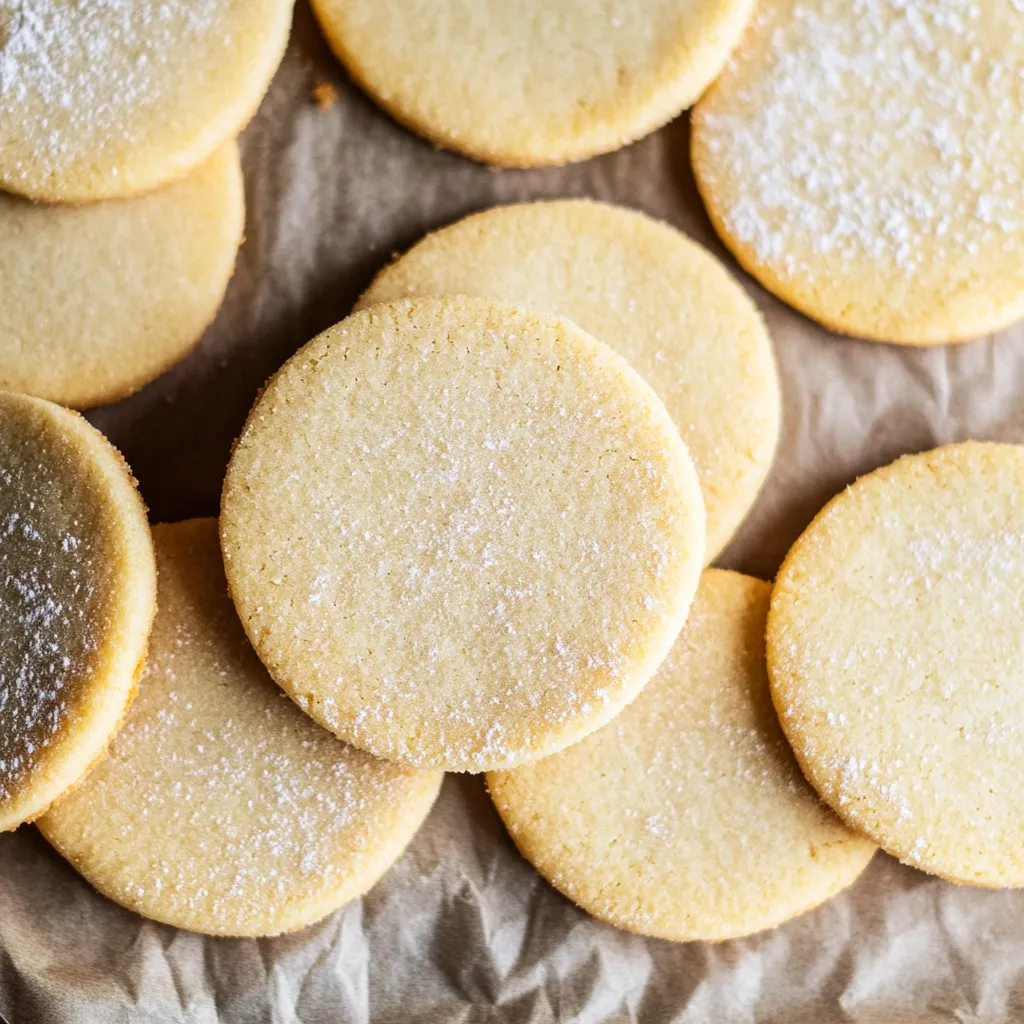
Shortbread cookies are deceptively simple - just butter, sugar, and flour in specific proportions - yet getting them right requires understanding techniques that transform basic ingredients into that signature crumbly, melt-in-your-mouth texture that makes proper shortbread so addictive. The name comes from "short" meaning tender or crumbly in baking terminology, which happens when high butter content inhibits gluten development and creates that distinctive sandy, fragile texture. Traditional Scottish shortbread uses a ratio of one part sugar to two parts butter to three parts flour, which creates cookies that are rich and buttery without being greasy, sweet without being cloying, and tender without being so delicate they crumble to dust before you can eat them. What makes these particularly versatile is how they function as a blank canvas for endless variations - you can add citrus zest, nuts, chocolate, herbs, or spices, dip them in chocolate, sandwich them with jam, or keep them plain and classic for elegant simplicity.
I spent years making mediocre shortbread that was either too hard and dry or too greasy and dense before understanding that butter temperature, proper creaming time, and chilling before baking are the keys to success. My early attempts used melted butter which created greasy, flat cookies, or cold butter that wouldn't cream properly and made dense bricks. After learning that room temperature butter creamed for exactly two minutes with sugar creates the ideal texture, and that chilling the cut cookies before baking prevents spreading, my shortbread transformed into something I'm proud to give as gifts. Now I make batches throughout December for cookie exchanges and neighbors.
Ingredients and What Makes Them Essential
- Unsalted Butter (1 cup, 2 sticks, at room temperature): Butter is the star ingredient and determines the entire character of shortbread. Use the best quality butter you can afford - European-style butter with higher fat content (82-84% instead of 80%) creates superior flavor and texture. The butter must be at room temperature - softened enough to cream but not so soft it's melting. If you press your finger into it, it should leave an indent without your finger sinking in completely.
- Granulated Sugar or Caster Sugar (½ cup): Sugar provides sweetness and helps create tender texture by interfering with gluten development. Caster sugar (superfine) is preferred because it dissolves more completely into butter, but granulated works perfectly well. Don't substitute powdered sugar which contains cornstarch and creates different texture.
- All-Purpose Flour (2 cups): Flour provides structure. Use plain all-purpose flour, not self-rising which contains leavening that would create the wrong texture. Measure by spooning flour into your cup and leveling off - scooping directly packs in too much flour and makes cookies dry.
- Pure Vanilla Extract (1 teaspoon, optional): Vanilla enhances the butter flavor. Purists skip this, but it adds aromatic depth that complements the simplicity. Vanilla bean paste or scraped seeds from half a vanilla bean work beautifully as substitutes.
- Fine Sea Salt (¼ teaspoon, optional): Just a pinch of salt balances sweetness and makes all the flavors taste more pronounced. Use fine salt which distributes evenly, not flaky salt which creates salty pockets.
Step-by-Step Instructions
- Cream the Butter and Sugar:
- Place 1 cup of room temperature butter in the bowl of a stand mixer fitted with the paddle attachment, or in a large bowl if using hand beaters. Add ½ cup of sugar and 1 teaspoon of vanilla extract if using. Beat on medium speed for exactly 2 minutes. Set a timer - this timing matters. You're watching for the mixture to become noticeably paler in color and fluffy in texture. The sugar crystals should dissolve into the butter. Don't overbeat or you'll incorporate too much air which causes bubbling during baking. After 2 minutes, stop the mixer and scrape down the sides and bottom of the bowl with a spatula to ensure everything is evenly mixed.
- Add the Flour:
- Add 2 cups of all-purpose flour and ¼ teaspoon of salt if using directly to the butter mixture. Turn the mixer to low speed and begin mixing. At first, it will look impossibly dry and crumbly like it will never come together - this is normal. Keep the mixer running on low speed. After about 30 seconds to 1 minute, you'll see the flour start to get coated with the butter mixture. Little clumps will form and gradually get bigger. After about 2 to 3 minutes of mixing on low, the dough will start cleaning the sides of the bowl and coming together into larger clumps. Once it looks mostly combined with just some crumbs remaining in the bottom of the bowl, stop the mixer.
- Bring Dough Together:
- Use your hands to squeeze and press the dough together in the bowl, gathering all the crumbs and forming one cohesive mass. Don't knead it - just press and squeeze gently until it holds together. Shape it into a rough disk about 1 inch thick. If you live in a hot climate or your kitchen is warm and the dough feels very soft and sticky, wrap it in plastic wrap and refrigerate for 10 to 15 minutes to firm up slightly before rolling.
- Roll Out the Dough:
- Lightly flour your work surface and rolling pin. Unwrap the dough disk and place it on the floured surface. Roll it out to about ¼ to ⅜ inch thickness. Try to keep the thickness even throughout. If the dough sticks to your rolling pin, dust the pin with more flour. If it sticks to the work surface, use an offset spatula to gently loosen it and add a bit more flour underneath. The dough should feel cool and firm but not so cold it cracks when you roll it. If it's too soft and sticky, refrigerate it briefly. If it's too cold and cracking, let it sit at room temperature for a few minutes.
- Cut Out Shapes:
- Lightly flour a round cookie cutter - 2 to 3 inches diameter works well. Press the cutter straight down into the dough firmly, then lift straight up. Don't twist the cutter which seals the edges and prevents clean cuts. Dip the cutter in flour before each cut to prevent sticking. Cut shapes as close together as possible to minimize scraps. Use an offset spatula or thin knife to carefully transfer each cut cookie to a parchment-lined baking sheet, spacing them about 1 inch apart. They don't spread much during baking.
- Handle the Scraps:
- Gather all the dough scraps and gently press them together into a disk. Don't knead - just squeeze. Roll out again and cut more cookies. You can re-roll the dough twice, maybe three times total. Be aware that each re-rolling incorporates more flour from the work surface which can dry out the dough slightly. If you notice this happening, sprinkle a few drops of water on the dough as you press it together.
- Dock and Chill:
- Use a fork to prick each cookie several times, pressing the tines about halfway through the dough. This creates the traditional shortbread look and prevents bubbling during baking by allowing steam to escape. Once all cookies are cut and docked, slide the entire baking sheet into the refrigerator. Chill for at least 30 minutes, or up to overnight covered with plastic wrap. This chilling step is absolutely crucial - it firms up the butter so the cookies maintain their shape instead of spreading during baking.
- Bake:
- Preheat your oven to 325°F and position a rack in the center. Remove the chilled cookies from the refrigerator and place the baking sheet directly in the oven. Bake for 10 to 12 minutes until the edges are just barely starting to turn golden and the bottoms look dry rather than wet. The centers will still look pale - this is correct. Shortbread should be very lightly colored, not deeply browned. If the tops have bubbled slightly despite the docking, immediately upon removing from the oven while they're still hot, gently press the bubbles down with the flat bottom of a glass or measuring cup.
- Cool and Finish:
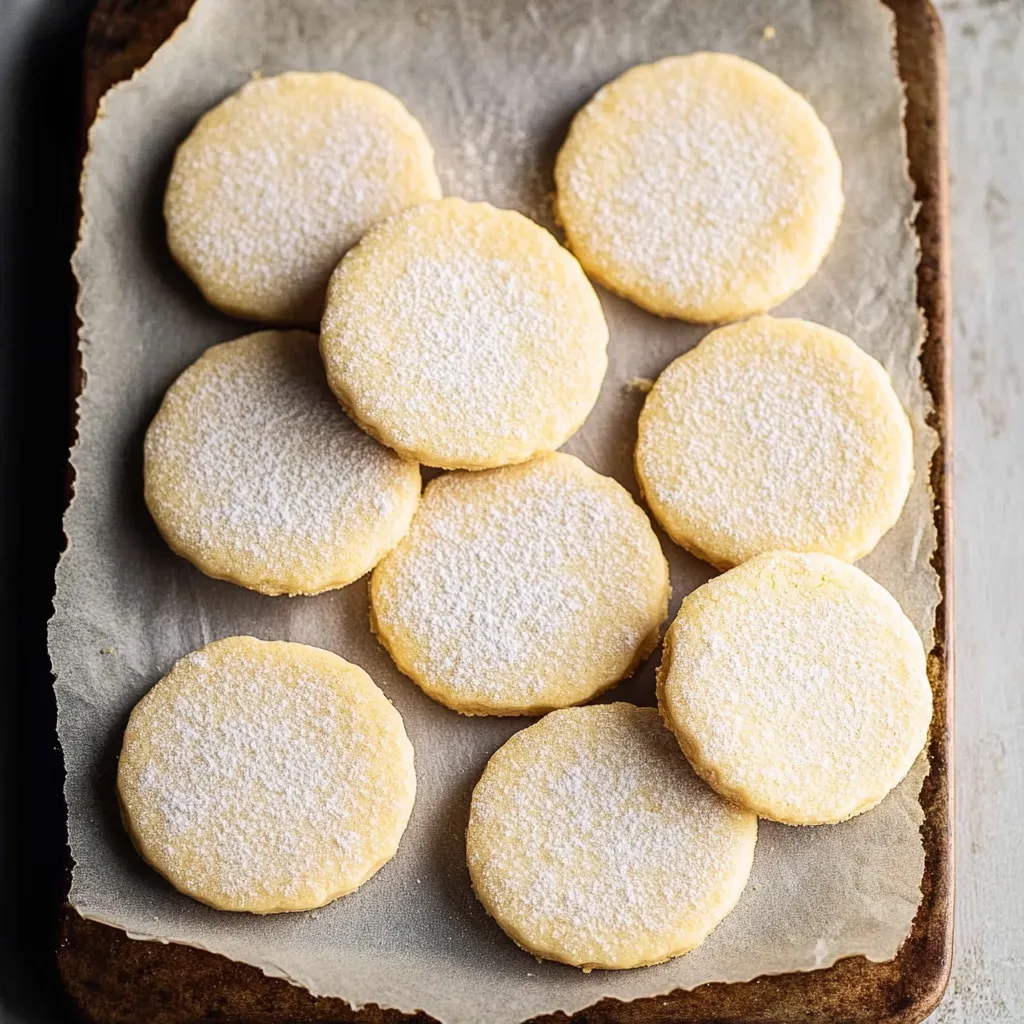
- If desired, sprinkle the hot cookies lightly with granulated sugar for sparkle and extra sweetness. Let the cookies cool completely on the baking sheet - there's no need to transfer them to a wire rack. They'll be very soft when hot but will firm up as they cool. Once completely cool, store in an airtight container.
 Pin it
My mother-in-law is Scottish and extremely particular about shortbread, insisting that anything other than the traditional butter-sugar-flour combination isn't real shortbread. When I made these for Christmas using vanilla and a tiny bit of salt - additions she considers sacrilege - she ate three before grudgingly admitting they were "acceptable, though not quite traditional." The fact that she had thirds and took some home tells me she actually loved them. Getting the shortbread purist to approve of slightly untraditional shortbread feels like high praise.
Understanding the Chemistry of "Short" Texture
The term "short" in baking refers to a tender, crumbly texture that breaks cleanly rather than bending. This texture comes from fat coating flour particles and preventing gluten development. When flour is mixed with liquid, gluten proteins form long strands that create chewiness - great for bread, wrong for shortbread. Fat interferes with this process by coating the flour particles and preventing them from fully hydrating and forming gluten networks. Shortbread's high butter-to-flour ratio (1:2 by weight) creates maximum tenderness. The small amount of sugar also interferes with gluten development while adding sweetness. The lack of eggs, leavening, or additional liquid means gluten has minimal opportunity to form. The result is cookies that are tender and crumbly - almost sandy in texture - that melt on your tongue rather than requiring chewing. This is why butter quality matters so much - it's doing the primary structural work.
Why Creaming Time and Technique Matter
Creaming butter and sugar is one of the fundamental baking techniques, and doing it properly makes the difference between good and exceptional shortbread. When you beat room temperature butter with sugar, the sugar crystals cut into the butter, creating tiny air pockets. Continued beating expands these pockets while also dissolving the sugar crystals into the butter. This process takes about 2 minutes at medium speed with an electric mixer. Under-creaming (less than 1 minute) leaves undissolved sugar crystals and creates grainy texture. Over-creaming (more than 3 minutes) incorporates excessive air that creates bubbles on the cookie surface during baking. The mixture should look noticeably paler and fluffy when properly creamed. Room temperature butter is essential because cold butter is too firm for sugar crystals to penetrate, while melted butter can't hold air pockets. This is why the instruction is so specific - proper technique creates ideal texture.
The Role of Chilling in Shape Retention
Chilling cut cookies before baking isn't optional fussiness - it's essential for maintaining shape. When you make shortbread dough, you're working with room temperature butter that's soft and pliable. If you baked cookies with this soft butter, the moment they hit the hot oven, the butter would melt and spread before the flour structure could set, creating flat, shapeless puddles. Chilling the cut dough for 30 minutes or longer firms up the butter again. When chilled cookies go into the oven, the butter takes much longer to melt, giving time for the flour structure to set and the cookies to hold their shape. The result is crisp edges and defined shapes exactly matching your cookie cutter. This principle applies to all butter-rich cookies. The colder the dough when it enters the oven, the less it spreads. For maximum shape retention, some bakers even freeze cut cookies before baking.
Identifying Proper Doneness
Knowing when shortbread is done requires understanding that these cookies don't brown much - they should remain very pale with just slightly golden edges. Unlike chocolate chip cookies that are obviously done when golden brown, shortbread requires more subtle cues. Look for edges that have just started to turn the palest gold. The centers will still look quite pale - this is correct. Lift a cookie and check the bottom - it should look dry rather than wet or doughy. If the bottom looks shiny or wet, bake for another 1 to 2 minutes. The cookies will feel quite soft when you first remove them but will firm up as they cool. If your shortbread is deeply golden all over or browning on top, it's overcooked and will be dry and hard. The ideal is barely colored edges with pale centers that are cooked through but tender. Given that ovens vary in temperature, use visual cues rather than relying solely on time.
Variations and Flavor Additions
The basic shortbread formula is a perfect canvas for endless variations. For citrus shortbread, add 1 tablespoon of lemon, lime, or orange zest - rub the zest into the sugar before creaming to release essential oils. For chocolate shortbread, replace ¼ cup of flour with cocoa powder. For nut shortbread, add ½ cup of finely chopped toasted pecans, walnuts, or pistachios. For lavender shortbread, add 1 teaspoon of dried culinary lavender crushed finely. For Earl Grey shortbread, add 2 teaspoons of finely ground Earl Grey tea leaves. For rosemary shortbread, add 1 tablespoon of finely chopped fresh rosemary. For ginger shortbread, add 1 teaspoon of ground ginger and 2 tablespoons of finely chopped crystallized ginger. For chocolate chip shortbread, fold in ½ cup of mini chocolate chips. For dipped shortbread, coat half of each baked cookie in melted chocolate. Each variation maintains the tender texture while adding complementary flavors.
Storage, Freezing, and Make-Ahead Strategies
Shortbread is excellent for advance preparation and has impressive shelf life. Unbaked dough can be wrapped tightly in plastic wrap and refrigerated for up to 1 week or frozen for up to 3 months. Thaw frozen dough overnight in the refrigerator before rolling and cutting. Cut cookies can be arranged on a baking sheet, covered with plastic wrap, and refrigerated for up to 2 days before baking - convenient for making ahead. Baked cookies stored in an airtight container at room temperature stay fresh for up to 10 days, maintaining their texture remarkably well. For longer storage, freeze baked cookies in an airtight container for up to 3 months. Thaw at room temperature for about 30 minutes before serving. The high butter content acts as a preservative, preventing staleness. This makes shortbread ideal for holiday cookie tins, gifts, and cookie swaps where you need treats that last.
Different Shortbread Shapes and Presentations
While round cookies are classic, shortbread can be shaped numerous ways for different presentations. Traditional Scottish shortbread is often formed into rounds and scored into wedges called "petticoat tails" before baking, then broken apart after baking. Shortbread fingers are made by rolling dough into a rectangle, cutting into strips, and baking. Slice-and-bake shortbread is formed into a log, chilled until firm, then sliced into rounds and baked. Thumbprint shortbread is shaped into balls, indented with your thumb, and filled with jam. Stamped shortbread uses decorative cookie stamps pressed into the dough before baking for beautiful designs. Sandwich shortbread uses two cookies with jam, lemon curd, or buttercream between them. Each presentation creates different visual appeal while maintaining the characteristic tender texture. The shape you choose often depends on the occasion - elegant stamped cookies for gifts, rustic fingers for casual eating.
Troubleshooting Common Problems
When shortbread doesn't turn out right, there's usually a fixable cause. If cookies are dry and crumbly to the point of falling apart, you used too much flour or overbaked them - measure carefully and bake just until edges barely color. If they're hard instead of tender, you overbaked them or creamed the butter too long incorporating excess air - reduce baking time and cream for only 2 minutes. If they spread during baking, you didn't chill them before baking or your butter was too soft - always chill cut cookies thoroughly. If they're greasy, your butter was too soft when mixing or you used low-quality butter with high water content - use proper room temperature butter and buy good quality. If they taste bland, you didn't use enough sugar or forgot salt - follow measurements precisely. If the dough won't come together, you didn't cream long enough or measured flour incorrectly - cream for full 2 minutes and measure accurately. Most issues relate to technique, timing, or ingredient temperature.
 Pin it
After making shortbread probably a hundred times over the past decade, perfecting the technique through countless batches, it's become my go-to cookie for gifts, cookie swaps, and everyday treats because it's endlessly customizable while remaining simple to execute. I appreciate how three basic ingredients create something genuinely excellent, and how understanding proper butter temperature and creaming technique transforms results from mediocre to exceptional. The tender, melt-in-your-mouth texture that properly made shortbread achieves is completely different from any other cookie style. Knowing I can make one basic dough and flavor it countless ways - citrus one day, chocolate-dipped the next, lavender for spring, cranberry-orange for winter - makes it feel like dozens of recipes while actually being one master formula. This represents exactly what baking should be - understanding fundamental techniques that create consistent excellence, using quality ingredients to their best advantage, and finding satisfaction in perfecting something simple rather than always chasing complexity.
Frequently Asked Questions
- → Why do I need to chill the dough before baking?
- Chilling firms up the butter so your cookies keep their shape in the oven instead of spreading flat.
- → Can I use salted butter instead of unsalted?
- You can, but skip the added salt in the recipe since salted butter already contains salt.
- → How do I know when the cookies are done?
- Look for light golden edges. They should still be pale on top. Don't overbake or they'll get hard.
- → Why is my dough crumbly and not coming together?
- Add a few drops of water and gently press it together. Make sure your butter was soft before mixing.
- → Can I freeze the dough for later?
- Yes! Wrap it well in plastic wrap and freeze for up to 3 months. Thaw overnight in the fridge before using.
- → What's the difference between regular sugar and caster sugar?
- Caster sugar is finer and dissolves faster, giving a smoother texture, but regular white sugar works fine too.
- → Do I have to use a stand mixer?
- No, you can cream the butter and sugar by hand with a wooden spoon. It just takes a bit more elbow grease.