
 Pin it
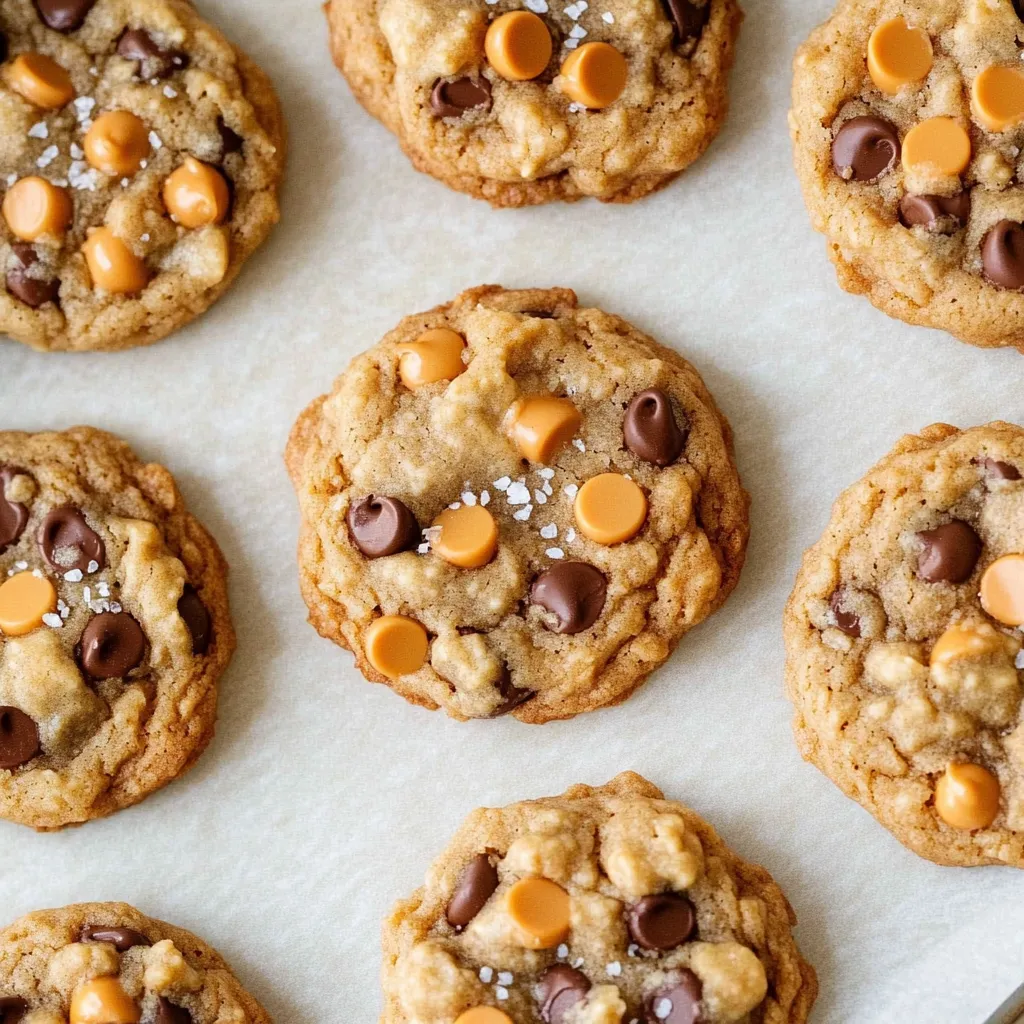
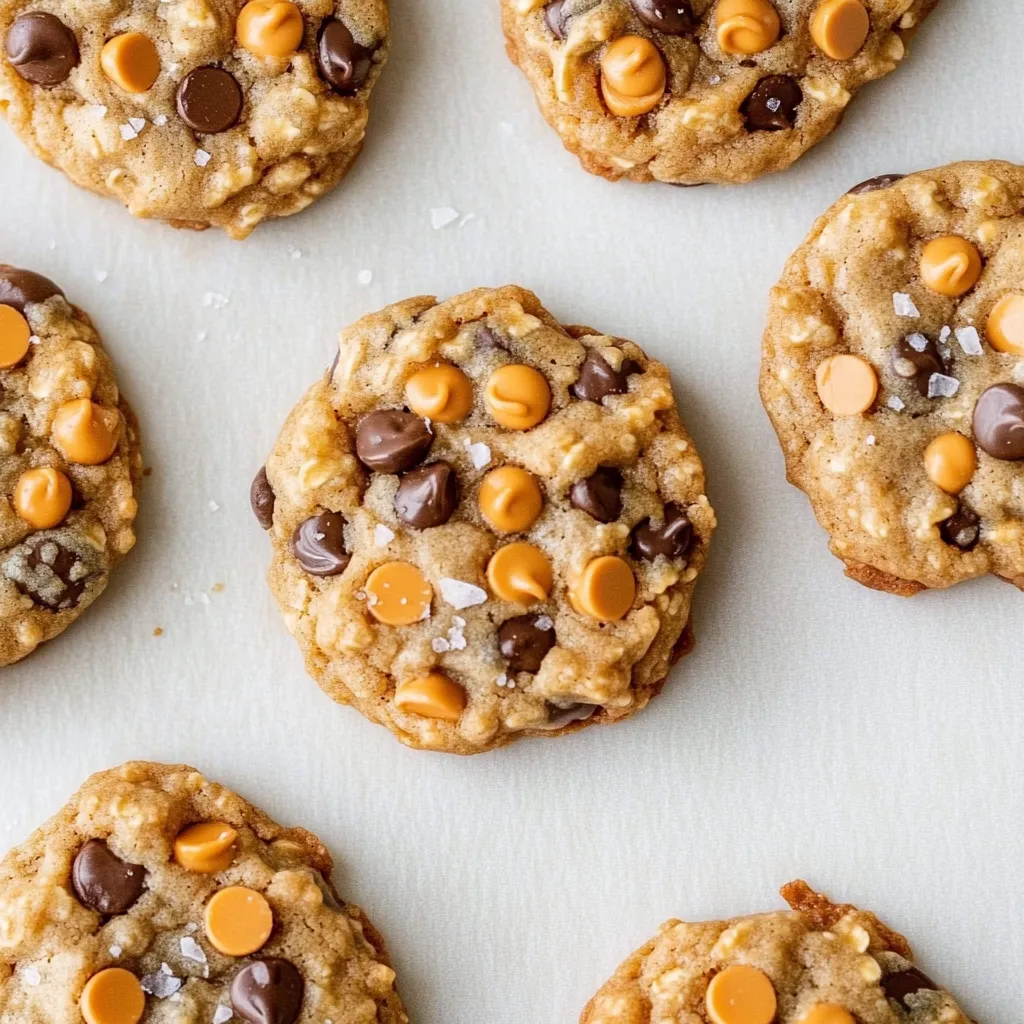
These butterscotch chocolate chip cookies achieve the perfect balance of sophisticated flavor and homestyle comfort by starting with nutty brown butter that transforms ordinary cookie dough into something truly extraordinary. The combination of golden butterscotch chips and mini chocolate chips creates beautiful color contrast while delivering complex sweetness that satisfies both butterscotch lovers and chocolate devotees. What makes these cookies particularly special is how the brown butter's toasted, nutty notes complement the rich molasses flavor of the butterscotch, creating depth that regular chocolate chip cookies simply can't match.
I discovered the magic of brown butter in cookies during a phase when I was trying to make my chocolate chip recipe more interesting. The first batch of these butterscotch versions disappeared so quickly that I immediately made another, and they've become my most requested cookie ever since.
Essential Ingredients and Selection Tips
- Unsalted butter for browning: Salted butter concentrates the salt in the milk solids during browning, which can create an overly salty, bitter flavor
- Dark brown sugar: Contains more molasses than light brown sugar, providing deeper flavor that complements the butterscotch beautifully
- Old-fashioned oats: Provide texture and chewiness; quick oats will break down too much and affect the final texture
- Quality butterscotch chips: Choose name-brand chips that hold their shape during baking and provide authentic butterscotch flavor
Detailed Step-by-Step Instructions
- Master the brown butter technique:
- Cut 8 tablespoons of unsalted butter into pieces and place in a light-colored, heavy-bottomed pan over medium-low heat. Stir constantly as the butter melts, foams, and then begins to turn golden brown. The process takes about 6-8 minutes and is complete when the butter smells nutty and turns a beautiful chestnut color with brown specks at the bottom. Immediately transfer to a bowl to stop the cooking process and let cool for 10 minutes.
- Prepare the dry ingredient foundation:
- In a medium bowl, whisk together all-purpose flour, cake flour, old-fashioned oats, cornstarch, baking soda, baking powder, and salt until completely combined. This mixture of flours creates the perfect texture - the all-purpose flour provides structure while the cake flour adds tenderness.
- Combine sugars with cooled brown butter:
- In a large mixing bowl, whisk together the cooled brown butter with both dark brown sugar and granulated sugar until well combined. The mixture should look smooth and slightly glossy. The combination of sugars creates both chewiness from the brown sugar and helps with spreading from the granulated sugar.
- Add moisture and binding ingredients:
- Whisk in the room temperature eggs one at a time, followed by vanilla extract, mixing until everything is completely incorporated. Room temperature eggs blend more easily and create a smoother texture than cold eggs straight from the refrigerator.
- Incorporate dry ingredients carefully:
- Add the flour mixture to the wet ingredients, folding gently with a wooden spoon or rubber spatula just until no streaks of flour remain. Overmixing at this stage develops too much gluten, resulting in tough cookies instead of the tender texture you want.
- Fold in the star ingredients:
- Gently fold in the butterscotch chips and mini chocolate chips, distributing them evenly throughout the dough. The combination of both chips creates visual interest and ensures every bite has multiple flavor elements.
- Shape and bake with precision:
- Preheat your oven to 350 degrees Fahrenheit. Using a cookie scoop or spoon, drop rounded tablespoons of dough onto parchment-lined baking sheets, spacing them about 2 inches apart. Bake for 9-11 minutes, until the edges are golden brown but the centers still look slightly underdone.
- Finish with elegant touches:
- Remove from oven and immediately sprinkle the warm cookies with flaky sea salt and a few extra butterscotch chips and mini chocolate chips for visual appeal. Let cool on the baking sheet for 5 minutes before transferring to a wire rack.
 Pin it
My teenagers often come home from school to find these cooling on the counter, and they've learned to appreciate the sophisticated flavor that brown butter brings. It's become a teaching moment about how simple techniques can transform basic recipes into something truly special.
Understanding Brown Butter's Flavor Profile
Brown butter, or beurre noisette in French culinary terms, undergoes a transformation that creates hundreds of new flavor compounds. The milk solids caramelize, producing nutty, toasted notes that complement sweet ingredients beautifully. This process intensifies the butter flavor while adding complexity that regular melted butter simply cannot achieve. The result is cookies with depth that keep people coming back for more.
Texture Secrets and Ingredient Science
The combination of two flours creates the ideal cookie texture. All-purpose flour provides structure and chewiness, while cake flour contributes tenderness due to its lower protein content. The cornstarch acts as a tenderizer, helping create those soft centers, while the oats add delightful texture contrast and prevent the cookies from being too uniform.
Storage and Make-Ahead Options
These cookies maintain their soft texture beautifully when stored in airtight containers for up to a week. The brown butter actually enhances in flavor after a day, making day-old cookies even more delicious. For make-ahead preparation, you can brown the butter and let it cool completely, then store covered at room temperature for up to two days before making the dough.
Seasonal Variations and Customizations
While butterscotch and chocolate create the perfect combination, this brown butter base works wonderfully with other mix-ins. During fall, try adding cinnamon chips and chopped pecans. For holidays, white chocolate chips and dried cranberries create elegant cookies. The brown butter pairs especially well with nuts, caramel flavors, and warm spices.
Troubleshooting Common Issues
If your brown butter solidifies too much while cooling, gently warm it until it's spreadable but not hot. Cookies that spread too much usually indicate the brown butter was too warm when mixed with the sugars. Tough cookies typically result from overmixing after adding flour or using eggs that were too cold.
These cookies represent everything I love about baking - they take a classic concept and elevate it through technique and thoughtful ingredient choices. The brown butter step might seem like extra work, but the incredible flavor payoff makes it absolutely worthwhile. They've become my signature cookie because they consistently impress while remaining completely achievable for home bakers.
Frequently Asked Questions
- → Can I use regular butter instead of brown butter?
- Yes, but brown butter adds a nutty flavor that makes these cookies special. If using regular butter, just melt it and let it cool.
- → Why do my cookies spread too much?
- Make sure your brown butter has cooled for 10-15 minutes before mixing. Hot butter will make the dough too soft and cause spreading.
- → Can I freeze the cookie dough?
- Yes! Scoop the dough into balls and freeze on a baking sheet. Once frozen, store in bags for up to 3 months. Bake directly from frozen, adding 1-2 minutes.
- → What can I substitute for butterscotch chips?
- You can use white chocolate chips, caramel chips, or even extra chocolate chips. The flavor will be different but still delicious.
- → How do I know when the cookies are done?
- The edges should be lightly golden and the centers should look set but still soft. They'll continue cooking on the hot pan after removal.
- → Can I make these without cake flour?
- Yes, you can use 1 3/4 cups all-purpose flour instead of the flour combination. The texture will be slightly different but still good.