
 Pin it
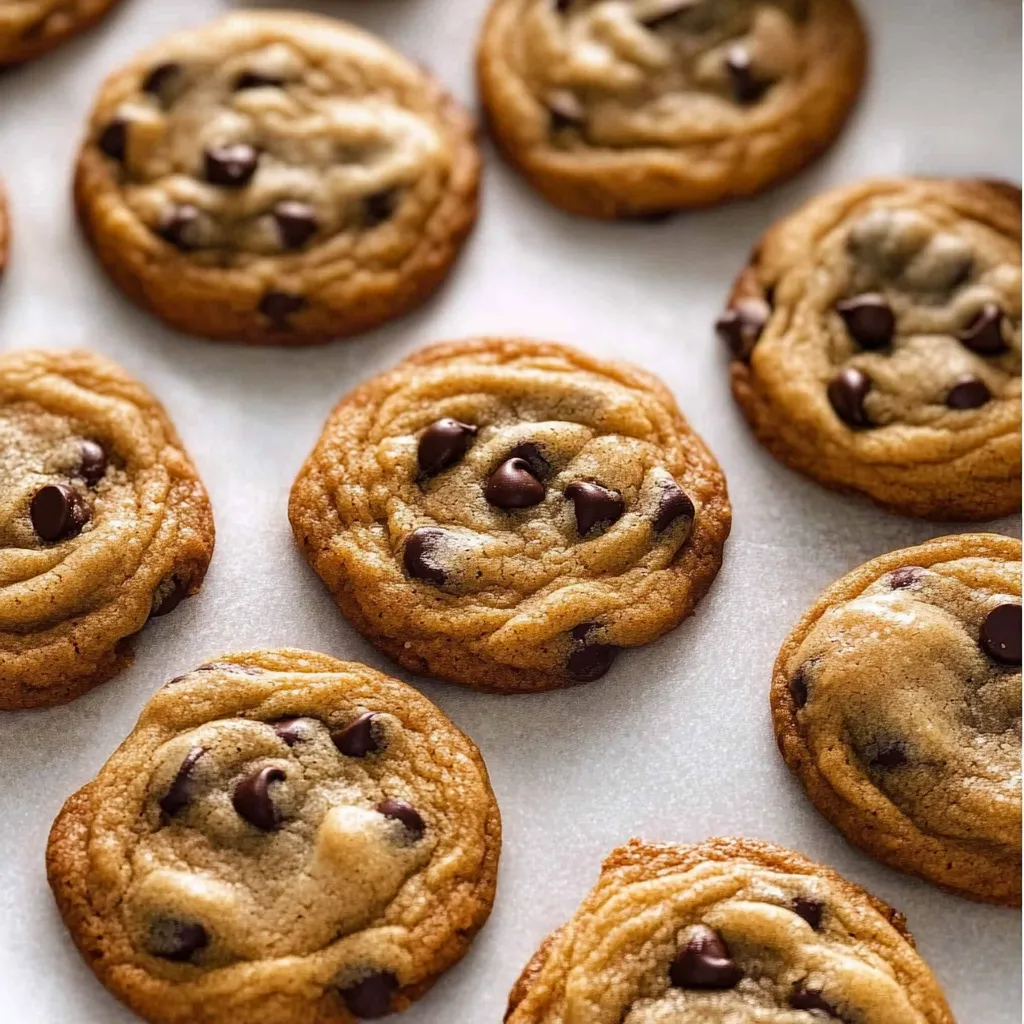
These perfect chocolate chip cookies deliver exactly what you're craving with their golden crispy edges, soft and chewy centers, and generous chunks of melty chocolate in every single bite. The balanced combination of brown and granulated sugars creates that ideal texture contrast, while the careful ratio of ingredients ensures consistent results every time you bake them. Whether you need cookies in 30 minutes or want to freeze the dough for future baking, this foolproof recipe adapts to your schedule while always producing bakery-quality results.
I've been perfecting this chocolate chip cookie recipe for years, and it's become the one I turn to whenever I need something that will make everyone happy. The first time I made these, I was amazed at how they achieved that perfect bakery-style texture - crispy around the edges but still soft and chewy in the center. What I love most is how forgiving this recipe is; whether I'm in a hurry and bake them immediately or have time to chill the dough overnight for extra flavor development, they always turn out incredible. Now it's my go-to recipe for everything from after-school snacks to holiday gift giving.
Essential Ingredients and Selection Tips:
- All-purpose flour: Measure accurately by weight or using the spoon-and-level method; too much flour creates dry, cakey cookies
- Brown and granulated sugar combination: Brown sugar adds moisture and chewiness while granulated sugar creates crispy edges
- Room temperature butter: Should be softened but still feel slightly cool to touch; too warm creates spreading issues
- Fresh baking soda: Check expiration date as old baking soda won't provide proper rise and spread
- Quality chocolate chips: Use a mix of chips and chopped chocolate bars for varying textures and maximum chocolate flavor
- Pure vanilla extract: Real vanilla makes a noticeable difference in the final flavor
Step-by-Step Instructions:
- Prepare workspace and ingredients:
- Preheat your oven to 350°F and line two large baking sheets with parchment paper. Ensure butter and egg are at room temperature - the butter should give slightly when pressed but not be greasy or melted. If you forgot to soften them, place the egg in warm water for 5-10 minutes and cut butter into small pieces to soften more quickly.
- Combine dry ingredients thoroughly:
- In a medium bowl, whisk together all-purpose flour, baking soda, and salt until evenly distributed. This ensures the leavening and salt are evenly incorporated throughout the dough, preventing pockets of overly salty or under-risen areas in the finished cookies.
- Cream butter and sugars to perfection:
- In the bowl of a stand mixer fitted with the paddle attachment, combine softened butter, brown sugar, and granulated sugar. Beat on medium-low speed for 3-4 minutes until the mixture is very light, fluffy, and pale in color. This creaming process incorporates air that creates the tender texture and proper cookie structure.
- Add wet ingredients systematically:
- Add the room temperature egg and vanilla extract to the creamed butter mixture, beating until well combined and scraping down the sides of the bowl as needed. The mixture should look smooth and cohesive with no streaks of egg remaining. Proper incorporation at this stage ensures even distribution throughout the final dough.
- Incorporate flour mixture carefully:
- With the mixer on low speed, gradually add the flour mixture to the wet ingredients, mixing just until the flour disappears and no dry streaks remain. Stop mixing as soon as the dough comes together - overmixing develops too much gluten and creates tough, dense cookies rather than the tender texture you want.
- Fold in chocolate chips gently:
- Remove the bowl from the mixer and use a rubber spatula to gently fold in the chocolate chips by hand. This prevents overmixing while ensuring even distribution of chocolate throughout the dough. Add any extra chocolate chips to press on top of the shaped cookies for bakery-style appearance.
- Shape cookies uniformly:
- Using a 1½-tablespoon cookie scoop or spoon, portion the dough into evenly sized balls and place them on the prepared baking sheets, spacing them about 2 inches apart. For extra chocolate appeal, press a few additional chocolate chips onto the top of each dough ball before baking.
- Bake to golden perfection:
- Bake one sheet at a time for 12-14 minutes, until the edges are golden brown but the centers still look slightly underdone and soft. The cookies will continue cooking on the hot pan after removal, so don't overbake. Let cool on the baking sheet for 5 minutes before transferring to a wire rack.
 Pin it
The technique I'm most passionate about in this recipe is definitely the proper creaming of butter and sugars. I used to rush through this step until I learned how much it affects the final texture. When you really take the time to cream the butter and sugars until they're light and fluffy - which takes longer than you think - you're incorporating air that creates those perfect tender, chewy cookies. The mixture should nearly double in volume and turn pale in color. This step alone is what separates good homemade cookies from truly exceptional ones. Now I always set a timer for at least 3-4 minutes of creaming time, and the difference in texture is remarkable.
Sugar Chemistry and Texture Development
The combination of brown and granulated sugars creates the ideal texture profile through different moisture and acid levels. Brown sugar contains molasses, which adds moisture and slight acidity that keeps cookies soft and chewy while contributing rich flavor. Granulated sugar helps create crispy edges through caramelization and provides structure. Understanding this balance helps explain why recipes call for specific ratios and why substitutions often change the final texture.
Temperature Control and Spreading Behavior
Cookie spreading is controlled by multiple factors including ingredient temperature, oven temperature, and dough consistency. Room temperature butter creams properly but isn't so warm that it causes excessive spreading. The oven temperature must be accurate - too cool and cookies spread too much before setting, too hot and edges burn before centers cook. Understanding these relationships helps troubleshoot common cookie problems.
Flour Measurement and Gluten Development
Accurate flour measurement is critical because too much flour creates dry, cake-like cookies while too little results in flat, greasy cookies. The spoon-and-level method or weighing flour ensures consistency. Minimal mixing after flour addition prevents overdeveloping gluten, which would create tough rather than tender cookies. The brief mixing time is intentional for optimal texture.
Chilling Benefits and Flavor Development
Chilling cookie dough serves multiple purposes beyond just firming up the butter. It allows flour to fully hydrate, sugars to begin dissolving, and flavors to meld together. Chilled dough spreads less during baking, creating thicker cookies with more concentrated flavors. The longer the chill time, the more complex the flavor becomes, making overnight-chilled cookies noticeably better than immediately baked ones.
Chocolate Selection and Distribution
Using a combination of chocolate chips and chopped chocolate bars creates varying textures and sizes of chocolate pieces throughout the cookies. Chips hold their shape well during baking, while chopped chocolate creates irregular pieces that melt into gooey pockets. Pressing extra chocolate pieces on top of shaped dough balls ensures every cookie has visible chocolate and creates that bakery-style appearance.
Baking Timing and Visual Cues
Perfect cookie timing relies more on visual cues than exact minutes since ovens vary significantly. Golden brown edges with centers that still look slightly underdone indicate proper doneness. The cookies continue cooking on the hot pan after removal, finishing the baking process without becoming overbaked. This technique ensures consistently perfect texture.
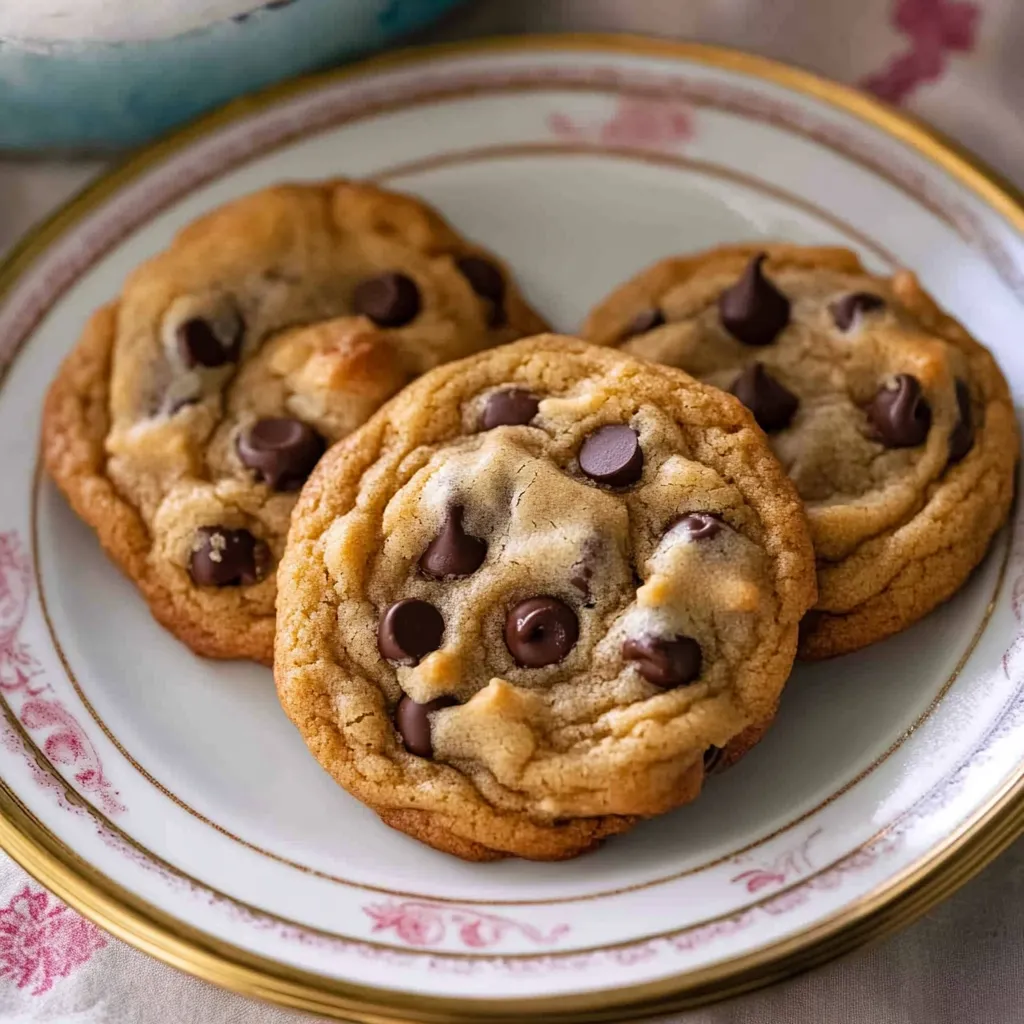
These chocolate chip cookies represent everything I love about baking because they prove that mastering the basics creates something truly exceptional. There's something magical about the way the kitchen fills with that incredible aroma of butter, vanilla, and chocolate, drawing everyone to gather around and wait for that first warm bite. Every time I make them, whether for a special occasion or just because we need something sweet, they create those moments of pure comfort and satisfaction that remind me why baking is so rewarding. They've become one of those recipes that defines home for our family, and I love how something so simple can bring so much joy to ordinary days.
Frequently Asked Questions
- → How long do these cookies stay fresh?
- Store them in an airtight container for up to 5 days. They taste best within the first 2-3 days.
- → Can I freeze the cookie dough?
- Yes! Shape the dough into balls and freeze for up to 3 months. Bake directly from frozen, adding 1-2 extra minutes.
- → Why are my cookies spreading too much?
- Make sure your butter isn't too warm and chill the dough for at least 1 hour before baking.
- → How do I know when they're done baking?
- Look for golden brown edges while the centers still appear slightly soft and underdone. They'll finish cooking on the pan.
- → Can I use different types of chocolate?
- Absolutely! Try dark chocolate chips, milk chocolate chunks, or even chopped chocolate bars for different flavors.
- → What makes these cookies chewy vs crispy?
- Baking time is key. For chewier cookies, bake for 12 minutes. For crispier cookies, bake for 14 minutes.