
 Pin it
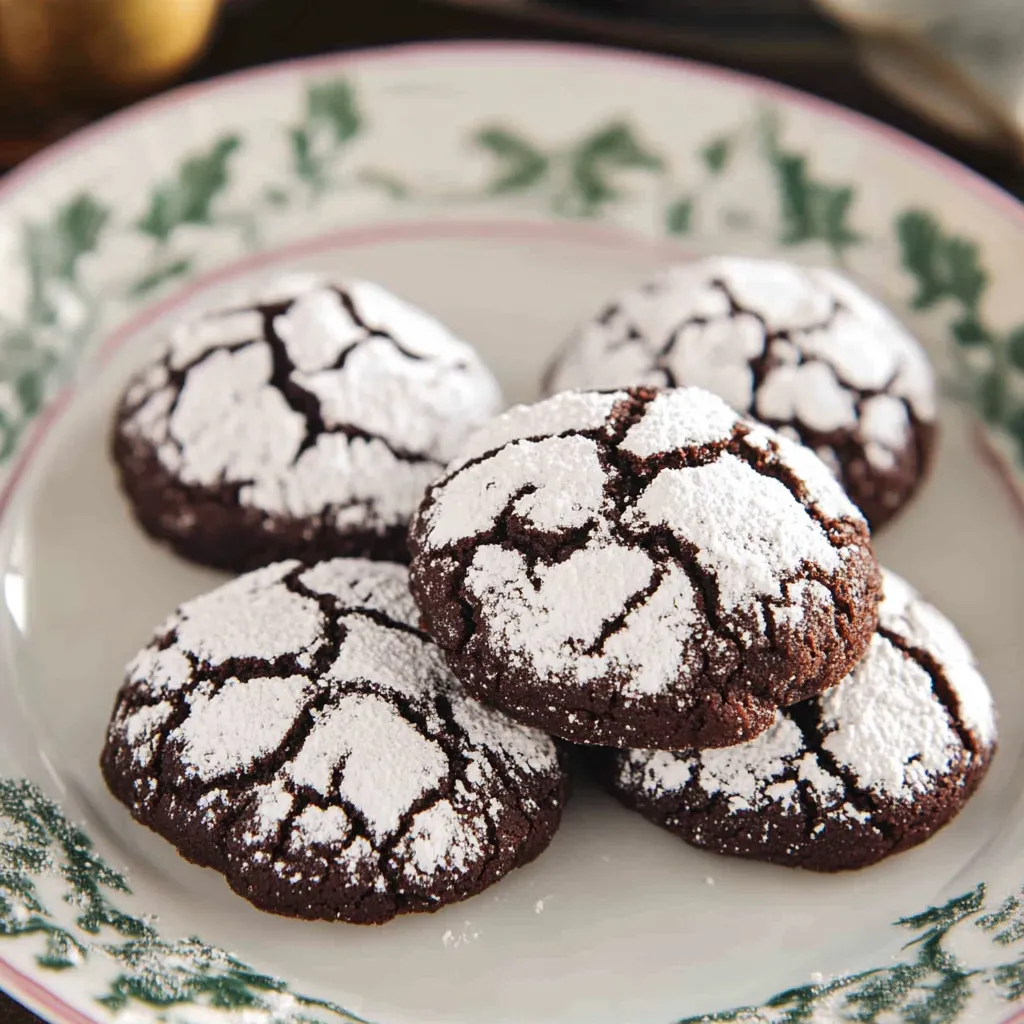
These chocolate crinkle cookies deliver the perfect balance of fudgy centers and sweet, crackled exteriors. With their striking appearance of snowy powdered sugar against rich chocolate, these cookies become an instant centerpiece on any holiday dessert table. Best of all, they combine the deep, indulgent flavor of brownies with the convenient, portable form of cookies.
I first made these cookies for a neighborhood cookie exchange and was amazed at how quickly they disappeared! What surprised me most was how the simple contrast of dark chocolate and white powdered sugar created such an elegant, festive appearance with so little effort. Now they're my go-to holiday cookie when I want to impress without spending hours in the kitchen.
Essential Ingredients
- Cocoa powder – Creates the rich chocolate base without requiring melted chocolate; unsweetened natural cocoa works perfectly, though dark cocoa powder intensifies the chocolate experience
- Vegetable oil – Provides moisture and contributes to the fudgy, brownie-like texture; its neutral flavor allows the chocolate to shine
- Granulated sugar – Sweetens while helping create the right texture; for deeper flavor, try substituting half with brown sugar
- Eggs – Provide structure and richness while helping the cookies rise slightly
- Powdered sugar – Creates the signature crackled exterior that makes these cookies instantly recognizable
Step-By-Step Cooking Instructions
- Create the chocolate base –
- In a large mixing bowl or stand mixer fitted with the paddle attachment, combine 1 cup granulated sugar, ½ cup unsweetened cocoa powder, and ⅓ cup vegetable oil. Beat on medium speed until the mixture becomes well-combined and takes on a shiny appearance, about 1-2 minutes. This thorough mixing ensures the cocoa powder is fully incorporated with no dry pockets. The oil-based mixture creates a foundation for exceptionally moist, fudgy cookies reminiscent of brownies.
- Add the wet ingredients –
- Add 2 large eggs one at a time, mixing well after each addition until fully incorporated. This gradual addition allows each egg to be properly emulsified into the mixture, creating a smooth, consistent batter. Beat in 1 teaspoon of pure vanilla extract, which enhances the chocolate flavor while adding depth. At this stage, the batter will have a glossy, almost pudding-like consistency.
- Incorporate the dry ingredients –
- In a separate bowl, whisk together 1 cup all-purpose flour, 1 teaspoon baking powder, and ¼ teaspoon salt until evenly distributed. Add this dry mixture to the chocolate mixture and mix on low speed just until combined, being careful not to overmix. Stop mixing as soon as the flour disappears, as overmixing develops gluten which can make the cookies tough rather than tender. The dough will be quite soft and sticky at this point, more like a thick brownie batter than traditional cookie dough.
- Chill thoroughly –
- Cover the dough with plastic wrap, pressing it directly onto the surface to prevent a skin from forming. Refrigerate for at least 4 hours or overnight. This critical chilling step serves multiple purposes: it allows the flavors to develop, makes the sticky dough manageable for rolling, and ensures the cookies bake up with the right texture rather than spreading too thin. Properly chilled dough is the secret to perfect chocolate crinkles.
- Prepare for baking –
- Once the dough is thoroughly chilled, preheat your oven to 350°F and line two baking sheets with parchment paper. Place about ½ cup of powdered sugar in a small bowl. Using a tablespoon or small cookie scoop, portion the chilled dough and roll into 1-inch balls with your hands. The dough will be less sticky after chilling but may still cling to your hands slightly. Working with one batch at a time (only as many cookies as will fit on your baking sheets), roll each ball generously in powdered sugar until completely coated on all sides. Place them on the prepared baking sheets, spacing about 2 inches apart to allow for spreading.
- Bake to perfection –
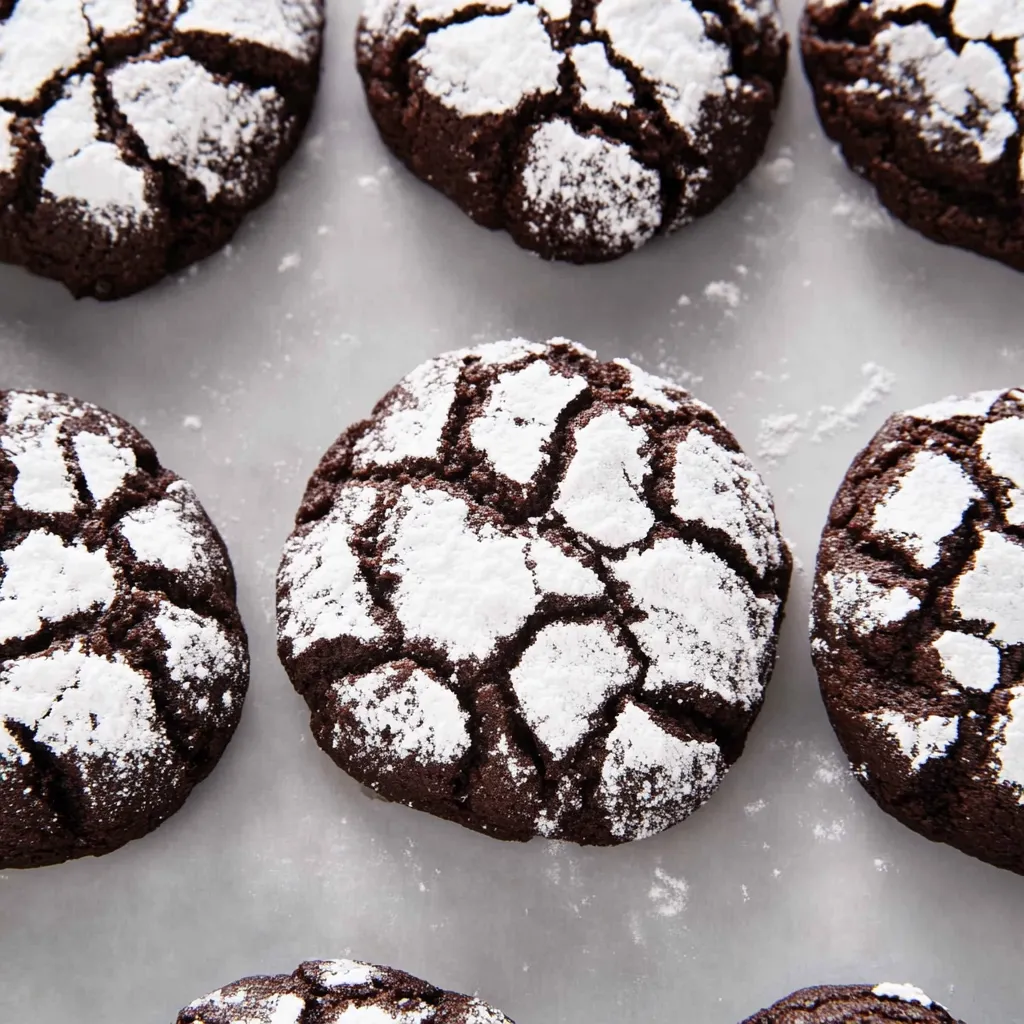
- Bake the cookies for 10-12 minutes, until the edges are set but the centers still appear slightly underdone and puffed up. The cookies will naturally flatten and deflate slightly as they cool, creating that distinctive fudgy center. Allow them to cool on the baking sheets for about 5 minutes, during which time they'll firm up enough to handle. Then transfer to a wire rack to cool completely. The contrast between the dark cookie showing through the crackled white exterior becomes more pronounced as they cool.
 Pin it
Make-Ahead and Storage Options
These cookies are perfect for holiday planning because you can prepare them in advance. The dough can be made and refrigerated for up to two days before rolling and baking. This makes them ideal for breaking up the work during busy holiday seasons—make the dough one day, bake the next.
For longer-term planning, you have two freezing options. You can freeze the unbaked dough balls (before rolling in powdered sugar) on a baking sheet, then transfer to a freezer container once solid. When ready to bake, thaw in the refrigerator for about two hours, then roll in powdered sugar and bake as directed. Alternatively, freeze the baked cookies in layers separated by parchment paper in an airtight container for up to three months.
Once baked, the cookies stay fresh in an airtight container at room temperature for up to a week, though their centers become slightly less fudgy over time. This exceptional shelf life makes them perfect for holiday cookie exchanges, gift tins, or shipping to distant loved ones.
Creative Variations
While the classic chocolate crinkle is perfection on its own, there are several delicious ways to customize them. For a holiday twist, add 1 teaspoon of peppermint extract along with the vanilla for chocolate-mint crinkles. Or try orange extract and a teaspoon of orange zest for chocolate-orange cookies that taste like the classic chocolate orange candies.
For coffee lovers, adding 1 teaspoon of instant espresso powder to the sugar and oil mixture intensifies the chocolate flavor without making the cookies taste like coffee. Chocolate lovers can fold in ½ cup of mini chocolate chips after mixing in the dry ingredients for double chocolate crinkles.
My grandmother always said that chocolate cookies should be like a good chocolate cake—moist in the middle with a perfect crust. She taught me to look for that slight underdone appearance in the center as the sign of a perfect crinkle cookie. "The powdered sugar may be the pretty part," she'd say, "but that fudgy center is what makes people reach for a second cookie."
I've been making these chocolate crinkle cookies for holiday gatherings for over a decade, and they never fail to delight both visually and in taste. What I love most is how they combine impressive appearance with minimal effort—the perfect balance for busy holiday baking. The dramatic contrast between the dark cookie and white sugar creates a cookie that looks sophisticated enough for any celebration yet requires no special decorating skills.
Frequently Asked Questions
- → Why do I need to chill the dough?
- Chilling firms up the sticky dough so it's easier to handle and helps prevent the cookies from spreading too much during baking.
- → Can I freeze chocolate crinkle cookie dough?
- Yes! Roll the dough into balls, freeze on a baking sheet, then transfer to a freezer bag. When ready to bake, thaw slightly and roll in powdered sugar.
- → Why didn't my cookies crinkle?
- Make sure your dough is properly chilled and you've coated the dough balls generously in powdered sugar before baking.
- → How do I know when the cookies are done?
- Edges should be set but centers still slightly soft and puffy. They'll continue cooking as they cool, giving you that perfect fudgy center.
- → Can I add mix-ins to these cookies?
- Absolutely! Try mint extract, orange zest, or espresso powder. You can also add chocolate chips for extra richness.