
 Pin it
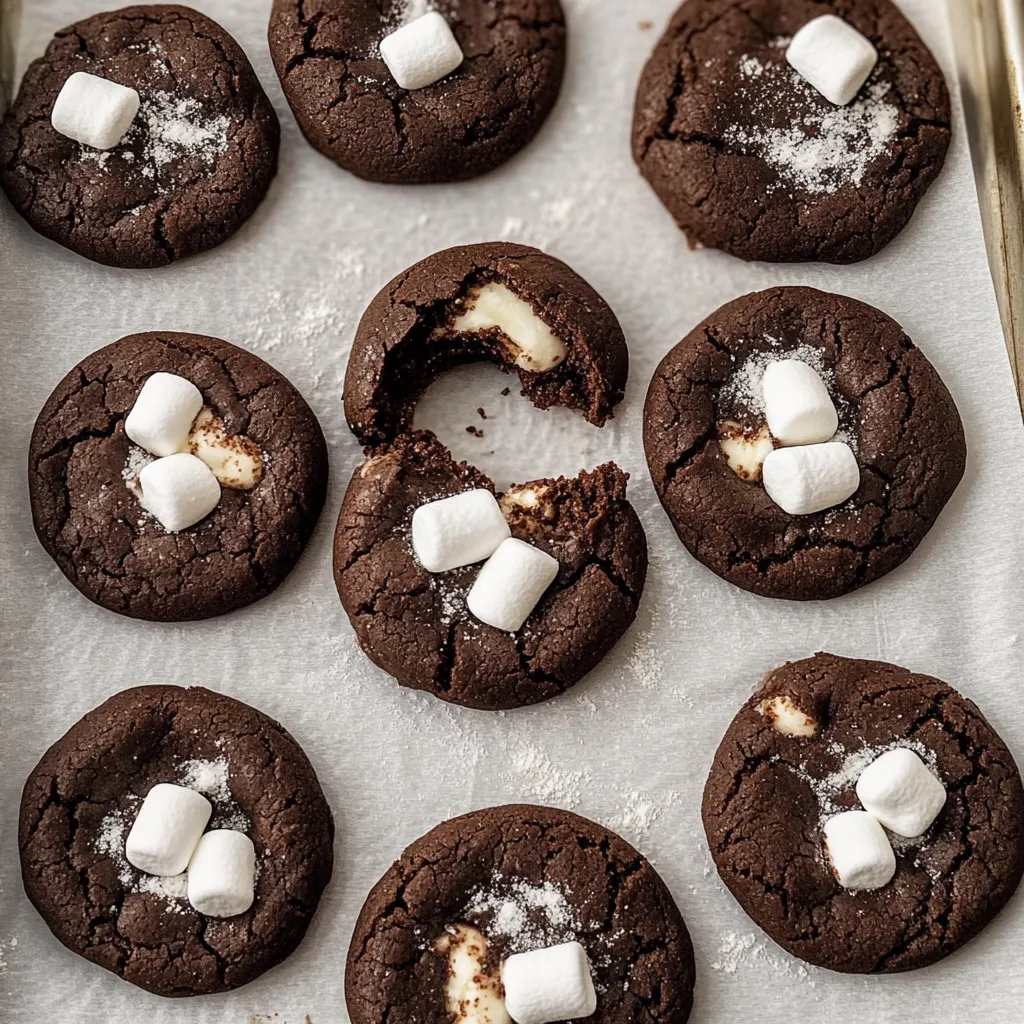
These chocolate marshmallow cookies deliver fudgy, brownie-like texture with gooey melted marshmallow centers that stretch when you pull them apart. The rich cocoa flavor combined with pockets of soft marshmallow creates something that tastes like the best hot chocolate transformed into cookie form. Every bite gives you that perfect contrast between the dense, chocolatey exterior and the sweet, melty surprise hidden inside.
I developed this recipe on one of those days when I desperately wanted fresh cookies but didn't want to deal with complicated techniques or wait for dough to chill. The marshmallow centers were inspired by my love of hot chocolate with marshmallows, and I wanted to capture that same comforting combination. Now these are my go-to when I need something impressive fast, and they've become the cookie everyone requests for holiday gatherings.
Essential Ingredients for Success
- All-purpose flour: Provides structure without making cookies cakey or dry
- Dutch-processed cocoa powder: Creates darker color and balanced chocolate flavor; regular unsweetened cocoa works too
- Baking soda: Encourages spread and chewy texture; don't substitute baking powder
- Fine sea salt: Balances sweetness and enhances chocolate flavor
- Unsalted butter: Melted and cooled slightly; controls salt content in the recipe
- Brown and white sugar combination: Brown adds moisture and chewiness while white provides structure
- Large egg at room temperature: Binds everything together and adds richness
- Pure vanilla extract: Intensifies chocolate flavor; don't skip this crucial ingredient
- Mini marshmallows: Work better than chopped large marshmallows for even melting
Complete Step-by-Step Instructions
- Prepare dry ingredients first:
- In a medium bowl, whisk together 1 1/2 cups all-purpose flour, 1/2 cup Dutch-processed cocoa powder, 1 teaspoon baking soda, and 1/2 teaspoon salt. Make sure to sift the cocoa if it has any lumps, and whisk thoroughly so everything is evenly distributed. Set this bowl aside.
- Mix wet ingredients together:
- Melt 1/2 cup unsalted butter and let it cool for about 5 minutes until tepid, not hot. In a large bowl, whisk together the melted butter, 3/4 cup packed brown sugar, and 1/4 cup granulated white sugar until well combined. Add 1 large egg and 2 teaspoons vanilla extract and whisk until smooth and glossy.
- Combine and rest the dough:
- Add the dry ingredients to the wet ingredients and stir with a wooden spoon or spatula until just combined with no flour streaks remaining. Don't overmix. Let the dough sit at room temperature for 10 minutes - this allows it to firm up slightly so it's easier to shape around the marshmallows.
- Preheat oven and prepare pan:
- While the dough rests, preheat your oven to 350°F (175°C). Line a baking sheet with parchment paper or a silicone baking mat. This prevents sticking and makes cleanup easier.
- Stuff cookies with marshmallows:
- Scoop about 2 tablespoons of dough and flatten it slightly in your palm. Place 6 mini marshmallows in the center, then gently pinch the dough around them to completely seal the marshmallows inside. Make sure there are no gaps or holes - the marshmallows need to be fully enclosed or they'll leak out during baking. Roll into a ball and place on the prepared baking sheet.
- Space and finish before baking:
- Place cookie dough balls at least 2 inches apart on the baking sheet as they will spread. If desired, sprinkle the tops with a bit of demerara or turbinado sugar for extra crunch. This step is optional but adds nice texture contrast.
- Bake to perfection:
- Bake for 9-10 minutes until the tops look dry and set but the cookies still feel soft when gently pressed. Don't overbake or they'll be dry instead of fudgy. The cookies will look slightly underdone but will continue cooking on the hot pan.
- Shape while hot:
- Immediately after removing from the oven, use a round cookie cutter slightly larger than the cookies to gently swirl around each cookie. This creates perfectly round shapes and pushes the edges up to make them thicker. Let cool on the pan for 5 minutes, then transfer to a wire rack.
 Pin it
The magic happens when you bite into these and hit that melted marshmallow center. The contrast between the dense, fudgy cookie and the gooey marshmallow creates texture that makes them impossible to eat just one. I love how the tops crack during baking to reveal little hints of the marshmallow hiding inside.
Understanding the Cookie Texture
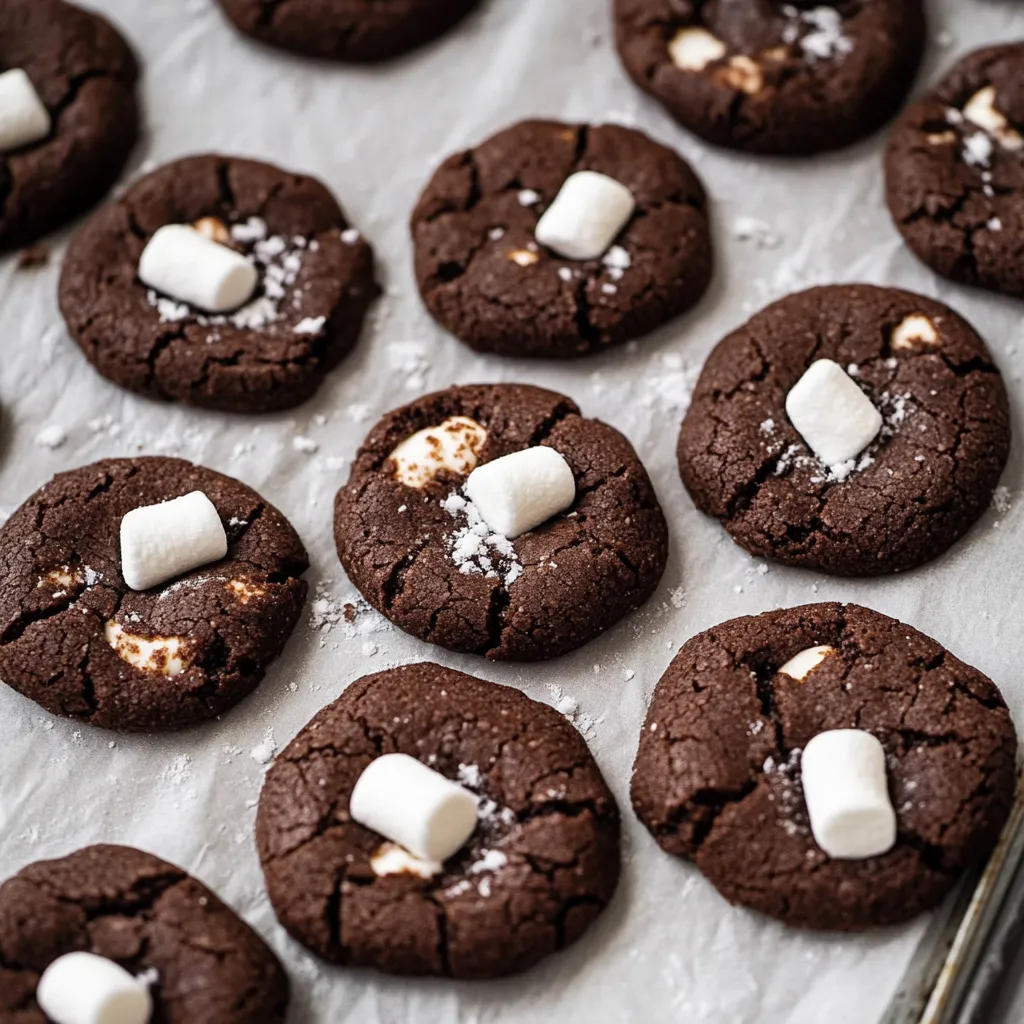
These cookies are meant to be soft and fudgy like brownies, not crispy. The combination of brown sugar and cocoa creates moisture, while the baking soda provides just enough lift without making them cakey. Underbaking slightly ensures they stay soft and chewy rather than becoming dry.
Mastering the Marshmallow Stuffing Technique
The key to success is completely encasing the marshmallows with no holes or thin spots. Think of it like making dumplings - pinch the dough firmly together and roll smooth. If you see any marshmallow peeking through before baking, pinch more dough over it to seal.
Timing the Baking Perfectly
These cookies transform quickly in the oven. At 9 minutes, check them - they should look set on top but still soft when gently pressed. Every oven is different, so start checking at 9 minutes rather than assuming 10 is correct. Overbaking by even a minute can make them dry.
Achieving Professional Round Shapes
The cookie cutter trick while cookies are still hot is what creates those perfect bakery-looking rounds. The warmth makes them pliable enough to shape without cracking. Use a cutter that's just slightly larger than your cookies and gently swirl it around each one.
Storage and Serving Tips
These keep for 4-5 days in an airtight container at room temperature, though the marshmallow centers firm up slightly as they sit. For the best gooey texture, warm them in the microwave for 10-15 seconds before eating. They can be frozen but the texture changes slightly when thawed.
 Pin it
This recipe proves that impressive cookies don't require hours of work or complicated techniques. The simple one-bowl method combined with the surprise marshmallow center creates something that tastes far more special than the minimal effort would suggest, which is exactly what good baking should deliver.
Frequently Asked Questions
- → Can I use regular cocoa powder instead of Dutch-process?
- Yes, regular unsweetened cocoa powder works just fine. The cookies will still turn out delicious and fudgy.
- → Why do I need to let the dough rest for 10 minutes?
- Resting the dough makes it easier to handle and helps the cookies keep their shape while baking. It's worth the short wait.
- → How do I keep the marshmallows from leaking out?
- Make sure to seal the dough completely around the marshmallows. Pinch the edges well so there are no gaps where they can escape.
- → Can I make these cookies ahead of time?
- Absolutely. You can store them in an airtight container for up to 5 days, or freeze the dough balls for baking later.
- → What size should the cookies be?
- About 2 tablespoons of dough per cookie works perfectly. A cookie scoop makes portioning them out much easier.
- → Why are my cookies spreading too much?
- Make sure your butter has cooled down before mixing, and don't skip the 10-minute rest time. Also check your oven temperature is accurate.
- → Can I use large marshmallows instead of mini ones?
- Mini marshmallows work best because they fit better inside the dough. You could cut large ones into smaller pieces if needed.