
 Pin it
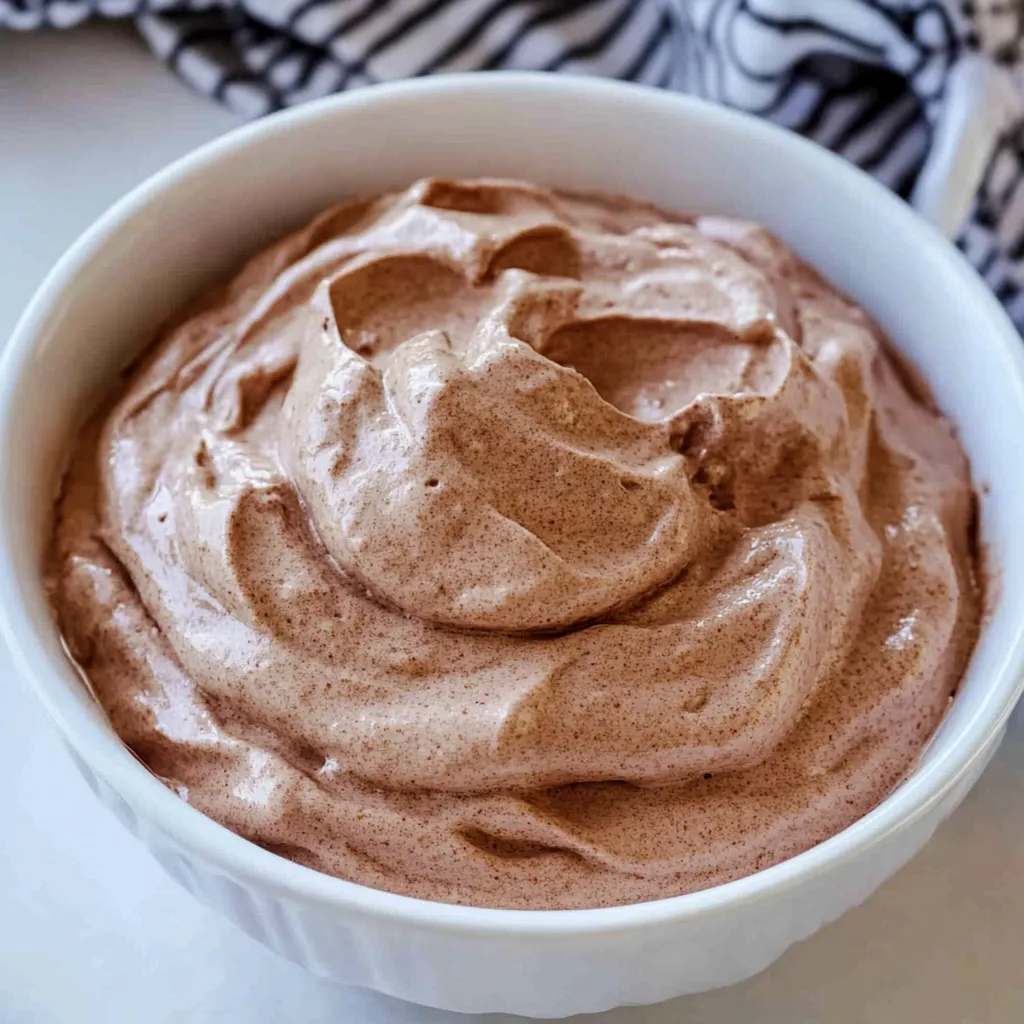
This chocolate whipped cream transforms ordinary heavy cream into the most luxuriously rich and fluffy topping that delivers intense chocolate flavor in an impossibly light, mousse-like texture. The magic happens when unsweetened cocoa powder combines with powdered sugar and vanilla to create a perfectly balanced sweetness while the cream whips to those coveted stiff peaks that hold their shape beautifully. What makes this recipe particularly wonderful is how it achieves gourmet results in just 10 minutes with simple pantry ingredients, creating something infinitely better than any store-bought alternative.
I developed this recipe when I realized that regular whipped cream, while delicious, was missing that chocolate element that would make it truly irresistible. The combination of how simple it is to make and how absolutely divine it tastes made it my go-to topping for everything from simple strawberries to elaborate layer cakes.
Essential Ingredients and Selection Tips
- Heavy whipping cream: Must be at least 35% fat content for proper whipping; "light" whipping cream won't achieve the same stability
- Unsweetened cocoa powder: Choose quality brands like Hershey's natural cocoa; Dutch-processed creates darker color but either works beautifully
- Powdered sugar: The cornstarch in confectioners' sugar helps stabilize the whipped cream and prevents deflation
- Pure vanilla extract: Real vanilla enhances the chocolate flavor significantly better than imitation varieties
Detailed Step-by-Step Instructions
- Chill equipment for success:
- Place your mixing bowl and beaters in the freezer for 15 minutes before starting. Cold equipment helps the cream whip faster and achieve better volume, creating more stable results.
- Combine ingredients strategically:
- In the chilled bowl, add heavy whipping cream, unsweetened cocoa powder, powdered sugar, and vanilla extract. The dry ingredients should be evenly distributed through the cream before whipping begins.
- Start whipping at proper speed:
- Begin with medium speed for about 1 minute to incorporate the cocoa powder without creating a dusty mess. The mixture will look thin and chocolatey at this stage.
- Increase to medium-high speed:
- Continue whipping for 3-4 more minutes, watching for the cream to thicken and increase in volume. The color will become lighter as air incorporates and the texture transforms.
- Watch for perfect peaks:
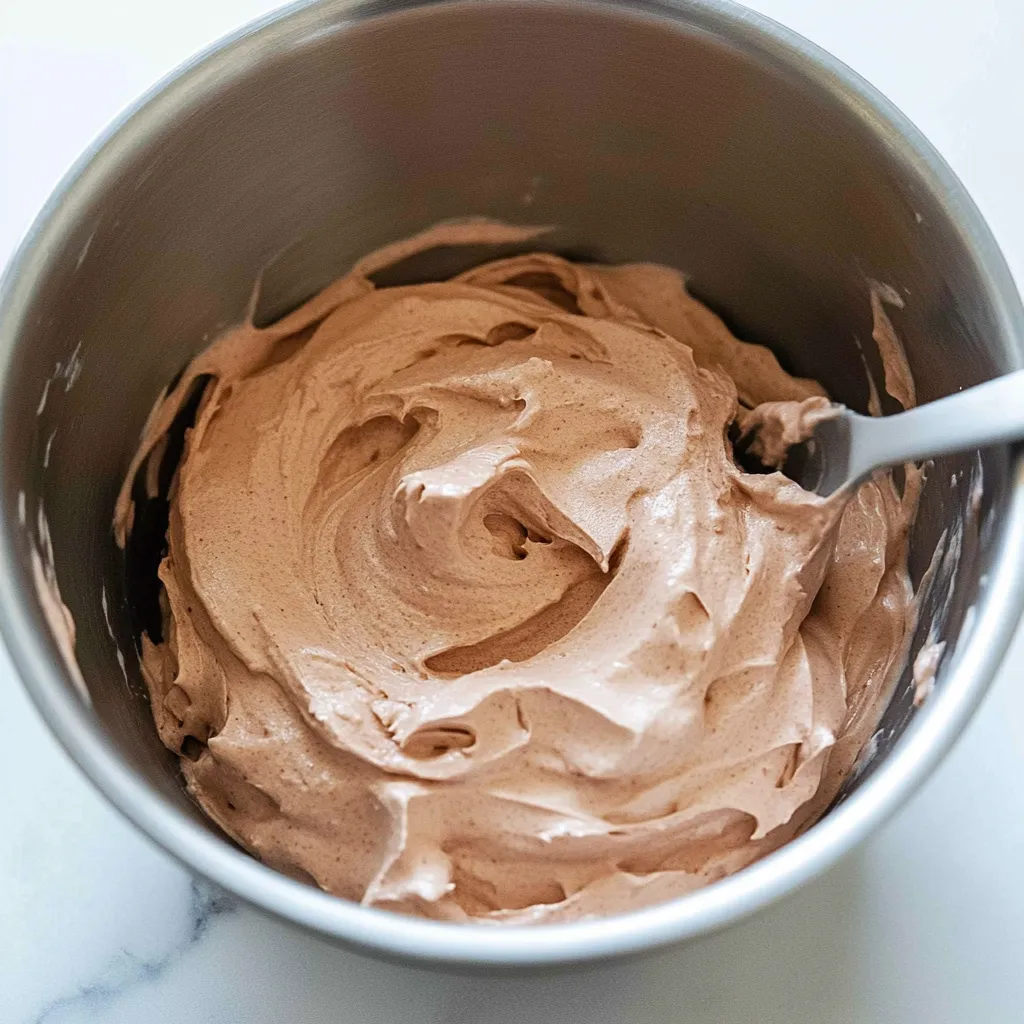
- Stop whipping the moment stiff peaks form when you lift the beaters. The cream should hold its shape without being grainy or lumpy. This is the critical moment - overmixing ruins the texture completely.
- Check consistency and adjust:
- The finished whipped cream should be light, fluffy, and hold its shape when piped or spooned. If too sweet or bitter, adjust with additional powdered sugar or a pinch of salt.
- Chill until ready to use:
- Cover and refrigerate until needed. The whipped cream maintains its texture best when kept cold and used within a few hours of making.
 Pin it
My family considers this a dessert unto itself, and I've caught people eating it straight from the bowl with spoons. The combination of that perfect chocolate flavor with the incredible lightness creates something that's both indulgent and somehow not too heavy.
Advanced Flavor Enhancement Techniques
For deeper chocolate flavor, try adding a teaspoon of espresso powder along with the cocoa - it enhances rather than competes with the chocolate taste. Some bakers prefer mixing different cocoa powders for complexity, using both natural and Dutch-processed varieties for unique flavor profiles.
Troubleshooting Common Issues
If your whipped cream becomes grainy from overwhipping, try gently folding in 2-3 tablespoons of cold heavy cream by hand. If the flavor seems bitter, gradually add more powdered sugar until balanced. For cream that won't whip, ensure it's properly cold and has adequate fat content.
Creative Uses and Applications
Beyond traditional uses, this whipped cream works beautifully as a lighter frosting alternative for cupcakes, a dip for fresh berries, or layered in parfaits. It's also excellent piped onto hot chocolate or coffee drinks, or used as filling between cake layers for lighter desserts.
Dairy-Free Adaptation Techniques
For dairy-free versions, use two cans of full-fat coconut milk that have been chilled overnight. Separate the thick cream from the liquid and use only the thick portion. The results won't be quite as stable but will be delicious for those avoiding dairy.
Storage and Make-Ahead Strategies
While best used fresh, this whipped cream can be made several hours ahead and refrigerated. For longer storage, pipe or dollop portions onto parchment-lined sheets and freeze, then transfer to containers for up to three months. Thaw 15-20 minutes before serving.
This chocolate whipped cream represents the perfect example of how simple techniques can create extraordinary results. It proves that homemade versions of common ingredients are almost always superior to store-bought alternatives when you understand the basic principles. Whether you're elevating a simple dessert or creating something elaborate, this whipped cream delivers that ideal combination of rich chocolate flavor and luxurious texture that makes any treat feel special and indulgent.
Frequently Asked Questions
- → How long does chocolate whipped cream last?
- Store in the fridge for up to 3 days. It may separate slightly, so give it a quick whisk before using.
- → Can I make this without a mixer?
- Yes, you can whisk by hand but it will take much longer - about 15-20 minutes of vigorous whisking.
- → What happens if I over-whip the cream?
- It becomes lumpy and grainy like butter. Try whisking in a few tablespoons of cold cream to fix it.
- → Can I use regular cocoa powder instead of Dutch-process?
- Yes, regular unsweetened cocoa powder works perfectly fine for this recipe.
- → How do I know when it's ready?
- Look for stiff peaks that hold their shape when you lift the beaters. This usually takes 4-5 minutes.