
 Pin it
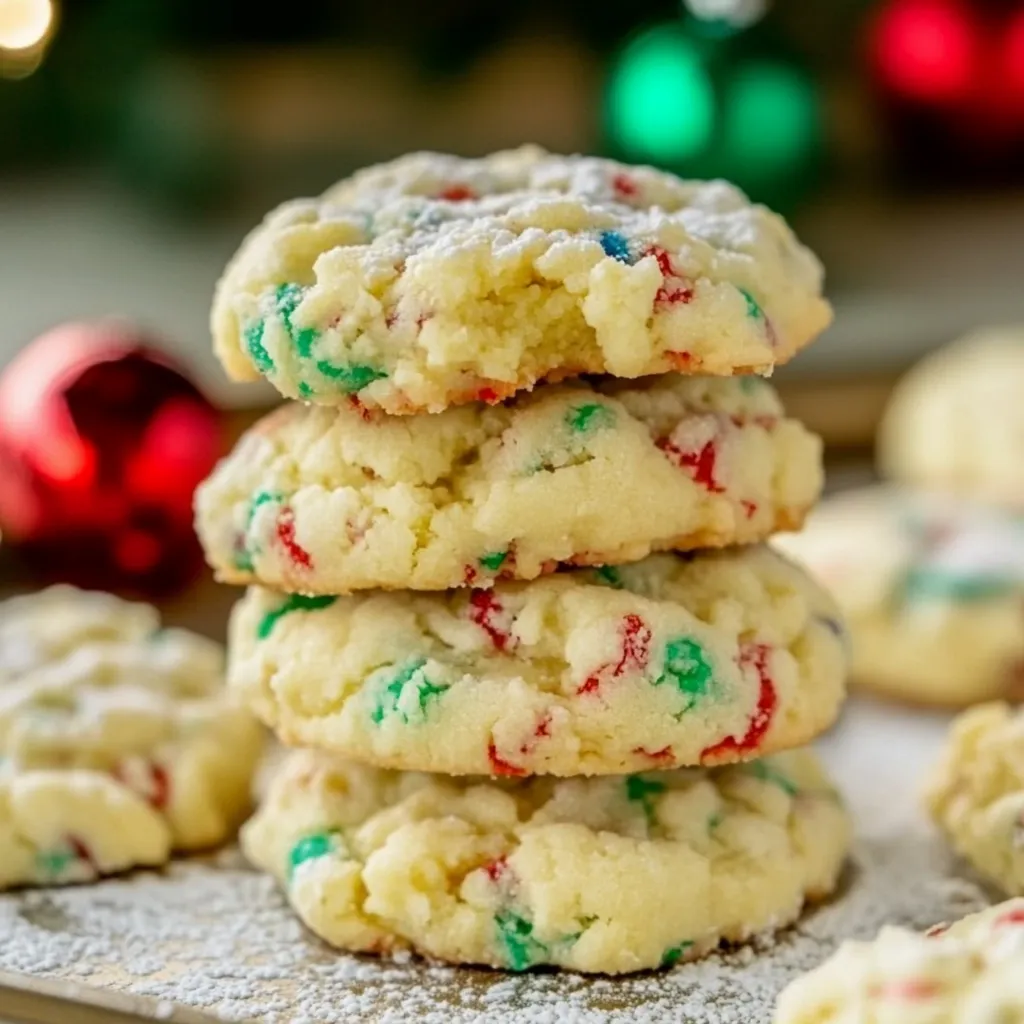
These Christmas gooey butter cookies deliver that irresistible soft, chewy texture that makes people reach for seconds before they've even finished their first bite. The secret lies in the cream cheese and butter combination that creates an almost melt-in-your-mouth experience, while the cake mix base ensures foolproof results every single time. What makes them truly special for the holidays is how the colorful sprinkles peek through the crackled powdered sugar coating, creating little bursts of festive cheer in every bite.
I first made these during a particularly busy December when I volunteered to bring cookies to three different events in one week. The combination of ease and impressive results made them my go-to solution, and now they're requested by name at every holiday gathering I attend.
Essential Ingredients and Selection Tips
- Full-fat brick cream cheese: Use the block style, not spreadable cream cheese, which contains too much moisture and will make the dough too soft to handle properly
- Room temperature dairy: Both cream cheese and butter should be soft enough to blend easily but not melted; this ensures smooth mixing and proper texture
- Quality cake mix: Yellow cake mix provides the best flavor base, though vanilla or white cake mix work equally well for different flavor profiles
- Holiday sprinkles: Choose nonpareil or jimmie sprinkles in festive colors; avoid large decorative pieces that might fall off during baking
Detailed Step-by-Step Instructions
- Prepare your workspace and oven:
- Preheat your oven to 350 degrees Fahrenheit and line two large baking sheets with parchment paper. Having everything ready before you start mixing prevents the dough from becoming too warm while you work. Position oven racks in the upper and lower thirds for even baking if using both sheets simultaneously.
- Create the perfect creamy base:
- In a large mixing bowl, beat the softened cream cheese and butter together with an electric mixer on medium speed until completely smooth and fluffy, about 2-3 minutes. This thorough mixing eliminates any lumps that could create uneven texture in the finished cookies. Add the egg and vanilla extract, beating until fully incorporated and the mixture looks pale and creamy.
- Incorporate the cake mix carefully:
- Add the entire box of cake mix to the creamed mixture, stirring by hand or on low speed just until a thick, sticky dough forms. Don't overmix once the flour is incorporated, as this can make the cookies tough. The dough should be cohesive but will feel quite sticky at this point.
- Add festive elements gently:
- Fold in the holiday sprinkles using a wooden spoon or rubber spatula, distributing them evenly throughout the dough without overmixing. Excessive stirring can cause the sprinkle colors to bleed into the dough, creating a muddy appearance instead of distinct colorful spots.
- Chill for easier handling:
- Cover the bowl and refrigerate the dough for at least 30 minutes, or up to 2 hours. This chilling step is crucial for making the sticky dough manageable and helps the cookies hold their shape during baking. Cold dough also prevents excessive spreading.
- Shape with precision:
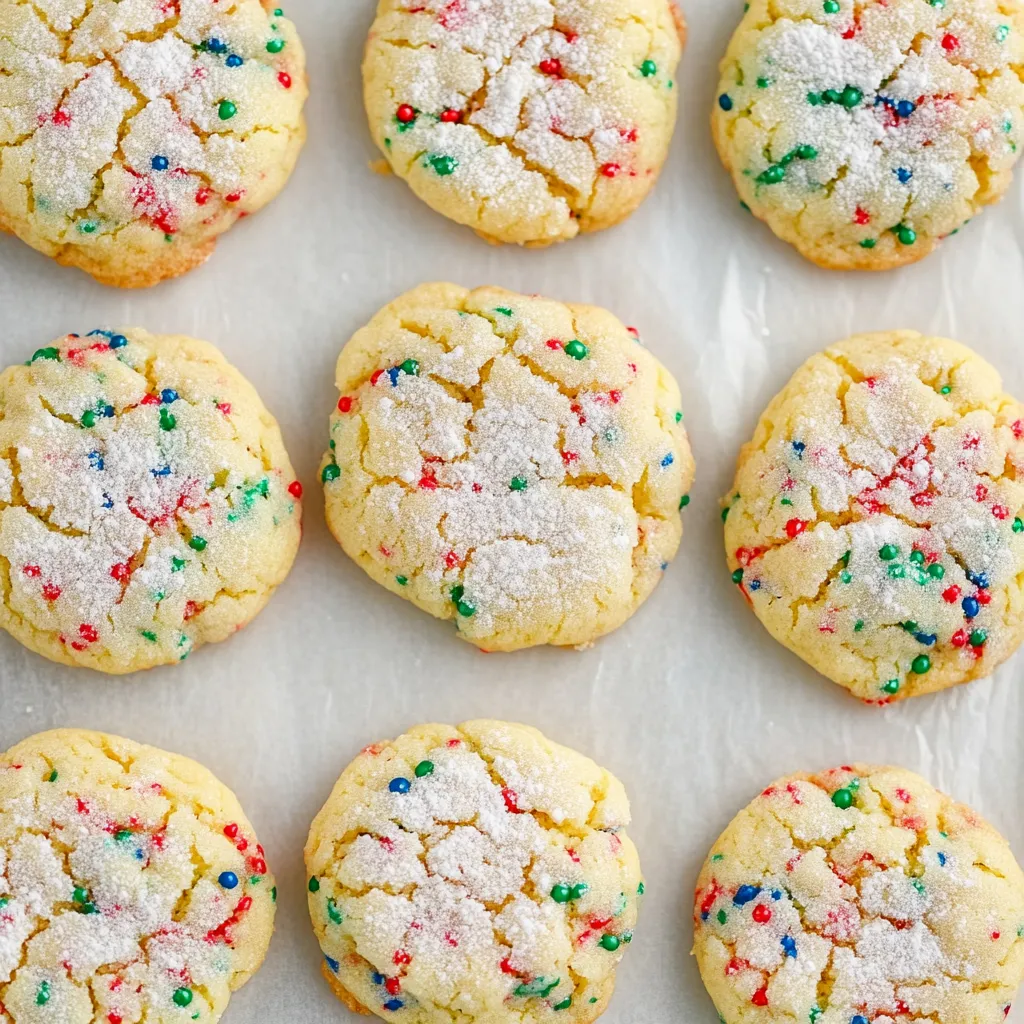
- Place powdered sugar in a shallow bowl. Using a cookie scoop or your hands, form the chilled dough into 1.5-inch balls. Roll each ball thoroughly in powdered sugar, ensuring complete coverage. The generous coating creates the signature crackled appearance as the cookies bake.
- Bake for perfect texture:
- Arrange the coated dough balls on prepared baking sheets, spacing them about 2 inches apart to allow for spreading. Bake for 10-12 minutes, until the edges appear set but the centers still look slightly soft and underdone. The cookies will continue cooking from residual heat after removal, so don't wait for them to look completely done.
- Cool properly for best results:
- Let cookies rest on the baking sheet for 3-4 minutes before transferring to a wire rack. This brief cooling period allows the structure to set while preventing them from falling apart during transfer.
 Pin it
My family considers these cookies the official start of our Christmas season, and I always make extra because they disappear faster than any other holiday treat I bake. The combination of that tender, almost cake-like texture with the festive appearance makes them irresistible to both kids and adults.
Flavor Variations for Different Occasions
While the classic vanilla base works beautifully, this recipe adapts wonderfully to different flavor profiles. Almond extract creates a more sophisticated taste that pairs beautifully with red and green sprinkles. Peppermint extract transforms them into minty holiday treats that taste like edible candy canes. For special occasions beyond Christmas, simply change the sprinkle colors to match your theme.
Creative Decorating and Color Options
Beyond traditional sprinkles, these cookies offer numerous decorating possibilities. Colored sanding sugar rolled on before baking creates a sparkly, elegant appearance. Mini chocolate chips folded into the dough add richness and textural contrast. For a more dramatic look, divide the dough in half and tint each portion with gel food coloring to create red and green cookies.
Storage and Make-Ahead Strategies
These cookies maintain their soft texture beautifully when stored properly. Layer them between wax paper in airtight containers to prevent sticking while preserving moisture. The dough can be made up to two days ahead and refrigerated, or shaped into balls and frozen for up to three months. Frozen dough balls can be baked directly from the freezer with an extra minute or two of baking time.
Scaling for Large Batches
This recipe doubles perfectly for large gatherings or gift-giving. When making multiple batches, consider preparing different color combinations or flavor variations to create variety. Work with one portion of dough at a time, keeping unused portions refrigerated to maintain the proper consistency for shaping.
Troubleshooting Common Problems
If your dough seems too sticky to handle even after chilling, gradually work in a tablespoon of additional cake mix until manageable. Cookies that spread too much during baking usually indicate the dough was too warm or the oven temperature was too low. If the powdered sugar coating doesn't create the desired crackled effect, ensure you're coating the balls generously and not overbaking.
These cookies represent everything I love about holiday baking - they're simple enough for busy schedules but special enough to make any occasion feel festive. The combination of ease, reliability, and absolutely delicious results makes them my go-to choice whenever I need to bring joy to a gathering or simply want to fill my house with the aroma of holiday baking.
Frequently Asked Questions
- → Why do I need to chill the dough?
- Chilling makes the dough easier to handle and helps the cookies keep their shape while baking.
- → Can I use different cake mix flavors?
- Yes, you can try vanilla, strawberry, or funfetti cake mix for different flavors.
- → How long do these cookies stay fresh?
- Store them in an airtight container at room temperature for up to 3 days.
- → Can I freeze the dough ahead of time?
- Yes, you can freeze the shaped dough balls for up to 3 months and bake directly from frozen.
- → What makes these cookies so soft?
- The cream cheese is the secret ingredient that creates the soft, gooey texture.
- → Do I have to use sprinkles?
- No, sprinkles are optional but they add a fun festive touch for the holidays.