
 Pin it
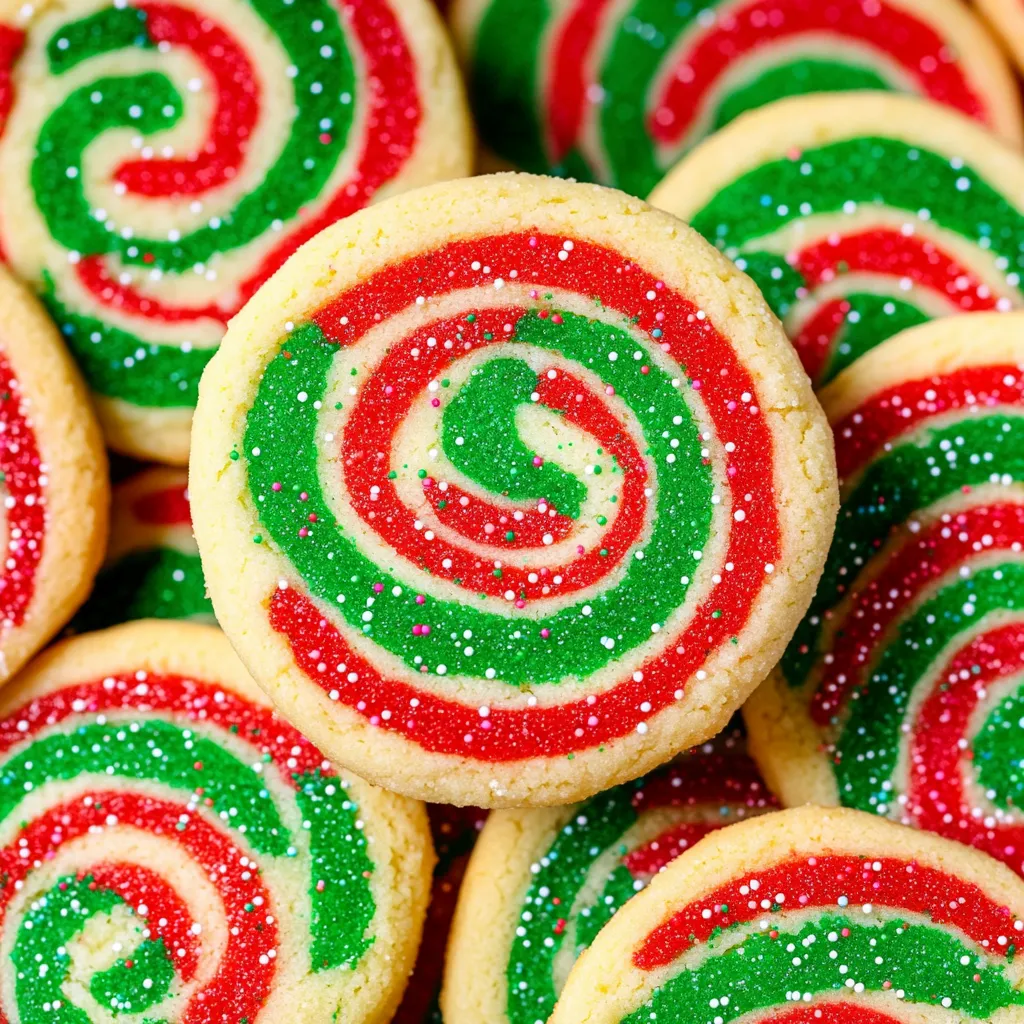
These Christmas pinwheel cookies bring pure joy to holiday baking with their stunning spiral pattern that reveals itself with each slice, creating beautiful red, green, and white swirls that look like edible Christmas ornaments. The magic happens when you layer three different colored doughs, roll them together, and then slice through to reveal those perfect concentric circles that never fail to impress guests. Despite their elaborate appearance, these slice-and-bake cookies are surprisingly manageable for home bakers and deliver that classic sugar cookie flavor with a soft, tender texture that melts in your mouth.
I first attempted these cookies for a neighborhood cookie exchange where I wanted something that would stand out among the usual chocolate chip and sugar cookies. The gasps of delight when people saw the perfect spirals made all the careful layering and rolling worthwhile, and they've become my signature cookie ever since.
Essential Ingredients and Selection Tips
- Room temperature unsalted butter: Properly softened butter creams beautifully with the sugars and ensures smooth dough that layers evenly without tearing
- Gel food coloring: Liquid coloring won't achieve the vibrant red and green needed for true Christmas impact; invest in quality gel colors for professional-looking results
- All-purpose flour: Provides the perfect structure for rolling and layering without being too tough or too delicate for the manipulation required
- Nonpareil sprinkles: The tiny round sprinkles coat the log evenly and add festive sparkle while maintaining the clean spiral pattern when sliced
Detailed Step-by-Step Instructions
- Create the perfect cookie base:
- In a large mixing bowl, cream the room temperature butter with both granulated and brown sugars using an electric mixer until light and fluffy, about 3-4 minutes. This thorough creaming incorporates air and creates the tender texture. Beat in the egg and vanilla extract until completely combined and the mixture looks smooth and pale.
- Incorporate dry ingredients carefully:
- In a separate bowl, whisk together the all-purpose flour, baking powder, and salt. Add this mixture to the creamed butter and sugars, mixing on low speed just until no streaks of flour remain. Overmixing develops too much gluten, which makes the dough difficult to roll and creates tough cookies.
- Divide and color strategically:
- Divide the dough into three equal portions using a kitchen scale for accuracy. Leave one portion plain for the white layer. Add gel food coloring to the other two portions, starting with about half a teaspoon of red for one and green for the other. Mix each colored portion thoroughly until the color is completely even with no streaks, adding more coloring gradually until you achieve vibrant, festive hues.
- Roll with precision and patience:
- On a lightly floured surface, roll each portion of dough into a 12x8 inch rectangle, maintaining consistent thickness throughout. This step requires patience, as the dough may crack initially but will become more pliable as you work with it. If the dough becomes too soft, refrigerate for 15 minutes before continuing.
- Layer for maximum impact:
- Carefully place the green rectangle on a large piece of plastic wrap, then gently layer the white rectangle on top, followed by the red. Press lightly to help the layers adhere to each other without squishing them together. Any air bubbles between layers will create gaps in the final spiral pattern.
- Execute the critical roll:
- Starting from one long edge, tightly roll the layered dough into a log, using the plastic wrap to help guide the rolling motion. The key is maintaining even pressure throughout the roll to prevent air pockets while ensuring the layers stay distinct. The finished log should be about 2 inches in diameter.
- Add the festive coating:
- Remove the plastic wrap and roll the entire log in nonpareil sprinkles, pressing gently to help them adhere. The sprinkles not only add visual appeal but also help the cookies maintain their shape during baking. Rewrap tightly in fresh plastic wrap.
- Chill for optimal slicing:
- Refrigerate the wrapped log for at least 3 hours, or overnight for best results. The dough needs to be completely firm to slice cleanly without distorting the spiral pattern. A soft log will squish when cut, ruining the beautiful design you've worked to create.
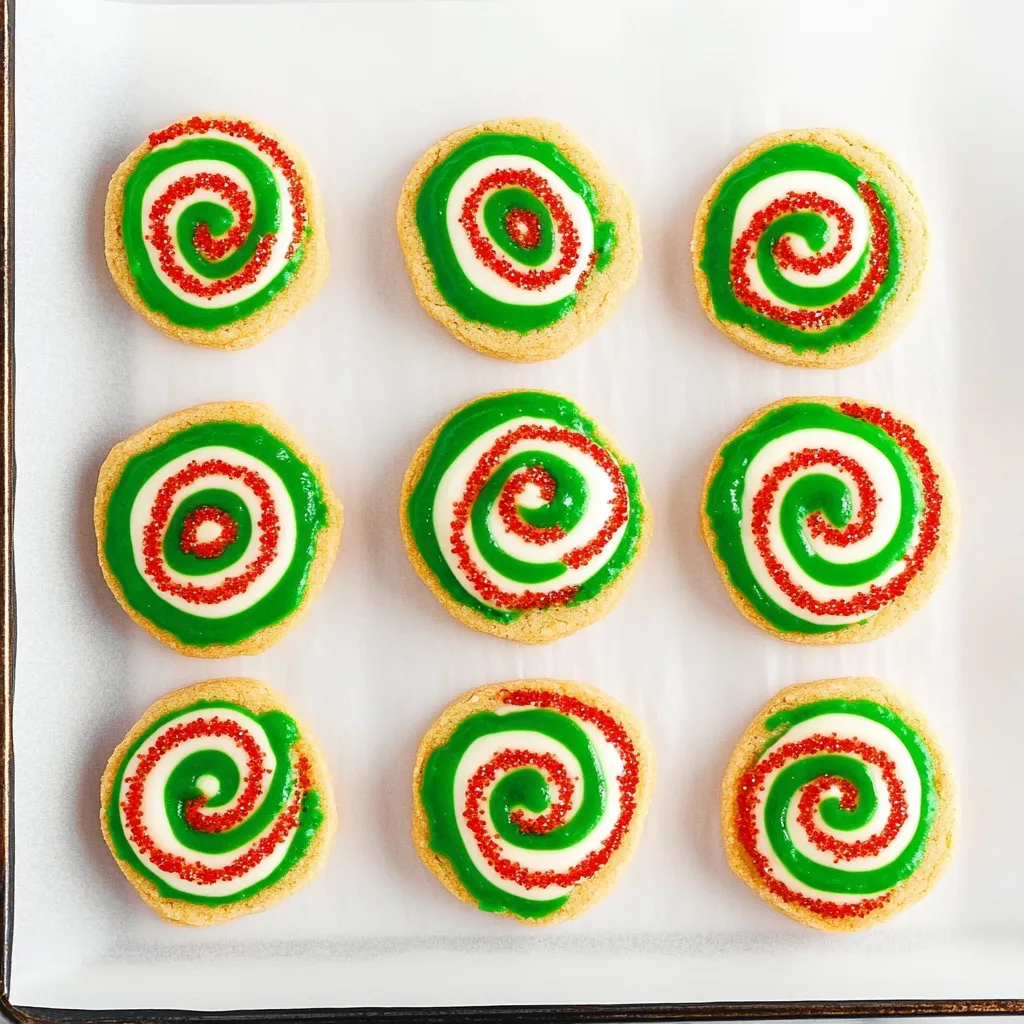
- Slice with precision:
- Using a sharp chef's knife, slice the chilled log into quarter-inch thick rounds, wiping the blade clean between cuts to prevent the colors from smearing. Place the slices cut-side down on parchment-lined baking sheets, spacing them about an inch apart.
- Bake to perfection:
- Bake at 350 degrees Fahrenheit for 8-10 minutes, until the cookies are just set but not browned. They should look slightly puffed and feel firm when gently touched. Overbaking will cause the colors to fade and the texture to become hard rather than tender.
 Pin it
My kids love helping me make these cookies, especially the rolling and layering steps, though I've learned to do the final slicing myself to ensure those perfect spirals. There's something magical about that moment when you make the first cut and see that beautiful pattern revealed - it never gets old.
Advanced Techniques for Perfect Spirals
Achieving perfectly centered spirals requires attention to detail during the rolling process. Start the roll with slight pressure, then gradually increase as you continue, ensuring each layer wraps evenly around the previous one. If one end starts to get thicker than the other, gently redistribute the dough by rolling the log back and forth on your work surface while it's still pliable.
Color Combination Ideas Beyond Christmas
While red and green create classic Christmas appeal, this technique works beautifully for other occasions. Valentine's Day cookies look stunning with pink, white, and red layers. Easter versions using pastel yellow, pink, and lavender create elegant spring treats. For everyday baking, try chocolate, vanilla, and strawberry flavors with corresponding colors for a neapolitan effect.
Storage and Make-Ahead Strategies
The beauty of this recipe lies in its make-ahead potential. The wrapped dough log keeps in the refrigerator for up to a week, allowing you to slice and bake fresh cookies as needed. For longer storage, freeze the wrapped log for up to three months, then thaw overnight in the refrigerator before slicing. Baked cookies maintain their soft texture for up to five days when stored in airtight containers.
Troubleshooting Common Issues
If your dough cracks while rolling, let it come to room temperature for a few minutes to become more pliable. Uneven layers usually result from inconsistent rolling thickness - take time to ensure each rectangle is uniform. If colors bleed together during rolling, your dough may be too warm; chill the individual portions before layering.
Gift-Giving and Presentation Ideas
These cookies make exceptional gifts due to their professional appearance and impressive visual impact. Package them in clear containers to showcase the beautiful spiral pattern, or arrange them in decorative tins lined with parchment paper. For cookie exchanges, they're guaranteed to be the most photographed treats on the table.
These cookies represent the perfect marriage of impressive appearance and achievable technique. While they require more steps than drop cookies, each step is straightforward and the results are so spectacular that they're worth every minute of effort. They've become my go-to choice whenever I want to create something that looks challenging but feels manageable, delivering that "wow factor" that makes holiday baking truly special.
Frequently Asked Questions
- → How long do I need to chill the dough?
- Chill the dough log for at least 3 hours or overnight. This keeps the colors from bleeding when you slice the cookies.
- → Can I make these cookies ahead of time?
- Yes! The dough log can be wrapped and frozen for up to 3 months. Just slice and bake when ready.
- → What if my colors are bleeding together?
- Make sure your dough is well-chilled before slicing. Use a sharp knife and clean it between cuts if needed.
- → How do I get clean pinwheel patterns?
- Roll the dough tightly and evenly. Keep the dough cold and slice with confident, clean cuts straight down.
- → Can I use different colors?
- Absolutely! Try blue and white for winter cookies or any colors that match your party theme.
- → How should I store these cookies?
- Store in an airtight container at room temperature for up to one week. Layer with parchment paper to prevent sticking.