
 Pin it
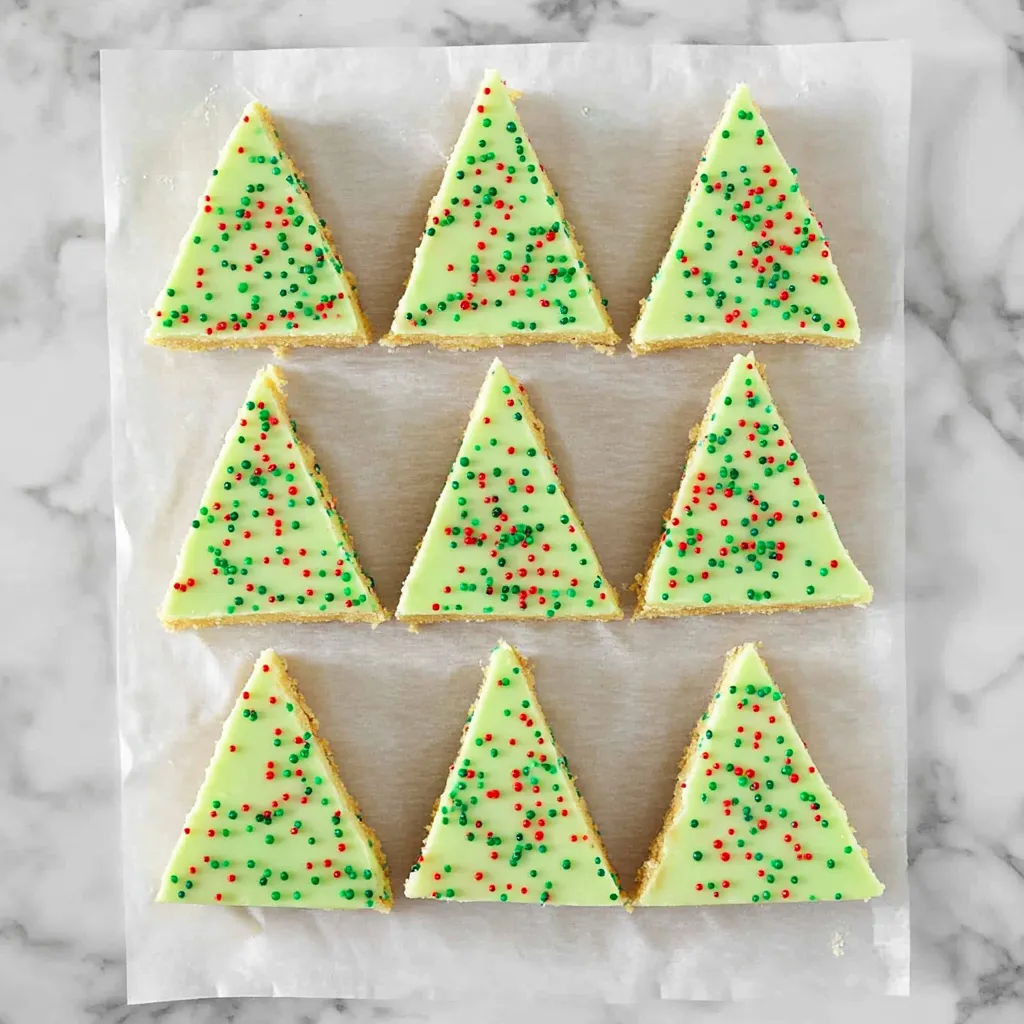
These Christmas tree sugar cookie bars bring all the joy of decorated holiday cookies without the hassle of rolling, cutting, and decorating individual pieces. The magic happens in a simple 9x13 pan where thick, soft sugar cookie dough transforms into perfectly portioned treats that look like miniature Christmas trees. With just a few strategic cuts and some green frosting, you'll have 24 beautiful cookies ready for your holiday spread in a fraction of the time traditional sugar cookies require.
I discovered this method during a particularly hectic December when I needed cookies for three different events but couldn't find time for my usual elaborate decorating routine. The first batch disappeared so quickly at my neighbor's party that I knew I'd found my new go-to holiday cookie solution.
Essential Ingredients and Selection Tips
- Unsalted butter: Room temperature butter creams perfectly with sugar and gives you complete control over the salt content; if using salted butter, skip the added salt in the recipe
- Almond extract: This secret ingredient elevates the flavor beyond ordinary vanilla, creating that bakery-quality taste that makes people ask for your recipe
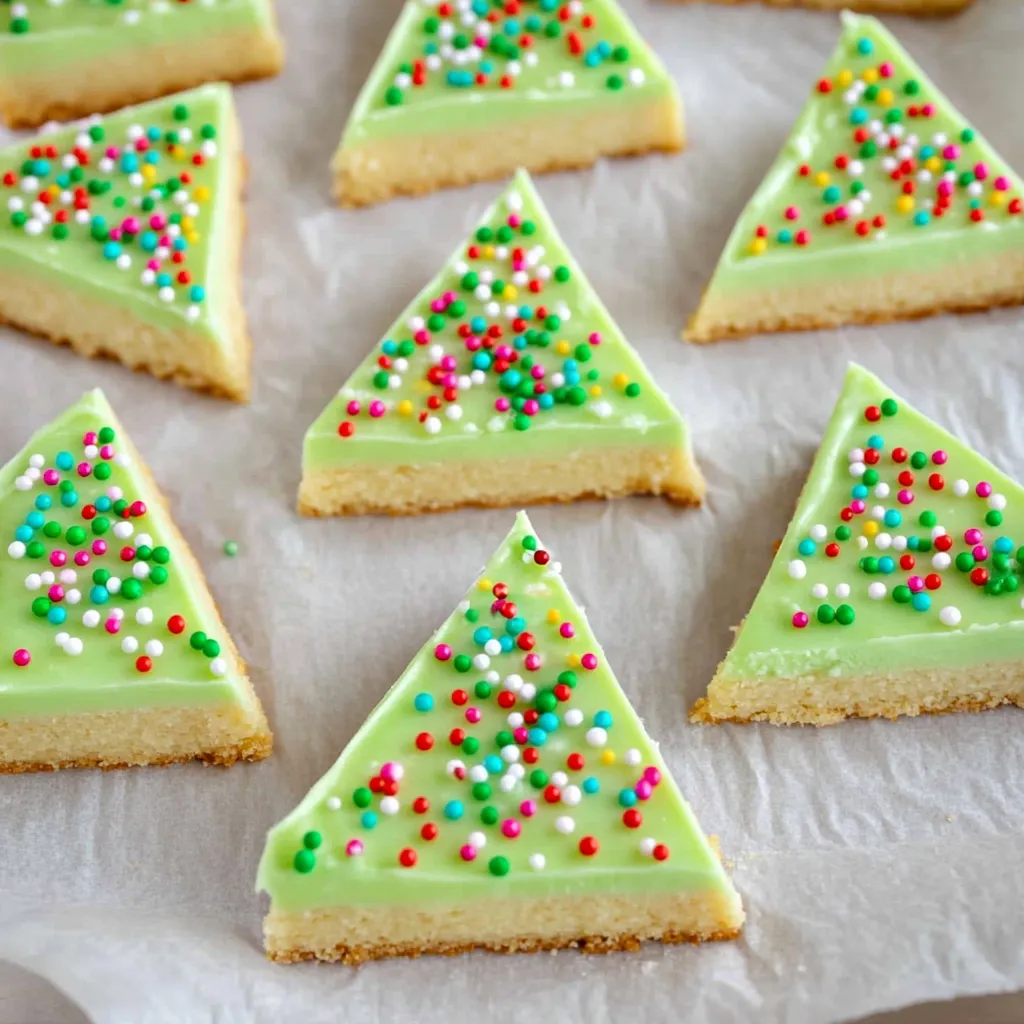
- Quality sprinkles: Choose nonpareil sprinkles or your favorite mix for the best visual impact; they stick better to fresh frosting and add delightful texture
- Light-colored metal pan: A 9x13 inch light metal pan ensures even baking and prevents the dreaded dark, overbaked edges that can ruin the soft texture
Detailed Step-by-Step Instructions
- Prepare your baking foundation:
- Preheat your oven to 350 degrees Fahrenheit and line a 9x13 inch pan with parchment paper, leaving about 2 inches of overhang on the long sides. This parchment sling becomes crucial later for lifting the entire batch out cleanly for cutting. Lightly spray the parchment with cooking spray to ensure easy removal, paying special attention to the corners where the paper might stick.
- Create the perfect sugar cookie base:
- In a large mixing bowl, cream the room temperature butter with granulated sugar until light and fluffy, about 3-4 minutes with an electric mixer. Beat in the egg, vanilla extract, and almond extract until fully incorporated. The mixture should look smooth and slightly pale. In a separate bowl, whisk together the flour, baking powder, and salt, then gradually add this to the butter mixture, mixing just until combined. The dough should feel soft and pliable, similar to playdough consistency when pinched between your fingers.
- Shape and bake with precision:
- Press the dough evenly into your prepared pan, using your hands or an offset spatula to create a uniform layer that reaches all corners. The surface should be smooth and level for even baking. Bake for 18-22 minutes, watching carefully for the moment when you see just the tiniest hint of golden brown around the edges. The center may look slightly underdone, but this is exactly what you want for soft, chewy bars. Remove from the oven and let cool completely in the pan.
- Prepare the festive frosting:
- While the bars cool, make your buttercream by beating softened butter until fluffy, then gradually adding powdered sugar, vanilla, and enough milk to reach a spreadable consistency. Add green food coloring drop by drop until you achieve your desired shade of Christmas tree green. If you want to add frosting stars, reserve 2 tablespoons of white frosting before adding the green coloring, then tint it yellow separately.
- Execute the decorating magic:
- Once your bars are completely cool, spread the green frosting evenly across the surface using an offset spatula. Work quickly and add sprinkles immediately after frosting each section, as the frosting sets fast and sprinkles won't stick once it firms up. For the cleanest look, use a gentle sprinkling motion rather than dumping them on, which can create uneven coverage.
- Master the cutting technique:
- Use the parchment overhang to lift the entire frosted bar out of the pan onto a cutting board. With a large, sharp knife, cut the rectangle in half horizontally, then cut each half in half again, creating four equal strips. Starting with the bottom strip, cut diagonal lines to create triangular tree shapes, wiping your knife clean with a warm, damp cloth between cuts to prevent frosting buildup. Continue with each strip until you have 24 perfect little trees.
 Pin it
My kids now request these every Christmas, and I've caught them sneaking the leftover edge pieces that don't get cut into trees. There's something magical about the combination of that tender, buttery cookie base with the sweet vanilla frosting that creates pure holiday comfort in every bite.
Frosting Consistency and Color Tips
Getting the perfect frosting consistency makes all the difference in both appearance and ease of spreading. The ideal texture should hold its shape when piped but spread smoothly when pushed with a spatula. If your frosting seems too thick, add milk one teaspoon at a time until it reaches the right consistency. For vibrant green color, gel food coloring works better than liquid versions and won't thin out your frosting.
Storage and Make-Ahead Strategies
These bars actually improve in flavor after sitting overnight, making them perfect for advance preparation. Store them in an airtight container at room temperature for up to a week, or freeze unfrosted bars for up to three months. When freezing, wrap individual portions in plastic wrap before placing in freezer bags to prevent freezer burn and make serving easier.
Creative Variations and Seasonal Adaptations
While green frosting creates classic Christmas trees, consider making winter wonderland versions with white frosting and silver sprinkles, or Santa hat cookies using red frosting with white frosting trim. During other seasons, adapt the cutting pattern to create different shapes - hearts for Valentine's Day, or simple rectangles for everyday treats. The base recipe works beautifully for any occasion.
Troubleshooting Common Issues
If your bars turn out too dry, they were likely overbaked or the dough was overmixed. Next time, watch the timing carefully and mix just until ingredients combine. Cracked tops usually indicate too much flour or oven temperature running hot. Frosting that slides off means the bars weren't completely cool, so always allow full cooling time even if you're in a rush.
Scaling for Different Crowd Sizes
This recipe doubles beautifully for large gatherings - simply use two 9x13 pans and adjust baking time slightly. For smaller batches, cut the recipe in half and use an 8x8 pan, reducing baking time by about 5 minutes. The cutting technique remains the same regardless of size, just adjust the number of cuts based on your pan dimensions.
The beauty of this recipe lies in its ability to deliver impressive results with minimal skill required. Whether you're an experienced baker or someone who rarely ventures beyond slice-and-bake cookies, these bars will make you look like a holiday baking expert. They capture all the festive spirit of traditional decorated cookies while being infinitely more practical for busy holiday schedules.
Frequently Asked Questions
- → Can I make these bars ahead of time?
- Yes! These bars stay fresh for up to a week in an airtight container or can be frozen for up to 2 months.
- → Why are my cookie bars too dry?
- This usually happens from adding too much flour. Use the spoon and level method when measuring flour for best results.
- → Do I need to use almond extract?
- The almond extract adds great flavor, but you can skip it or use extra vanilla extract if you prefer.
- → Can I use salted butter instead?
- Yes, just leave out the salt in the recipe if you're using salted butter.
- → How do I know when the bars are done baking?
- Look for the tiniest golden edges around the pan. The center might look underdone, but they'll finish cooking as they cool.
- → What's the best way to cut clean tree shapes?
- Chill the frosted bars for 30-60 minutes first, then use a sharp knife and clean it between cuts.