
 Pin it
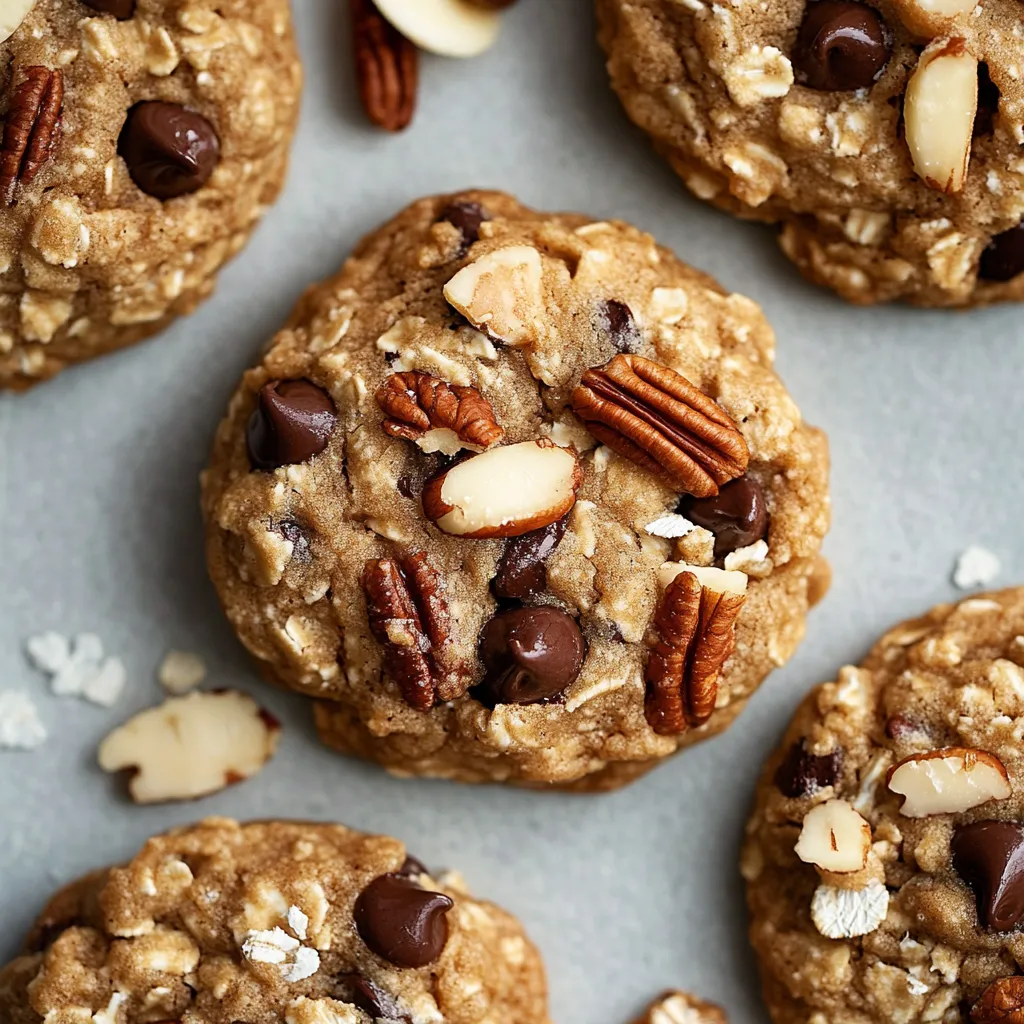
Cowboy cookies have this reputation for being everything-but-the-kitchen-sink treats, and honestly, that's exactly what makes them so appealing. These aren't your delicate tea cookies or your fussy French macarons - they're thick, substantial, loaded with oats, chocolate chips, coconut shreds, and pecans, giving you something different in every bite. The brown butter base takes these from good to genuinely memorable, adding a nutty depth that regular melted butter just can't match. I've been making variations of oatmeal cookies for years, but once I figured out this particular combination with the brown butter technique, every other version started tasting a bit plain by comparison. These cookies strike that perfect balance between chewy centers and slightly crisp edges, with enough texture variety from all the mix-ins that they never get boring.
The first time I made cowboy cookies, I was skeptical about the coconut addition because I'm usually not a coconut-in-baked-goods person. But something about how it works with the brown butter and pecans completely won me over - it adds this subtle sweetness and chew without screaming "coconut" at you. My neighbor, who claims she hates coconut, ate three of these cookies before I told her what was in them, and she refused to believe me until I showed her the bag of shredded coconut in my pantry. That's when I knew this recipe was special enough to become a regular in my rotation.
Ingredients and What Makes Them Essential
- Unsalted Butter (¾ cup, browned): Browning butter transforms it from simple fat into something complex and nutty by cooking the milk solids until they caramelize. You need unsalted butter so you can control the salt level in your cookies. When shopping, just grab a standard stick butter, not anything fancy or European-style for this recipe. The browning process is what makes it special, not the butter quality itself.
- Light Brown Sugar (½ cup) and Granulated Sugar (½ cup): Using both types of sugar creates the ideal texture and flavor. Brown sugar has molasses which keeps cookies chewy and adds a deeper, almost caramel-like sweetness. Granulated sugar helps with spreading and creates some crispness on the edges. Make sure your brown sugar is fresh and soft, not dried into hard chunks. If it's hardened, put a damp paper towel in the bag overnight to soften it.
- Large Egg (1 whole) plus 1 Egg Yolk: That extra yolk is the secret to getting cookies that stay tender and chewy instead of cakey or dry. Yolks contain fat and emulsifiers that create richness, while egg whites can make things tough if you have too much. Your eggs should be room temperature so they blend smoothly with the butter and sugar. Just leave them on the counter for thirty minutes before you start baking.
- Vanilla Extract (1 ½ teaspoons) and Almond Extract (½ teaspoon): Pure vanilla is non-negotiable in cookies - the imitation stuff has a chemical aftertaste that's especially noticeable in simple recipes like this. The almond extract might seem optional, but it amplifies all the nutty flavors from the brown butter and pecans. If you don't have almond extract, you can use all vanilla, but grab a small bottle of almond extract next time you're at the store because it's a game-changer in so many baked goods.
- All-Purpose Flour (1 ½ cups): Standard all-purpose flour is what you want here, not bread flour or cake flour. The protein content in all-purpose flour gives you the right structure without making cookies tough. This is one of those measurements where you absolutely must use the spoon-and-level method - scoop flour into your measuring cup with a spoon, then level it off with a knife. Scooping directly with the cup packs in way too much flour and will give you dry, hard cookies.
- Baking Soda (½ teaspoon) and Baking Powder (½ teaspoon): Using both leaveners gives you the best rise and texture. Baking soda reacts with the brown sugar's acidity and creates spread, while baking powder provides a bit of lift. Make sure both are fresh - if your baking soda is older than six months or your baking powder is past its date, they lose potency and your cookies won't rise properly.
- Salt (½ teaspoon): Don't skip or reduce the salt even if it seems like a lot. Salt balances the sweetness and makes all the other flavors pop. If you're using salted butter instead of unsalted, reduce this to ¼ teaspoon.
- Old-Fashioned Rolled Oats (1 ½ cups): These are the thick, flat oats you see in cylindrical containers, not the quick oats or instant oats. Old-fashioned oats keep their texture during baking and give you that characteristic chewiness. Quick oats will work in a pinch but your cookies will be less substantial and more cake-like. Never use steel-cut oats for cookies - they're too hard and won't soften properly during the short baking time.
- Sweetened Shredded Coconut (¾ cup): Get the sweetened kind, not unsweetened, and make sure it's shredded, not flaked. The sweetened coconut adds moisture and flavor, while unsweetened can be dry and contribute less to the overall taste. You'll find this in the baking aisle near the chocolate chips.
- Pecans (¾ cup, roughly chopped): Pecans have a buttery, sweet flavor that works perfectly with brown butter. Chop them roughly so you get some bigger pieces and some smaller crumbs - this variety in size creates better texture distribution. You can buy them already chopped or whole and chop them yourself. If pecans are pricey, walnuts work almost as well and are usually cheaper.
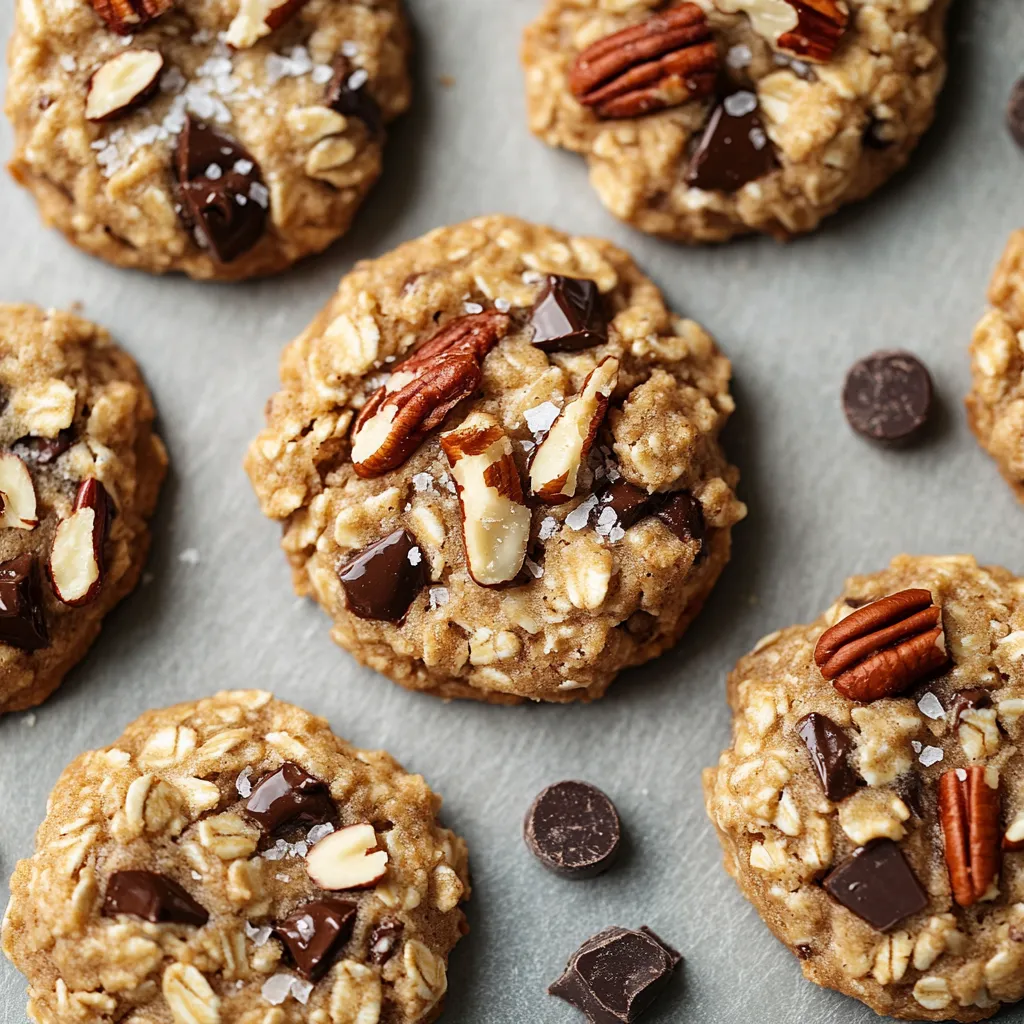
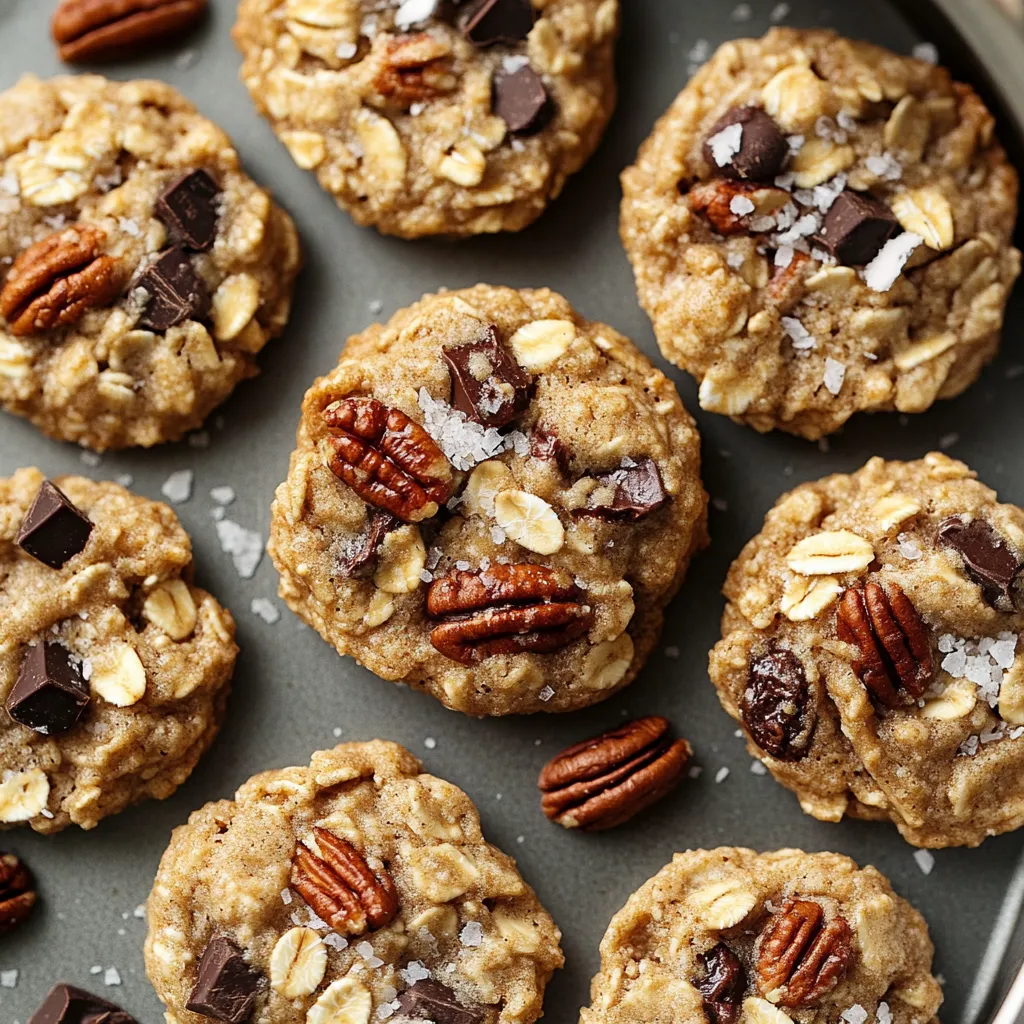
- Semi-Sweet Chocolate Chips (1 cup): Semi-sweet hits the right balance of chocolate flavor without being too bitter or too sweet. You can use milk chocolate if you prefer sweeter cookies, or dark chocolate if you like more intensity. Save a few tablespoons to press into the tops of cookies before baking for that bakery-style look.
Step-by-Step Instructions
- Brown the Butter:
- Place ¾ cup of unsalted butter (that's 1 ½ sticks) in a light-colored saucepan - using a light-colored pan is important because you need to see the color change as the butter browns. Set the pan over medium heat and let the butter melt completely, swirling the pan occasionally. Once melted, the butter will start to foam and bubble. Keep watching it closely and swirling the pan every fifteen seconds or so. You'll hear the butter crackling and popping as the water content evaporates. After about five to seven minutes total, the bubbling will start to calm down and you'll notice small brown specks forming at the bottom of the pan - these are the milk solids toasting. The butter will smell incredibly nutty and fragrant, almost like roasting nuts. Watch carefully now because it can go from perfectly browned to burned in seconds. Once you see those golden-brown milk solids and smell that nutty aroma, immediately remove the pan from heat and pour the brown butter into a heatproof bowl to stop the cooking. Let it cool for about ten minutes until it's warm but not hot - you should be able to hold the bowl comfortably. If you use hot brown butter, it'll melt your sugars too much and affect the texture.
- Mix the Wet Ingredients:
- Pour your slightly cooled brown butter into a large mixing bowl. Add ½ cup of packed light brown sugar and ½ cup of granulated sugar directly to the brown butter. Use a whisk or sturdy wooden spoon to beat these together vigorously for about two minutes. You want the mixture to lighten slightly in color and become smooth and glossy - this is important because you're dissolving the sugar crystals and creating the base texture for your cookies. The sugars won't fully dissolve since the butter isn't hot, but they should be well incorporated. Now crack in one whole large egg plus one egg yolk (save that extra egg white for scrambled eggs tomorrow). Add 1 ½ teaspoons of vanilla extract and ½ teaspoon of almond extract. Whisk everything together until completely smooth and uniform, with no streaks of egg visible. The mixture should look thick, glossy, and pale golden-brown. This vigorous mixing at this stage incorporates just enough air to give your cookies a good texture without making them cakey.
- Prepare the Dry Ingredients:
- In a separate medium bowl, measure out 1 ½ cups of all-purpose flour using the spoon-and-level method. Add ½ teaspoon of baking soda, ½ teaspoon of baking powder, ½ teaspoon of salt, and ¼ teaspoon of cinnamon if you're using it. Whisk these dry ingredients together thoroughly for about thirty seconds, making sure the leaveners and salt are evenly distributed throughout the flour. This whisking step is important because it prevents you from getting pockets of baking soda or salt in your finished cookies. Set this bowl aside for now.
- Combine Wet and Dry:
- Pour the dry ingredient mixture into the bowl with your wet ingredients. Using a sturdy wooden spoon or a silicone spatula, fold the flour mixture into the wet mixture using gentle motions. Don't stir aggressively or beat it - you want to fold and press until you stop seeing dry flour pockets, but don't mix beyond that point. The dough will look thick and a bit shaggy at this stage. Overmixing develops gluten which makes cookies tough and dense, so stop as soon as everything is barely combined. Now add your 1 ½ cups of old-fashioned oats, ¾ cup of sweetened shredded coconut, ¾ cup of roughly chopped pecans, and 1 cup of chocolate chips. Fold these mix-ins in gently but thoroughly, making sure they're evenly distributed throughout the dough. You want to see mix-ins throughout, not all clumped in one area. The dough will be thick, almost like wet clay, and should hold together well when pressed.
- Chill the Dough:
- This is a step you really shouldn't skip even though it's tempting. Cover the bowl with plastic wrap or a clean kitchen towel and place it in the refrigerator for at least fifteen minutes, though thirty minutes is even better if you have the time. This chilling period serves multiple purposes - it allows the oats to absorb some moisture from the dough so your cookies won't spread too thin, it lets the flour fully hydrate which improves texture, and it firms up the butter so the cookies hold their shape better during baking. If you skip this step, your cookies may spread into thin, crispy discs instead of staying thick and chewy. While the dough chills, preheat your oven to 350°F and line two baking sheets with parchment paper or silicone baking mats.
- Shape the Cookies:
- Remove the chilled dough from the refrigerator. Using a cookie scoop or a spoon, portion out about 2 tablespoons of dough for each cookie - they should be roughly the size of a golf ball. Roll each portion between your palms to form a ball, then place them on your prepared baking sheets, leaving about 3 inches between each cookie since they'll spread during baking. You should fit about 6 cookies per standard baking sheet. If you want them to spread more evenly, you can gently press down on each dough ball with the palm of your hand to flatten it slightly, but this isn't required. For that professional bakery look, press a few extra chocolate chips and pecan pieces into the top of each dough ball right before baking.
- Bake the Cookies:
- Place one baking sheet in the center of your preheated 350°F oven. Set a timer for 9 minutes for softer cookies or 11 minutes if you prefer them with slightly crispier edges. The cookies are done when the edges look set and lightly golden brown but the centers still look slightly underdone and puffy. They'll look too soft and you'll think they need more time, but resist that urge. The cookies will continue baking on the hot pan even after you remove them from the oven, so taking them out when they look slightly underdone is the key to getting chewy cookies. If you wait until they look completely done in the oven, they'll be overdone and hard once they cool. Let the cookies sit on the baking sheet for 5 minutes after removing them from the oven - they'll firm up during this time. Then use a spatula to transfer them to a wire cooling rack to cool completely. Repeat with remaining dough, making sure your baking sheets have cooled down between batches or your cookies will spread too much.
 Pin it
My husband has never been particularly interested in my baking experiments - he's the type who politely eats whatever I make but rarely asks for seconds. These cowboy cookies are the exception. The first batch I made, he ate four cookies in one sitting and then asked if I could make them again that same week. My teenage son, who survives mainly on cereal and sandwiches, actually requested I pack these in his lunch for three days straight. Even my mother, who watches her sugar intake carefully and usually declines desserts, admitted these were worth the indulgence. They've become my family's most-requested cookie, beating out even my chocolate chip recipe that I spent years perfecting.
The Science Behind Cookie Texture
Understanding what creates chewiness versus crispiness in cookies helps you troubleshoot when things don't turn out quite right. Chewy cookies have a higher ratio of moisture to flour, which comes from ingredients like brown sugar, egg yolks, and in this case, the coconut and oats which both retain moisture during baking. The brown butter being liquid rather than solid also contributes to chewiness because liquid fats create a more tender crumb than solid fats. Baking at a moderate temperature allows the cookies to bake through without drying out the edges before the centers are done. Taking cookies out when they still look slightly underdone is crucial because the residual heat continues the baking process while keeping the interior soft. Letting them cool on the pan for those five minutes allows the structure to set up properly without overbaking. If your cookies turn out too crispy, you've likely overbaked them, used too much flour, or didn't chill the dough long enough to prevent excessive spreading.
Ingredient Substitutions and Their Effects
When you start swapping ingredients in cookie recipes, it's helpful to understand how each change affects the final result. If you replace pecans with walnuts, your cookies will taste slightly more bitter and earthy rather than sweet and buttery. Using almonds instead creates more crunch and a cleaner nut flavor. Swapping semi-sweet chocolate chips for dark chocolate makes the cookies less sweet and more intense, while milk chocolate chips make them sweeter and creamier. If you use unsweetened coconut instead of sweetened, you'll need to add an extra tablespoon or two of sugar to compensate, and the cookies won't stay as moist. Quick oats instead of old-fashioned oats will give you a finer texture and less chewiness. Replacing the brown sugar entirely with white sugar removes that caramel depth and makes cookies crisper and less chewy. You can play with these substitutions once you've made the original recipe, but understanding the role each ingredient plays prevents disappointing batches when you experiment.
Proper Cookie Storage Methods
How you store these cookies makes the difference between them staying perfect for days versus turning hard or stale overnight. Once the cookies have cooled completely, place them in an airtight container - and I mean truly airtight, not just a container with a loose-fitting lid. Layer parchment paper between cookie layers if you're stacking them to prevent sticking. Store them at room temperature in a cool, dry place, not in the refrigerator which will dry them out. Adding a piece of bread to the container is an old trick that works - the cookies will absorb moisture from the bread, keeping them soft while the bread hardens. Replace the bread every couple days. If you live in a humid climate, your cookies might actually soften too much in storage, in which case you can leave them uncovered for an hour to let excess moisture evaporate. For long-term storage, freeze baked cookies in a freezer bag with all the air pressed out - they'll keep for three months and taste fresh after thawing at room temperature for an hour.
The Art of Freezing Cookie Dough
Freezing cookie dough is one of the best kitchen strategies for anyone who loves fresh-baked cookies without the full effort every time. After mixing your dough completely with all the mix-ins, shape it into individual cookie balls and place them on a parchment-lined baking sheet in a single layer. Freeze them solid for about two hours until they're hard as rocks. Once frozen solid, transfer them to a freezer bag, label it with the cookie type and date, and squeeze out all the air before sealing. These frozen dough balls will keep for three months in the freezer. When you want fresh cookies, you don't even need to thaw them - just place the frozen dough balls on a baking sheet and add one or two minutes to the regular baking time. This means you can bake one cookie or a dozen cookies whenever the craving hits, without dirtying every bowl in your kitchen. The texture is actually sometimes better when baking from frozen because the cold dough doesn't spread as much before the edges set, giving you thicker cookies.
Troubleshooting Common Cookie Problems
When cookies don't turn out right, there's always a reason, and figuring it out helps you fix the problem for next time. If your cookies spread too thin and turned into crispy discs, the dough was probably too warm, you didn't chill it long enough, you used too much butter, or your oven temperature was too low. If they didn't spread at all and stayed in tall domes, you may have used too much flour, your butter wasn't properly softened or cooled, or your oven was too hot. Cookies that are hard and dry either baked too long, had too much flour, or not enough fat. If the centers are raw while the edges are burnt, your oven temperature is wrong and you need an oven thermometer to check it. Cookies that taste bland probably need more salt - it sounds counterintuitive but salt makes all the other flavors pop. If the brown butter flavor isn't coming through, you either didn't brown it enough or you added mix-ins with such strong flavors that they overpowered the butter. Most cookie problems come down to measuring errors, oven temperature issues, or timing mistakes, all of which are easy to fix once you identify them.
 Pin it
These cowboy cookies have earned their place as one of my absolute favorite things to bake, right up there with my tried-and-true chocolate chip cookies that I've been making for twenty years. There's something deeply satisfying about pulling a pan of these out of the oven and seeing all those mix-ins studded throughout, smelling that incredible brown butter aroma, and knowing that in about ten minutes you'll bite into something that hits every texture and flavor note perfectly. They're substantial enough to feel like a real treat, not some wimpy little cookie that disappears in two bites. The brown butter step might seem fussy, but I promise after you've done it twice, it becomes automatic, and you'll start wondering what else you can add brown butter to because it makes everything taste better. Whether you stick with the classic mix-ins or start experimenting with your own combinations, this base recipe gives you a reliable, crowd-pleasing cookie that works for everything from casual weeknight desserts to holiday cookie plates.
Frequently Asked Questions
- → Why do I need to brown the butter first?
- Browning the butter adds a rich, nutty flavor that makes these cookies taste even better. It's worth the extra few minutes.
- → Can I skip the coconut if I don't like it?
- Yes, you can leave out the coconut and add more oats or chocolate chips instead. The cookies will still turn out great.
- → How do I keep these cookies chewy?
- The key is to slightly underbake them. Take them out when the edges are set but centers still look a bit soft. They'll firm up as they cool.
- → Can I freeze the cookie dough?
- Absolutely. Scoop the dough into balls and freeze them for up to 3 months. Bake straight from frozen, just add an extra minute or two.
- → Why are they called cowboy cookies?
- They're loaded with hearty ingredients like oats and nuts, giving them a rustic, filling quality that cowboys would have appreciated on the trail.
- → Do I have to use pecans?
- No, you can swap pecans for walnuts, almonds, or leave out the nuts completely if you have allergies.