
 Pin it
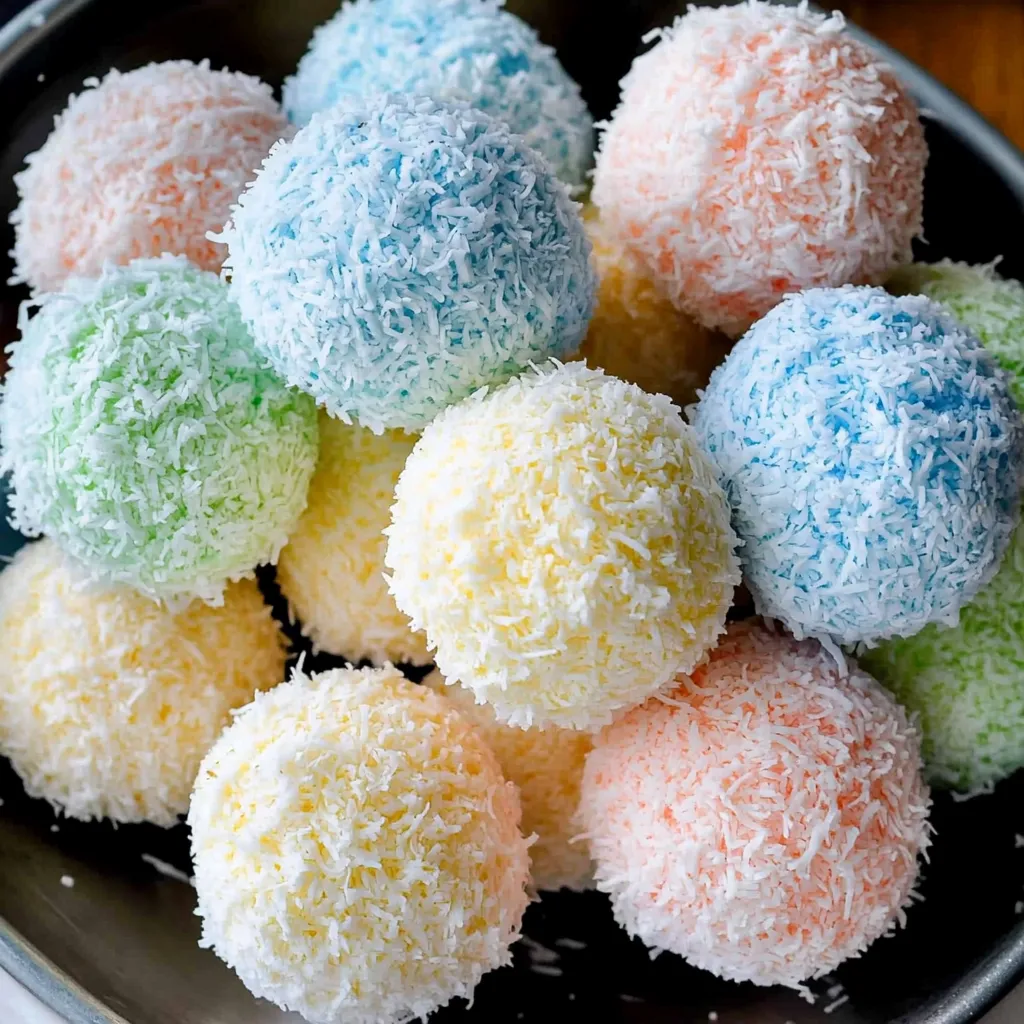
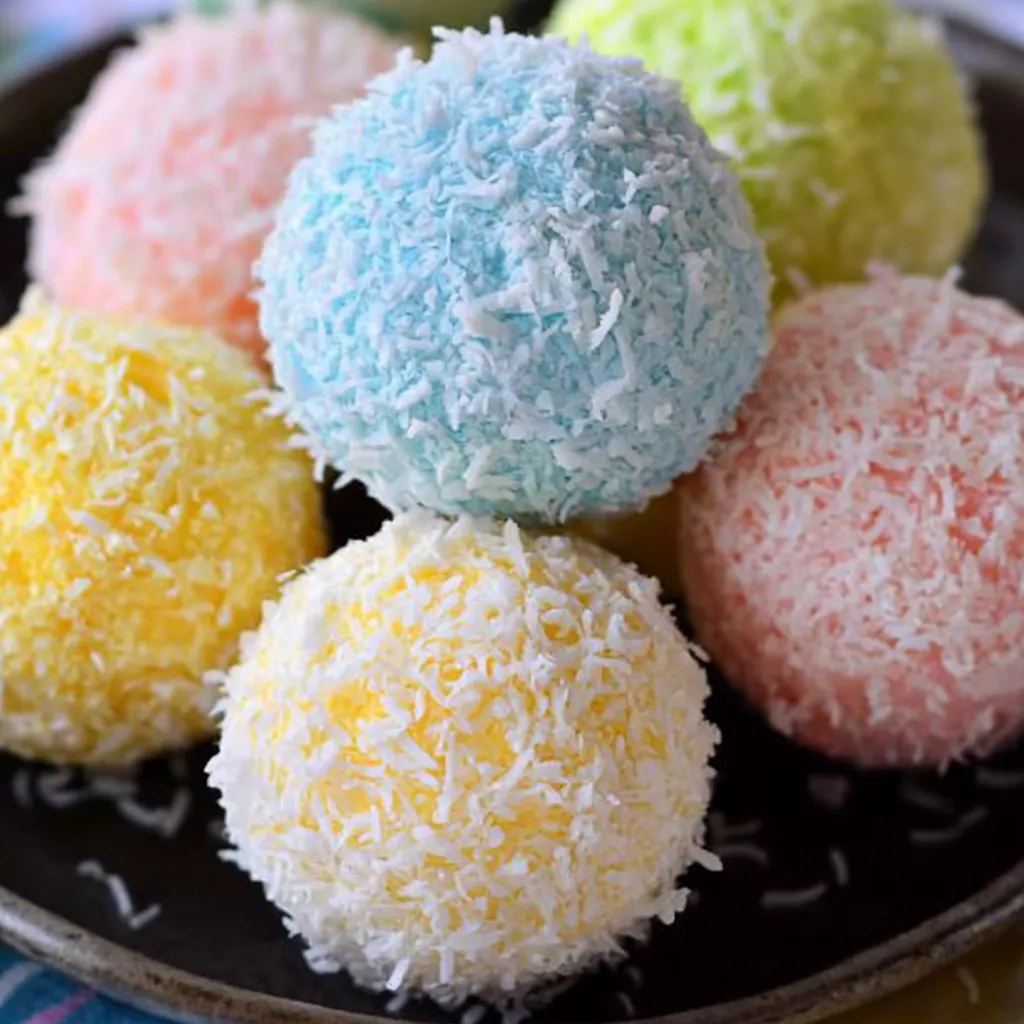
These Easter Bunny Coconut Tails transform simple ingredients into adorable, no-bake treats that capture the spirit of spring. Vibrant pastel-colored coconut encases sweet, chewy centers for a delightful contrast of texture and color. Perfect for Easter festivities, these bite-sized confections are as fun to make as they are to eat—and they're guaranteed to become a new holiday tradition.
I first made these with my niece who was so delighted by the process of dyeing the coconut into rainbow colors that she insisted we make them again the next day. What surprised me most was how something so simple could create such visual impact on our Easter dessert table—they truly became the centerpiece of our celebration.
Essential Ingredients
- Unsweetened coconut – The star ingredient that creates both the inner texture and the fluffy outer coating; medium shred works best for the interior while fine shred creates that perfect bunny tail appearance
- Sweetened condensed milk – Provides sweetness and acts as the binding agent that holds everything together; its thick consistency helps create the perfect texture
- Butter – Adds richness and helps the balls maintain their shape when chilled
- Confectioner's sugar – Its fine texture blends seamlessly into the mixture, adding sweetness without graininess
- Liquid food coloring – Essential for achieving those vibrant pastel hues; liquid works better than gel for evenly coating the coconut
Step-By-Step Cooking Instructions
- Prepare the coconut ball mixture –
- In a large mixing bowl, combine one 14-ounce can of sweetened condensed milk with 1/4 cup of room temperature butter and 1 teaspoon of vanilla extract. Whisk these ingredients together until they're completely smooth with no lumps of butter remaining. This creates the rich, sweet base for your coconut tails. Add 5 cups of medium shredded unsweetened coconut and 1/2 cup of confectioner's sugar to the mixture. Stir thoroughly until all ingredients are well incorporated and every shred of coconut is coated with the sweet mixture. The texture should be thick and sticky but still workable.
- Chill the mixture –
- Cover the bowl with plastic wrap and place it in the refrigerator for at least 15 minutes. This crucial chilling step allows the mixture to firm up just enough to roll into balls without being too sticky to handle. While the mixture is chilling, prepare your colored coconut for coating the balls. The time in the refrigerator also allows the coconut to absorb some of the moisture and sweetness from the condensed milk, resulting in a more cohesive texture.
- Color the coating coconut –
- Place 1/2 cup of fine shredded unsweetened coconut in a small mixing bowl. Add 3-4 drops of liquid food coloring – blue, green, yellow, pink, or whatever spring colors you prefer. Using a hand-held mixer on low speed, blend the color into the coconut until you achieve an even, consistent shade throughout. The mixer helps break up any clumps of food coloring and distributes it evenly among the coconut shreds. Repeat this process with fresh coconut and different colors until you have all your desired pastel shades prepared. Be sure to wipe out the bowl between colors to maintain the purity of each shade.
- Form the coconut balls –
- Remove the chilled coconut mixture from the refrigerator. Using a measuring spoon, scoop out 1 1/2 teaspoon portions of the mixture. Roll each portion between the palms of your hands to form a smooth, round ball. Work quickly so the mixture doesn't warm up too much from the heat of your hands. If the mixture becomes too soft to work with, return it to the refrigerator for a few minutes to firm up again. Place each formed ball on a plate or tray until you're ready to coat them.
- Apply the colorful coating –
- Place each plain coconut ball into a bowl of colored coconut. Gently roll it around until it's completely covered with the vibrant coconut coating. The moisture from the ball will help the colored coconut adhere naturally. If needed, you can lightly press the coating onto the ball to ensure good coverage. Arrange the coated balls on a parchment-lined baking sheet, keeping each color grouped together for visual impact. The contrast between the different pastel colors creates a beautiful Easter display.
- Chill to set –
- Place the entire baking sheet in the refrigerator for at least one hour to allow the balls to set completely. This final chilling step is essential for the balls to hold their shape and for the colored coconut coating to fully adhere. Once set, you can transfer the bunny tails to a container for storage, placing parchment paper between layers if you're stacking them. Keep refrigerated until about 10 minutes before serving to maintain their optimal texture.
 Pin it
Make-Ahead and Storage Tips
These Easter treats are perfect for advance preparation. Once fully chilled and set, they can be stored in an airtight container in the refrigerator for up to a week. Place parchment paper between layers if you need to stack them to prevent the colors from transferring between balls.
For longer storage, these freeze beautifully for up to two months. Simply place them in a freezer-safe container with parchment paper between layers. When ready to serve, transfer them to the refrigerator to thaw overnight, then allow them to sit at room temperature for about 10 minutes before serving.
If you're planning an Easter gathering, I recommend making these a few days in advance. This not only saves time during the busy holiday but actually improves the flavor as the ingredients have more time to meld together.
Tips for Working with Children
- Pre-measure ingredients into small bowls so little ones can simply pour and mix.
- For very young children, have the coconut mixture pre-chilled and ready to roll, letting them focus on the fun part of coating the balls in colored coconut.
- Consider setting up a "color station" with different bowls of colored coconut where kids can choose which colors to use for each ball.
- Provide child-sized measuring spoons to help them portion the mixture consistently.
My grandmother always said the best holiday traditions are the ones that bring families together in the kitchen. When making these with my nieces, I'm reminded of her wisdom—these simple treats create moments of connection and joy that extend far beyond the dessert table. The children's pride in their colorful creations becomes part of what makes the holiday special.
I've been making versions of these coconut treats for several Easter gatherings, and what I love most is how such simple ingredients can create something so visually stunning and delicious. There's something magical about the way these colorful little bites bring smiles to people of all ages—they truly capture the joy and brightness of the spring season.
Frequently Asked Questions
- → Can I make Easter Bunny Coconut Tails ahead of time?
- Yes! You can make these treats up to 3 days ahead. Store them in an airtight container in the refrigerator.
- → Can I use sweetened coconut instead?
- You can, but the treats will be much sweeter. If using sweetened coconut, consider reducing the confectioner's sugar.
- → How do I get vibrant colors on the coconut?
- Gel food coloring works better than liquid for brighter colors. Add the coloring gradually until you reach your desired shade.
- → Can I freeze these coconut treats?
- Yes, they freeze well for up to 1 month. Thaw in the refrigerator overnight before serving.
- → Why are my coconut balls not holding their shape?
- Make sure you've chilled the mixture long enough before shaping. If they're still too soft, chill the mixture longer or add a bit more coconut.