
 Pin it
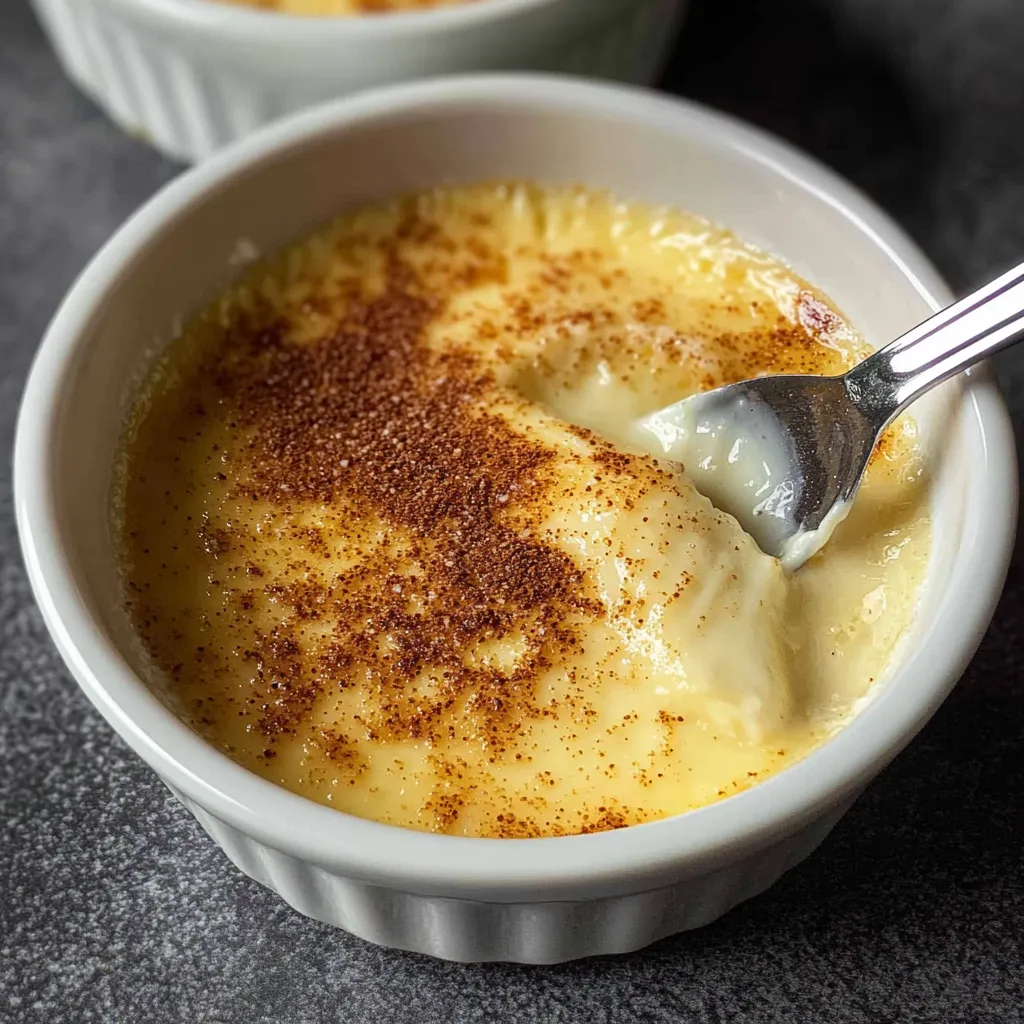
This timeless baked custard recipe delivers silky, creamy perfection with every spoonful. Made with just six simple ingredients, this old-fashioned dessert creates pure comfort in a cup. The gentle vanilla flavor and delicate texture transport you back to grandmother's kitchen, where the simplest treats were often the most treasured.
I made this custard last Sunday when my mother-in-law came for dinner, and she closed her eyes with the first bite, saying it tasted exactly like the one her grandmother made when she was a child. There's something magical about how these simple ingredients transform into something that creates such powerful memories.
Ingredients:
- Eggs - The foundation of any true custard, providing both structure and richness. Fresh eggs at room temperature blend more easily with other ingredients, creating that perfectly silky texture we're after.
- Sugar - White granulated sugar dissolves beautifully into the mixture, creating just the right level of sweetness without overwhelming the delicate vanilla flavor. The proper amount also helps achieve that characteristic creamy mouthfeel.
- Salt - Just a pinch elevates all the other flavors while balancing the sweetness. Don't skip this humble ingredient—it's the secret to depth of flavor in many simple desserts.
- Vanilla extract - The primary flavoring that gives this custard its soul. Pure vanilla extract provides the best flavor, infusing the custard with warm, aromatic notes that artificial vanilla simply can't match.
- Milk - Creates the creamy base that carries all the other flavors. Using 2% milk provides enough richness without being too heavy, though whole milk works beautifully for an even more luxurious result.
- Nutmeg - This warming spice adds a subtle complexity that perfectly complements the vanilla. Freshly grated nutmeg offers a more pronounced, aromatic quality that pre-ground simply can't match.
Instructions:
- Prepare your baking environment by positioning an oven rack in the center position and preheating your oven to 325°F (165°C). This moderate temperature is crucial for the gentle cooking that custard requires. Gather six 6-ounce custard cups or ramekins and arrange them in a large baking pan with at least 2-inch sides. The size of your baking dish should be large enough to hold all the ramekins without them touching each other or the sides of the pan, yet small enough that the water bath will reach at least halfway up the sides of the custard cups.
- Scald the milk properly by pouring 2½ cups of milk into a heavy-bottomed saucepan over medium heat. Stir it frequently with a wooden spoon or silicone spatula to prevent a skin from forming on the surface. Watch for the first tiny bubbles to appear around the edges of the pan and for steam to begin rising from the surface—indicators that the milk has reached approximately 180°F. This crucial step helps create a smoother texture in the finished custard. Remove from heat immediately before it comes to a full boil, as boiling can alter the milk proteins and affect your final result.
- Prepare the egg mixture while the milk is heating by combining 3 large eggs, ½ cup sugar, ¼ teaspoon salt, and 1½ teaspoons pure vanilla extract in a medium bowl. Whisk these ingredients together gently but thoroughly until well blended. You want to incorporate air into the mixture for lightness without creating too many bubbles which could mar the smooth surface of your finished custard. The mixture should be a pale yellow color with the sugar mostly dissolved.
- Temper the eggs carefully to prevent them from curdling when combined with the hot milk. This critical step requires patience and attention. While whisking the egg mixture constantly with one hand, use your other hand to very slowly drizzle about 1 cup of the hot milk into the eggs in a thin, steady stream. This gradually raises the temperature of the eggs without cooking them. The continuous whisking distributes the heat evenly throughout the mixture, maintaining a smooth consistency that's essential for perfect custard.
- Complete the custard mixture by slowly adding the tempered egg mixture back into the remaining hot milk in the saucepan, stirring constantly to fully incorporate everything. Once combined, pour or ladle the custard mixture through a fine-mesh sieve into a clean bowl or measuring cup with a pouring spout. This extra step strains out any tiny bits of cooked egg or milk skin, ensuring your custard will have that characteristic silky-smooth texture. The straining also helps remove any air bubbles that may have formed during whisking.
- Prepare the water bath by bringing a kettle or pot of water to a simmer while you fill your ramekins. Pour the strained custard mixture evenly among the six custard cups, filling each about three-quarters full. Sprinkle a light dusting of nutmeg over the surface of each custard—just enough to add a subtle aroma and visual appeal without overpowering the delicate vanilla flavor. Place the baking dish with the filled ramekins on the oven rack, then carefully pour the hot water into the baking dish until it reaches halfway up the sides of the custard cups. Be extremely careful not to splash any water into the custard mixture.
- Bake with patience for approximately 35-40 minutes, depending on the size and depth of your custard cups. The custards should be set around the edges but still have a slight jiggle in the center when gently shaken—much like the consistency of gelatin. A more precise test is to insert a clean knife about an inch from the center; it should come out clean when the custard is properly set. If you have an instant-read thermometer, the internal temperature should read 170-175°F. Avoid overbaking, which can cause the custard to become rubbery and develop unsightly cracks or bubbles on the surface.
 Pin it
I discovered by accident that allowing the filled ramekins to rest for about 10 minutes before baking gives the vanilla flavor time to bloom and infuse throughout the mixture. My grandmother always said patience was the secret ingredient in custard, and she was absolutely right!
Understanding Custard Science
The magic of custard lies in the precise interplay between eggs, sugar, and heat. Eggs contain proteins that unravel and reconnect when heated, creating a delicate network that transforms the liquid ingredients into a soft, semi-solid state. Sugar not only adds sweetness but interferes with this protein network just enough to prevent it from becoming too firm—it's this balance that gives custard its characteristic trembling texture. The water bath moderates the temperature, ensuring that the eggs set gradually and evenly without becoming tough. Understanding this science helps explain why rushing the process or adjusting ingredient ratios drastically can lead to disappointing results.
Troubleshooting Common Issues
Even experienced bakers occasionally encounter challenges with custard. If your custard develops a pockmarked surface, your oven temperature was likely too high or the custard was placed too close to the top heating element. For custard with a weepy, watery layer at the bottom, it was probably overbaked, causing the proteins to contract and squeeze out moisture. Should you find small patches of cooked egg in your custard, the eggs weren't tempered properly. The good news is that most custard issues are cosmetic rather than flavor-related, and even imperfect custard is usually delicious! With each batch you make, you'll develop an intuitive sense for the process.
Serving and Storage Suggestions
While many enjoy custard still slightly warm from the oven, I find its flavor reaches peak perfection after being chilled for at least four hours. This resting time allows the vanilla notes to deepen and the texture to become even more velvety. For serving, a light dusting of additional freshly grated nutmeg adds both visual appeal and an aromatic element that enhances the eating experience. Custard can be stored in the refrigerator for up to three days, though it's rare for it to last that long in my household! Cover each ramekin with plastic wrap after they've cooled completely, pressing the wrap directly onto the surface of the custard to prevent a skin from forming.
I've been making this custard recipe for nearly twenty years, tweaking it slightly each time until reaching this perfect version. It began as a way to use up extra eggs from my neighbor's chickens and evolved into our family's most requested dessert. There's something deeply satisfying about creating such a remarkable texture and flavor from humble pantry staples. My father, who grew up on a farm during leaner times, says this custard reminds him of Sunday dinners when his mother would save enough eggs and milk to make this special treat. In our fast-paced world of complicated desserts, there's something to be said for the quiet perfection of a well-made custard.
Frequently Asked Questions
- → Can I use whole milk instead of 2%?
- Yes, whole milk works great and will make an even richer custard. You can also use 1% milk for a lighter version, though the texture won't be quite as creamy.
- → Why do I need to use a water bath?
- The water bath helps the custard cook gently and evenly, preventing cracks and giving you that perfect silky-smooth texture.
- → Can I make this custard ahead of time?
- Absolutely! These custards keep well in the refrigerator for up to 3 days. Just cover them once they've cooled completely.
- → What can I serve with baked custard?
- A dollop of whipped cream is classic, but fresh berries, a drizzle of caramel, or a sprinkle of cinnamon also pair beautifully.
- → Why is my custard watery?
- Watery custard usually means it's undercooked. Make sure to bake until a knife inserted in the center comes out clean, even if it takes a few extra minutes.
- → Can I make this in one large dish instead of ramekins?
- Yes, you can use a 1.5-quart baking dish instead. You'll need to increase the baking time to about 50-60 minutes.