
 Pin it
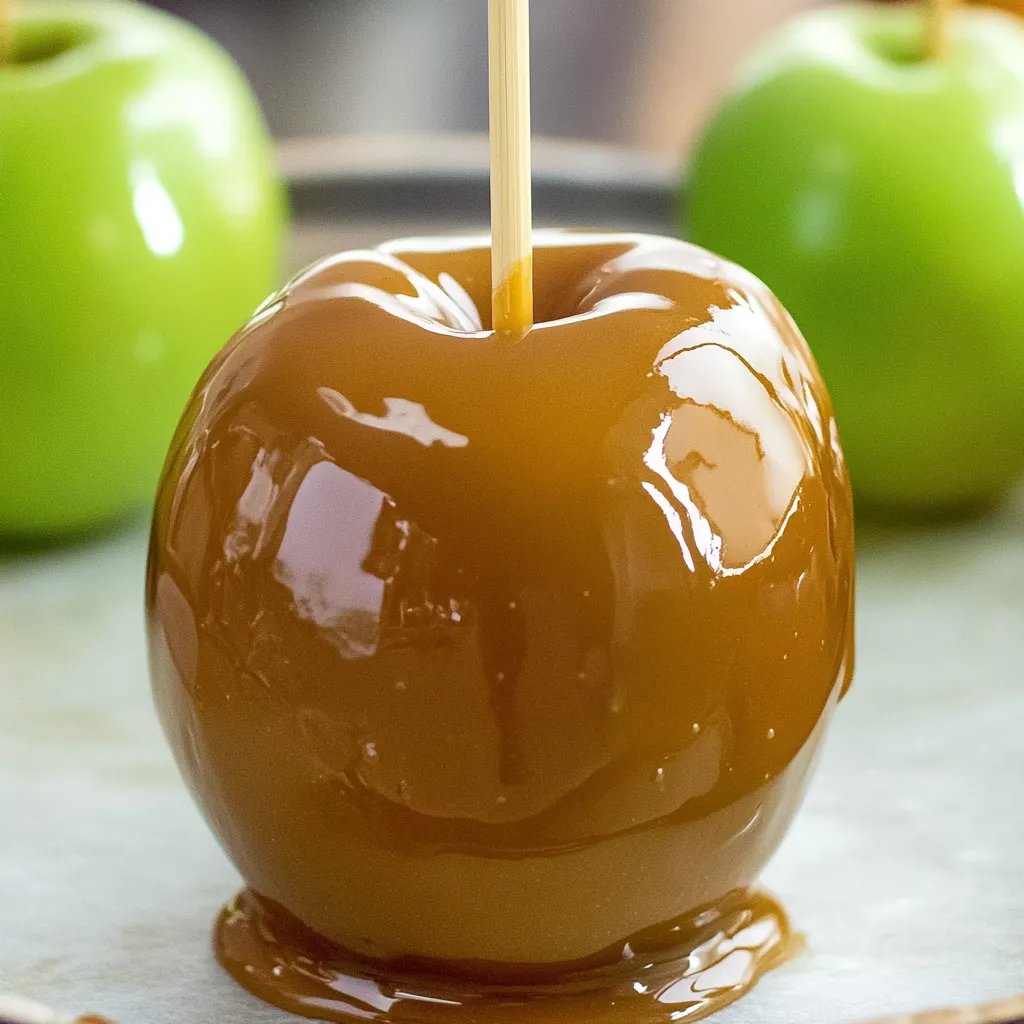
Dipping crisp apples into homemade caramel creates a fall treat that tastes infinitely better than anything store-bought. The buttery caramel coating clings perfectly to each apple, staying chewy instead of rock-hard thanks to corn syrup that keeps sugar crystals from forming. Tart Granny Smith apples balance the sweet caramel beautifully, and you can leave them plain or roll them in nuts, chocolate, sprinkles, or crushed cookies for gourmet versions. Making these at home lets you control exactly how thick the caramel coating is and what toppings you add, creating customized apples that suit your preferences perfectly.
Caramel apples became my favorite fall project after attending an apple orchard where they charged eight dollars per apple. I figured making them at home had to be cheaper and probably better, so I experimented until finding the right caramel consistency. The first batch slid right off because I didn't remove the wax coating properly, and the second batch turned rock-hard from cooking the caramel too hot. Now I make perfect caramel apples every October, and my kids invite friends over specifically for caramel apple making parties where everyone decorates their own. Watching them choose toppings and create unique combinations reminds me that the best recipes are the ones that turn into activities everyone enjoys together.
Ingredients and Why They Matter
- Granny Smith or Honeycrisp apples: (6-8 medium) - Firm, tart apples balance sweet caramel better than soft or super-sweet varieties; choose unblemished apples with no soft spots for the best appearance
- Light brown sugar: (2 cups packed) - Provides caramel flavor without needing to caramelize granulated sugar, making the process faster and more foolproof; dark brown sugar works but creates darker color
- Heavy cream: (1 cup) - Full-fat cream is essential for rich, smooth caramel; lighter dairy products don't have enough fat to create proper texture
- Light corn syrup: (½ cup) - Prevents sugar crystallization and keeps caramel chewy instead of hard; this ingredient is non-negotiable for proper consistency
- Unsalted butter: (4 tablespoons, ½ stick) - Adds richness and buttery flavor; salted butter works if that's what you have, just know it will taste saltier
- Salt: (½ teaspoon) - Balances sweetness and enhances caramel flavor; even a small amount makes significant difference
- Vanilla extract: (1 teaspoon) - Added after cooking to preserve its flavor; enhances the caramel's depth
For Assembly:
- Caramel apple sticks or wooden skewers: Pushed into the stem end creates handles for dipping and eating; make sure they're sturdy enough to support apple weight
- Toppings (optional): Chopped nuts, mini chocolate chips, sprinkles, crushed cookies, shredded coconut, or anything that sounds good
How To Make It
- Prepare the apples:
- Start by thoroughly scrubbing each apple under hot tap water using a clean kitchen towel, paper towels, or a non-scratch scrubbing pad. Really scrub hard to remove the waxy coating that grocery stores apply to preserve freshness - this wax prevents caramel from sticking properly. Alternatively, soak apples in hot water for 5 minutes, then scrub them. Dry the apples completely with paper towels. Push a caramel apple stick or sturdy wooden skewer into the stem end of each apple, inserting it about halfway through but not so far that it pokes out the bottom. The stick needs to be secure enough to hold the apple's weight during dipping. Place the prepared apples in the refrigerator to chill for at least 30 minutes. Cold apples help the caramel set faster and stick better. Before dipping, take them out and pat dry again because chilled apples develop condensation that would prevent caramel from adhering.
- Cook the caramel mixture:
- In a large, heavy-bottomed pot with tall sides - at least 5 quarts capacity - combine the brown sugar, heavy cream, corn syrup, butter, and salt. Place the pot over medium-high heat and stir constantly with a wooden spoon or heat-resistant silicone spatula until the butter melts completely and everything combines into a smooth mixture. This usually takes 3-4 minutes. Clip a candy thermometer to the side of the pot, making sure the probe sits in the caramel but doesn't touch the pot bottom, which would give inaccurate readings. Once the butter melts, stop stirring and let the mixture come to a gentle boil. Keep a pastry brush and small bowl of water nearby.
- Monitor temperature carefully:
- As the caramel cooks, watch the thermometer closely. The mixture will bubble vigorously, which is normal. Occasionally brush down any sugar crystals that form on the pot sides with your wet pastry brush - this prevents crystallization that would make the caramel grainy. Don't stir the caramel while it's cooking to temperature because stirring can encourage crystallization. Just let it bubble away undisturbed except for the occasional brushing of the sides. When the thermometer reads 245-248°F, immediately remove the pot from heat. This temperature creates caramel that's thick enough to coat apples properly but stays chewy when cooled. Higher temperatures make it too hard and lower temperatures make it too runny. Add the vanilla extract now and stir briefly to incorporate - vanilla added earlier would cook off and lose flavor.
- Cool to dipping temperature:
- Leave the pot sitting at room temperature with the thermometer still attached, monitoring as the caramel cools. You need it to drop to 200°F before dipping apples. Too hot and the caramel stays too thin and slides off; too cool and it becomes too thick to coat smoothly. This cooling usually takes 15-20 minutes. Don't rush this by putting the pot in cold water or refrigerator because rapid cooling can cause the caramel to seize or separate. While waiting, prepare your dipping station. Line a large baking sheet with parchment paper or a silicone baking mat. If decorating apples, set out all your toppings in shallow bowls within easy reach.
- Dip the apples:
- Once caramel reaches 200°F, you're ready to dip. Remove the chilled apples from the refrigerator and pat them dry to remove any condensation. Hold an apple by its stick and dip it into the caramel, tilting the pot if needed to create a deeper pool. Rotate the apple to coat it completely up to near the stick, leaving just a small area around the stick uncoated. Lift the apple out and hold it over the pot for a few seconds, letting excess caramel drip back down. You can gently shake or slowly rotate the apple to encourage dripping. Don't hold it too long or the caramel layer will become too thin. Place the dipped apple on your prepared baking sheet, standing it stick-up. If the bottom pools slightly, that's normal and creates a flat base. Repeat with remaining apples, working relatively quickly while the caramel stays at ideal dipping temperature.
- Add toppings if desired:
- If leaving apples plain, just let them set at room temperature for about 15 minutes until the caramel firms completely. For decorated apples, work immediately after dipping while the caramel is still sticky. Roll the freshly-dipped apple in chopped nuts, pressing gently to help them stick to the sides. Or hold the apple over a bowl and sprinkle toppings like mini chocolate chips, crushed cookies, or shredded coconut over the caramel coating, rotating to cover all sides. For multiple toppings, start with the base layer like nuts, then add smaller decorations on top. Work quickly because caramel sets within a few minutes. Once decorated, return apples to the baking sheet to finish setting.
- Optional chocolate drizzle:
- After the caramel coating has set completely - about 30 minutes at room temperature - you can add melted chocolate drizzle for extra decoration. Melt chocolate chips or chopped chocolate in the microwave at 50% power in 30-second intervals, stirring between each one until smooth. Transfer to a piping bag or zip-top bag with a tiny corner snipped off. Drizzle thin lines of chocolate back and forth across each apple in a zigzag pattern. White chocolate, milk chocolate, or dark chocolate all look beautiful against the caramel. Let the chocolate set for another 10 minutes before serving or wrapping.
 Pin it
Brown sugar became my preferred choice for caramel after realizing it eliminates the trickiest step of traditional caramel making - waiting for white sugar to caramelize without burning. The molasses in brown sugar provides that caramel flavor without requiring precise temperature control during the initial melting phase. My first attempts at caramel apples used granulated sugar and I burned three batches before giving up. Switching to brown sugar made success instant and repeatable. Now I never go back to the complicated method when this simpler version tastes just as good.
Understanding Candy Thermometer Use
Accurate temperature monitoring determines success or failure with caramel apples more than any other factor. Digital instant-read thermometers work perfectly and give you readings within seconds. Traditional candy thermometers with the long glass tubes and red liquid also work but require clipping to the pot side and reading carefully at eye level. Whichever type you use, make sure the probe sits in the caramel itself without touching the pot bottom, which is much hotter than the liquid and gives false high readings. Test your thermometer's accuracy by checking it in boiling water - it should read $212^{\circ} ext{F}$ at sea level. If it reads consistently high or low, adjust your target temperature accordingly.
The Corn Syrup Controversy
Some people avoid corn syrup for health or personal reasons and ask about substitutes. Unfortunately, no substitute works as well for this specific application. Corn syrup's unique properties - being an invert sugar that prevents crystallization and staying fluid at room temperature - are essential for proper caramel apple coating. Honey changes the flavor dramatically and can cause faster crystallization. Golden syrup is closer but harder to find and more expensive. If you absolutely must avoid corn syrup, your best option is buying pre-made caramel blocks designed for candy apples, though homemade caramel tastes significantly better. The small amount of corn syrup used here makes each apple contain very little, if that helps with concerns.
Decoration Timing and Techniques
Working quickly after dipping determines how well toppings stick to your caramel apples. Caramel begins setting within 2-3 minutes at room temperature, so you have a narrow window. Set up your decoration station before you start dipping with all toppings in shallow bowls arranged in the order you'll use them. Dip one apple, immediately decorate it completely, set it aside, then dip the next. Don't dip all apples first and then try decorating because the caramel will have set on the first apples by the time you get to them. For multiple layers of toppings, apply larger items like nuts first, then finish with smaller decorations like sprinkles that fill gaps. Pressing toppings gently helps them adhere without denting the caramel coating underneath.
Storage and Shelf Life
Homemade caramel apples stay fresh for about one week when stored properly, though they taste best within the first 3-4 days. Keep them at room temperature in a cool, dry place - not the refrigerator, which causes condensation that makes caramel sticky and weepy. Wrap each apple individually in cellophane bags tied with ribbon for gifting or protecting them from dust and humidity. Don't stack unwrapped apples or they'll stick together. Caramel apples make wonderful gifts during fall and Halloween - just include a note suggesting they be eaten within a few days for best quality. The apples themselves will stay crisp for several days inside the caramel coating.
Troubleshooting Common Problems
Several issues can occur when making caramel apples, but most have simple solutions. Caramel sliding off means either apples weren't scrubbed well enough to remove wax, they were too warm when dipped, or the caramel was too hot and thin. Caramel that's rock-hard when set means it cooked too hot - keep it at $245^{\circ} ext{F}$-$248^{\circ} ext{F}$ maximum. Grainy or crystallized caramel indicates sugar crystals formed, usually from stirring during cooking or sugar crystals on the pot sides that weren't brushed down. Pools of caramel forming at apple bottoms means either too-thick coating or not letting enough excess drip off after dipping. Bubbles in the coating can be popped immediately after dipping by gently blowing hot air over them with a hair dryer or heat gun.
Flavor Variations
The basic caramel recipe accepts flavor additions that create unique apples. Add ½ teaspoon of cinnamon along with the vanilla for cinnamon caramel apples. Stir in 2 tablespoons of bourbon or rum with the vanilla for adult versions. Replace vanilla with almond extract for nutty undertones. Add espresso powder for mocha-flavored caramel. Increase salt to 1 teaspoon for heavily salted caramel that contrasts with sweet apples. Mix in 2 tablespoons of maple syrup for maple caramel. These variations allow you to create signature flavors that make your caramel apples stand out from basic store-bought versions.
 Pin it
These caramel apples represent exactly the kind of recipe that transforms seasonal produce into something special worth the effort. Fresh apples already taste good on their own, but coating them in buttery homemade caramel elevates them into a treat that feels festive and indulgent. The process of making these connects you to fall traditions and creates memories, especially when you make them with kids who get excited about decorating. When you bite through that chewy caramel layer into the crisp, tart apple beneath, the contrast of textures and flavors reminds you why homemade always beats store-bought. Sometimes the recipes that take a bit more attention and care deliver the most satisfying results, and caramel apples definitely fall into that category.
Frequently Asked Questions
- → What type of apples work best for caramel apples?
- Granny Smith apples are the best choice because they're firm, tart, and hold up well under the sweet caramel coating. Their tartness balances the sweetness perfectly.
- → Why do I need to wash the apples so thoroughly?
- Apples have a waxy coating that prevents caramel from sticking properly. Scrubbing them with a towel under hot water removes this wax so the caramel adheres better.
- → Can I make caramel apples without a candy thermometer?
- While a candy thermometer makes it easier to get the right consistency, you can test the caramel by dropping a small amount into cold water. It should form a firm ball when ready.
- → How long do caramel apples stay fresh?
- Caramel apples are best eaten within 2-3 days. Store them in the refrigerator loosely covered, but bring them to room temperature before eating for the best texture.
- → What can I do with leftover caramel?
- Pour the extra caramel onto parchment paper, let it cool, and cut it into pieces to make homemade caramel candies. You can wrap them individually for later snacking.
- → Why did my caramel slide off the apples?
- This usually happens if the apples weren't dried completely after washing or if they were too warm. Make sure apples are cold and completely dry before dipping.
- → Can I add toppings to my caramel apples?
- Absolutely! Roll freshly dipped apples in chopped nuts, sprinkles, or crushed cookies while the caramel is still soft. You can also drizzle melted chocolate over set caramel.