
 Pin it
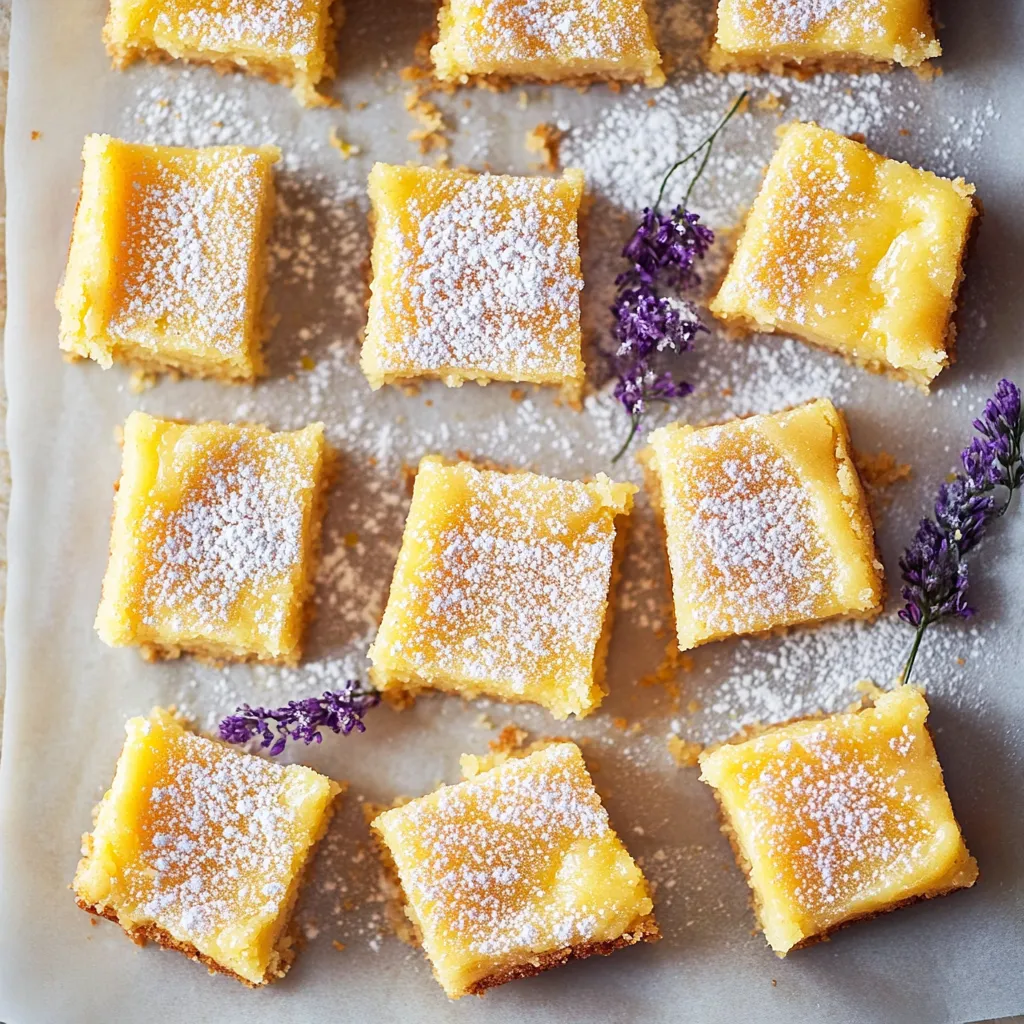
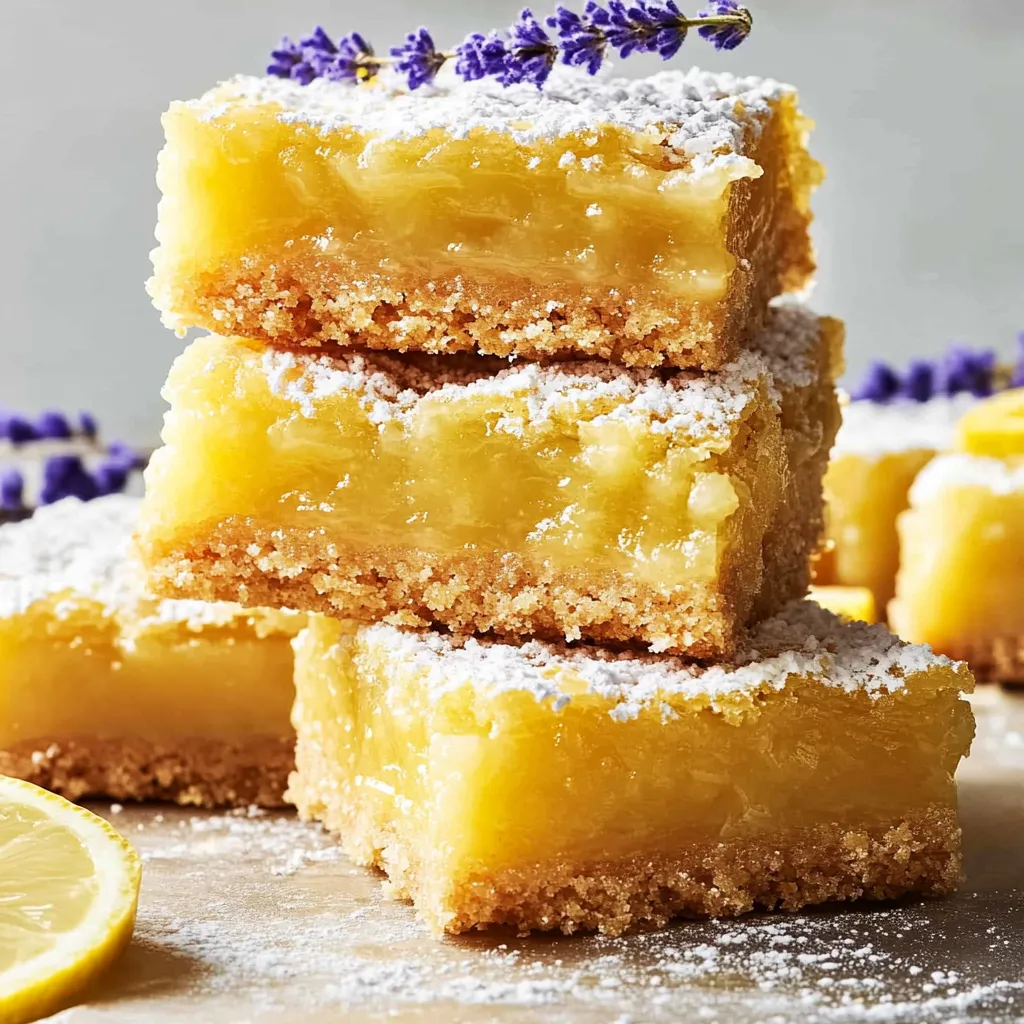
These lemon bars deliver that perfect balance of sweet and tart that makes them absolutely irresistible. The thick, creamy lemon curd filling sits on top of a delicate shortbread crust that practically dissolves on your tongue, creating layers of texture and flavor in every bite. When you dust them with powdered sugar and serve them chilled, they become the kind of dessert that disappears from the plate almost as fast as you can cut them.
I spent years tinkering with lemon bar recipes before landing on this version. The breakthrough came when I realized that most recipes had too much crust and not enough filling, or the filling was so sweet it barely tasted like lemon. This recipe fixes both problems by giving you that generous layer of tangy lemon curd on a thin but sturdy crust. My family requests these for every spring gathering, and they've become my signature contribution to potlucks.
Quality Ingredients Make All the Difference
- Fresh lemons: Use only freshly squeezed juice and zest; bottled juice tastes flat and artificial by comparison
- All-purpose flour: Provides structure for both the crust and helps thicken the filling properly
- Powdered sugar: Creates the tender, melt-in-your-mouth texture in the shortbread crust
- Unsalted butter: Choose good quality butter since the flavor really comes through in the crust
- Large eggs at room temperature: Create the smooth, creamy texture in the lemon filling
- Granulated sugar: Balances the tartness in the filling without making it too sweet
- Pure vanilla extract: Adds depth to the crust that complements the bright lemon flavor
- Fine sea salt: Enhances all the flavors and makes the lemon taste even brighter
Complete Step-by-Step Instructions
- Prepare your pan properly:
- Preheat your oven to 350°F. Grease an 8x8-inch baking pan thoroughly, then line it with parchment paper on all sides, leaving some overhang on two opposite sides to use as handles later. This double protection ensures the bars won't stick and makes removing them much easier. Press the parchment into the corners and smooth out any wrinkles.
- Make the shortbread crust:
- In a large bowl, whisk together 1 cup all-purpose flour, 1/3 cup powdered sugar, and 1/4 teaspoon salt until completely combined. Pour in 6 tablespoons melted unsalted butter and 1/2 teaspoon vanilla extract. Use a spatula to mix everything together until a soft, slightly greasy dough forms. Don't worry if it seems oily - that's what creates the tender texture.
- Press and par-bake the crust:
- Transfer the dough to your prepared pan and use your fingers to press it evenly across the bottom and about 1/8 inch up the sides. Try to get it as uniform as possible so it bakes evenly. Bake for 18-20 minutes until the crust is lightly golden brown around the edges. Remove from the oven and immediately use a fork to dock the crust all over, poking holes to release any air bubbles.
- Prepare the lemon filling:
- While the crust bakes, zest 2-3 lemons to get about 1 tablespoon of zest. Place 1 cup granulated sugar in a large bowl and add the lemon zest. Use your fingers to massage the zest into the sugar - this releases the aromatic oils and infuses the sugar with intense lemon flavor. Whisk in 3 tablespoons all-purpose flour until combined.
- Finish the filling mixture:
- Crack 4 large eggs into the sugar mixture and whisk just until no streaks of egg white remain - don't overmix or you'll incorporate too much air which can cause bubbles on the surface. Add 2/3 cup fresh lemon juice (from about 3-4 lemons) and whisk gently until smooth and uniform in color.
- Bake the complete bars:
- Pour the lemon filling over the hot crust immediately after removing it from the oven. The hot crust helps set the bottom layer of filling. Return to the oven and bake for 20-25 minutes until the filling is set but still has a slight jiggle in the very center when you gently shake the pan. Don't overbake or the filling will become grainy.
- Cool and chill completely:
- Let the bars cool at room temperature for about 1 hour, then transfer to the refrigerator and chill for at least 2 hours. This cooling time is essential - it allows the filling to set up completely so you can get clean slices. Use the parchment paper overhang to lift the entire slab out of the pan before slicing. Dust generously with powdered sugar just before serving.
 Pin it
The waiting is definitely the hardest part of making these lemon bars. That first hour of cooling while the whole house smells like fresh lemons and butter is pure torture, but the payoff is worth it. When you finally bite into a properly chilled bar with that perfect firm-yet-creamy filling on the crisp crust, you understand why patience matters. These have converted several people who claimed they didn't like lemon desserts.
Understanding the Crust Technique
The shortbread crust needs to be par-baked before adding the filling, which sets it enough to support the liquid lemon mixture without becoming soggy. The melted butter creates a tender, almost sandy texture that contrasts beautifully with the smooth filling. Pressing it evenly is important - thin spots will overbrown while thick spots stay pale.
Achieving the Perfect Lemon Filling
The key to smooth, creamy lemon curd filling is gentle mixing and proper baking. Overmixing incorporates air that creates bubbles on the surface. The filling should be just set when you remove it from the oven - it will continue firming up as it cools. Overbaked filling becomes grainy and loses that luxurious custard texture.
Mastering the Zesting Technique
Massaging the lemon zest into the sugar before adding other ingredients is a game-changer for flavor. This process breaks down the zest and releases the essential oils directly into the sugar, distributing lemon flavor throughout the filling. If you skip this step, you'll still get lemon flavor, but it won't be quite as intense.
Slicing for Clean Edges
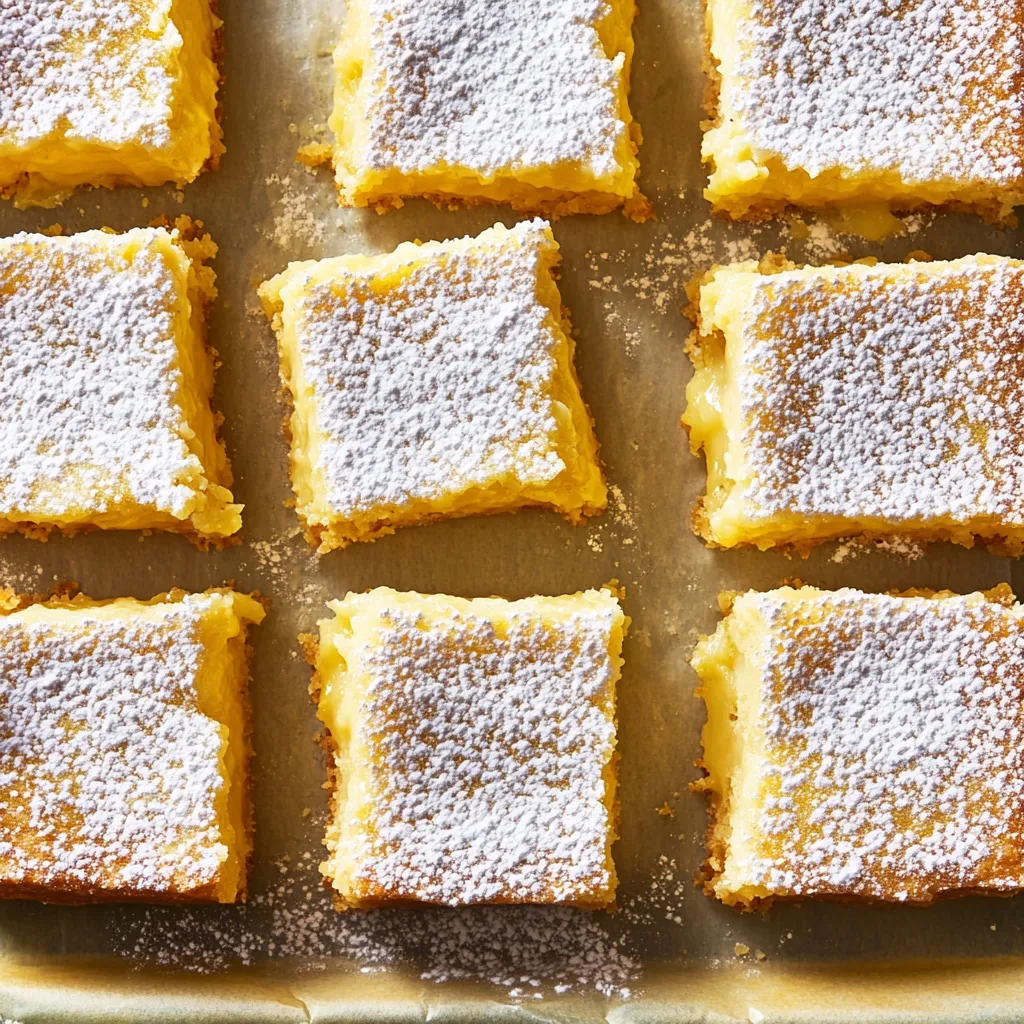
Getting perfect slices requires a sharp knife and patience. Wipe the knife clean between cuts to prevent dragging filling across the bars. Some people like to chill the knife in cold water between slices. Cut into 16 squares for standard serving sizes, or 9 larger squares for more generous portions.
Storage and Serving Tips
These bars need refrigeration because of the egg-based filling. They'll keep well for up to 5 days covered in the fridge, though the crust may soften slightly over time. For the crispest texture, dust with powdered sugar just before serving rather than in advance, as the sugar can dissolve into the filling if it sits too long.
 Pin it
This recipe represents the ideal version of a classic dessert - nothing trendy or complicated, just perfectly balanced flavors and textures executed with care. The bright, tangy lemon filling against that buttery shortbread creates something that feels both familiar and special, the kind of dessert that reminds you why simple done well always wins.
Frequently Asked Questions
- → Can I make these lemon bars ahead of time?
- Yes! These actually taste better the next day. Make them up to 2 days ahead and keep them covered in the fridge until you're ready to serve.
- → Why do my lemon bars turn out runny?
- The filling needs to bake until completely set. If the center still jiggles after baking, give it a few more minutes in the oven. Also make sure to chill them fully before cutting.
- → Can I use bottled lemon juice instead of fresh?
- Fresh is really best here. Bottled juice has a different taste that's more bitter and less bright. Fresh lemons make a huge difference in the final flavor.
- → How do I get clean cuts when slicing?
- Make sure the bars are completely chilled first. Wipe your knife clean between each cut. A sharp knife also helps get those nice, neat edges.
- → How long do lemon bars last in the fridge?
- They'll stay fresh for about 5 days when stored in an airtight container in the refrigerator. The crust might soften slightly over time but they still taste great.
- → Do I have to use parchment paper?
- It's not required but it makes removing the bars from the pan so much easier. If you skip it, just make sure to grease your pan really well.
- → Can I double this recipe?
- Absolutely! Just use a 9x13 inch pan instead and keep the baking times about the same. You might need an extra 5 minutes for the filling to set.