
 Pin it
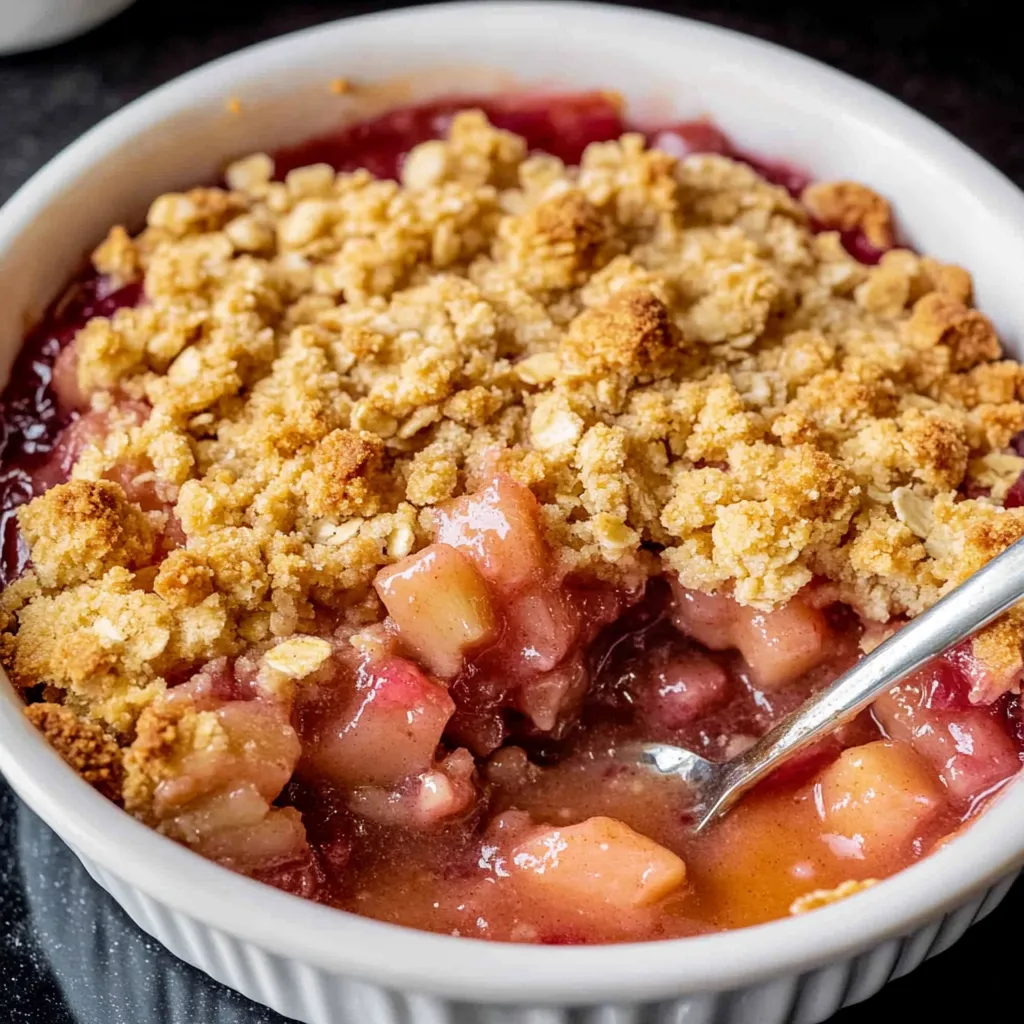
This incredibly simple rhubarb crisp transforms tart, vibrant rhubarb into a warm, comforting dessert that celebrates the unique tangy-sweet flavor of this spring vegetable with a golden, buttery oat topping that's impossible to resist. The combination of tender, jammy rhubarb beneath a crispy, cinnamon-scented crumble creates those perfect contrasting textures that make fruit crisps so satisfying, while the generous amount of sugar balances rhubarb's natural tartness without masking its distinctive character. Unlike complicated desserts that require precise timing and advanced techniques, this forgiving recipe delivers bakery-quality results using mostly pantry staples and works beautifully whether you're an experienced baker or just starting out.
I fell in love with this recipe when my neighbor shared her abundant rhubarb harvest with me and I needed something simple but delicious to make with it. The first time I served this crisp, my family was amazed at how perfectly balanced it was - sweet enough to be dessert but tart enough to let the rhubarb's unique flavor shine through. Now it's become our official way to welcome spring every year.
Essential Ingredients and Selection Tips
- Fresh rhubarb: Choose firm, crisp stalks with good color; avoid any that are limp, brown, or have excessive stringiness
- Quick oats: These create better texture than old-fashioned oats by breaking down slightly during baking; if using old-fashioned, pulse them briefly in a food processor
- Cold butter: Keep butter refrigerated until ready to use; cold butter creates the flaky, crispy texture that makes the topping special
- Cornstarch: This thickens the rhubarb juices better than flour and creates a cleaner, more appealing filling consistency
- Granulated sugar: Don't reduce the amount even if it seems like a lot; rhubarb's natural tartness requires adequate sweetness for balance
- Ground cinnamon: Use fresh, aromatic cinnamon that still has potent flavor; old cinnamon won't provide the warming spice notes this dessert needs
- All-purpose flour: Fresh flour without any off odors ensures the cleanest flavor in the crumble topping
The secret to perfect crisp topping is working the cold butter into the dry ingredients thoroughly until the mixture resembles chunky cookie dough rather than sandy flour.
Detailed Step-by-Step Instructions
- Step 1: Prepare your workspace:
- Preheat the oven to 375°F and generously butter a 2-quart casserole dish or 9x9-inch baking pan. This prevents sticking and makes serving much easier later.
- Step 2: Prepare the rhubarb:
- Wash the rhubarb stalks thoroughly and trim off any leaves (which are toxic) and the bottom ends. Cut the stalks into ½-inch pieces - this size ensures even cooking while maintaining some texture in the finished dessert.
- Step 3: Make the filling:
- In a large mixing bowl, combine the sliced rhubarb with sugar, cornstarch, and cinnamon. Toss gently but thoroughly until every piece of rhubarb is coated with the mixture - this ensures even sweetening and proper thickening during baking.
- Step 4: Transfer to baking dish:
- Pour the rhubarb mixture into your prepared baking dish and spread it evenly with a spatula. Try to create a relatively flat surface so the topping will distribute evenly and bake uniformly.
- Step 5: Start the topping:
- In another large bowl, whisk together the flour, quick oats, sugar, cinnamon, and salt until well combined. This dry mixture forms the base for your crumble topping.
- Step 6: Cut in the butter:
- Add the cold, diced butter to the flour mixture. Using clean hands or a pastry cutter, work the butter into the dry ingredients by squeezing and rubbing until the mixture resembles coarse, chunky crumbs with some larger butter pieces still visible.
- Step 7: Achieve proper texture:
- Continue working the butter until the mixture holds together when squeezed but still looks crumbly - it should resemble thick oatmeal cookie dough rather than sandy flour. This step is crucial for creating the right topping texture.
- Step 8: Apply the topping:
- Evenly distribute the crumble mixture over the rhubarb filling, making sure to cover the entire surface. Don't pack it down - just spread it gently so it covers evenly while maintaining its light, airy texture.
- Step 9: Bake to perfection:
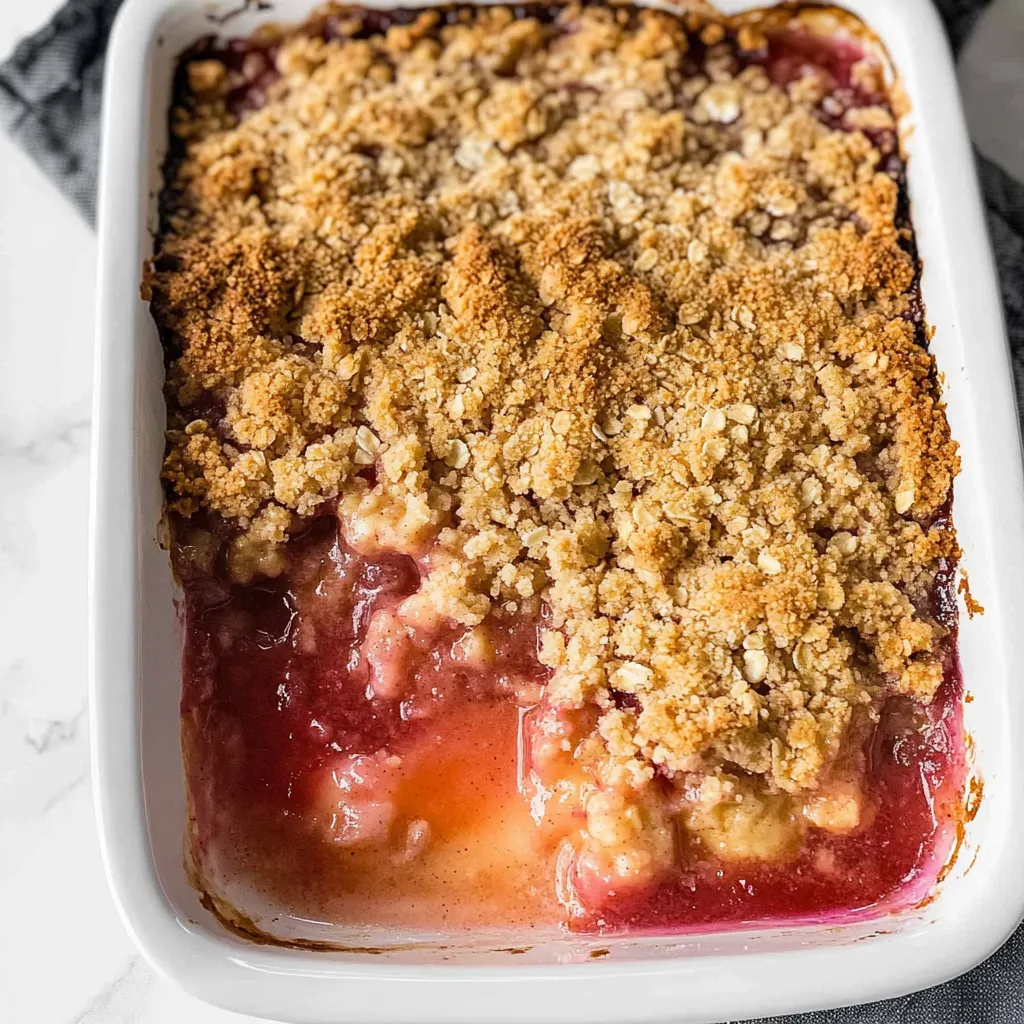
- Place in the preheated oven and bake for 35-40 minutes until the topping is golden brown and the rhubarb filling is bubbling around the edges. The topping should look crispy and smell wonderfully fragrant.
- Step 10: Rest before serving:
- Let the crisp cool on the counter for exactly 10 minutes before serving. This resting time allows the filling to thicken properly and prevents it from being too liquidy when you scoop it.
 Pin it
The most important technique is properly incorporating the butter into the topping mixture - insufficient mixing results in sandy, floury texture rather than the desired crispy, cohesive crumble.
This rhubarb crisp has become my go-to proof that the best desserts often come from the simplest recipes that let quality ingredients shine. My kids, who were initially skeptical about eating "vegetable dessert," now specifically request this when they see rhubarb at the farmers market because they love how the sweet, crunchy topping balances the tart filling.
Understanding Rhubarb Science and Cooking Properties
Rhubarb's unique characteristics as a vegetable used like fruit require understanding its high water content, natural tartness, and tendency to break down during cooking. The thick, fleshy stalks contain significant moisture that releases during baking, which is why cornstarch is essential for proper thickening. Rhubarb's intense tartness comes from oxalic and malic acids, making adequate sugar crucial not just for sweetness but for chemical balance. The vegetable's cellular structure breaks down relatively quickly when heated, creating the jammy texture that makes it perfect for crisps and cobblers.
Crumble Topping Science and Texture Development
Creating the perfect crisp topping relies on understanding how fat, flour, and oats interact during baking. Cold butter creates steam pockets as it melts, producing the flaky, crispy texture that defines good crumble. Quick oats break down slightly during baking, helping bind the topping while maintaining structure, whereas old-fashioned oats can remain too distinct and chewy. The sugar caramelizes during baking, contributing to both flavor and the golden-brown color that makes the topping so appealing.
Moisture Management and Thickening Techniques
Successful fruit crisps require careful moisture management to prevent soggy bottoms and runny fillings. Cornstarch works better than flour for thickening fruit juices because it creates a clearer, more appealing consistency without the risk of raw flour taste. The amount of thickener needed varies with the fruit's water content - overripe or frozen rhubarb may require additional cornstarch. The 10-minute resting period after baking allows the starches to finish setting and creates the proper serving consistency.
Temperature Control and Doneness Indicators
Baking fruit crisps requires understanding visual and auditory cues that indicate proper doneness. The topping should be golden brown and sound hollow when tapped lightly, while the filling should bubble actively around the edges. Internal temperature isn't as critical as with other baked goods, but the filling should reach at least 185°F to ensure proper starch gelatinization. Overbaking can make the topping too dark and bitter, while underbaking leaves the topping pale and floury-tasting.
Storage and Serving Considerations
Fruit crisps are best served warm but can be stored and reheated successfully with proper techniques. Room temperature storage for 1-2 days maintains the topping's texture better than refrigeration, which can make it soggy. Reheating in a low oven restores crispness better than microwaving. The dessert's texture and flavor actually improve slightly after resting, as the filling finishes setting and flavors meld together more completely.
This rhubarb crisp has taught me that some of the most satisfying desserts come from understanding how to work with ingredients' natural properties rather than fighting against them. Every time I make it, I'm reminded that good baking often comes down to respecting the ingredients you're working with and applying simple techniques properly to let their best qualities shine through.
Frequently Asked Questions
- → Can I use frozen rhubarb instead of fresh?
- Yes! Thaw the frozen rhubarb completely first and drain any extra liquid. You might need to add an extra tablespoon of cornstarch.
- → What type of oats work best for this recipe?
- Quick oats give the best texture for the crumble topping. Old fashioned oats will work but create a coarser texture.
- → How do I know when the crisp is done baking?
- The topping should be golden brown and you'll see the rhubarb filling bubbling around the edges after about 35 minutes.
- → Why do I need to let it rest before serving?
- The 10-minute rest helps the rhubarb filling thicken up properly as it cools down slightly.
- → How should I store leftover rhubarb crisp?
- Cover it and keep on the counter for 1-2 days. You can also refrigerate it for up to a week.
- → Can I reduce the sugar in this recipe?
- It's best not to cut back on sugar since rhubarb is naturally very tart and needs the sweetness to balance the flavor.