
 Pin it
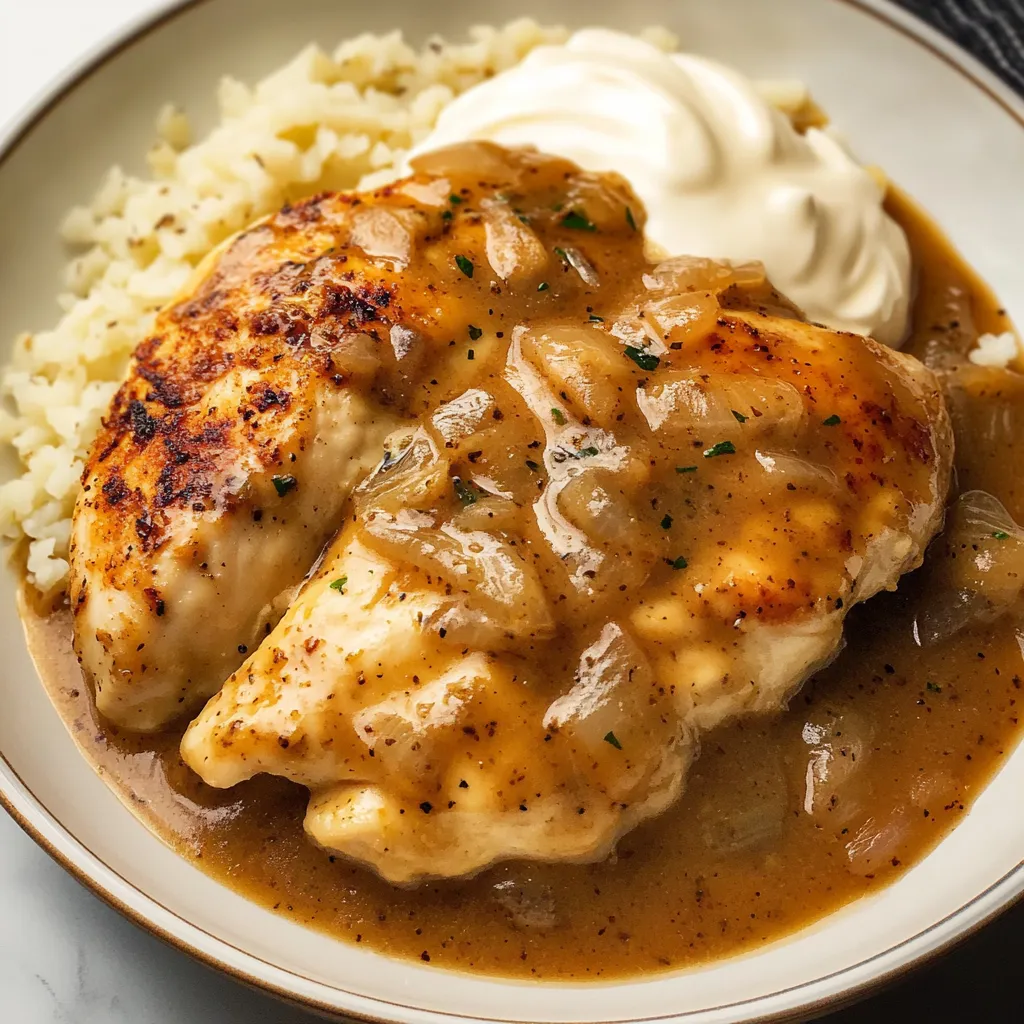
Tender chicken nestled in a velvety homemade gravy creates the ultimate comfort food experience. This smothered chicken transforms everyday ingredients into a soul-warming meal that brings the family running to the dinner table.
Last Sunday, I made this for my family gathering, and my grandmother said it reminded her of the smothered chicken she used to make in her cast-iron skillet decades ago. Those moments make cooking even more special.
Essential Ingredients
- Chicken Breasts: Choose plump, uniform-sized pieces for even cooking; butterflying them ensures quick, even cooking
- All-Purpose Flour: Creates a golden crust and thickens the gravy naturally
- Sweet Onions: They caramelize beautifully and add natural sweetness to the gravy
- Heavy Cream: Brings richness and silky texture to the sauce
- Chicken Broth: Forms the gravy's foundation with its deep, savory flavor
- Seasonings: The blend of garlic powder, onion powder, paprika, and cayenne creates layers of flavor
- Worcestershire Sauce: Adds that umami depth that makes people ask for your secret
 Pin it
Detailed Instructions
- Chicken Preparation (10-15 minutes):
- Pat chicken completely dry with paper towels. Butterfly each breast with confidence, keeping thickness uniform. Season generously with salt and pepper on both sides. Let rest at room temperature while preparing other ingredients.
- Coating Process (5-7 minutes):
- Mix seasonings thoroughly with flour. Dredge each piece carefully, shaking off excess. Set coated pieces on a clean plate without stacking.
- Initial Cooking (8-10 minutes):
- Heat oil until shimmering but not smoking. Place chicken without crowding. Let form a golden crust before turning. Monitor heat to prevent burning.
- Gravy Creation (12-15 minutes):
- Caramelize onions slowly for maximum flavor. Add flour gradually to prevent lumps. Whisk liquids in slowly. Scrape up all browned bits from pan bottom.
- Final Stage (10 minutes):
- Return chicken to pan. Simmer until gravy reaches perfect consistency. Adjust seasoning to taste.
My mother-in-law taught me to let the chicken rest for 5 minutes after dredging - it helps the coating stick better. This little tip has made such a difference in my results. Making great comfort food is all about building layers of flavor. I've learned that taking time to properly brown the chicken and caramelize the onions makes all the difference in the final dish.
 Pin it
The Art of Gravy
Understanding how to make perfect gravy opens up endless possibilities in the kitchen. This recipe taught me that great gravy starts with properly browned ingredients and ends with patient stirring.
Temperature Control
Maintaining the right heat throughout cooking ensures success. Too hot, and the flour burns; too cool, and you miss out on those precious browned bits that flavor the gravy.
After years of making this recipe, I've found that it's more than just dinner - it's a way to show love through food. The way the gravy soaks into mashed potatoes or the satisfied sighs after the first bite make all the effort worthwhile.
Mastering the Perfect Sides
Smothered chicken deserves accompaniments that can stand up to its rich gravy. Through countless family dinners, I've discovered that starchy sides are essential for soaking up every last drop of that heavenly sauce.
The Art of Mashed Potatoes
- Using the right potatoes - Yukon Golds give the creamiest texture
- Adding warm (never cold) milk and butter
- Mashing while hot for the smoothest consistency
After trying various combinations, I've found that adding a touch of roasted garlic to the mashed potatoes creates an incredible flavor harmony with the chicken gravy.
Weekly Meal Planning
- Prep components ahead (slice onions, butterfly chicken)
- Make extra gravy for other meals
- Plan leftover transformations
My family particularly enjoys when I transform leftovers into a chicken and gravy pot pie the next day.
Make-Ahead Tips
- Butterfly and season chicken up to 24 hours ahead
- Slice onions and store in airtight container
- Prepare seasoning mixture in advance
Kitchen Secrets for Perfect Results
- Always use room temperature ingredients
- Season each layer of the dish
- Let the chicken rest after cooking
The Perfect Wine Pairing
- Buttery Chardonnay
- Light-bodied Pinot Noir
- Crisp Pinot Grigio
Special Occasion Variations
- Adding sautéed mushrooms to the gravy
- Incorporating fresh herbs like thyme
- Finishing with a splash of white wine
Troubleshooting Common Issues
- Gravy too thin? Simmer longer uncovered
- Gravy too thick? Add warm broth gradually
- Chicken not browning? Pat it drier and increase heat
 Pin it
Over the years, this recipe has become a cornerstone of our family meals. There's something magical about watching people's faces light up as they take that first bite of perfectly tender chicken smothered in rich, velvety gravy. It's more than just a meal - it's a way to create memories around the dinner table, bringing comfort and joy to those we love.
Whether it's a casual weeknight dinner or a special Sunday gathering, this smothered chicken never fails to bring warmth and satisfaction to any occasion. The combination of simple ingredients transformed into something extraordinary reminds us that sometimes the most memorable meals are the ones made with love and patience in our own kitchens.
Frequently Asked Questions
- → What cut of chicken works best for this recipe?
- Both chicken breasts and thighs work great. Just slice breasts in half lengthwise for even cooking. Thighs may need extra time but turn out very tender.
- → How do I keep the gravy from getting lumpy?
- Stir the flour constantly for about a minute before adding liquids. Then whisk well as you add the broth to prevent lumps from forming.
- → Can I make this ahead and reheat it?
- Yes! Store in the fridge for up to 3 days. Reheat gently on the stove, adding a splash of broth if gravy is too thick.
- → What can I serve with smothered chicken?
- Mashed potatoes, rice or noodles are perfect for the gravy. Add a simple veggie side like green beans or roasted carrots.
- → How do I know when the chicken is done?
- Cook until chicken reaches 165°F and cuts through easily with no pink inside. About 5-7 minutes per side depending on thickness.