
 Pin it
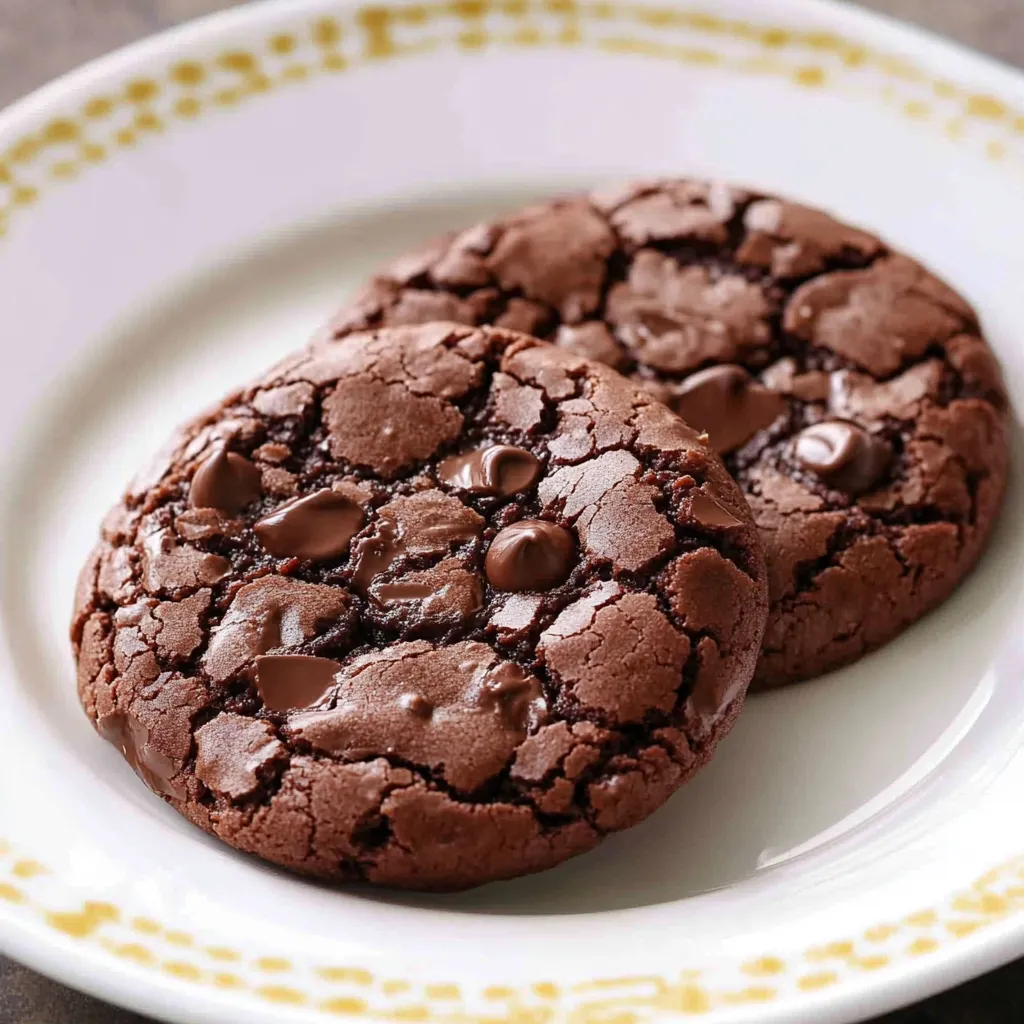
These brownie cookies deliver the best of both worlds - the chewy, fudgy interior and shiny crackled top of your favorite brownies with the convenience and shape of a cookie. Rich with both melted chocolate and cocoa powder, these indulgent treats satisfy intense chocolate cravings while being simple enough to whip up whenever the mood strikes.
I make these cookies whenever I can't decide between brownies and cookies - which happens more often than I'd like to admit! Last week, I brought a batch to a friend's gathering, and three people asked for the recipe before the night was over.
Essential Ingredients
- For the Chocolate Base:
- 8 ounces bittersweet chocolate: Creates rich, deep chocolate flavor foundation
- ½ cup unsalted butter: Adds richness and proper cookie texture
- ¾ cup light brown sugar: Provides moisture and subtle caramel notes
- ¼ cup granulated sugar: Helps create that signature crackly top
- For the Cookie Structure:
- 2 eggs, room temperature: The key to achieving the shiny, crackled surface
- ¾ cup all-purpose flour: Just enough for structure without dryness
- 3 tablespoons unsweetened cocoa powder: Intensifies the chocolate flavor
- ½ teaspoon baking powder: Provides slight lift
- ¾ cup semisweet chocolate chips: Creates melty chocolate pockets throughout
 Pin it
Detailed Cooking Instructions
- Step 1: Melt Your Chocolate Base
- In a microwave-safe bowl, combine chopped bittersweet chocolate and butter. Microwave in 20-second intervals, stirring between each, until completely melted and smooth. This gentle melting prevents the chocolate from burning or seizing. Set aside to cool slightly while you prepare the next step.
- Step 2: Create the Crackly Top Foundation
- In a large bowl, beat eggs, granulated sugar, and light brown sugar with an electric mixer on medium speed for a full 4 minutes until light, frothy, and noticeably increased in volume. This extended beating incorporates air, which is crucial for achieving that signature crackly brownie top. The mixture should be pale and almost doubled in size.
- Step 3: Combine Wet Ingredients
- Pour the slightly cooled chocolate mixture into the whipped egg mixture. Beat on low speed until fully incorporated and uniform in color. The batter will be glossy and smooth, resembling a rich chocolate mousse.
- Step 4: Add Dry Ingredients
- In a separate bowl, whisk together flour, cocoa powder, salt, and baking powder. Add this to the chocolate mixture and gently fold with a rubber spatula until almost combined but a few streaks of flour remain. Fold in the chocolate chips just until everything is incorporated. Be careful not to overmix.
- Step 5: Chill for Proper Texture
- Cover the bowl and refrigerate the dough for 30 minutes. This chilling step is non-negotiable - it allows the dough to firm up enough to scoop and prevents excessive spreading during baking, ensuring your cookies have that perfect fudgy center.
- Step 6: Bake to Perfection
- Preheat your oven to 350°F and line baking sheets with parchment paper. Scoop 2-tablespoon portions of chilled dough onto the prepared sheets, spacing them about 3 inches apart. Bake for 8-10 minutes, just until the tops are shiny and crackled. The cookies will appear underdone and soft in the center - this is exactly what you want for that fudgy texture.
I've found that adding a teaspoon of instant espresso powder to the dry ingredients enhances the chocolate flavor without adding any coffee taste. This simple addition makes the chocolate notes deeper and more complex.
 Pin it
Troubleshooting Tips
If your cookies spread too much, your dough may not have been chilled enough or your oven temperature may be too low. If they don't develop the shiny top, you likely didn't beat the egg mixture long enough to incorporate sufficient air.
After making these countless times, I've discovered that the key to their success lies in the balance between proper technique (beating the eggs sufficiently) and patience (allowing the full chilling time). When done right, these brownie cookies deliver all the satisfaction of a perfect corner piece of brownies in a convenient, portable form that's perfect for sharing - if you can bring yourself to part with them!
Frequently Asked Questions
- → Can I freeze these brownie cookies?
- Yes! You can freeze the baked cookies for up to 3 months in an airtight container. Thaw at room temperature for about an hour before serving.
- → Why do I need to chill the dough?
- Chilling the dough prevents the cookies from spreading too thin while baking and helps develop that perfect crackly top.
- → Can I substitute the chocolate chips?
- Absolutely! Try white chocolate chips, peanut butter chips, or chopped nuts for a fun twist on the classic recipe.
- → Why aren't my cookies cracking on top?
- The crackly top comes from properly beating the eggs and sugar until light and frothy. Make sure to beat for about 4 minutes for best results.
- → How do I know when the cookies are done baking?
- The cookies are done when they've spread out and have a shiny, cracked surface. They'll still be soft in the center but will firm up as they cool.
- → Can I make these cookies ahead of time?
- Yes! You can prepare the dough and refrigerate it for up to 3 days before baking, or freeze the dough balls for up to a month.