
 Pin it
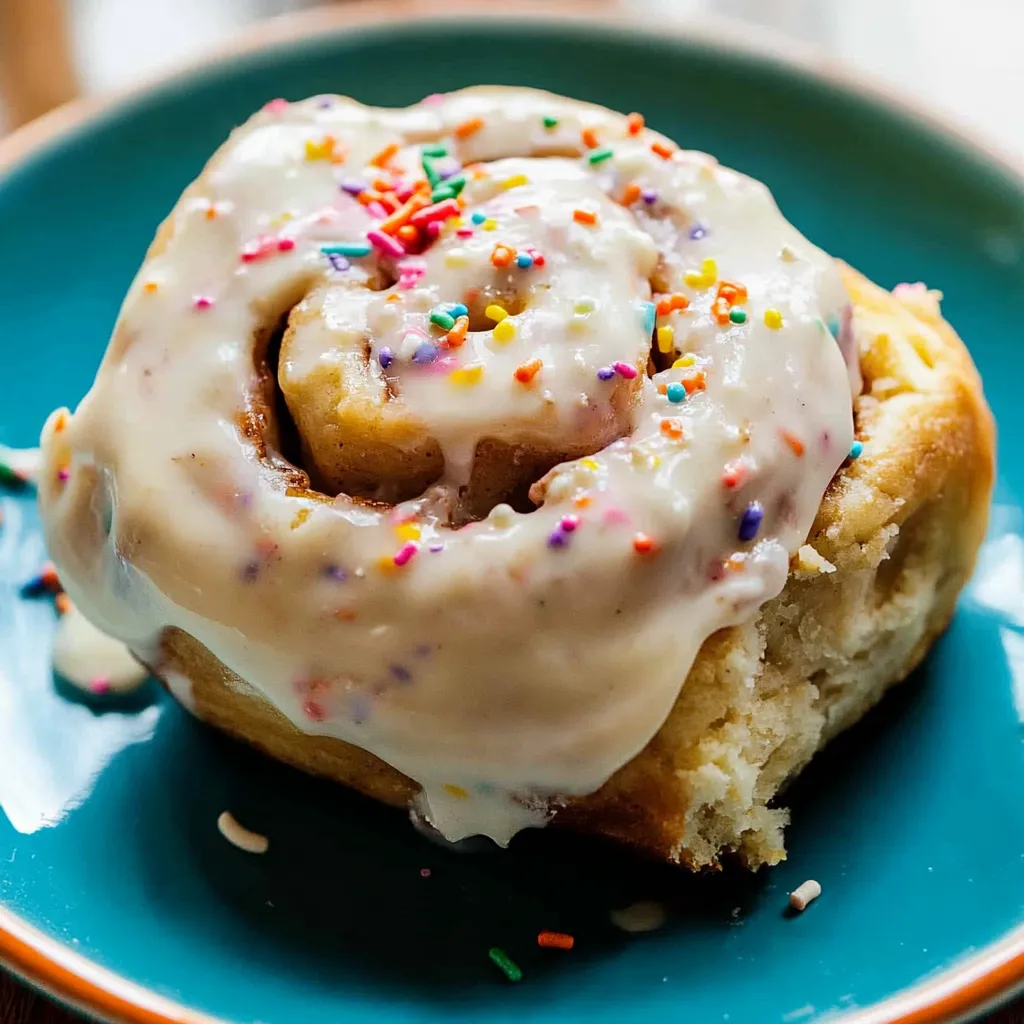
These colorful cinnamon rolls bring pure joy to any kitchen with their festive sprinkles scattered throughout every bite. The combination of tender, fluffy dough infused with rainbow confetti creates a breakfast treat that's as beautiful as it is delicious. Each roll emerges from the oven golden and fragrant, ready to be crowned with rich cream cheese frosting and even more sprinkles for that perfect finishing touch.
I remember the first time I made these for my daughter's birthday morning - her face absolutely lit up when she saw those rainbow specks peeking through the golden dough. The kitchen smelled like a celebration, and honestly, these rolls have become our go-to for any special occasion that calls for something extra cheerful.
Essential Ingredients and Selection Tips
- Active dry yeast: Always check the expiration date and test it in warm liquid first; if it doesn't foam within 5 minutes, your yeast is dead and your rolls won't rise
- Almond extract: This is what makes these special, so don't skip it; pure almond extract works best, and a little goes a long way with its intense, sweet flavor
- Cylinder or confetti sprinkles: Avoid the tiny ball sprinkles as they can bleed color; stick with the classic rainbow cylinder shapes that hold their color during baking
- Full-fat cream cheese: Let it sit at room temperature for at least an hour before using; cold cream cheese will create lumpy frosting no matter how long you beat it
- Almond milk: Warmed to exactly 110-115°F; too hot kills the yeast, too cool won't activate it properly
- All-purpose flour: Start with 4 cups and add more gradually; different humidity levels affect how much flour you'll need
The key to perfect sprinkle distribution is adding them after your dough has formed but before the final kneading. This way they get evenly incorporated without breaking apart or bleeding their colors throughout the mixing process.
Detailed Step-by-Step Instructions
- Step 1: Activate the yeast mixture:
- Pour your almond milk into a microwave-safe measuring cup and warm it for about 45 seconds, then check the temperature with a meat thermometer - it should read between 110-115°F, feeling pleasantly warm but not hot to the touch. Whisk in the active dry yeast and let it sit for 5-8 minutes until it becomes foamy and bubbly on top, which tells you the yeast is alive and ready to work its magic.
- Step 2: Create the base dough:
- In your largest mixing bowl, cream together the softened butter and sugar using an electric mixer on medium speed for about 3 minutes until the mixture becomes light and fluffy. Pour in your activated yeast mixture along with the eggs, salt, and almond extract, beating everything together on low speed until just combined - don't overmix at this stage.
- Step 3: Form and knead the dough:
- Gradually add flour one cup at a time, mixing with a wooden spoon or dough hook attachment until a shaggy dough forms. Turn the dough out onto a lightly floured surface and knead by folding it in half toward you, then pushing it away with the heel of your palm, rotating the dough a quarter turn and repeating. Continue this rhythmic process for 6-8 minutes until the dough becomes smooth, elastic, and only slightly tacky to the touch.
- Step 4: Incorporate the sprinkles:
- Gently work the sprinkles into your kneaded dough by flattening it slightly, sprinkling them evenly across the surface, then folding and kneading just enough to distribute them throughout without crushing them completely.
- Step 5: First rise:
- Spray a clean large bowl with cooking spray and place your dough ball inside, turning it once to coat all surfaces. Cover tightly with plastic wrap or a damp kitchen towel and place in a warm, draft-free spot for exactly 2 hours - the dough should nearly triple in size and feel light and airy when gently poked.
- Step 6: Roll out the dough:
- Punch down the risen dough to release air bubbles, then turn it onto a generously floured surface. Using a rolling pin, roll the dough into a large rectangle about 18x12 inches and ¼-inch thick, adding small amounts of flour as needed to prevent sticking but being careful not to incorporate too much.
- Step 7: Prepare and spread the filling:
- Mix together your cinnamon, brown sugar, softened butter, and additional sprinkles in a small bowl until it resembles wet sand. Using an offset spatula or the back of a spoon, spread this mixture evenly across your rolled dough, leaving a ½-inch border on all sides to prevent spillage during rolling.
- Step 8: Roll and slice:
- Starting from one of the longer sides, tightly roll the dough into a log, pinching the seam closed as you go. Using a sharp serrated knife or unflavored dental floss, slice the log into 12 equal pieces, each about 1½ inches thick, using a gentle sawing motion to avoid squashing the delicate spirals.
- Step 9: Final bake:
- Arrange your sliced rolls in a greased 9x13 inch baking dish with about ½ inch of space between each roll. Bake in your preheated 350°F oven for 25-28 minutes until the tops are golden brown and the centers spring back lightly when touched.
 Pin it
The secret to keeping your filling inside the rolls is maintaining consistent pressure while rolling - not so tight that you squeeze everything out, but firm enough that there aren't any loose spots where the filling can escape. Taking your time with this step really pays off in the final presentation.
My family has always been drawn to cinnamon's comforting warmth, especially during holiday mornings when the whole house fills with that unmistakable spicy-sweet aroma. There's something almost magical about how cinnamon can instantly make any space feel more welcoming and festive, which is probably why these colorful rolls have become such a cherished tradition in our home.
Understanding Yeast Behavior and Temperature Control
Yeast is a living organism that requires specific conditions to thrive, and understanding its needs will dramatically improve your baking success. The ideal temperature range of 110-115°F creates the perfect environment for yeast activation without killing the delicate microorganisms. When your almond milk feels comfortably warm against your wrist, similar to baby bottle temperature, you've likely hit the sweet spot. If your kitchen runs cold, try placing the covered dough bowl on top of your refrigerator or near a sunny window to encourage proper rising.
Mastering Dough Texture and Consistency
The key to perfect cinnamon roll dough lies in achieving the right balance between structure and tenderness. Your finished dough should feel smooth and slightly tacky but not sticky enough to leave residue on your hands when touched gently. Humidity plays a major role in flour absorption, so resist the urge to add too much flour too quickly. Instead, add flour in small increments, allowing the dough to tell you what it needs. A properly developed dough will have a subtle sheen and will bounce back when poked with your finger.
Frosting Techniques and Timing Strategies
The timing of when you apply frosting can completely transform the final texture and appearance of your cinnamon rolls. Applying frosting while the rolls are still warm creates a glossy glaze that partially melts and soaks into the surface, creating layers of sweetness throughout each bite. However, if you prefer a thicker, more traditional frosting appearance, allow the rolls to cool for about 10 minutes before frosting. The residual warmth will still help the frosting spread easily without completely melting it away.
Storage and Make-Ahead Methods
These funfetti cinnamon rolls can be prepared up to 24 hours in advance using a simple overnight method. After shaping your rolls and placing them in the baking dish, cover tightly with plastic wrap and refrigerate overnight. The next morning, remove them from the refrigerator and let them come to room temperature for about 30 minutes before baking as directed. This slow, cold rise actually develops more complex flavors in the dough while making your morning routine much more manageable.
Troubleshooting Common Issues
Dense, heavy cinnamon rolls usually result from either inactive yeast or too much flour incorporation during the mixing process. Always test your yeast in warm liquid before proceeding with the recipe, and remember that dough should remain slightly tacky rather than completely smooth and dry. If your rolls spread too much during baking, your dough may have been under-kneaded or over-risen. Proper kneading develops the gluten structure that holds the shape, while over-rising can weaken this structure and cause collapse during baking.
Making these funfetti cinnamon rolls has taught me that the most memorable baking projects aren't always the most complicated ones - sometimes it's simply about adding unexpected joy to familiar favorites. The rainbow sprinkles transform an already beloved classic into something that feels celebratory and special, proving that a little whimsy in the kitchen can create the most treasured memories around your table.
Frequently Asked Questions
- → How long do these cinnamon rolls take to make?
- Total time is about 3 hours including 2 hours for the dough to rise, plus 25 minutes baking time.
- → Can I make the dough the night before?
- Yes, you can let the dough rise overnight in the fridge. Just cover the bowl completely with plastic wrap.
- → What makes these rolls funfetti?
- Rainbow sprinkles are mixed into both the dough and the cinnamon filling, plus more on top of the frosting.
- → How do I store leftover cinnamon rolls?
- Keep them in an airtight container in the fridge for up to 3 days. You can reheat them in the microwave.
- → Can I freeze these cinnamon rolls?
- Yes, but only after they're fully baked. Freezing raw dough will mess up the rising process.
- → Why do I need a meat thermometer for this recipe?
- To check that your milk is the right temperature (110-115°F) for the yeast to work properly.