 Pin it
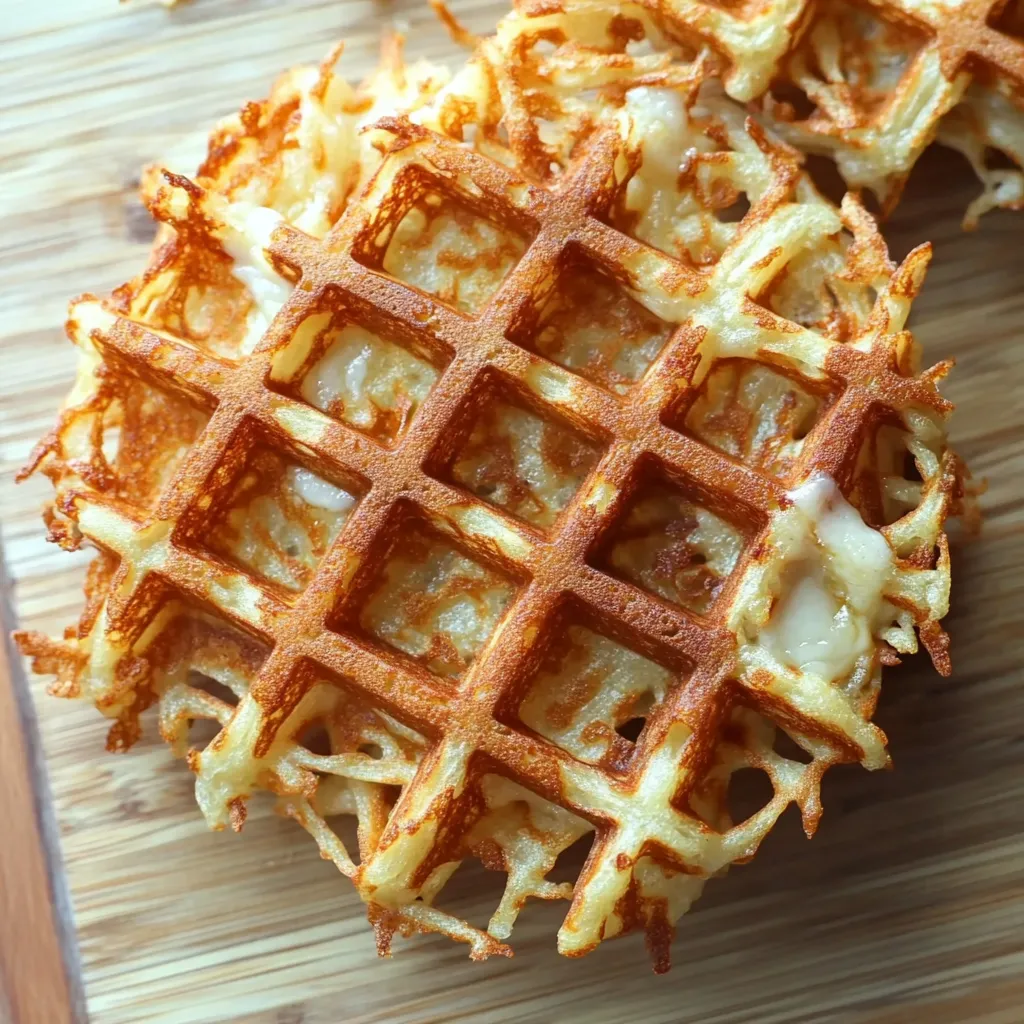
These hash brown waffles transform ordinary shredded potatoes into crispy, golden delights with a fun twist. By using your waffle iron instead of a skillet, you get perfectly crunchy edges and tender centers every time—plus those convenient deep pockets for holding your favorite toppings. Simple to prepare and endlessly versatile, these potato waffles will revolutionize your breakfast routine.
I first made these on a whim when I wanted something different for Sunday breakfast. What surprised me most was how the waffle iron transformed ordinary frozen hash browns into something that looked and tasted restaurant-quality. Now my family actually requests these instead of traditional pancakes for our weekend breakfasts.
Essential Ingredients
- Frozen hash browns – The foundation of this recipe; using pre-shredded frozen potatoes saves significant time and effort while providing consistent results
- Shredded cheese – Acts as both flavor enhancer and crucial binder that helps the hash browns hold their waffle shape; a fiesta blend adds nice color and complexity
- Seasoned salt – Provides all the savory seasoning you need in one ingredient; the blend of salt, herbs, and spices creates perfect flavor with minimal effort
- Pan release or cooking spray – Essential for preventing sticking and enabling that perfect golden crust; don't skimp on this important step
Step-By-Step Cooking Instructions
- Prepare the hash browns –
- Begin by thawing your frozen hash browns. For best results, place the amount you need (about 3 cups for a standard waffle iron) in the refrigerator overnight. If you're short on time, you can microwave them according to package directions or spread them on a towel-lined plate at room temperature for about 30 minutes. Properly thawed hash browns are essential—if they're too wet, your waffles will steam rather than crisp; if they're still frozen, they won't cook through evenly. Once thawed, blot them gently with a paper towel to remove excess moisture.
- Create the mixture –
- In a medium mixing bowl, combine the thawed hash browns, 1 cup of shredded cheese (fiesta blend, cheddar, or your preferred variety), and 1 teaspoon of seasoned salt. Mix gently but thoroughly with a fork or your hands until the ingredients are well distributed. The cheese should be evenly dispersed throughout the potatoes, which helps bind everything together. Avoid overmixing, which can make the potatoes gummy. The mixture should still look fluffy and not compacted.
- Preheat and prepare the waffle iron –
- Preheat your waffle iron to medium-high heat (most waffle irons have temperature settings). This typically takes about 3-5 minutes. Once hot, thoroughly coat both the top and bottom plates with cooking spray, homemade pan release, or brush with melted butter. Be generous with this step—proper greasing is crucial for preventing sticking and achieving that perfect crispy exterior. For best results, apply the coating just before adding the hash brown mixture.
- Cook to crispy perfection –
- Scoop approximately 1 cup of the hash brown mixture onto the center of the preheated waffle iron. Using the back of a spoon or a spatula, spread the mixture evenly, leaving about a half-inch border around the edge (the mixture will spread as the waffle iron closes). Close the lid firmly but without forcing it—the mixture should compress but not ooze out excessively. Cook for a full heating cycle, which is typically about 5-7 minutes, depending on your waffle iron.
- Check for doneness –
- Resist the urge to open the waffle iron too early, as this can cause the waffle to split. Once the indicator light shows the cycle is complete, carefully lift the lid to check if the waffle is golden brown and crispy. If it's not as crisp as you'd like, close the lid and cook for an additional 1-2 minutes. The perfect hash brown waffle should be deeply golden on the outside with a tender interior and should release easily from the waffle iron.
- Serve or store properly –
- Using silicone tongs or a heat-resistant spatula, carefully remove the finished waffle from the iron. If serving immediately, transfer to a plate and top as desired. If making multiple waffles, place finished ones on a wire cooling rack rather than stacking them—this prevents steam from making them soggy. For meal prep, allow waffles to cool completely on the rack before storing in an airtight container in the refrigerator or freezer.
 Pin it
Serving Suggestions
These versatile hash brown waffles shine in so many ways. For a classic breakfast, top with a fried egg and crumbled bacon, allowing the runny yolk to create a natural sauce that seeps into the waffle pockets. Or go all out with breakfast waffle sandwiches—use two smaller waffles as "bread" with scrambled eggs and ham in between.
For brunch gatherings, set up a hash brown waffle bar with various toppings like sour cream, chopped green onions, diced avocado, and salsa. This interactive approach is always a hit with guests. For dinner, these waffles make an excellent base for creative takes on chicken and waffles, or try topping with chili and cheese for a hearty meal.
Make-Ahead and Storage Tips
One of the greatest advantages of these hash brown waffles is their meal prep potential. Make a batch on Sunday, and you'll have breakfast ready all week. Store cooled waffles in an airtight container in the refrigerator for up to a week. To maintain their crispness, avoid stacking them without parchment paper between each waffle.
For longer storage, freeze completely cooled waffles in a single layer on a baking sheet until solid, then transfer to a freezer bag or container. They'll keep for up to three months. The best part? No need to thaw before reheating. Simply pop them in the toaster or toaster oven on medium heat until hot and crispy again—about 2-3 minutes from refrigerated or 3-4 minutes from frozen.
My grandmother always said the secret to good hash browns was patience—letting them develop that perfect crust without disturbing them. The waffle iron actually makes this easier because it removes the temptation to peek and flip too early. Her advice to "let the cooking equipment do its job" applies perfectly to this modern twist on her favorite breakfast.
I've been making these hash brown waffles for several years now, and what I appreciate most is their reliability and versatility. There's something magical about transforming a humble bag of frozen hash browns into something that looks impressive and tastes even better. Whether served as a simple breakfast or dressed up for dinner, these crispy potato waffles never fail to satisfy.
Frequently Asked Questions
- → Can I use fresh potatoes instead of frozen hash browns?
- Yes, you can grate fresh potatoes, but make sure to squeeze out excess moisture with a clean kitchen towel first to ensure crispiness.
- → What kind of cheese works best?
- Cheddar is popular, but any melting cheese like mozzarella, Colby jack, or pepper jack works great. Use your favorite!
- → How do I keep my hash brown waffles from sticking?
- Make sure to generously spray or brush your waffle iron with oil before adding the hash brown mixture.
- → Can I make these ahead of time?
- Yes, but they're crispiest when fresh. Reheat in a toaster oven or regular oven at 350°F for 5 minutes to restore crispness.
- → What can I serve with hash brown waffles?
- They're delicious with fried eggs, bacon, sausage, avocado, sour cream, or even maple syrup for a sweet-savory combo.
