
 Pin it
These gingerbread kiss cookies bring together two of my favorite holiday treats into one perfect bite that takes less than half an hour from start to finish. The warm spices of ginger and cinnamon mixed with rich molasses create that classic gingerbread flavor, while the chocolate kiss pressed into the top adds a sweet surprise that makes each cookie feel special. What I love most is how kid-friendly these are, with no complicated steps or long waiting times, just simple mixing, rolling, and baking that keeps even impatient little helpers engaged.
I started making these five years ago when my nephew visited during Christmas and wanted to help bake cookies but didn't have the patience for anything that required waiting. We threw these together in one afternoon, and he was so proud of himself for making "real cookies" that he took a picture of every single one before we packed them up to share with neighbors.
Ingredients You'll Need
- All-purpose flour (measured carefully): Forms the structure that holds your cookies together and determines the final texture; too much makes them cakey and dry, too little makes them spread into flat puddles
- Baking soda (fresh and active): Creates the spread and helps develop that slightly crackled surface that makes these cookies look rustic and homemade; old baking soda won't work properly
- Ground ginger (generous amount): This is what gives these cookies their signature gingerbread flavor with that warm, spicy kick; don't be shy with it or your cookies will taste bland
- Ground cinnamon: Adds warmth and depth that complements the ginger beautifully without overpowering it; you can adjust the amount based on how much you love cinnamon
- Unsalted butter (softened to room temperature): Provides richness and flavor while creating the right texture; it should be soft enough to leave a dent when you press it but not greasy or melted
- Dark brown sugar (packed when measuring): Adds moisture, chewiness, and that deep molasses flavor that makes these taste like proper gingerbread; light brown sugar works but dark gives better flavor
- Unsulphured molasses (not blackstrap): This is crucial for authentic gingerbread taste and keeping the cookies soft; use Grandma's brand in either original or robust, but never blackstrap which tastes bitter
- Large egg (room temperature): Binds everything together and adds structure; room temperature eggs incorporate more smoothly into the dough
- Pure vanilla extract: Enhances all the other flavors and adds complexity; always use real extract, not imitation, for the best taste
- Salt (if using unsalted butter): Balances the sweetness and makes all the spices taste more vibrant; skip this if you're using salted butter
- Granulated sugar for rolling: Creates that sparkly coating on the outside that adds a bit of crunch and makes the cookies look professionally made
- Hershey's Kisses (unwrapped and ready): The chocolate centerpiece that makes these special; classic milk chocolate is traditional, but you can use any flavor you like
Step-by-Step Instructions
- Whisk together all your dry ingredients
- In a medium bowl, combine your all-purpose flour, ground ginger, ground cinnamon, baking soda, and salt if you're using it, then whisk everything together vigorously for about thirty seconds until you see the spices evenly distributed throughout the white flour. This whisking step ensures that every scoop of dough will have the same amount of spices and leavening instead of some cookies being bland and others overly spiced. Set this bowl aside while you work on the wet ingredients, giving the spices time to mingle with the flour.
- Cream the butter and brown sugar until light and fluffy
- Place your softened butter in the bowl of your stand mixer fitted with the paddle attachment, or use a large bowl with hand beaters if that's what you have, and add the brown sugar on top. Beat these together on medium speed for about two to three minutes, stopping to scrape down the sides of the bowl halfway through to make sure everything mixes evenly. You're looking for the mixture to transform from grainy and chunky to smooth, pale, and noticeably fluffier as air gets incorporated, which is what gives your cookies that perfect tender texture. The color will lighten considerably and the mixture should look almost like frosting when it's properly creamed.
- Add the molasses, egg, and vanilla
- Pour your molasses directly into the creamed butter mixture, followed by your room temperature egg and vanilla extract, then beat everything together on medium speed until completely combined and smooth with no streaks of egg yolk visible. Stop the mixer and use a rubber spatula to scrape down the sides and bottom of the bowl thoroughly because molasses is sticky and loves to hide in corners where the beater doesn't reach. The mixture will look darker now from the molasses and should be uniform in color throughout with a silky, glossy appearance.
- Add dry ingredients and mix until just combined
- With your mixer on the lowest possible speed to prevent flour from flying everywhere, add all of your dry ingredient mixture at once to the wet ingredients in the bowl. Mix on low speed for only about thirty seconds or just until you can't see any more streaks of flour in the dough, then immediately stop mixing. This is crucial because overmixing at this stage develops gluten strands that make cookies tough and dense instead of soft and tender. The dough should look cohesive and slightly soft but definitely not sticky, pulling together into a mass that's easy to scoop.
- Scoop dough and roll in sugar
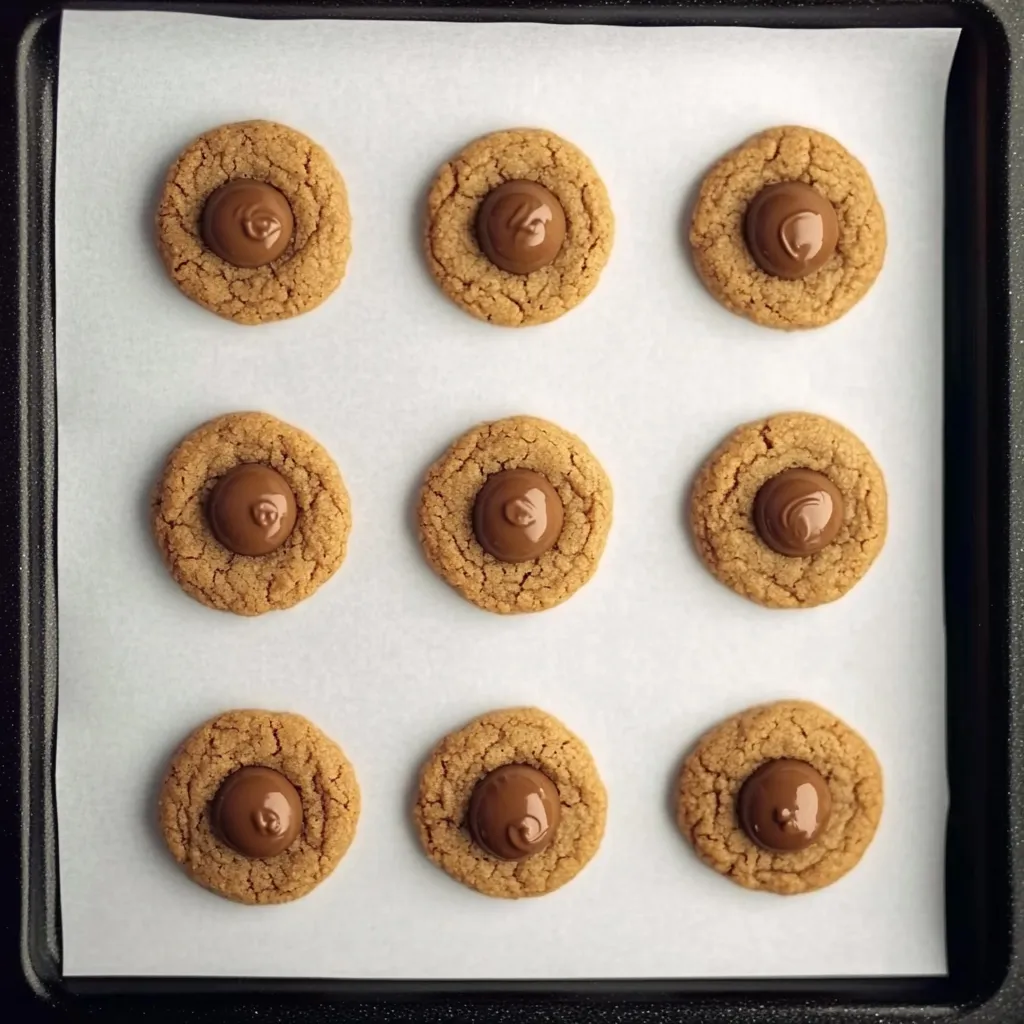
- Use a tablespoon-sized cookie scoop or two spoons to portion out balls of dough, making them all approximately the same size so they bake evenly. Roll each ball between your palms briefly to make it smooth and round, then drop it into a small bowl filled with granulated sugar. Roll the ball around in the sugar until it's completely coated on all sides with a sparkly layer, then place it on your parchment-lined baking sheet. Space the cookies about two inches apart because they'll spread slightly as they bake, and you don't want them running into each other and creating one giant cookie blob.
- Bake until set but still soft
- Slide your baking sheet into the preheated oven and bake for exactly eight minutes, setting a timer so you don't forget and overbake them. The cookies are done when they look puffed and set around the edges but still appear soft in the centers, not browned or crispy. They'll seem underdone when you pull them out, but this is exactly what you want because they continue cooking on the hot pan after leaving the oven. If you bake them until they look completely done in the oven, they'll be hard and overbaked once they cool.
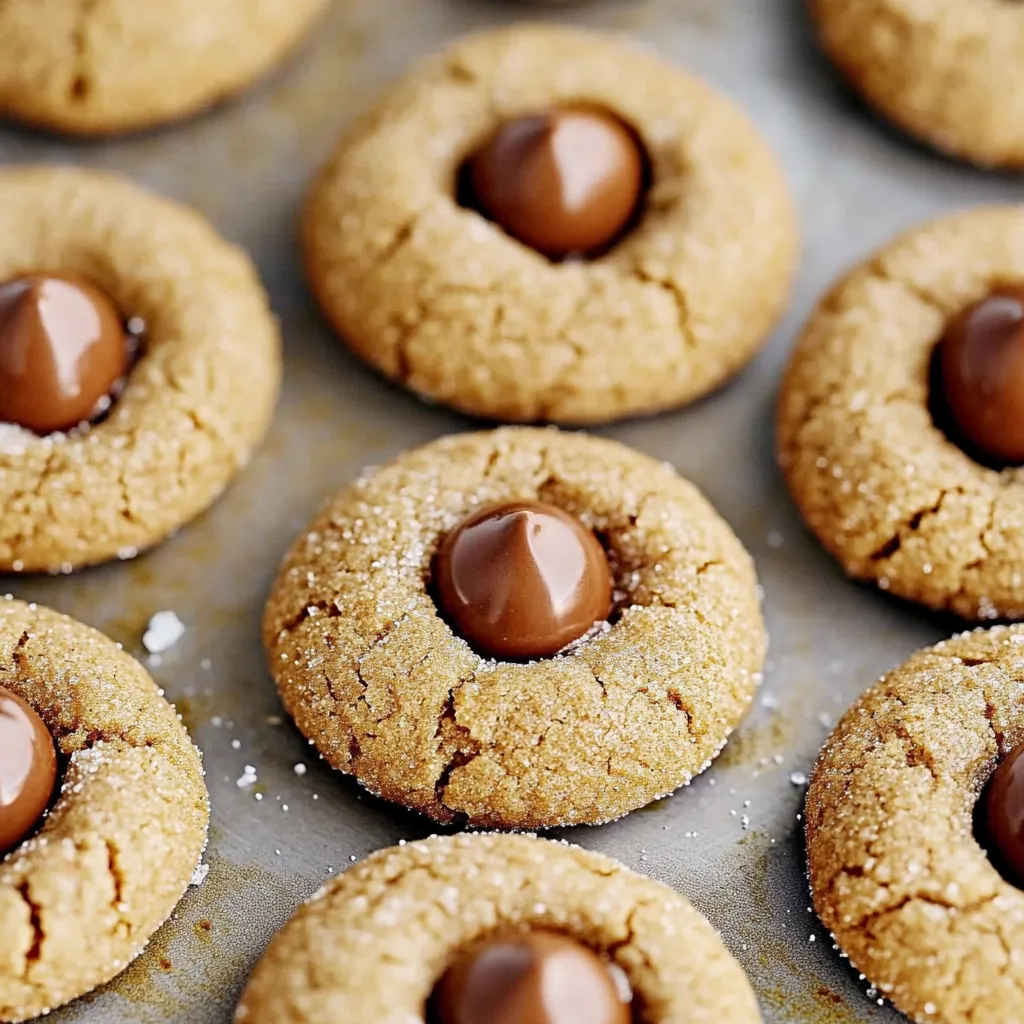
- Press kisses into warm cookies immediately
- The moment you remove the baking sheet from the oven, grab your unwrapped Hershey's Kisses and immediately press one firmly into the center of each cookie while they're still hot and soft. Work quickly because you want to do this while the cookies are warm enough that the chocolate bases slightly melt and adhere to the cookie. Press down gently but firmly so the kiss sinks into the cookie surface without completely flattening the cookie around it. The chocolate will be shiny and slightly melty, which creates that professional bakery look.
- Cool completely before storing or eating
- Let the cookies sit on the baking sheet for about five minutes to firm up enough that you can move them without breaking, then carefully transfer them to a wire cooling rack using a spatula. Allow them to cool completely before eating or storing because the chocolate needs time to set and the cookies need to finish their cooking process. Warm cookies are tempting but they're too soft and fragile to handle properly, and the chocolate will smear everywhere if you bite into them too soon.
 Pin it
My kitchen smells absolutely incredible when these are baking, with the warm spices of ginger and cinnamon mixing with the sweet smell of molasses and chocolate. My husband always knows when I'm making these because he comes running from wherever he is in the house, drawn by that irresistible aroma that just screams Christmas.
Understanding Gingerbread Spicing
The balance of spices in these cookies creates that recognizable gingerbread flavor that everyone loves during the holidays, and understanding each one helps you adjust to your personal taste. Ginger provides the primary warm, slightly spicy kick that defines gingerbread and makes it different from regular spice cookies. Cinnamon adds sweet warmth and depth without being overpowering, complementing the ginger instead of competing with it. Some recipes include additional spices like cloves, nutmeg, or allspice, but keeping it simple with just ginger and cinnamon lets those flavors shine without becoming muddy or overly complex.
Why Molasses Matters
Molasses does so much more than just add flavor to these cookies, though its deep, slightly bitter-sweet taste is certainly important to authentic gingerbread. It adds moisture that keeps cookies soft and chewy instead of dry and crumbly, and its thick, syrupy consistency helps create a tender texture. The sugars in molasses are hygroscopic, meaning they attract and hold moisture from the air, which is why gingerbread cookies stay soft for days instead of hardening immediately like some cookies do. Using the right type matters enormously because blackstrap molasses has a harsh, almost medicinal bitterness from being boiled multiple times, while regular unsulphured molasses has a pleasant sweetness with just enough complexity.
The No-Chill Advantage
Most cookie recipes require chilling the dough to prevent excessive spreading and to develop flavors, but these gingerbread kiss cookies skip that step entirely, which is wonderful when you need cookies fast. The combination of molasses and brown sugar creates a dough that's already thick enough to hold its shape without chilling, and the relatively small amount of butter compared to some recipes means there's less fat to melt and cause spreading. The strong flavors from ginger, cinnamon, and molasses don't need time to develop like more subtle cookies do, tasting great immediately after mixing. This makes them perfect for spontaneous baking sessions or when kids want to help but don't have the patience to wait hours for dough to chill.
Getting the Texture Right
That perfect soft and chewy texture comes from several factors working together, and paying attention to each one ensures consistent results every time. Not overmixing the dough after adding flour prevents gluten development that would make cookies tough and cakey instead of tender. Pulling them from the oven when they still look slightly underdone allows carryover cooking to finish them perfectly without overbaking. The molasses and brown sugar both contribute moisture that keeps the interior soft while the sugar coating on the outside provides just a hint of crunch. Proper measuring of flour is crucial because even a few extra tablespoons can transform these from soft and chewy to dry and hard.
Chocolate Kiss Variations
While classic milk chocolate Hershey's Kisses are traditional and always delicious, experimenting with different flavors adds variety and lets you customize these cookies for different tastes. Dark chocolate kisses give a more sophisticated flavor that appeals to adults who find milk chocolate too sweet, and the slightly bitter chocolate complements the spiced gingerbread beautifully. Caramel-filled kisses add gooey sweetness that oozes out when you bite into a warm cookie, creating an indulgent treat. Peppermint or candy cane kisses amp up the holiday factor with minty freshness that pairs surprisingly well with ginger. Even white chocolate kisses work nicely, though they're sweeter and milder than the other options.
Involving Kids in the Process
These cookies are genuinely one of the best recipes for baking with children because every step is simple enough for little hands while still being engaging and fun. Unwrapping the chocolate kisses keeps them busy and makes them feel helpful, though you'll want to supervise to prevent too many kisses from "disappearing" into mouths. Rolling dough balls in sugar is satisfying and tactile without being messy, and kids love seeing how the plain dough transforms into sparkly sugar-coated balls. Pressing the chocolate kisses into the warm cookies is the grand finale that makes children feel like they're truly decorating and creating something special, and the immediate visual transformation is rewarding.
Storage and Freshness
These gingerbread kiss cookies stay fresh and soft for up to five days when stored properly in an airtight container at room temperature, which makes them excellent for baking ahead. The molasses and brown sugar work together to retain moisture, preventing that stale, hard texture that some cookies develop after a day or two. Layer the cookies with parchment paper between each layer if you're stacking them so the chocolate kisses don't stick to the cookies above them. If your cookies do happen to harden slightly after a few days, tucking a slice of bread into the container overnight softens them back up as they absorb moisture from the bread.
 Pin it
These gingerbread kiss cookies have become one of those recipes I make almost weekly during December because they're fast enough for a random Tuesday evening but impressive enough for holiday parties and cookie exchanges. The combination of classic gingerbread spices with that chocolate kiss on top feels festive and traditional while being so much easier than cutting out and decorating gingerbread men, and watching people's faces light up when they bite into one never gets old.
Frequently Asked Questions
- → Can I make these cookies ahead of time?
- Yes, you can bake them up to 5 days in advance. Store them in an airtight container at room temperature and they'll stay soft and fresh.
- → Why do my cookies spread too much?
- Make sure your butter is softened but not melted, and chill the dough for 30 minutes if it feels too soft. Also, don't skip rolling them in sugar as it helps hold their shape.
- → Can I use salted butter instead?
- Sure! Just leave out the salt that's called for in the recipe since your butter already has salt in it.
- → When should I press the chocolate kiss in?
- Press it in immediately after the cookies come out of the oven while they're still hot. They'll be soft enough to accept the kiss without cracking.
- → Can I freeze the cookie dough?
- Absolutely. Scoop and roll the dough balls, freeze them on a tray, then transfer to a freezer bag. Bake from frozen, adding 1-2 extra minutes to the time.
- → What if I don't have molasses?
- Molasses gives these cookies their signature flavor and texture. If you're in a pinch, you can use honey or maple syrup, but the taste will be different.