
 Pin it
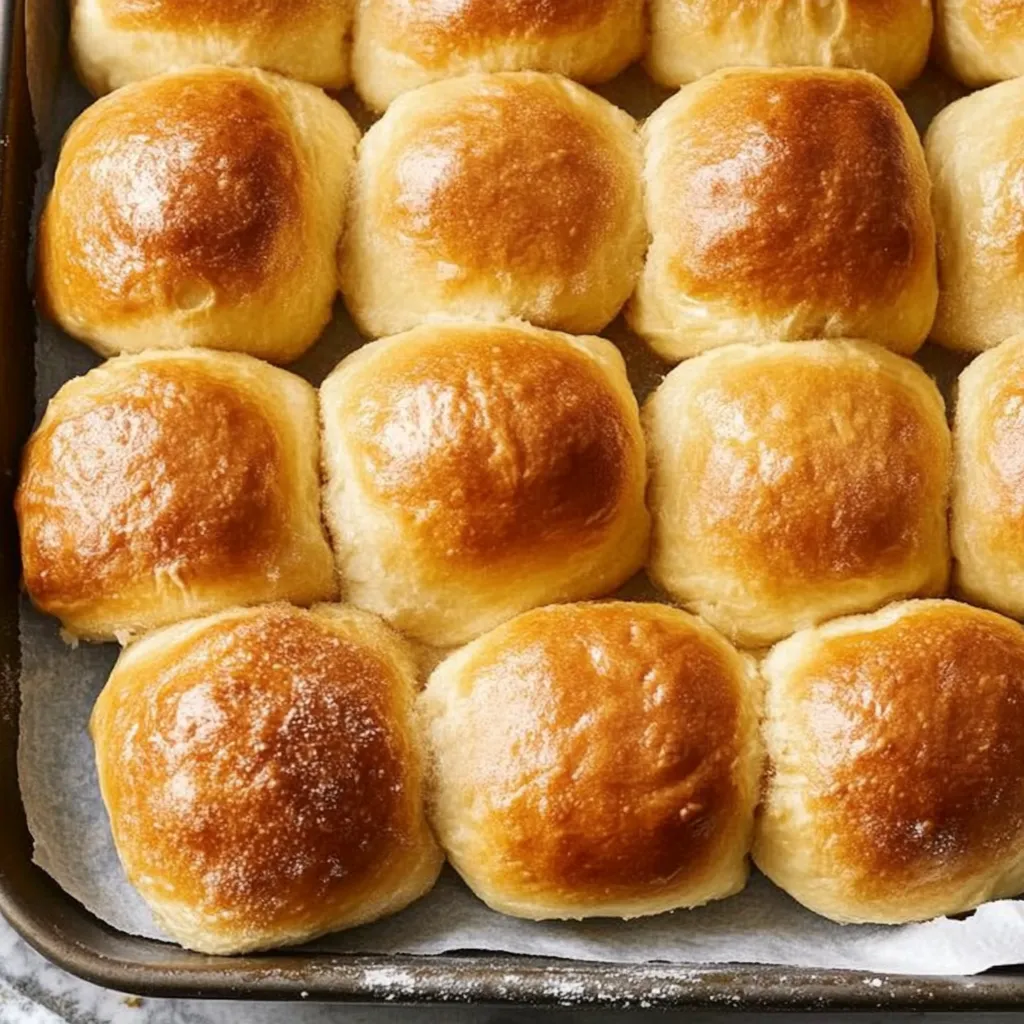
These homemade dinner rolls deliver everything you want from fresh-baked bread - pillowy soft interiors, golden brown crusts, and that irresistible buttery flavor that makes any meal feel special. Using just seven simple ingredients and straightforward techniques, they transform basic pantry staples into something that rivals the best bakery rolls while filling your home with the most incredible aroma. Whether served alongside a casual soup dinner or gracing your holiday table, these rolls have that perfect balance of flaky exterior and tender crumb that keeps everyone reaching for just one more.
Why You'll Love This Recipe
My husband started making these rolls several years ago when we wanted fresh bread for holiday dinners but found store-bought options disappointing and bakery rolls too expensive. After trying countless recipes, we discovered this one produces the most consistently perfect results with minimal fuss. Now they've become such a staple that our family requests them for every special occasion, and I love how something so simple can make any meal feel more thoughtful and special. The fact that they freeze beautifully means we can always have homemade rolls ready for unexpected guests or those moments when only fresh bread will do.
Ingredients
- All-purpose flour (4 cups): Measure carefully by spooning into cups and leveling off, or weigh for the most accurate results
- Active dry yeast (2¼ teaspoons, 1 packet): Check expiration date before using, as fresh yeast is crucial for proper rising
- Whole milk (1 cup, warmed): Warm milk helps activate yeast and creates tender texture, though any milk works well
- Granulated sugar (3 tablespoons, divided): Feeds the yeast and adds subtle sweetness that balances the buttery flavor
- Unsalted butter (6 tablespoons, melted, divided): Provides richness in the dough plus extra for brushing the finished rolls
- Large egg (1): Adds structure and richness while contributing to that beautiful golden color
- Sea salt (1 teaspoon): Enhances all flavors and helps control yeast activity for proper texture
- Olive oil (for bowl and pan): Prevents sticking during rising and baking
Instructions
- Step 1:
- Proof the yeast for guaranteed success. In a small bowl, combine warm milk, 1 tablespoon sugar, and yeast. Let sit for 5 minutes until foamy and bubbly. If the mixture doesn't foam, discard and start over with fresh yeast.
- Step 2:
- Begin mixing the dough base. In the bowl of a stand mixer fitted with dough hook, combine the foamy yeast mixture, remaining 2 tablespoons sugar, 4 tablespoons melted butter, egg, and salt. Mix on low speed until well combined.
- Step 3:
- Add flour gradually for proper texture. Add flour 1 cup at a time, mixing after each addition until incorporated. After all flour is added, increase speed to medium and mix for 2-3 minutes until a cohesive, slightly sticky dough forms that pulls away from the bottom of the bowl.
- Step 4:
- Knead briefly to develop structure. Turn dough onto a lightly floured surface and knead a few times until it forms a smooth ball. The dough should be soft and slightly tacky but not overly sticky.
- Step 5:
- First rise in warm environment. Place dough ball in an oiled bowl, turning to coat all sides. Cover with plastic wrap and let rise in a warm place for 1-2 hours until doubled in size. A sunny windowsill or oven with just the light on works perfectly.
- Step 6:
- Shape individual rolls carefully. After first rise, turn dough onto lightly floured surface and divide into 15 equal pieces. Shape each piece into a smooth ball by rolling under your cupped hand on the counter.
- Step 7:
- Arrange for second rise. Place shaped rolls on a greased quarter sheet pan or 9x13 inch baking dish, spacing them about 1 inch apart. Cover with plastic wrap and let rise for 45-60 minutes until puffy and nearly doubled.
- Step 8:
- Bake to golden perfection. Preheat oven to 350°F and place rolls on lower rack. Bake for 20-25 minutes, rotating pan halfway through, until tops are golden brown and rolls sound hollow when tapped.
- Step 9:
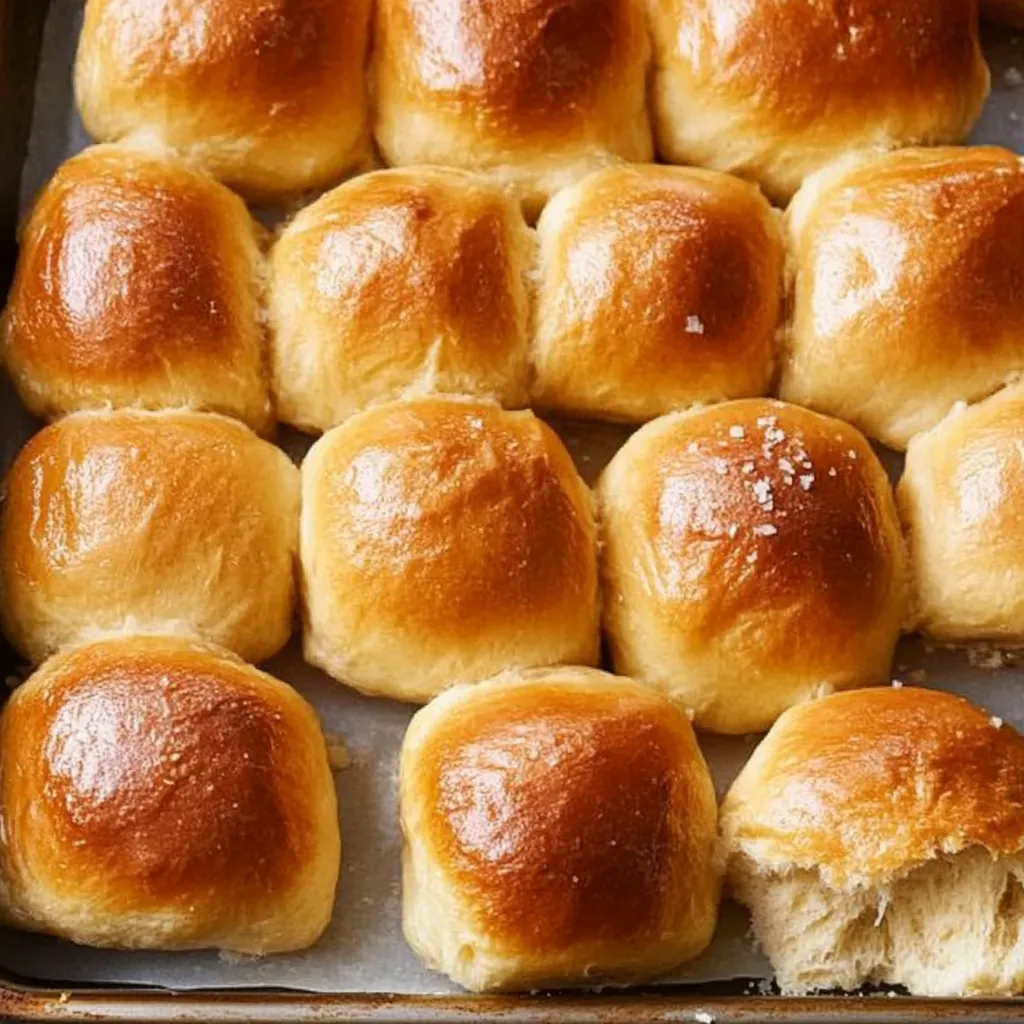
- Finish with butter while warm. Immediately brush tops of hot rolls with remaining melted butter for extra flavor and beautiful shine. Serve warm for the best texture and flavor.
 Pin it
Understanding Yeast and Proper Proofing
The success of these dinner rolls depends heavily on using fresh, active yeast and creating the right environment for it to thrive. Yeast is a living organism that needs warmth, moisture, and food (sugar) to activate properly. The proofing step isn't just about checking if your yeast is alive - it's about giving it the perfect head start for robust rising.
The milk temperature is crucial here - it should feel comfortably warm on your wrist, not hot. Too hot and you'll kill the yeast, too cold and it won't activate properly. If you're unsure, err on the side of slightly cooler rather than too warm, as yeast can be quite forgiving with lower temperatures but never recovers from being killed by heat.
Achieving Perfect Dough Consistency
The texture of your dough after mixing determines the final quality of your rolls. You want a dough that's soft and slightly tacky but not so sticky that it won't hold its shape. The amount of flour needed can vary based on humidity and how you measure, so add it gradually and trust the feel more than exact measurements.
When properly mixed, the dough should pull away from the bottom of the mixer bowl while still clinging slightly to the sides. It should feel alive and elastic when you handle it, and shaping it into rolls should be easy without requiring excessive flour on your work surface.
Creating Optimal Rising Conditions
Yeast thrives in warm, draft-free environments, and creating the right conditions can make the difference between dense, heavy rolls and light, fluffy ones. The ideal temperature for rising is around 75-80°F, which is slightly warmer than most homes. Simple solutions include placing the bowl near a sunny window, on top of the refrigerator, or in an oven with just the light on.
The first rise is complete when the dough has doubled in size - it should look noticeably puffed and feel light when you gently poke it. The second rise after shaping is equally important; the rolls should look puffy and jiggly when gently shaken, indicating they're ready for the oven.
Make-Ahead Magic for Stress-Free Entertaining
One of the best features of this recipe is how beautifully it adapts to make-ahead scheduling, which is invaluable for holiday meal planning. You can shape the rolls completely, place them in the baking pan, and refrigerate overnight. The slow, cold rise actually improves flavor development while making your schedule more manageable.
For longer storage, the baked rolls freeze exceptionally well for up to two months. I often make double batches specifically for freezing, which means I can have fresh, warm rolls ready in minutes by simply thawing and reheating in a warm oven. This advance preparation takes so much stress out of entertaining while ensuring homemade quality.
Troubleshooting Common Issues
Dense, heavy rolls usually result from too much flour, expired yeast, or insufficient rising time. If your dough feels very stiff after mixing, it likely has too much flour - this happens most often when flour is scooped rather than spooned and leveled. Don't be afraid to add a tablespoon of warm milk to soften overly stiff dough.
Rolls that don't rise properly usually indicate yeast problems. Always check expiration dates and proof your yeast even if using instant varieties. If your kitchen is particularly cold, create a warmer environment for rising rather than just waiting longer, as yeast becomes sluggish in cold conditions.
Serving Suggestions and Flavor Variations
While these rolls are absolutely perfect as written, they serve as an excellent base for creative variations. Try adding herbs like rosemary or thyme to the dough, or brush the tops with garlic butter instead of plain butter. For sweet variations, increase the sugar slightly and add cinnamon for breakfast rolls.
The neutral flavor of these rolls makes them perfect companions for everything from hearty stews and roasted meats to light salads and soups. They're substantial enough to serve as sandwich rolls but tender enough to tear apart for sopping up sauces and gravies.
You Must Know
I love how this recipe has become such an integral part of our family's meal traditions, transforming ordinary dinners into something that feels special and celebratory. There's something deeply satisfying about filling the house with the aroma of fresh-baking bread and watching everyone's faces light up when warm rolls appear on the table. These rolls prove that some of life's greatest pleasures come from simple ingredients treated with care and attention, creating moments of connection and comfort that become treasured memories.
Professional Chef Tips
This dinner roll recipe represents everything I believe about home baking - that with quality ingredients and proper technique, anyone can create something that rivals professional results while bringing incredible satisfaction and joy to the process. Every time I watch someone tear into a warm, buttery roll fresh from my oven, I'm reminded that some of the most meaningful expressions of care and hospitality come through the simple act of baking bread for the people we love.
Frequently Asked Questions
- → How do I know if my yeast is still good?
- Mix it with warm milk and sugar - it should foam up within 5 minutes. If nothing happens, your yeast is dead and you need fresh yeast.
- → Can I make these rolls ahead of time?
- Yes! You can prepare the dough, shape the rolls, and refrigerate overnight. Let them come to room temperature before baking.
- → Why are my rolls dense instead of fluffy?
- Usually from adding too much flour or not letting the dough rise enough. Keep the dough slightly sticky and be patient with rising times.
- → What temperature should the milk be?
- Warm to the touch, like a comfortable bath. Too hot will kill the yeast, too cold won't activate it properly.
- → How long do these rolls stay fresh?
- They're best the day you make them, but will stay soft for 2-3 days in an airtight container. Reheat briefly to refresh.
- → Can I freeze the unbaked rolls?
- Absolutely! Shape them, freeze on a tray, then store in bags. Thaw and let rise before baking - adds about 30 minutes to the process.