
 Pin it
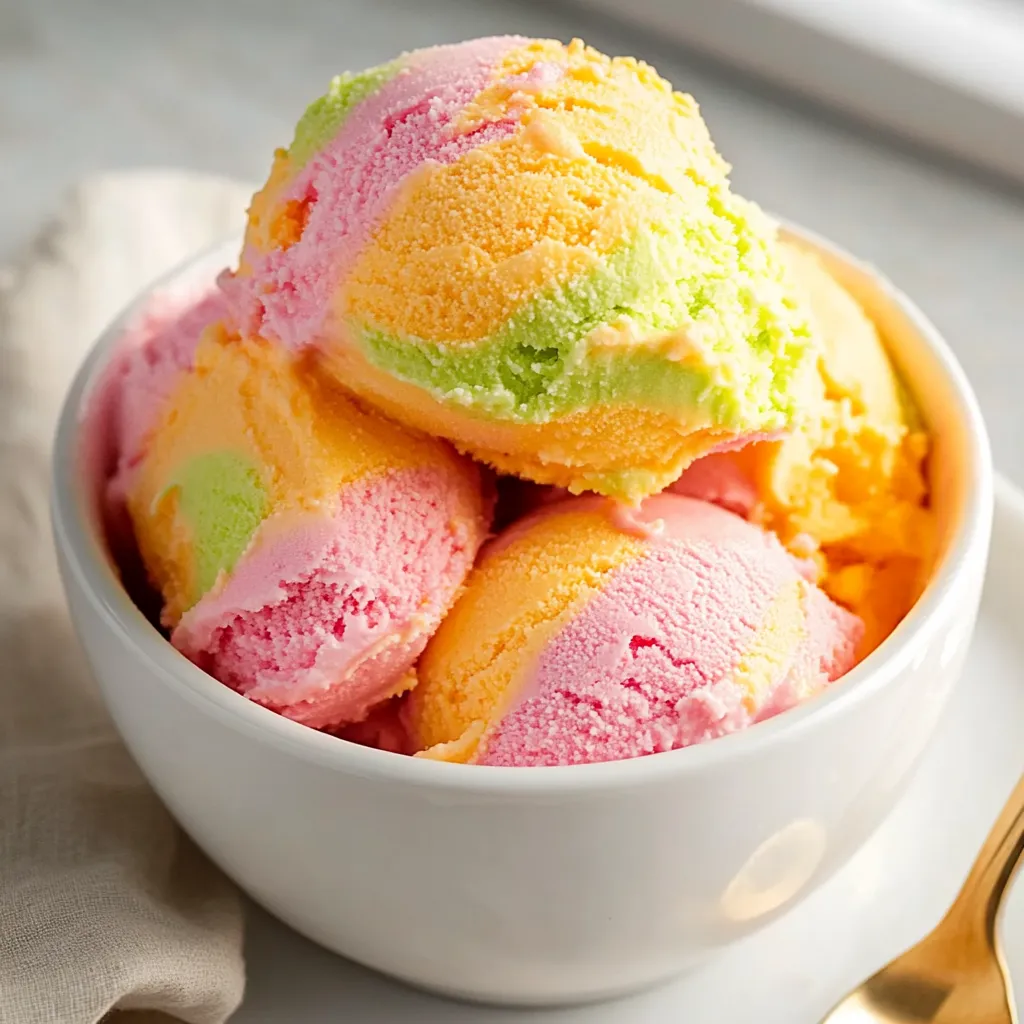
This vibrant rainbow sherbet brings together three classic citrus flavors in one spectacular frozen dessert that's surprisingly simple to make at home. Using a no-churn method, this recipe layers orange, lime, and pink lemonade sherbet into beautiful rainbow stripes that taste as amazing as they look. Perfect for summer parties, family gatherings, or anytime you want to create something special, this sherbet delivers restaurant-quality results without requiring any special equipment.
I started making this rainbow sherbet when my kids were going through a phase where they wanted everything colorful and fun. What began as a way to impress them at a birthday party has become our go-to summer dessert. The beauty of this recipe is that it looks incredibly sophisticated and difficult, but it's actually one of the easiest frozen desserts you can make. Guests are always amazed when I tell them it's homemade, and my children love helping with the layering process.
Essential Ingredients and Selection Tips
- Frozen juice concentrates: Choose quality brands without artificial flavors; thaw completely before using
- Heavy whipping cream: Must be at least 35% fat content for proper whipping and texture
- Sweetened condensed milk: Full-fat versions create the richest, creamiest base
- Fresh citrus fruits: Use organic for zesting to avoid pesticide residues on the peel
- Gel food coloring: Optional but creates more vibrant colors than liquid varieties
- High-quality vanilla extract: Enhances all the citrus flavors without competing
Detailed Cooking Instructions
- Prepare your workspace and containers:
- Line a 9x5 inch loaf pan with plastic wrap, leaving enough overhang to cover the top later. Place your mixing bowls and beaters in the refrigerator for 15 minutes before whipping cream - cold equipment helps create more stable whipped cream. Remove the frozen juice concentrates from the freezer and let them thaw completely, which takes about 2-3 hours at room temperature.
- Create the whipped cream base:
- Pour 2 cups of heavy cream into your chilled mixing bowl. Using an electric mixer, start on medium speed and gradually increase to high, whipping until the cream forms stiff peaks. This usually takes 3-4 minutes with a stand mixer or 5-6 minutes with a hand mixer. The peaks should hold their shape when you lift the beaters, and the cream should look glossy but not over-whipped or grainy.
- Prepare the sherbet bases separately:
- Divide the whipped cream evenly among three separate bowls. In the first bowl, gently fold in 1/3 cup of thawed orange juice concentrate, 1/3 cup of sweetened condensed milk, the zest of one orange, and a few drops of orange gel food coloring if desired. Repeat this process with the second bowl using lime concentrate, lime zest, and green coloring, and the third bowl with pink lemonade concentrate, lemon zest, and pink coloring.
- Master the folding technique:
- When combining the juice concentrates with the whipped cream, use a large rubber spatula and fold gently from the bottom up and over the top. Rotate the bowl as you work to ensure even distribution without deflating the cream. The mixture should be uniformly colored and flavored but still light and airy. Work quickly but gently to maintain the volume you've created in the whipped cream.
- Layer with artistic precision:
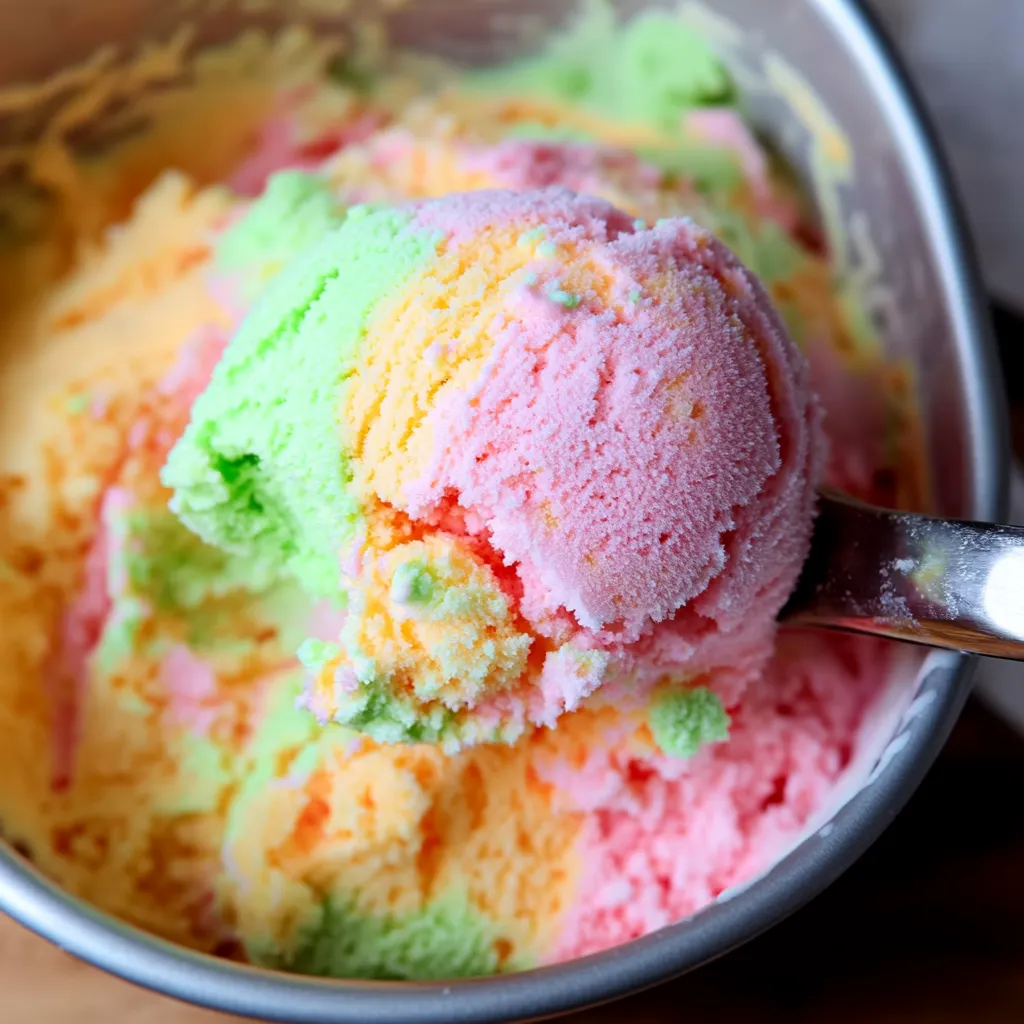
- Start by spooning the orange sherbet mixture into the bottom of your prepared loaf pan, spreading it evenly with an offset spatula. Gently tap the pan on the counter to release air bubbles and create a smooth surface. Add the lime layer next, spreading carefully to avoid mixing with the orange layer. Finish with the pink lemonade layer, smoothing the top and covering completely with the plastic wrap overhang.
- Freeze for optimal texture:
- Place the pan in the freezer on a level surface and freeze for at least 6 hours, though overnight is ideal for the firmest texture. The sherbet is ready when it holds its shape when scooped but isn't so hard that it's difficult to serve. Before serving, let it sit at room temperature for 5-10 minutes to soften slightly for easier scooping.
 Pin it
The no-churn method works brilliantly for sherbet because the high fat content from heavy cream and sweetened condensed milk prevents the formation of large ice crystals that can make frozen desserts grainy. By whipping air into the cream before freezing, you're creating the same light texture that churning would provide, but without the time and equipment requirements.
Understanding the science behind sherbet helps explain why this recipe works so well. Sherbet traditionally contains dairy (unlike sorbet, which is dairy-free), and the fat content is crucial for creating smooth texture and preventing freezer burn. The sweetened condensed milk serves multiple purposes - it adds sweetness, richness, and helps lower the freezing point slightly, which keeps the sherbet from becoming too hard.
The use of juice concentrates rather than fresh juice is actually advantageous in frozen desserts. Concentrates have more intense flavors that don't get diluted during the freezing process, and they contain less water, which means fewer ice crystals and smoother texture. The concentrated sugars also help maintain the proper consistency and prevent the sherbet from freezing too solid.
This recipe represents a perfect balance between convenience and quality. While traditional sherbet requires cooking sugar syrups and careful temperature monitoring, this version delivers comparable results with much less effort. The layered presentation creates a beautiful visual effect that makes the dessert feel special and festive, perfect for celebrations or hot summer days.
The versatility of this base recipe opens up endless flavor possibilities. You can substitute any frozen juice concentrate for different flavor combinations - try cranberry, grape, or tropical fruit blends. The key is maintaining the ratio of juice concentrate to dairy ingredients to ensure proper texture and freezing characteristics.
My family has made this rainbow sherbet for birthday parties, Fourth of July celebrations, and countless summer afternoons when we needed something refreshing and special. The kids love the process of layering the different colors, and I appreciate how it can be made days ahead of time. There's something magical about slicing into the finished sherbet and revealing those perfect rainbow layers.
This rainbow sherbet recipe has taught me that impressive desserts don't always require complicated techniques or expensive equipment. Sometimes the most memorable treats are those that combine simple ingredients with a bit of creativity and care. Every time I make this dessert, I'm reminded that cooking is about bringing joy to others, and few things create more smiles than a beautiful, colorful scoop of homemade sherbet on a hot summer day.
Frequently Asked Questions
- → Do I need an ice cream maker for this recipe?
- No, this is a no-churn recipe that only requires a mixer and freezer.
- → How long does the sherbet take to freeze completely?
- It needs at least 6 hours to freeze solid, but overnight works best.
- → Can I use fresh citrus juice instead of concentrates?
- Concentrates work better because they're more intense and won't water down the mixture.
- → How do I make the colors more vibrant?
- Add 1-2 drops of food coloring to each flavor mixture for brighter colors.
- → How long will homemade sherbet keep in the freezer?
- It stays good for up to 2 months when covered, but tastes best within the first month.
- → Why is my sherbet too hard to scoop?
- Let it sit at room temperature for 5 minutes before scooping, or use a warm ice cream scoop.