
 Pin it
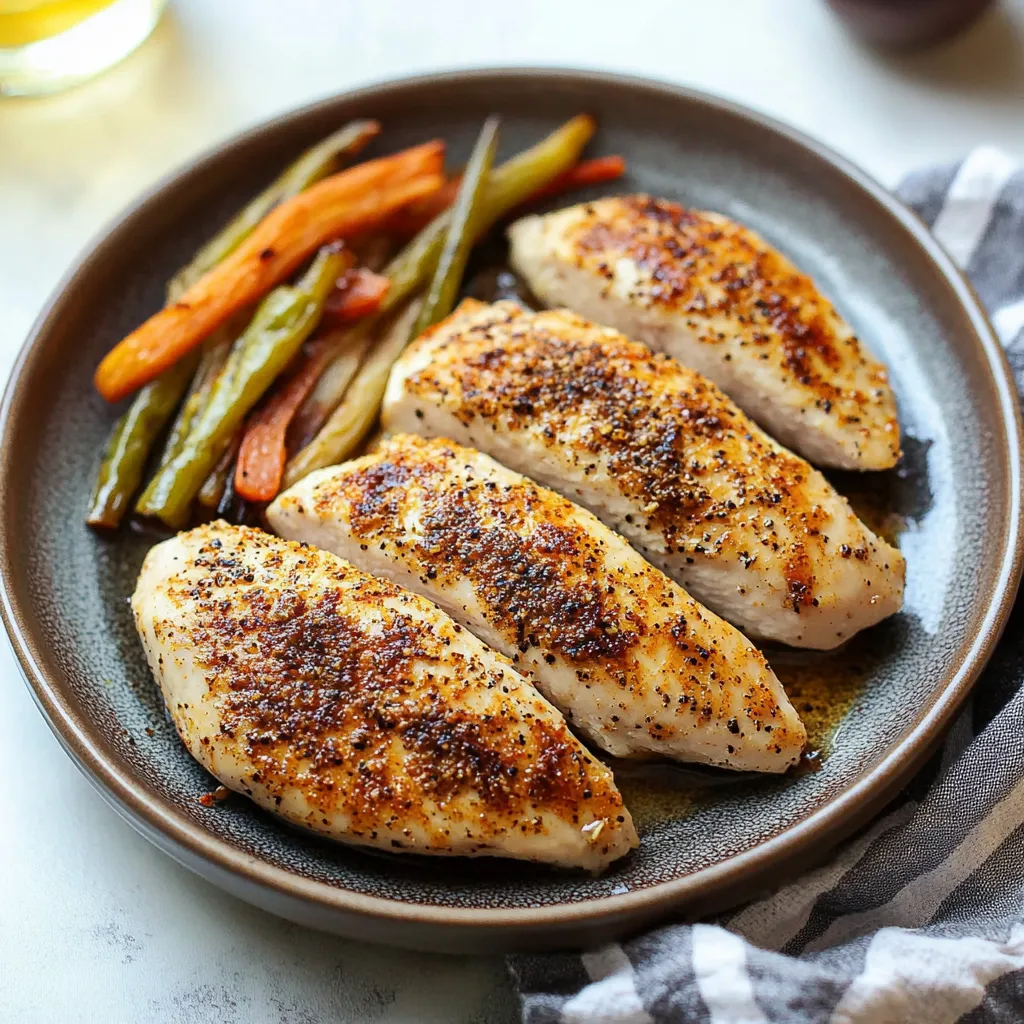
Perfectly juicy, tender chicken breasts emerge from your oven every time with this foolproof baking method. The secret lies in a quick brine and precise temperature control, transforming often-dry chicken breasts into succulent, flavorful meat that's versatile enough for any meal.
After years of experimenting, this has become my go-to method for entertaining. Last Sunday, I served these chicken breasts to my sister's picky eaters, and even they came back for seconds - a true testament to how this method transforms ordinary chicken into something special.
Essential Ingredients
- Chicken Breasts: Choose pieces of similar size for even cooking - I find 6-8 ounce portions work best
- Kosher Salt: The larger crystals dissolve perfectly for brining and create superior flavor
- Butter: Adds richness and helps create a golden exterior - use unsalted to control seasoning
- Seasonings: Start with paprika, garlic powder, and black pepper as your base
- Olive Oil: Helps seasonings adhere and promotes browning
- Ice Water: Essential for the brining step to keep chicken food-safe
 Pin it
Step-by-Step Instructions
- 1. Brining Stage (15 minutes):
- Fill large bowl with warm water and 1/4 cup kosher salt. Stir until salt dissolves completely. Add ice to cool mixture. Submerge chicken and let rest, maintaining cold temperature.
- 2. Preparation Phase (5 minutes):
- Preheat oven to exactly 425°F. Line baking pan with parchment paper. Remove chicken from brine and pat thoroughly dry. Let rest at room temperature while oven heats.
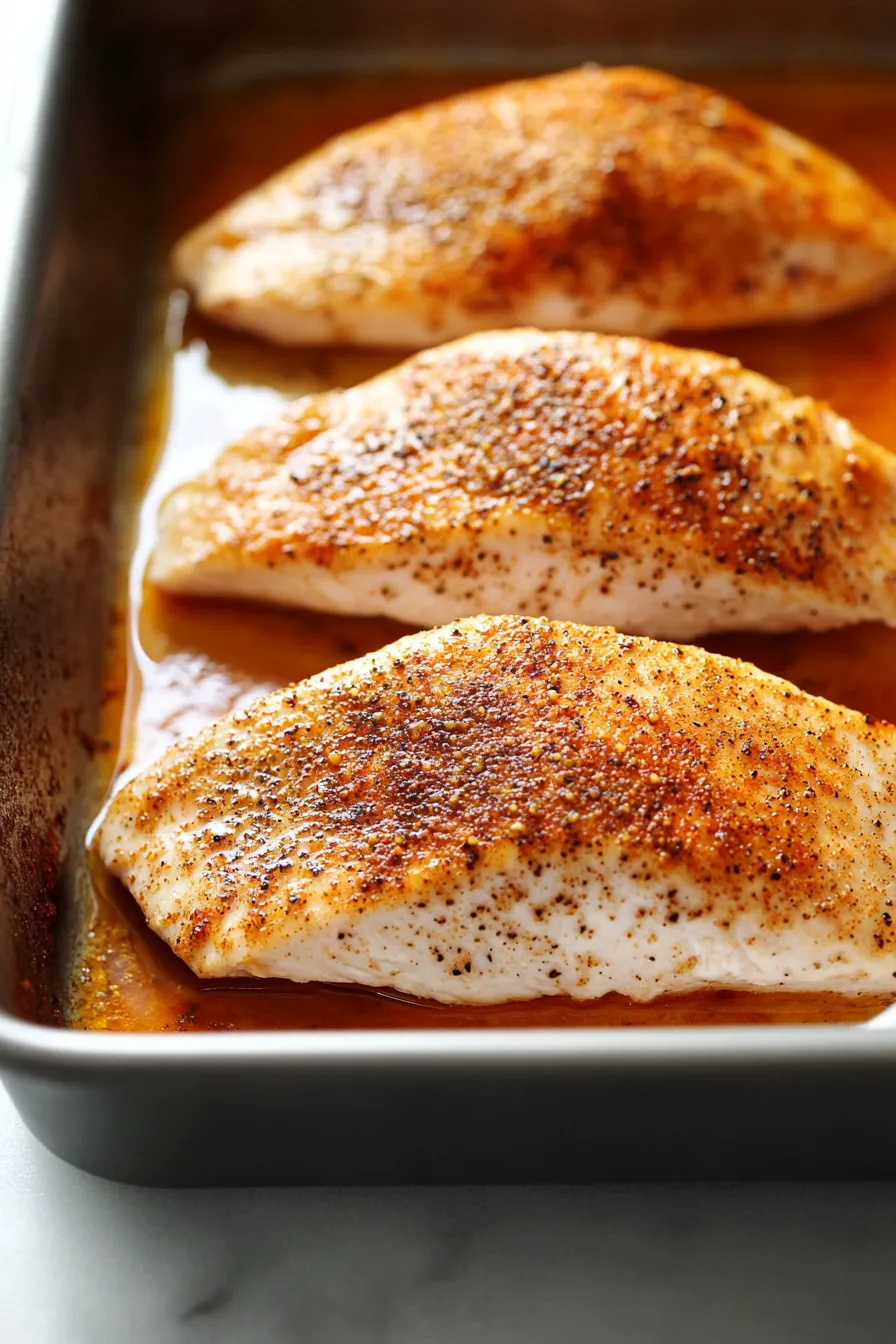
- 3. Seasoning Application (5 minutes):
- Brush each breast generously with melted butter. Combine seasonings in small bowl. Coat each piece evenly on all sides. Press seasonings gently to adhere.
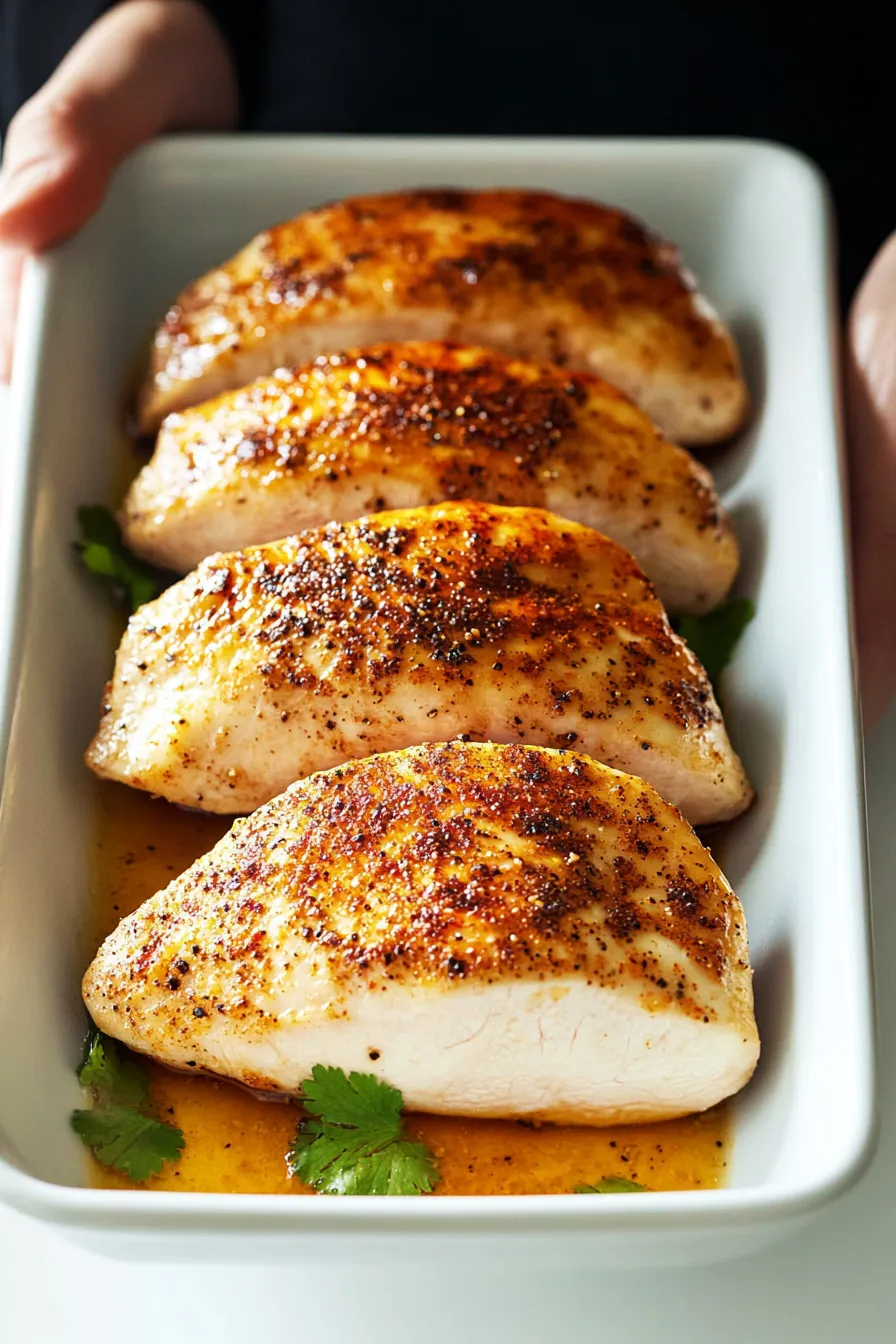
- 4. Baking Process (18-22 minutes):
- Place chicken on prepared pan with space between pieces. Bake until internal temperature reaches 163°F. Time varies based on thickness - use thermometer for accuracy.
- 5. Resting Period (5-10 minutes):
- Remove from oven and tent loosely with foil. Temperature will rise to safe 165°F. Let meat rest undisturbed to retain juices.
 Pin it
The first time I mastered this technique, it completely changed my approach to cooking chicken. My family now requests 'your special chicken' regularly, knowing it'll be perfectly cooked every time.
Perfect Pairings
Creating complete meals becomes effortless when you master this basic recipe. The neutral seasoning profile complements any side dish, from roasted vegetables to grain salads.
Meal Prep Magic
Make a double batch on Sunday, and you'll have protein ready for salads, sandwiches, and quick dinners all week long. I often dice up leftovers for quick chicken salad lunches.
Storage Success
These chicken breasts maintain their moisture beautifully when stored properly. Keep them whole until ready to use for best results.
The beauty of mastering this basic technique is how it opens up endless possibilities in your kitchen. From quick family dinners to elegant entertaining, having a reliable method for perfectly cooked chicken breasts gives you the confidence to experiment with different flavors and presentations. It's become the foundation of countless memorable meals in my home.
Seasonal Adaptations & Variations
Understanding how to adapt this recipe throughout the year helps maintain its appeal. During summer months, I often prepare extra chicken to serve chilled on salads, while winter calls for heartier, herb-crusted variations.
Troubleshooting Common Issues
- Uneven Cooking: Place thinner ends towards the center of the pan
- Sticking Problems: Ensure parchment paper covers entire surface
- Pale Exterior: Brush with extra butter before final five minutes
Through countless dinner parties and family meals, I've learned that these small adjustments make significant differences.
Flavor Variations To Try
- Mediterranean: Oregano, lemon zest, and olive oil
- Southwestern: Chili powder, cumin, and lime zest
- Asian-Inspired: Ginger, garlic, and five-spice powder
After trying these variations, my personal favorite remains the Mediterranean blend - the bright lemon zest perfectly complements the herbs.
Make-Ahead Tips
- Mix seasoning blends in advance
- Prepare brine solution night before
- Clean and trim chicken ahead of time
These steps make weeknight cooking much more manageable.
Converting To Other Cuts
- Bone-in Breasts: Add 10-15 minutes
- Chicken Tenders: Reduce time by 5-7 minutes
- Chicken Thighs: Adjust temperature to 400°F
Family Feedback
These chicken breasts have become our family's baseline for 'good chicken.' My teenagers now judge all restaurant chicken against our home-cooked version - and ours usually wins!
 Pin it
The joy of perfecting this basic technique lies in its reliability. Whether I'm cooking for a quiet family dinner or hosting a large gathering, knowing I can produce perfectly cooked chicken every time gives me confidence in the kitchen. It's become more than just a recipe - it's a foundation for countless memorable meals shared with loved ones.
Remember, cooking is a journey of continuous learning. Each time you prepare this dish, you'll discover new nuances and develop your own preferred tweaks. That's the beauty of having a solid foundation recipe - it becomes a springboard for your culinary creativity while ensuring consistent, delicious results.
Frequently Asked Questions
- → How do I know when the chicken is fully cooked?
- Use a meat thermometer to check that the thickest part reaches 165°F. The meat should be white throughout with no pink parts.
- → Can I skip the brining step?
- Yes! If your chicken is pre-brined (check the package) or you're short on time, you can skip brining. The chicken will still be good.
- → Why does the chicken need to rest after cooking?
- Resting for 5-10 minutes lets the juices redistribute through the meat, making it juicier when you cut into it.
- → Can I use different seasonings?
- Definitely! The basic recipe uses garlic powder and paprika, but feel free to use your favorite seasonings like Italian herbs or cajun spices.
- → How do I store leftover cooked chicken?
- Keep it in an airtight container in the fridge for up to 3 days, or freeze for up to 3 months.