
 Pin it
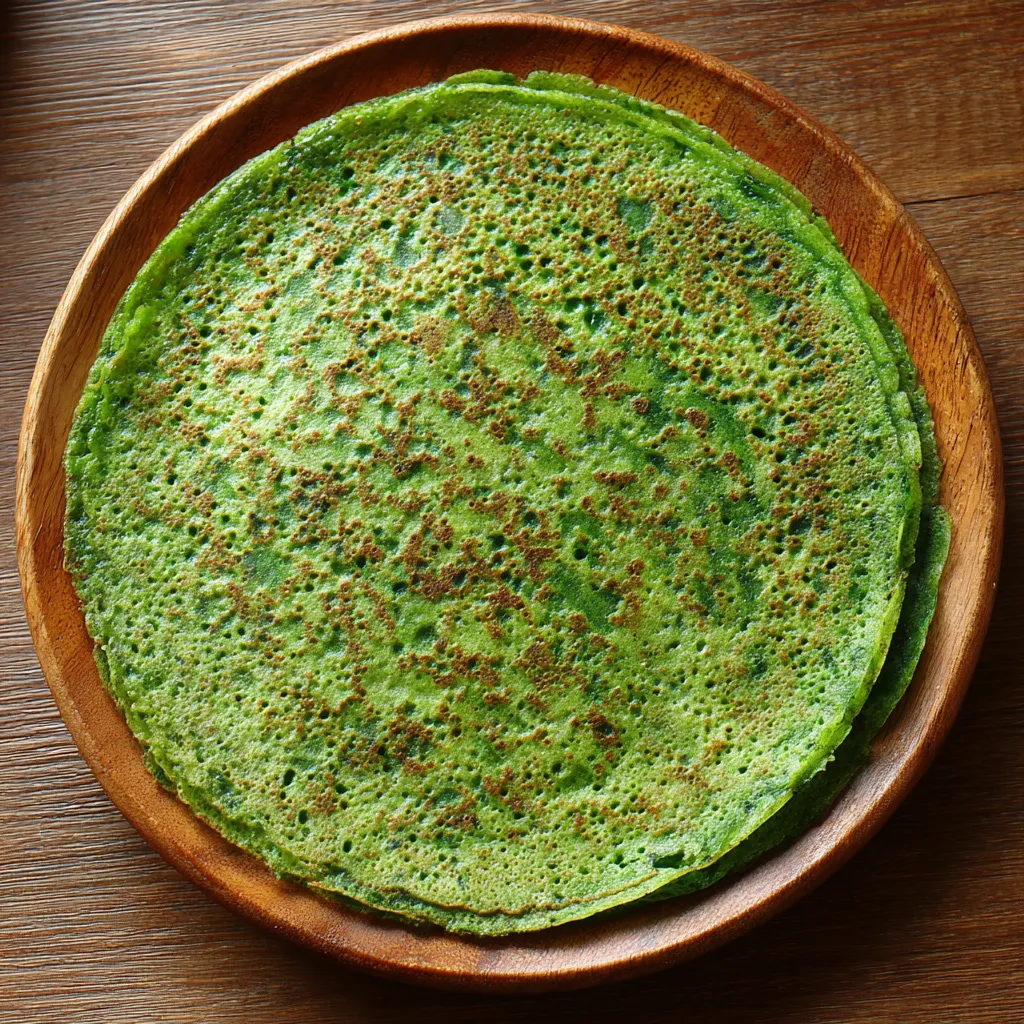
These spinach wraps have completely changed how I sneak vegetables into my family's meals without anyone complaining. I started making these during one of those phases when I was trying to reduce our carb intake but my kids were still demanding their usual wraps and tortillas. The first time I blended up spinach and eggs to make these, I was skeptical they'd actually hold together, but they turned out surprisingly sturdy and flexible. Now my pickiest eater requests the "green tortillas" without even realizing how many nutrients he's getting in every bite.
The magic happens when you blend those fresh spinach leaves with eggs - it creates this vibrant green batter that cooks into flexible, surprisingly durable wraps. My husband was amazed at how much they actually taste like regular tortillas when filled with his favorite ingredients. Even my mother-in-law, who's usually suspicious of anything too "healthy," admits these are delicious.
Ingredients You'll Need
- Fresh spinach: (4 cups, packed) - must be fresh, not frozen, as frozen spinach contains too much water
- Large eggs: (4) - organic if possible, these provide the protein and binding structure
- Salt: (1/2 teaspoon) - enhances flavor and helps the eggs set properly
- Olive oil: (as needed) - for cooking the wraps in the pan
Step-by-Step Instructions
- Create your vibrant green batter:
- Place the fresh spinach, eggs, and salt in a blender or food processor. Blend until completely smooth and uniformly green - this usually takes about 1-2 minutes depending on your blender's power. The mixture will look quite watery, which might seem concerning, but this consistency is exactly what you need for thin, flexible wraps.
- Heat your cooking surface properly:
- Heat a non-stick skillet or crepe pan over medium-high heat and add about a tablespoon of olive oil. The pan should be hot enough that a drop of water sizzles immediately but not so hot that it smokes. Getting the temperature right is crucial for wraps that cook evenly without burning.
- Pour and spread the batter like a crepe:
- Using a soup ladle, pour about 1/3 cup of batter into the center of the hot pan. Immediately tilt and rotate the pan in a circular motion to spread the batter evenly across the entire surface, creating a thin, even layer. Work quickly while the batter is still liquid and spreadable.
- Cook until set and slightly browned:
- Let the wrap cook for about 2-3 minutes until the top is no longer wet and has turned a deep green color, and the bottom shows light browning around the edges. The wrap should feel set when you gently shake the pan. Don't rush this step - properly cooked wraps are much easier to flip.
- Flip carefully with a large spatula:
- Using a large, thin spatula, carefully flip the wrap over. It might seem fragile, but if cooked properly, it should hold together well. Cook the second side for another 2-3 minutes until it's set and lightly browned. The finished wrap should be flexible and easy to handle.
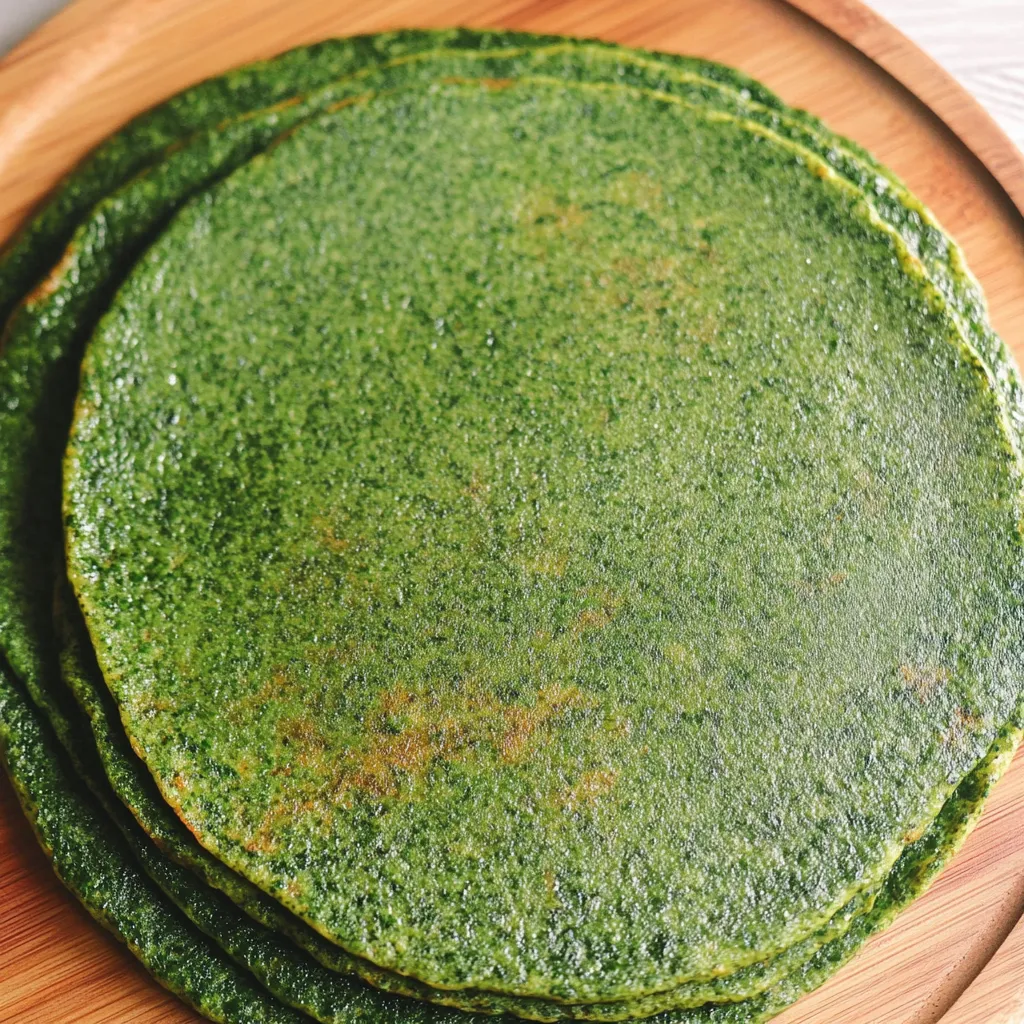
- Keep warm and repeat with remaining batter:
- Transfer the cooked wrap to a plate and cover with a clean kitchen towel to keep it warm and prevent it from drying out. Repeat the process with the remaining batter, adding more oil to the pan as needed. You should get about 6-8 wraps from this recipe.
 Pin it
Getting the Spinach Right
Fresh spinach is absolutely essential for this recipe. Frozen spinach contains too much water and will make the batter too thin and watery to hold together properly. Choose baby spinach if possible, as it has a milder flavor and blends more easily into a smooth mixture.
Mastering the Cooking Technique
The key to success is treating these like crepes rather than thick pancakes. The batter should spread thinly and evenly across the pan, creating a flexible wrap rather than a thick, spongy pancake. Move quickly when spreading the batter, as it sets fast once it hits the hot pan.
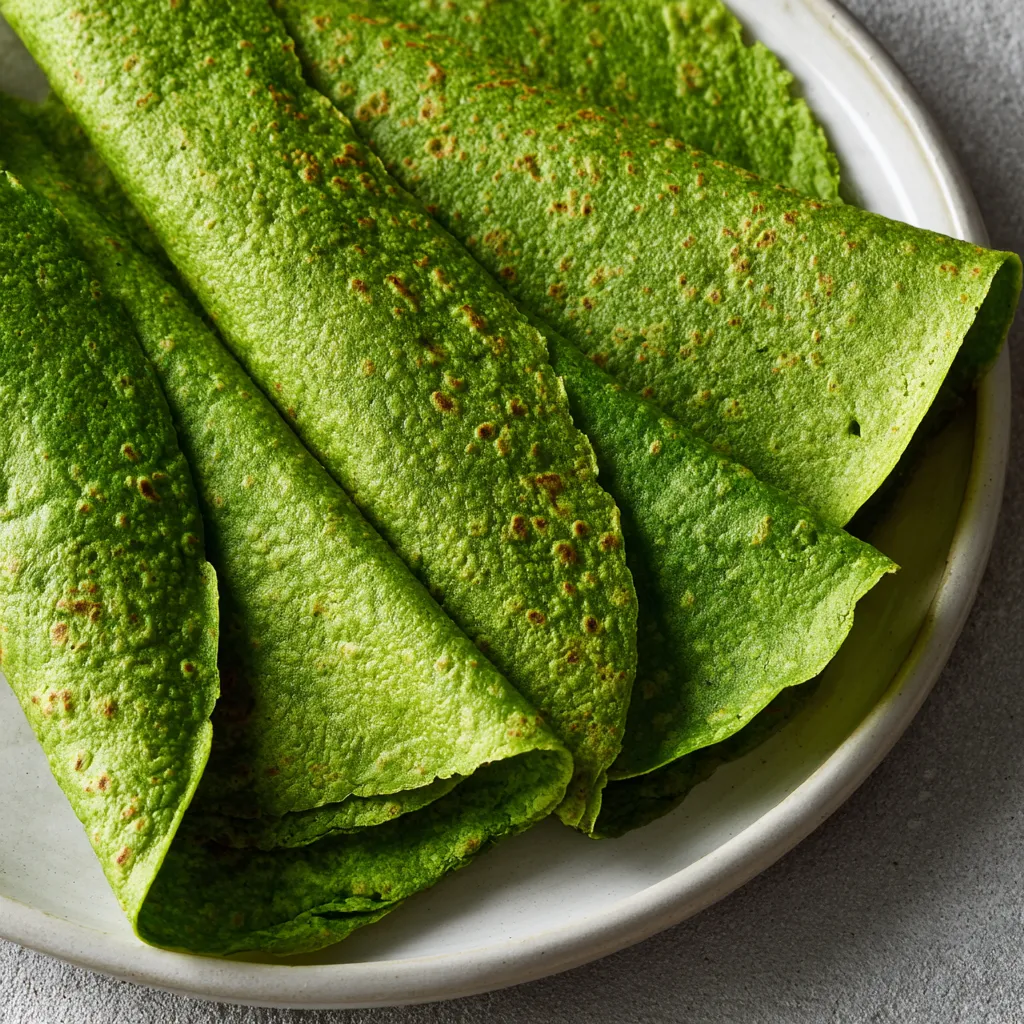
Understanding the Texture
These wraps will feel more delicate than regular flour tortillas when you first make them, but they're actually quite sturdy once cooled. They have a slightly different texture - more tender and egg-like - but they hold fillings well and don't tear easily when properly made.
Customizing for Your Family
The basic recipe is very mild in flavor, making it perfect for kids who might be resistant to green foods. You can add fresh herbs like basil or parsley for more flavor, or even a tablespoon of flour if you prefer thicker, more substantial wraps.
Storage and Reheating Tips
These wraps are best used fresh but can be stored in the refrigerator for up to three days. Stack them with parchment paper between each wrap to prevent sticking. To reheat, warm them briefly in a dry pan or wrap in a damp paper towel and microwave for 10-15 seconds.
I discovered that trying to use frozen spinach completely ruins the texture - the excess water makes it impossible to get the right consistency. The fresh spinach creates the perfect balance of nutrition and texture. My teenage daughter, who usually avoids anything green, actually helps me make these now and uses them for her lunch wraps.
 Pin it
These spinach wraps have become one of those recipes that makes me feel like I'm giving my family something truly nutritious while they think they're just getting a regular wrap. The combination of protein from the eggs and all those vitamins and minerals from the spinach creates something that's both healthy and satisfying. It's the perfect example of how you can sneak nutrition into familiar foods without anyone feeling like they're being forced to eat their vegetables.
Frequently Asked Questions
- → How long do these spinach wraps last in the fridge?
- They stay fresh for up to 3 days when stored in the refrigerator in an airtight container.
- → Can I freeze these wraps for later?
- Yes! You can freeze them for up to 3 months. Just separate each wrap with parchment paper before freezing.
- → Why does my batter look so watery?
- That's completely normal! The thin consistency is what makes these wraps work. Don't add extra ingredients to thicken it.
- → What can I fill these wraps with?
- Try grilled chicken, beef, shrimp, chickpeas, or tofu. Add some veggies and your favorite sauce for a complete meal.
- → Do I need a special pan to make these?
- A non-stick skillet works best, but any well-seasoned pan will do. Just make sure to use a little oil to prevent sticking.
- → Can I make the wraps thicker?
- Yes! Use two ladles of batter instead of one for each wrap, or add 2 tablespoons of flour to the mix for more thickness.