 Pin it
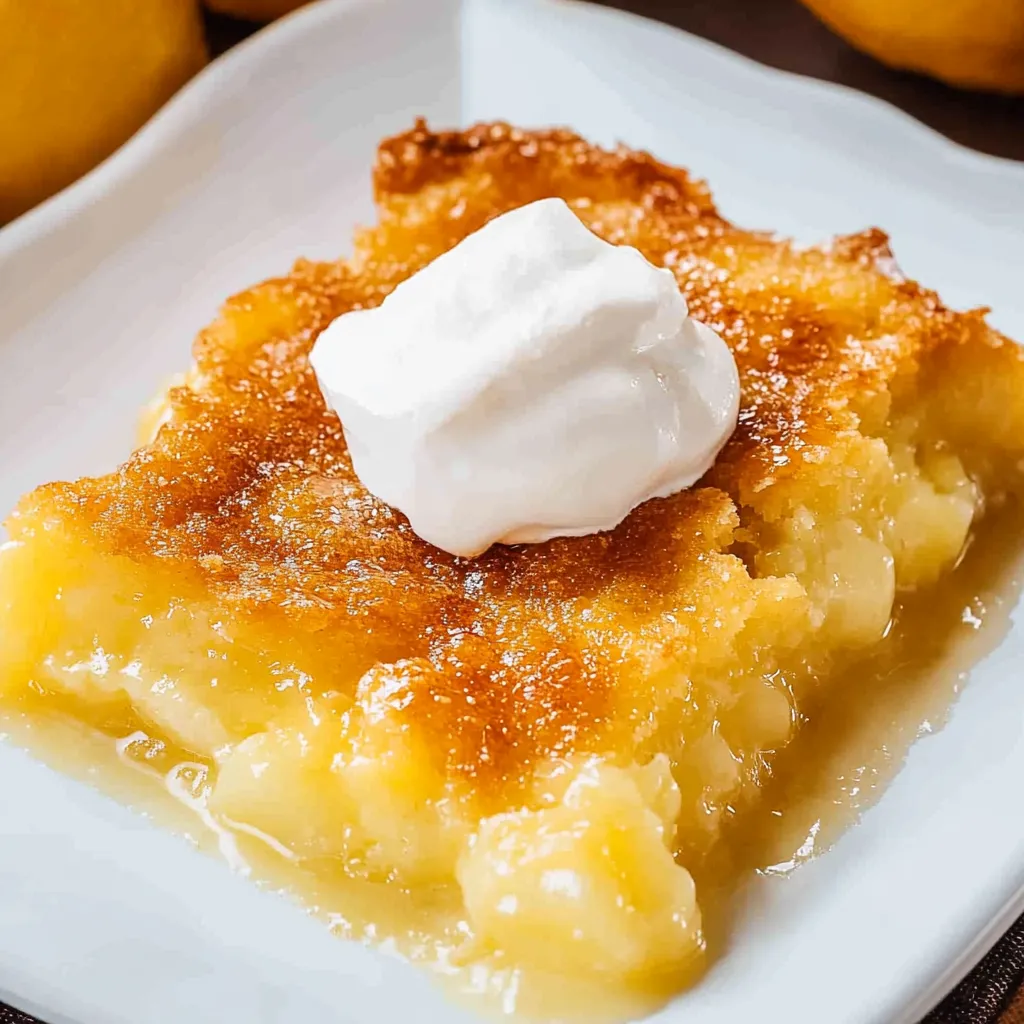
Magic lemon cobbler transforms simple ingredients into an extraordinary dessert that perfectly balances sweet and tart flavors. As the name suggests, something truly magical happens in the oven - a simple batter poured over melted butter rises to create a golden, slightly crisp crust while the lemon filling sinks to create a luscious pudding-like layer underneath. The result is a delightful contrast of textures and a burst of bright lemon flavor that makes this dessert irresistible for anyone who loves that perfect pucker of lemon.
The first time I made this cobbler, my daughter asked what kind of "fancy dessert" I was preparing since the house was filled with such an amazing citrus aroma. She was shocked when I showed her how few ingredients and steps were involved! Now it's our go-to dessert for summer gatherings. Last July, I brought it to a neighborhood potluck and came home with an empty dish and three requests for the recipe. There's something about that bright lemon flavor that makes people's eyes light up, especially when paired with a cool scoop of vanilla ice cream.
Ingredients & Selection Tips
- Self-Rising Flour: The key to the magical rising effect. If you only have all-purpose flour, you can make your own self-rising flour by adding 1½ teaspoons baking powder and ¼ teaspoon salt to each cup of all-purpose flour.
- Granulated Sugar: Balances the tartness of the lemon. Use standard white granulated sugar for the cleanest lemon flavor.
- Buttermilk: Creates tenderness in the cobbler crust. No buttermilk on hand? Make a quick substitute by adding 1 tablespoon of lemon juice or white vinegar to 1 cup of whole milk and letting it sit for 5 minutes.
- Vanilla Extract: Adds depth and warmth to the cobbler base. Use pure vanilla extract rather than imitation for the best flavor.
- Lemon Extract: Intensifies the lemon flavor throughout the batter. If unavailable, substitute with 1 tablespoon fresh lemon zest for a similar aromatic quality.
- Butter: Use unsalted butter to control the salt content. The butter creates that incredible golden crust as it bakes with the batter.
- Lemon Pie Filling: Store-bought works perfectly, but homemade is a wonderful option if you have the time. Look for a filling that has a good balance of sweetness and tartness.
Step-by-Step Cooking Instructions
- Prepare Your Baking Dish:
- Begin by preheating your oven to 350°F (175°C). Take an 8½ x 11-inch baking dish or a deep-dish pie plate and place 1 stick (½ cup) of diced unsalted butter into it. Place the dish in the preheating oven and allow the butter to melt completely. This usually takes about 5-7 minutes, but keep an eye on it to ensure the butter doesn't brown or burn. The melted butter creates the foundation for our cobbler and helps form that magical crust.
- Create Your Batter:
- While the butter is melting, prepare your cobbler batter. In a medium mixing bowl, combine 1 cup of self-rising flour and 1 cup of granulated sugar. Whisk them together to remove any lumps and ensure even distribution. Pour in 1 cup of buttermilk, 1 teaspoon of vanilla extract, and ½ teaspoon of lemon extract. Stir the mixture gently just until combined. The batter will be relatively thin and pourable, similar to pancake batter. Be careful not to overmix – a few small lumps are perfectly fine and will ensure your cobbler has a tender texture.
- Layer the Magic:
- Once the butter has completely melted, carefully remove the hot baking dish from the oven. Pour the prepared batter directly over the melted butter. This is where the magic begins – do not stir the mixture! The batter will start to react with the hot butter, creating little bubbles around the edges. Next, using a spoon, dollop 21 ounces (about 2½ cups) of lemon pie filling evenly over the batter. Again, resist the urge to stir or mix. The cobbler needs these distinct layers to create its signature texture during baking.
- Bake to Golden Perfection:
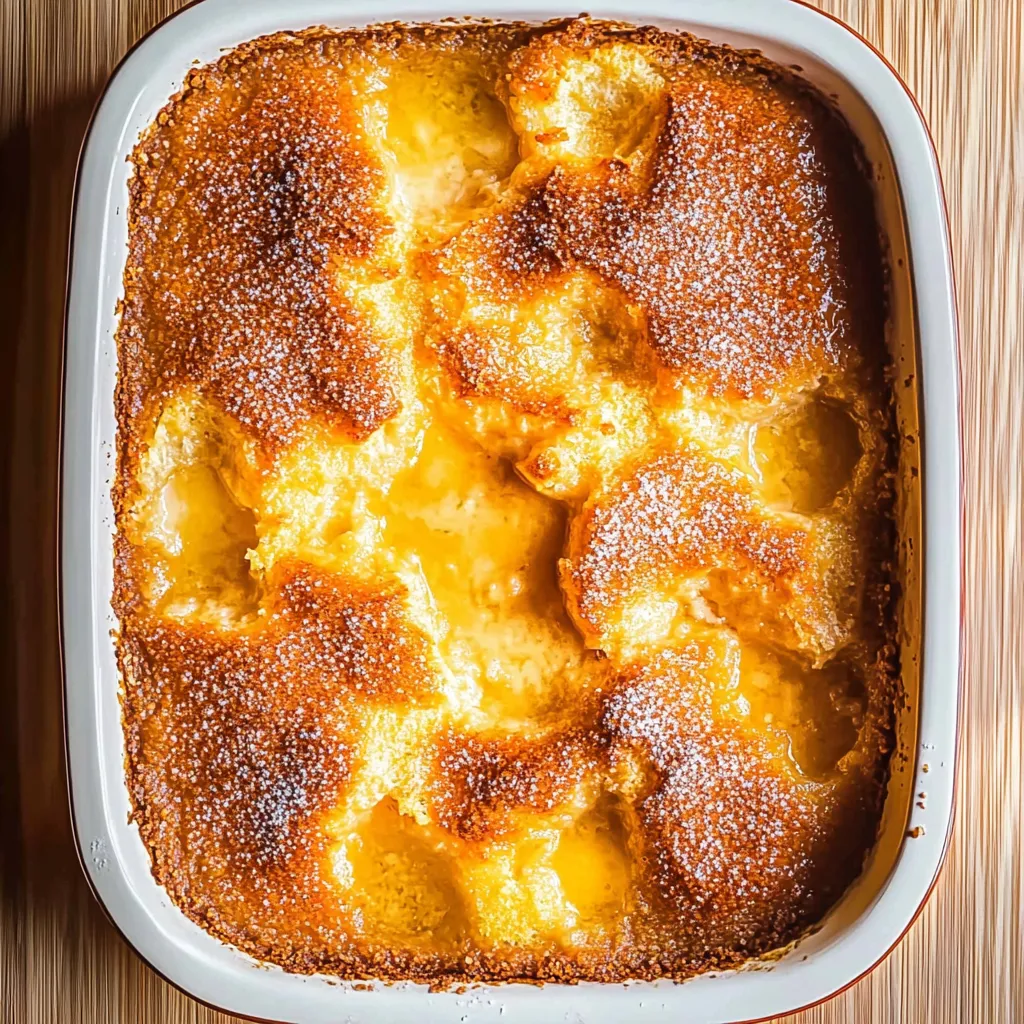
- Return the baking dish to the oven and bake for 45-55 minutes. The cobbler is done when the top crust has risen around the lemon filling and turned a beautiful golden brown. The center should be set but might still have a slight jiggle – this is normal and will set further as it cools. In the last 5-10 minutes of baking, keep a close eye on the cobbler to prevent over-browning. If the top is getting too dark but the center isn't set, loosely cover with aluminum foil to protect the crust.
- Cool and Serve:
- Remove the cobbler from the oven and place it on a cooling rack. Allow it to cool for at least 15-20 minutes before serving. This cooling period is crucial as it allows the filling to set slightly, making it easier to serve and enjoy. The cobbler will be bubbling hot when it first comes out of the oven! Serve warm with a generous scoop of vanilla ice cream that will melt beautifully into the warm cobbler, or top with freshly whipped cream for a lighter option. A few fresh berries or a sprig of mint makes for a beautiful garnish.
 Pin it
I've always been partial to the corners of this cobbler, where the crust gets extra crispy and caramelized. My husband, on the other hand, goes straight for the center pieces where there's more of that gooey lemon filling. When my mother first tasted it, she couldn't believe I hadn't stirred anything together - the way the layers form on their own truly does seem like kitchen magic. She now makes it for her bridge club, where it's become such a hit that it's expected at every gathering.
Make-Ahead and Storage Options
One of the many virtues of this lemon cobbler is its flexibility when it comes to preparation. For busy weekends or when entertaining, you can prepare the entire cobbler up to two days ahead and refrigerate it unbaked. If going this route, simply melt the butter separately and pour it into the baking dish, then add the batter and lemon filling as directed. Cover tightly with plastic wrap and refrigerate. When ready to bake, remove from the refrigerator about 30 minutes before baking to take the chill off, then bake as directed, adding an extra 5-10 minutes to the baking time.
Leftovers, should you be lucky enough to have any, store beautifully in the refrigerator for 3-4 days. Cover the cobbler with plastic wrap or transfer portions to airtight containers. Reheat individual servings in the microwave for 30-45 seconds until just warmed through. You can also freeze the baked cobbler for up to 2 months – wrap it well in plastic wrap and aluminum foil to prevent freezer burn.
Variations to Try
While the classic lemon version holds a special place in my heart, this magical cobbler technique works wonderfully with other flavors too. For a delightful summer variation, try substituting blueberry pie filling and adding a teaspoon of lemon zest to the batter. The combination of blueberry and lemon is absolutely divine. For fall, an apple pie filling with a teaspoon of cinnamon added to the batter creates a warm, cozy dessert perfect for chilly evenings.
I've also had great success creating a lemon-raspberry version by dolloping raspberry jam between spoonfuls of lemon filling before baking. The raspberry adds beautiful color and another layer of fruity flavor that complements the lemon beautifully.
Serving for Special Occasions
This humble cobbler can easily be dressed up for more formal occasions. For a dinner party presentation, consider baking in individual ramekins for a more elegant serving option. Reduce the baking time to about 30-35 minutes for smaller portions. Garnish with candied lemon peel, a light dusting of powdered sugar, and a quenelle of vanilla bean ice cream for a restaurant-worthy dessert.
For summer celebrations, create a cobbler bar by serving the warm dessert with various toppings like fresh berries, toasted sliced almonds, different flavors of ice cream, and both whipped cream and crème fraîche. Let guests customize their own servings for a memorable interactive dessert experience.
This magic lemon cobbler has become my signature dessert, the one friends and family specifically request when we gather. There's something deeply satisfying about creating such an impressive dessert with so little effort. The contrast between the crisp, buttery crust and the tangy, pudding-like filling creates a perfect harmony of flavors and textures. Whether served at a backyard barbecue with ice cream melting over the warm top or presented more elegantly for a dinner party, this cobbler never fails to delight and surprise. The true magic, perhaps, is how something so simple can bring so much joy to those who share it.
Frequently Asked Questions
- → Can I use regular flour instead of self-rising?
- Yes! Mix 1 cup all-purpose flour with 1 ½ teaspoons baking powder and ¼ teaspoon salt as a substitute for self-rising flour.
- → Why shouldn't I stir the batter?
- Not stirring is what creates the magic! The cobbler forms its own distinct layers as it bakes - a cakey top with a gooey sauce underneath.
- → Can I use homemade lemon filling?
- Absolutely! Homemade lemon filling can be substituted for the canned version for an even fresher flavor.
- → How do I know when it's done baking?
- The top should be golden brown and a toothpick inserted into the cakey part should come out mostly clean. The bottom will still be saucy.
- → Can I make this ahead of time?
- Yes, you can make it earlier in the day. Reheat individual portions in the microwave for about 30 seconds before serving.
- → How should I store leftovers?
- Cover and refrigerate for up to 3 days. The cobbler is delicious cold but can be reheated in the microwave.
