
 Pin it
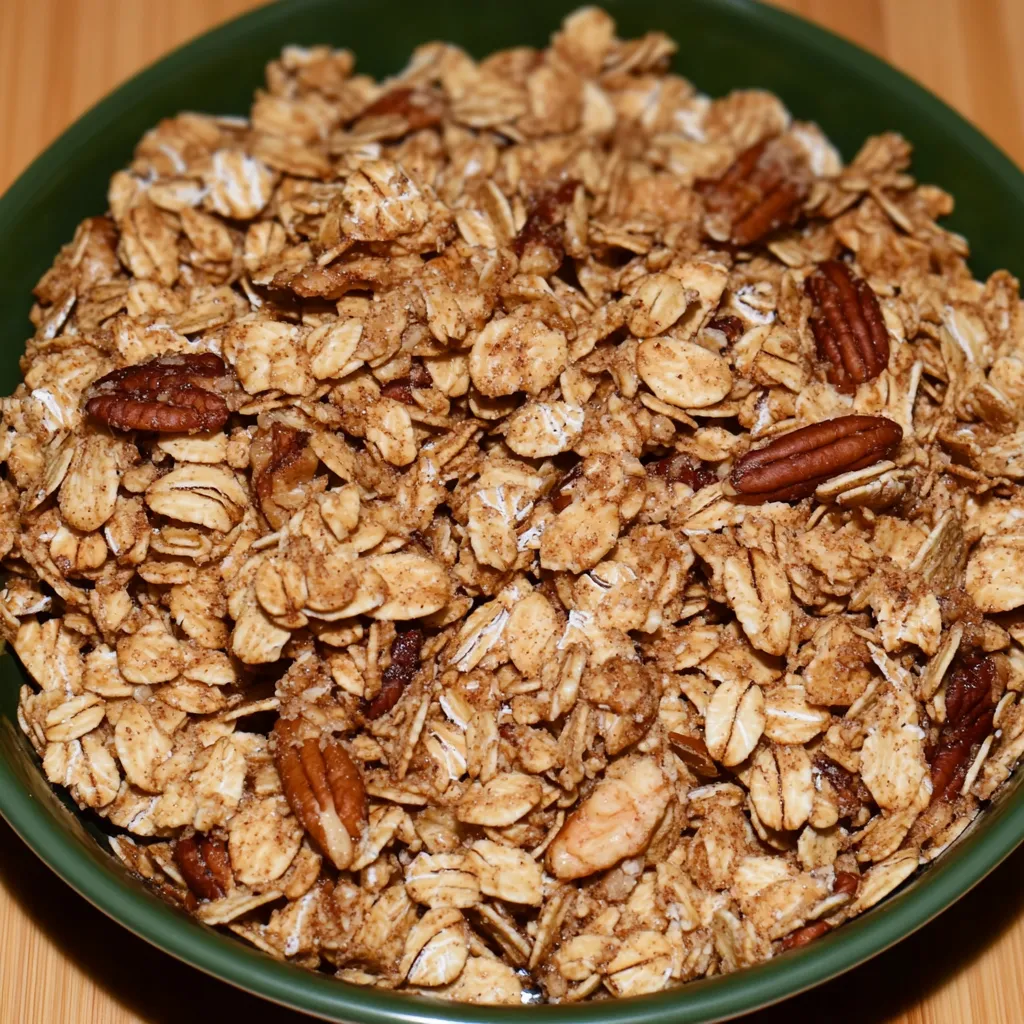
Maple pecan granola transforms simple pantry staples into a crunchy, aromatic breakfast treat that puts store-bought versions to shame. This homemade granola boasts generous clusters of oats coated in buttery maple syrup with warm cinnamon spice and toasted pecan pieces scattered throughout. Once you realize how easy and economical it is to make this copycat Trader Joe's favorite at home, you'll never go back to the boxed variety again.
I started making this granola when I realized I was spending nearly $8 per week on fancy store-bought versions. My husband, who normally grabs whatever cereal is on sale, now specifically requests "the homemade stuff" and has been caught eating it straight from the container. There's something about the combination of maple, cinnamon, and toasted pecans that creates an irresistible aroma throughout the house while baking. My teenage niece now asks me to make a batch whenever she visits – apparently it's become her favorite breakfast topping for yogurt.
Essential Ingredients
- Pure Maple Syrup: Forms the foundation of flavor and helps create those coveted crunchy clusters
- Rolled Oats: Provides the hearty base – old-fashioned oats maintain their texture and don't turn mushy
- Pecan Pieces: Add buttery richness and nutty flavor while being more economical than whole pecans
- Salted Butter: Creates golden, crispy edges and enhances the overall flavor profile
- Ground Cinnamon: Adds warm spice that complements the maple and pecan flavors perfectly
Step-by-Step Instructions
- Step 1: Prepare your equipment.
- Preheat your oven to 300°F (150°C) and line a large baking sheet with parchment paper. Using parchment prevents sticking and makes cleanup significantly easier. If you have a dark-colored baking sheet, it will help the granola brown more evenly.
- Step 2: Create the maple coating.
- In a large pot (larger than you think you'll need), combine ⅓ cup pure maple syrup, ¼ cup packed brown sugar, ¼ cup salted butter, and ¼ teaspoon salt. Heat over medium, stirring occasionally, until the butter completely melts and the sugar dissolves, about 5 minutes. The mixture should be uniform and slightly bubbly around the edges.
- Step 3: Add flavorings.
- Remove the pot from heat and stir in 1 tablespoon ground cinnamon, 1 teaspoon vanilla extract, and ¼ teaspoon maple extract (if using). The warm mixture will become fragrant as the spices bloom in the hot liquid. Don't worry if the cinnamon doesn't completely dissolve – it will distribute evenly when mixed with the oats.
- Step 4: Incorporate the dry ingredients.
- Add 3 cups rolled oats and 1 cup pecan pieces to the pot with the maple mixture. Using a sturdy spatula, stir thoroughly until every oat and pecan piece is coated with the maple syrup mixture. Be sure to scrape the bottom and sides of the pot to incorporate all of the liquid. The mixture should look glossy and slightly darker than before.
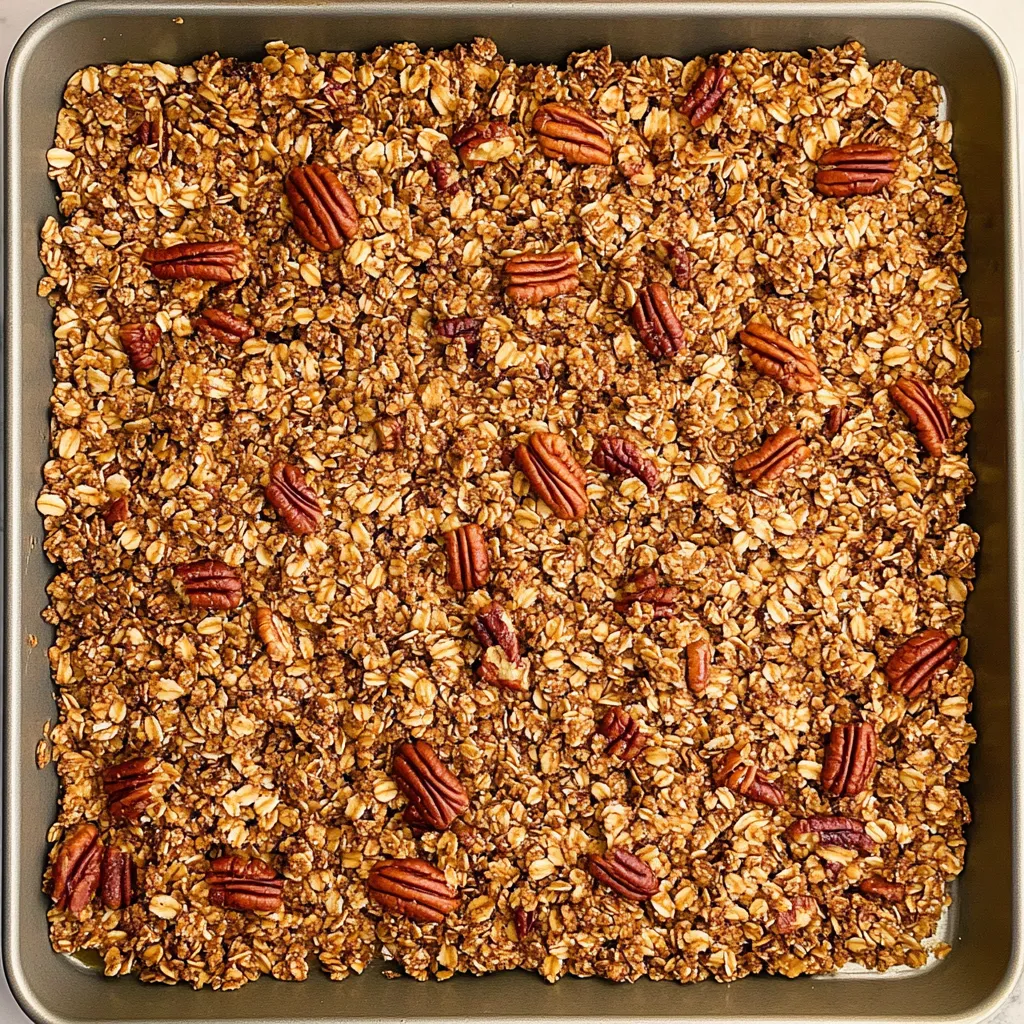
- Step 5: Spread onto baking sheet.
- Transfer the coated mixture to your prepared baking sheet and spread it into a thin, even layer. This ensures that the granola will crisp up properly; if it's too thick in spots, those areas may remain chewy rather than crispy.
- Step 6: Bake with a mid-bake stir.
- Place the baking sheet in the preheated oven and bake for 10-12 minutes. Then remove from the oven and gently stir the granola with a spatula, being careful not to break up too many clusters. Flatten the mixture back into an even layer and return to the oven for another 10-13 minutes, until the granola is lightly golden brown around the edges.
- Step 7: Cool completely.
- Remove the baking sheet from the oven and allow the granola to cool completely on the sheet, undisturbed. This cooling period is crucial – the granola will seem soft when first removed from the oven but will crisp up significantly as it cools and the sugars harden. This typically takes 30-45 minutes at room temperature.
- Step 8: Break and store.
- Once completely cooled, break the granola into clusters of your desired size using clean hands or a spatula. Transfer to an airtight container such as a large jar or resealable bag for storage. Properly stored, this granola will remain fresh and crunchy for up to one month at room temperature.
 Pin it
I'm particularly careful with the baking time for this granola. My first few batches taught me that the difference between perfectly toasted and burnt can be just 2-3 minutes. Now I set a timer and always check at the 20-minute mark, watching for that golden color around the edges. When my neighbor asked for the recipe after trying some I had brought over, I emphasized the importance of the cooling time – she'd previously tried making granola that never crisped up because she stored it while still warm.
Customization Options
The beauty of homemade granola lies in its versatility. I've created countless variations of this base recipe to suit different preferences and seasons. For a fall-inspired version, I add ¼ teaspoon of ground nutmeg along with the cinnamon. During the holidays, I'll mix in dried cranberries after cooling for festive color and tartness. For extra protein, I sometimes add ½ cup of pumpkin seeds along with the pecans. My husband enjoys a slightly less sweet version, so occasionally I'll reduce the brown sugar to 2 tablespoons. The framework stays the same, but the possibilities are endless.
Serving Suggestions
While delicious eaten straight from the container (we've all done it), this maple pecan granola shines in various breakfast applications. My favorite way to enjoy it is sprinkled over Greek yogurt with fresh berries for a protein-rich breakfast. It makes an excellent topping for smoothie bowls, adding necessary texture contrast. For a simple dessert, try it over vanilla ice cream with a drizzle of additional maple syrup. I also pack small containers of it for hikes and road trips – it's far more satisfying than store-bought granola bars.
Storage Tips
Proper storage is key to maintaining that perfect crunch. After the granola has completely cooled, transfer it to an airtight container. I prefer wide-mouth glass jars with tight-fitting lids, which showcase the beautiful clusters while keeping moisture out. For longer-term storage, the freezer works wonderfully – the granola maintains its texture and flavor for up to six months. I often make a double batch, keeping half in my pantry jar and freezing the other half for later.
Chef's Helpful Tips
Pan selection: Dark-colored baking sheets promote better browning – if using light aluminum pans, you may need to extend baking time by 3-5 minutes Cluster control: For larger clusters, press the mixture firmly onto the baking sheet before baking and stir very gently (if at all) during baking Temperature consideration: Lower and slower baking (300°F) allows the granola to toast evenly without burning the sugars or nuts
I discovered the joy of homemade granola during a period of budget-tightening when I calculated that my store-bought granola habit was costing nearly $400 annually. What began as a financial decision has become a cherished weekly ritual – the house filling with the aroma of maple and cinnamon is now a signal to my family that the weekend has arrived. There's something deeply satisfying about transforming simple pantry ingredients into something so much greater than the sum of its parts. The way the maple caramelizes and creates those perfect clusters makes this recipe worth sharing with anyone looking to elevate their breakfast routine.
Frequently Asked Questions
- → How long does homemade granola last?
- When stored in an airtight container after cooling completely, this maple pecan granola lasts about a month.
- → Can I use different nuts in this recipe?
- Yes! While pecans pair perfectly with maple, you can substitute walnuts, almonds, or a mix of your favorite nuts.
- → Why is my granola sticky the next day?
- If your granola is sticky, it probably needs more drying time. Pop it back in the oven at 300°F for 5-10 minutes to crisp up.
- → Is this granola gluten-free?
- Yes, as long as you use certified gluten-free oats, this recipe is completely gluten-free.
- → Can I add dried fruit to this granola?
- Absolutely! Add dried cranberries, raisins, or chopped dried apricots after baking and cooling for extra flavor and texture.
- → Why do I need to stir the granola while baking?
- Stirring halfway through helps the granola crisp evenly and prevents burning around the edges of the pan.