
 Pin it
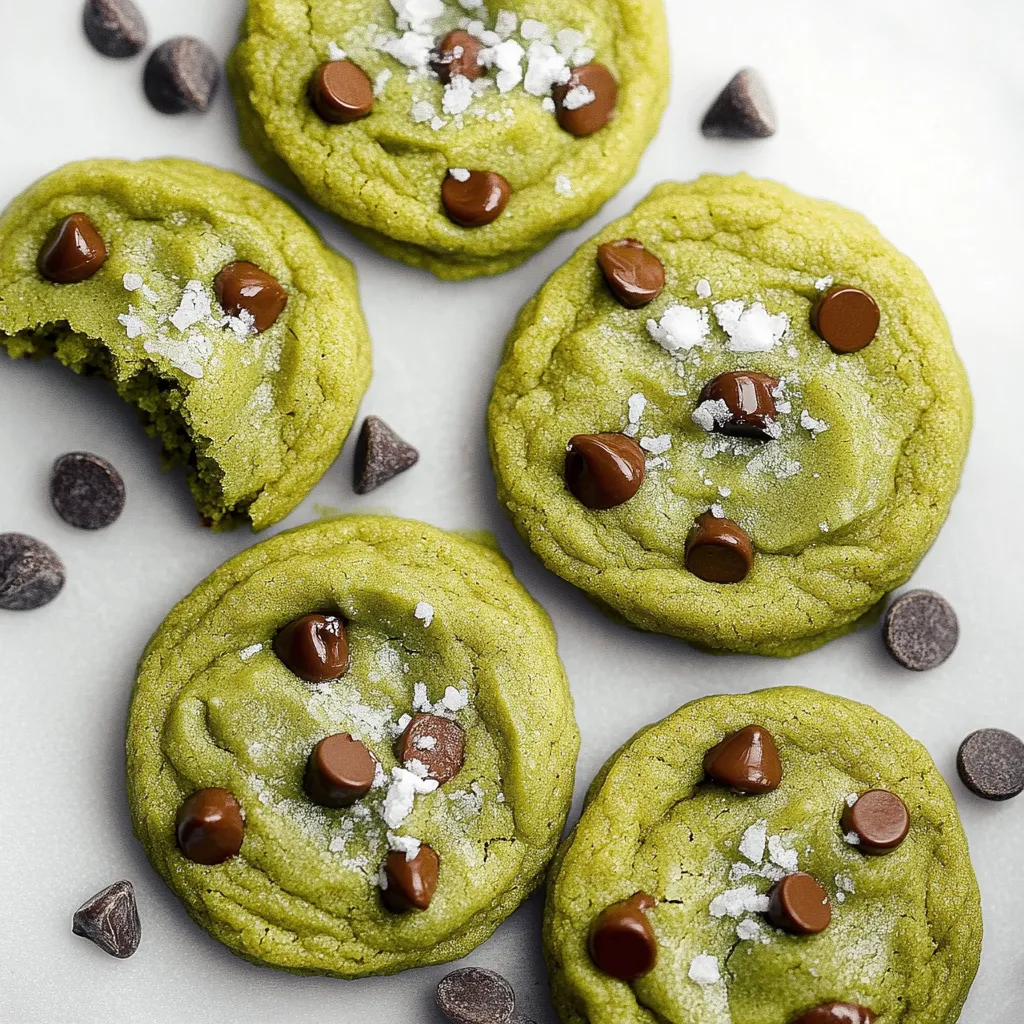
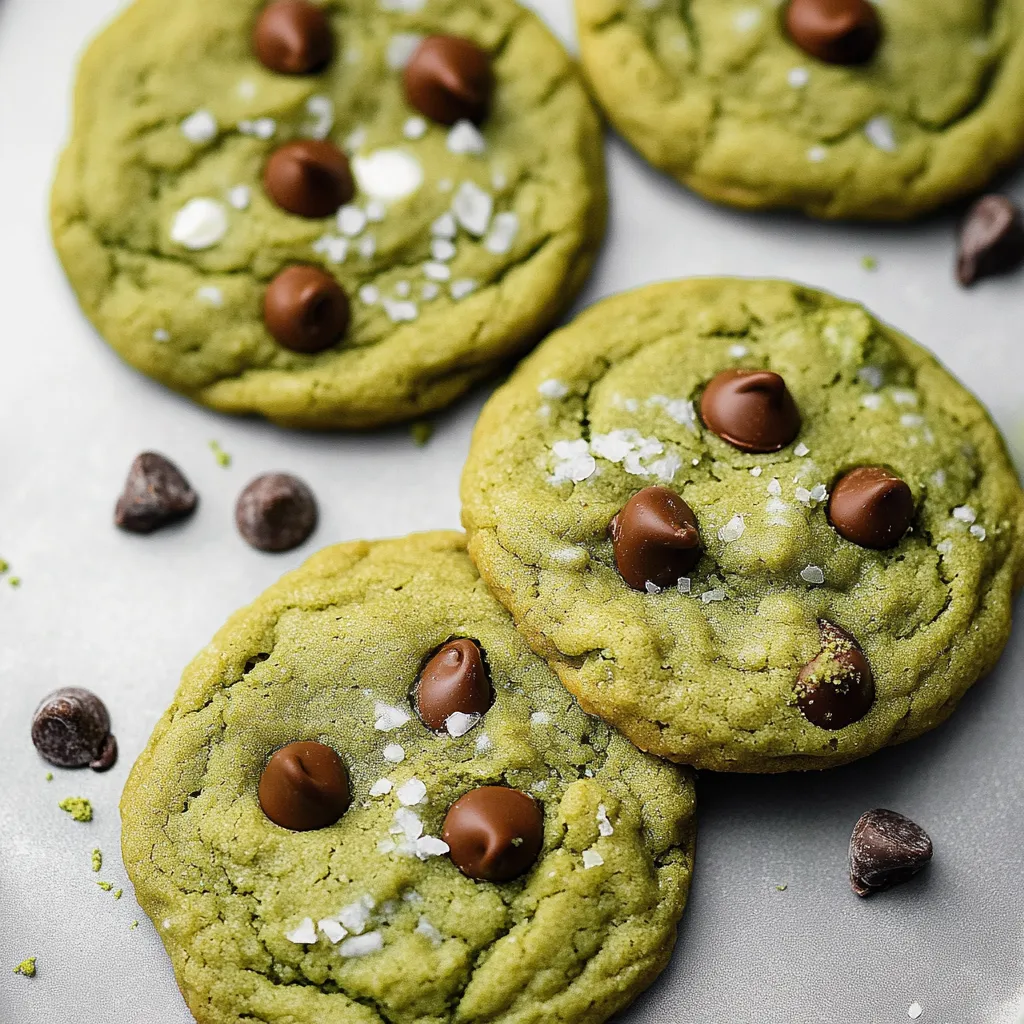
Creaming butter with brown and white sugars then mixing in sifted matcha powder creates vibrant green cookie dough with subtle, earthy tea flavor that pairs surprisingly well with chocolate chips. Baking just until the edges set while centers still look slightly underdone creates soft, chewy cookies that stay tender for days. Sifting the matcha prevents clumps and ensures even distribution throughout the dough, and skipping the chilling time means you can go from craving to eating in 20 minutes. The combination of sweet chocolate and vegetal matcha creates balanced flavor that matcha lovers crave.
Matcha cookies became my solution for satisfying tea cravings in cookie form after discovering that one tablespoon of matcha provides perfect balance - enough flavor to taste distinctly matcha without being overpowering or bitter. The first time I made these, I forgot to sift the matcha and ended up with green clumps throughout the dough that tasted intensely bitter where concentrated. Learning that sifting is non-negotiable when working with matcha powder was crucial. Now these are my favorite way to use the matcha powder I always have on hand, and the chocolate chips provide sweet contrast to matcha's slight bitterness.
Ingredients and Why They Matter
- All-purpose flour (2 cups): Structure; measure properly by spooning and leveling
- Unsalted butter (¾ cup, softened): Rich base; dairy-free butter works equally well
- Brown sugar (¾ cup, packed): Creates chewy texture and molasses depth
- Granulated sugar (¼ cup): Balances brown sugar and helps with spreading
- Large egg (1, room temperature): Binds and adds richness
- Vanilla extract (2 teaspoons): Enhances overall flavor
- Matcha powder (1 tablespoon, culinary grade): Provides signature flavor and green color
- Baking soda (½ teaspoon): Leavening agent
- Salt (½ teaspoon): Enhances sweetness
- Semi-sweet chocolate chips (1 cup): Balances matcha; white, milk, or dark chocolate work too
- Flaky sea salt (for topping, optional): Enhances sweetness
How To Make It
- Preheat and prep:
- Preheat your oven to 350°F and line two large baking sheets with parchment paper. This prevents sticking and creates even browning. Have both sheets ready because you'll need to bake in batches - never put two sheets in the oven at once as temperature varies between racks. Room temperature matters for ingredients - take the butter and egg out 30 minutes before starting so they cream together properly.
- Cream butter and sugars:
- In the bowl of a stand mixer fitted with the paddle attachment (or a large bowl using a hand mixer), beat the softened butter, brown sugar, and granulated sugar together on medium speed for 1-2 minutes. The mixture should look noticeably lighter in color - paler tan rather than deep brown - and fluffy with increased volume from incorporated air. Stop and scrape down the sides of the bowl as needed. This creaming process is crucial for creating the right texture - it incorporates air that helps cookies spread and creates tender crumb.
- Add egg and vanilla:
- Add the egg and vanilla extract to the butter mixture. Beat on medium speed for about 30 seconds until completely combined. The mixture should look smooth and homogeneous with no streaks remaining. Room temperature egg incorporates more easily than cold egg straight from the refrigerator. If you forgot to bring it to room temperature, place it in a bowl of warm water for 5 minutes before cracking.
- Sift and add dry ingredients:
- This step is critical for matcha cookies. Place a fine-mesh sieve over a medium bowl. Add the flour, matcha powder, salt, and baking soda to the sieve. Use a spoon to stir and push everything through the sieve, breaking up any lumps. This sifting is especially important for matcha, which tends to clump. Unsifted matcha creates green clumps throughout the dough that taste intensely bitter and look unappetizing. After sifting, add all the dry ingredients to the butter mixture. Mix on low speed just until the last specks of flour disappear. Don't overmix once flour is added or the cookies will be tough - mix only until combined.
- Add chocolate chips:
- Add the chocolate chips and use a wooden spoon or spatula to fold them in by hand, stirring just until evenly distributed throughout the dough. The dough should be thick, slightly sticky, and uniformly pale green from the matcha. Reserve a few chocolate chips for pressing into the tops of cookies before baking if you want them to look extra chocolatey.
- Shape and bake:
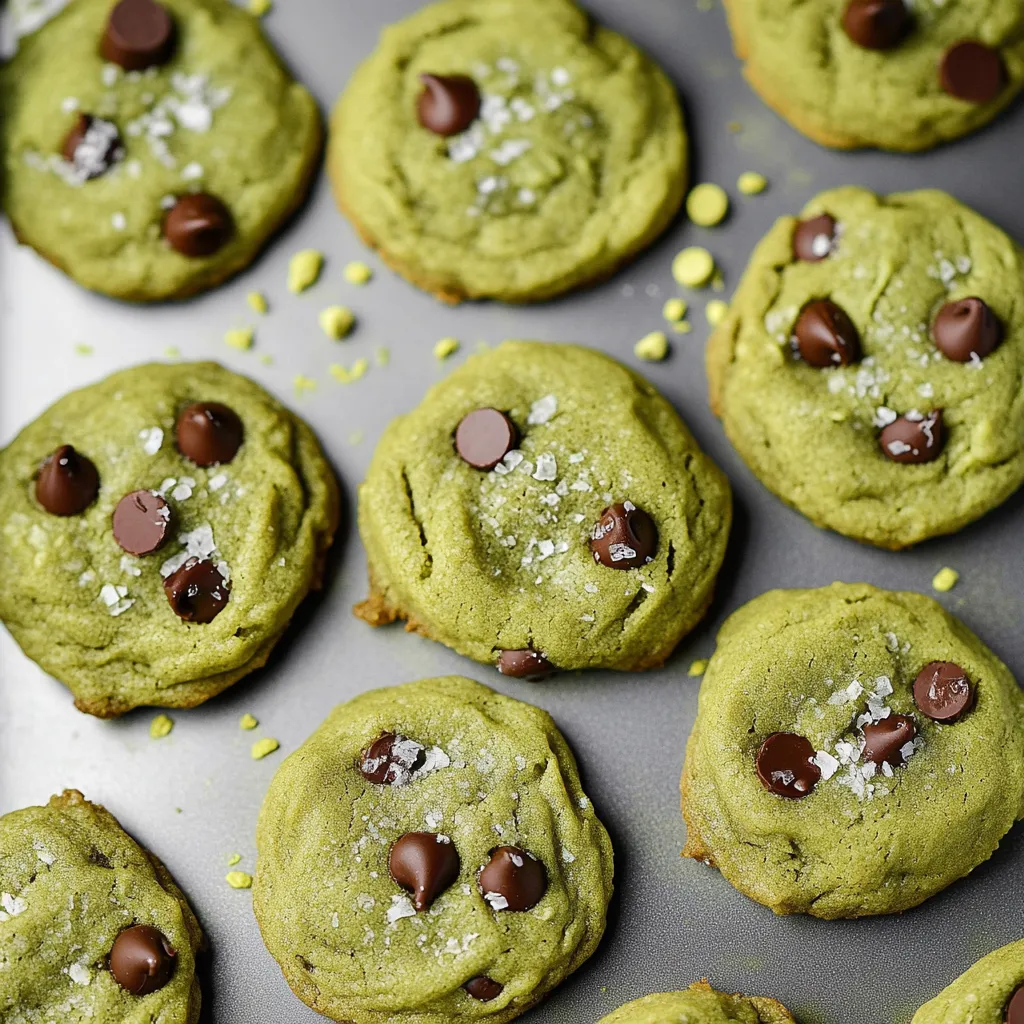
- Use a 1.5-tablespoon cookie scoop or your hands to portion the dough into balls - each should be about the size of a golf ball. Place them on the prepared baking sheet about 3-4 inches apart. They spread during baking, so spacing is crucial. If desired, press 2-3 extra chocolate chips into the top of each dough ball for appearance. Bake one sheet at a time on the center oven rack for 8-11 minutes. Watch carefully - the cookies are done when the edges look set and slightly golden but the centers still look slightly underdone and puffy. They should not look completely baked through. Different ovens vary, so start checking at 8 minutes.
- Cool properly:
- When you remove the cookies from the oven, they'll look too soft and underbaked. This is correct. Let them cool on the baking sheet for 10 minutes without moving them. During this time, they'll continue cooking from residual heat and will firm up significantly. The centers will sink slightly and set. After 10 minutes, use a thin spatula to transfer them to a wire cooling rack to cool completely. If you try to move them too early, they'll fall apart. Store cooled cookies in an airtight container at room temperature for 4-5 days.
 Pin it
Matcha grades confused me until learning that ceremonial grade is highest quality for drinking but culinary grade works perfectly fine for baking where flavor is mixed with other ingredients. Ceremonial grade tastes smooth and sweet enough to whisk with just water. Culinary grade is slightly more bitter and less vibrant green but costs significantly less and bakes identically. For cookies where matcha combines with sugar, butter, and chocolate, culinary grade is completely appropriate. Save expensive ceremonial grade for lattes and tea ceremonies.
Why Sifting Matters
Matcha powder clumps easily because it's so finely ground - the tiny particles stick together when exposed to moisture or compressed during storage. Unsifted matcha creates concentrated green lumps that taste intensely bitter and grassy where they land. Sifting breaks up these clumps and distributes the powder evenly throughout the flour, ensuring every cookie has uniform color and flavor. This step takes 30 seconds but dramatically improves results. Use a fine-mesh sieve and stir with a spoon to push everything through.
The Creaming Method
Creaming butter and sugar together is foundational cookie technique. The sugar crystals cut into the soft butter, creating tiny air pockets. These air bubbles expand during baking, creating tender texture and helping cookies spread. Underbeating creates dense, thick cookies. Overbeating incorporates too much air, causing excessive spreading and thin cookies. The 1-2 minute timeframe at medium speed is ideal. The mixture should look fluffy, pale, and increased in volume when properly creamed.
Proper Flour Measurement
Flour measurement is the most common baking mistake. Scooping a measuring cup directly into the flour bag packs it densely, adding 25-30% more flour than intended. This creates dry, dense dough that doesn't spread, resulting in thick, cakey cookies instead of chewy ones. The correct method: fluff the flour in the bag with a spoon, use the spoon to scoop flour into the measuring cup until overflowing, then use a knife to level it off. Or better yet, weigh flour - 1 cup equals 120-125 grams.
Underbaking Strategy
The key to soft, chewy cookies is removing them from the oven when they still look slightly underdone. The edges should be set and barely golden, but centers should look puffy and not completely baked. They'll continue cooking on the hot baking sheet after removal, using residual heat to finish baking. This prevents overbaking which creates hard, crispy cookies. The centers will sink and firm as they cool. If you wait until they look completely done in the oven, they'll be overdone after cooling.
Chocolate Chip Options
While semi-sweet chocolate chips are classic, endless variations work beautifully with matcha. White chocolate creates stunning visual contrast against the green cookies and tastes sweeter and creamier. Dark chocolate provides sophisticated bitterness that complements matcha's earthiness. Milk chocolate offers familiar sweetness. Chopped chocolate bars rather than chips create rustic appearance with melty pockets. For vegan cookies, brands like Enjoy Life and Hu make dairy-free chocolate chips.
The Brown Sugar Effect
Using mostly brown sugar rather than all white sugar creates chewier texture. Brown sugar contains molasses, which adds moisture and creates that soft, chewy texture people love in cookies. The molasses also adds subtle caramel flavor that complements matcha. A small amount of white sugar balances the moisture and helps cookies spread slightly. All brown sugar would make very chewy, dense cookies. All white sugar creates crispy, flat cookies. The ratio matters for ideal texture.
Storage and Freezing
These cookies keep at room temperature in airtight containers for 4-5 days, staying soft thanks to the brown sugar and proper baking technique. They can also be frozen baked for up to 2 months - cool completely, then freeze in airtight freezer bags or containers. Thaw at room temperature before serving. For ultimate convenience, freeze unbaked cookie dough balls. Scoop onto a baking sheet, freeze until solid, then transfer to a freezer bag. Bake directly from frozen, adding 1-2 minutes to baking time.
Who Will Love These
Matcha has polarizing flavor - people typically love it or hate it with little middle ground. The earthy, vegetal, slightly bitter taste is an acquired taste for some. If you already love matcha lattes and desserts, you'll adore these cookies. If you find matcha unpleasant, these won't change your mind. The chocolate chips help balance the flavor, making these more approachable than pure matcha desserts, but the matcha flavor is still prominent. Start with one tablespoon as written - more would be overwhelming for matcha beginners.
 Pin it
These matcha cookies represent the kind of recipe that proves you can incorporate trendy ingredients into classic formats with delicious results. The combination of familiar chocolate chip cookie texture and distinctive matcha flavor creates something both comforting and exciting. When you pull a tray of these vibrant green cookies from the oven and enjoy that first chewy bite with melted chocolate, you know you've found a winner. Sometimes the best recipes are the ones that put creative spins on beloved classics, and these matcha cookies definitely accomplish that goal perfectly every single time you make them.
Frequently Asked Questions
- → Can I use any type of matcha powder?
- Yes, but culinary grade matcha works best for baking. Make sure to sift it first to remove any clumps that might form in the dough.
- → Why are my cookies spreading too much?
- Make sure your butter is softened, not melted. Also, measure your flour correctly by spooning it into the cup and leveling it off rather than scooping directly from the bag.
- → Can I make these cookies without eggs?
- You can try using a flax egg or commercial egg replacer, though the texture might be slightly different from the original recipe.
- → What kind of chocolate works best?
- Semi-sweet chocolate chips are classic, but white chocolate looks beautiful against the green color. You can also chop up a chocolate bar for bigger chunks.
- → How do I know when the cookies are done?
- The edges should look set and firm, but the centers will still appear soft. They'll continue cooking on the hot baking sheet after you remove them from the oven.
- → Can I freeze the cookie dough?
- Absolutely! Scoop the dough into balls, freeze them on a baking sheet, then transfer to a freezer bag. Bake from frozen, adding 1-2 extra minutes to the baking time.