
 Pin it
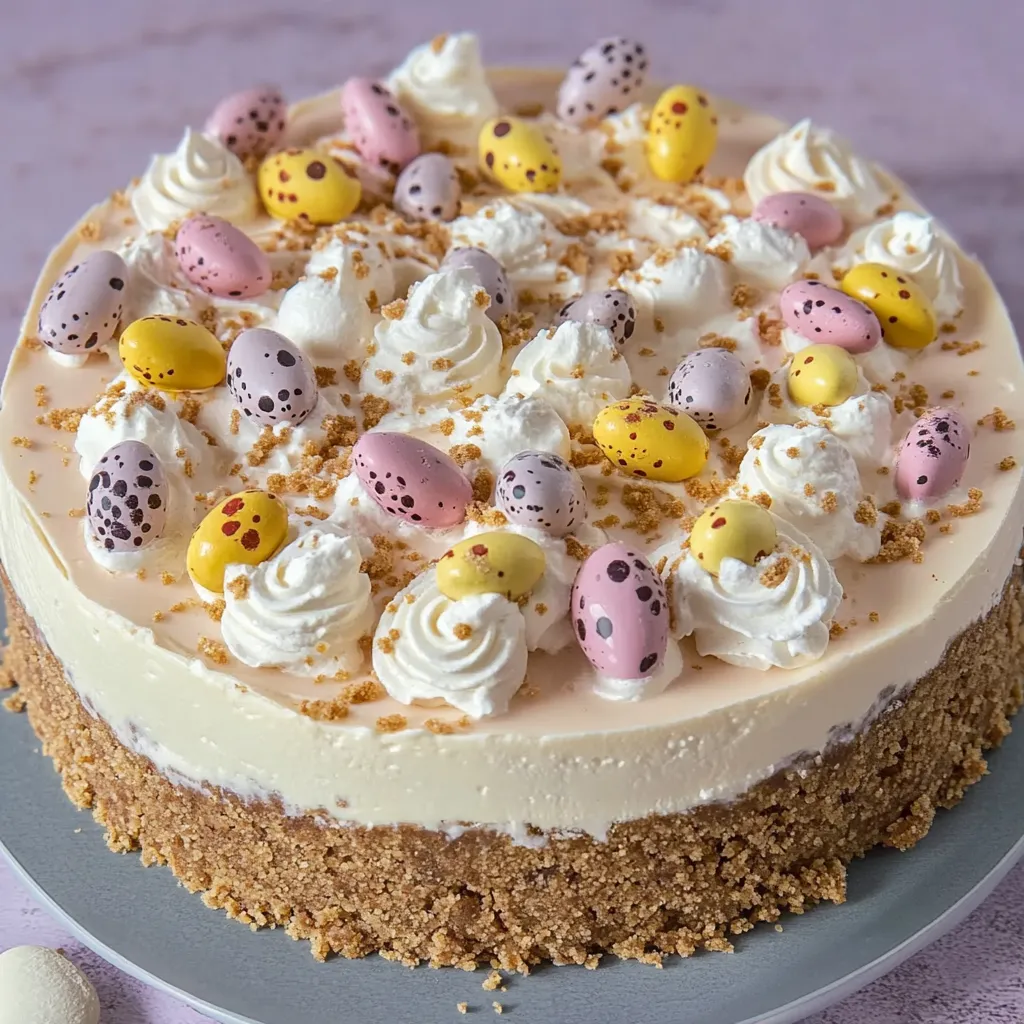
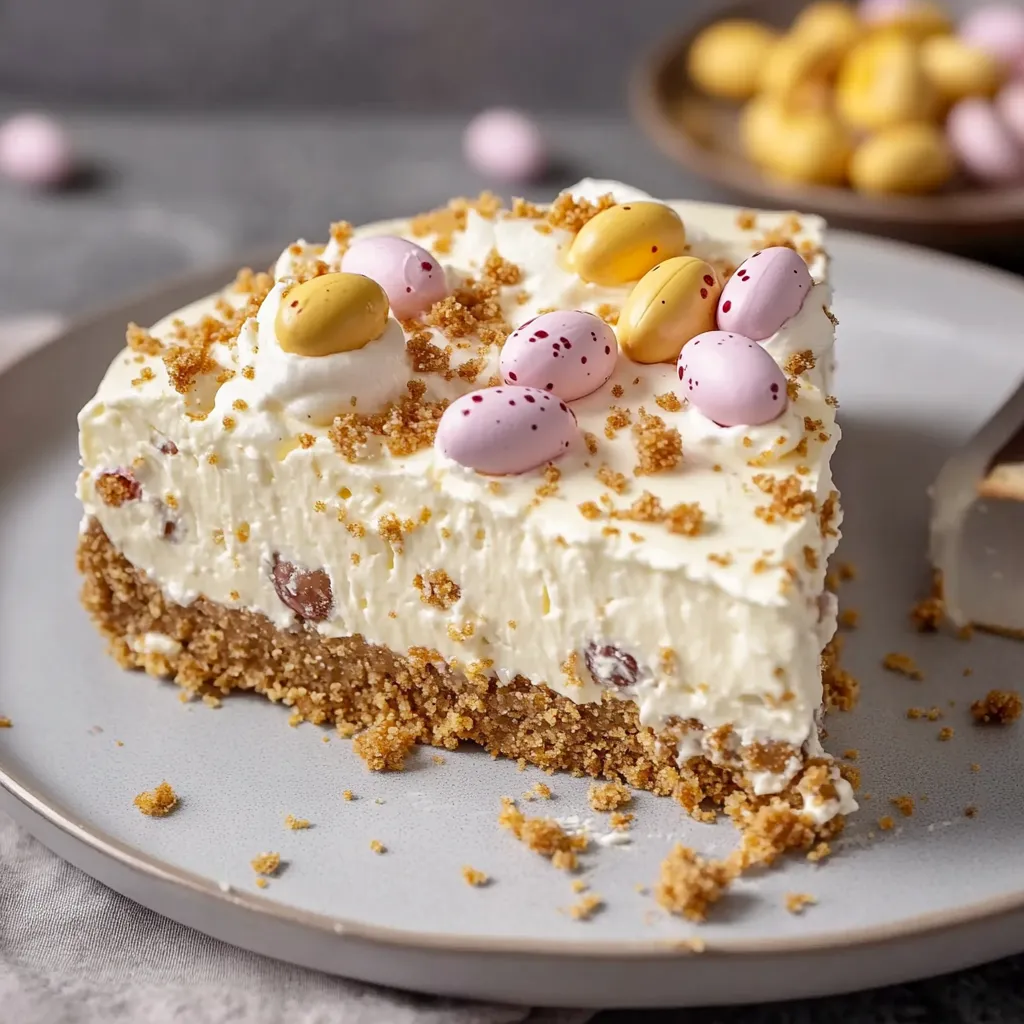
The creamy indulgence of cheesecake meets the colorful joy of Easter in this show-stopping Mini Egg Cheesecake that requires no baking at all. This festive dessert features a buttery biscuit base topped with a silky-smooth cream cheese filling that's generously studded with crushed mini eggs. Decorated with clouds of whipped cream and a crown of chocolate eggs, this eye-catching centerpiece delivers both visual impact and irresistible flavor. Perfect for Easter celebrations, it combines impressive presentation with surprisingly simple preparation.
I first made this cheesecake for a family Easter gathering when I needed something special but didn't want to spend hours in the kitchen. The delighted gasps when I brought it to the table were matched only by the speed at which it disappeared! Even my cheesecake-skeptical nephew asked for seconds, picking off every last mini egg decoration.
Ingredients That Make All The Difference
- Full-fat cream cheese: The higher fat content is crucial for achieving the perfect set. Philadelphia cream cheese offers superior thickness and texture, though good quality store brands work well too.
- Double cream (heavy cream): With at least 48% fat content, this creates the structure needed for a sliceable cheesecake. Lower fat alternatives simply won't set properly.
- Digestive biscuits: These provide the perfect balance of sweetness and texture for the base. The slightly malty flavor complements the sweet filling beautifully.
- Mini eggs: Their candy shell creates colorful pops throughout the filling and as decoration. The thick chocolate interior adds delicious texture contrast in every bite.
- Vanilla extract: A small amount enhances the creamy flavor without overwhelming the star ingredients. Always use extract rather than essence for the best flavor.
Step-by-Step Instructions
- Begin:
- by preparing your springform tin properly, which is essential for easy removal later. Line the base with parchment paper and lightly grease the sides with a small amount of butter or cooking spray. This extra step ensures your masterpiece releases cleanly when it's time to serve. A 9-inch (23cm) springform tin is ideal for this recipe.
- Create the biscuit base:
- by placing the digestive biscuits in a food processor and pulsing until they form fine crumbs. If you don't have a food processor, place the biscuits in a sealed plastic bag and crush them with a rolling pin. The consistency should be like wet sand with no large pieces remaining. Transfer the crumbs to a bowl.
- Melt the butter:
- or baking spread until just liquified—either in short bursts in the microwave or gently on the stovetop. Pour into the biscuit crumbs and mix thoroughly until all crumbs are evenly moistened. The mixture should hold together when pressed between your fingers without being overly greasy.
- Press this mixture:
- firmly into the base of your prepared tin, using the back of a spoon or the base of a glass to compact it evenly across the bottom. A flat, firmly packed base ensures neat slices later. Refrigerate for at least 30 minutes to firm up while you prepare the filling.
- For the filling:
- place the full-fat cream cheese in a large mixing bowl and beat briefly until smooth and creamy. Add the icing sugar and vanilla extract, then mix again until completely incorporated. The mixture should be smooth with no lumps of sugar visible. Scrape down the sides of the bowl to ensure everything is evenly mixed.
- Add the double cream:
- to the cream cheese mixture and beat with an electric mixer until it thickens significantly and holds its shape. This is a crucial step—the mixture should be firm enough that when you lift some on your spatula, it stays on the spatula unless given a good tap. This usually takes 2-3 minutes of mixing. Be careful not to overmix, as the cream can separate if beaten too long.
- Gently crush:
- about three-quarters of the mini eggs, creating pieces of various sizes for interesting texture throughout the cheesecake. Some can be quite fine while others should remain in larger chunks. Fold these crushed mini eggs carefully into the cheesecake mixture with a spatula, distributing them evenly throughout.
- Spoon the filling:
- onto the chilled biscuit base, then use an offset spatula or the back of a spoon to smooth the top into an even layer. Give the tin a gentle tap on the counter to remove any trapped air bubbles. Refrigerate for at least 4 hours, though overnight is preferable for the most reliable set.
- When ready to serve:
- carefully remove the cheesecake from the springform tin. For the decoration, whip the additional double cream with a small amount of icing sugar and vanilla until it forms soft peaks. Transfer to a piping bag fitted with a star nozzle and pipe decorative swirls around the edge of the cheesecake. Arrange whole and halved mini eggs on top of the cream swirls and scatter additional crushed mini eggs over the center for a striking finish.
 Pin it
I discovered the importance of the correct filling consistency after a disappointing early attempt that never quite set properly. Now I'm vigilant about beating the mixture until it reaches that perfect stage where it holds firmly to the spatula—this simple test has led to perfect results every time. If you're unsure, it's better to mix a little longer than to risk an under-set cheesecake.
Make-Ahead Magic
This cheesecake is ideal for stress-free entertaining as it actually benefits from being made ahead of time. Prepare the cheesecake up to two days before your event and keep it refrigerated without decoration. The flavors will develop and meld beautifully during this time. Simply add the whipped cream and mini egg decoration shortly before serving for the freshest appearance. You can even prepare the biscuit base and filling in separate stages if your time is limited.
Troubleshooting Tips
If your cheesecake isn't setting properly, the most common causes are using lower fat ingredients or not mixing the filling to the correct consistency. You can salvage a too-soft cheesecake by freezing it for about an hour before serving, which will firm it up enough for slicing. For the future, try whipping the double cream separately until it forms soft peaks before folding it into the cream cheese mixture for more reliable results.
Seasonal Adaptations
While this recipe shines as an Easter dessert, the basic technique can be adapted year-round. For a Christmas version, replace the mini eggs with crushed candy canes or Smarties. In summer, fold fresh berries into the filling for a lighter option. For Halloween, use orange and black candies or chopped Oreo cookies with orange frosting. The versatility of this no-bake base makes it a template for countless seasonal variations.
I've come to treasure this recipe not just for its delicious results, but for how it brings together family celebrations without stress or fuss. There's something deeply satisfying about creating such an impressive-looking dessert with minimal effort, knowing it will be the centerpiece that everyone gravitates toward. Whether you're an experienced baker or a novice in the kitchen, this no-bake mini egg cheesecake delivers reliable results that will have everyone convinced you spent hours creating it—a secret worth keeping as you accept their compliments!
Frequently Asked Questions
- → Can I make this cheesecake ahead of time?
- Yes! You can make this cheesecake up to 2 days in advance. Keep it in the fridge and add the decoration just before serving.
- → Can I freeze Mini Egg Cheesecake?
- Yes, you can freeze it without the decoration for up to 3 months. Thaw overnight in the fridge and add fresh cream and Mini Eggs before serving.
- → What can I use instead of digestive biscuits?
- Graham crackers work well as a substitute. You could also try Hobnobs or any plain sweet biscuit.
- → Why isn't my cheesecake setting properly?
- Make sure you're using full-fat cream cheese and double cream. Whip the mixture until it's very thick - it should hold its shape when you lift the spoon.
- → Can I use other Easter chocolates instead of Mini Eggs?
- Absolutely! Try Creme Eggs, Malteser bunnies, or any other Easter chocolate chopped into small pieces.