
 Pin it
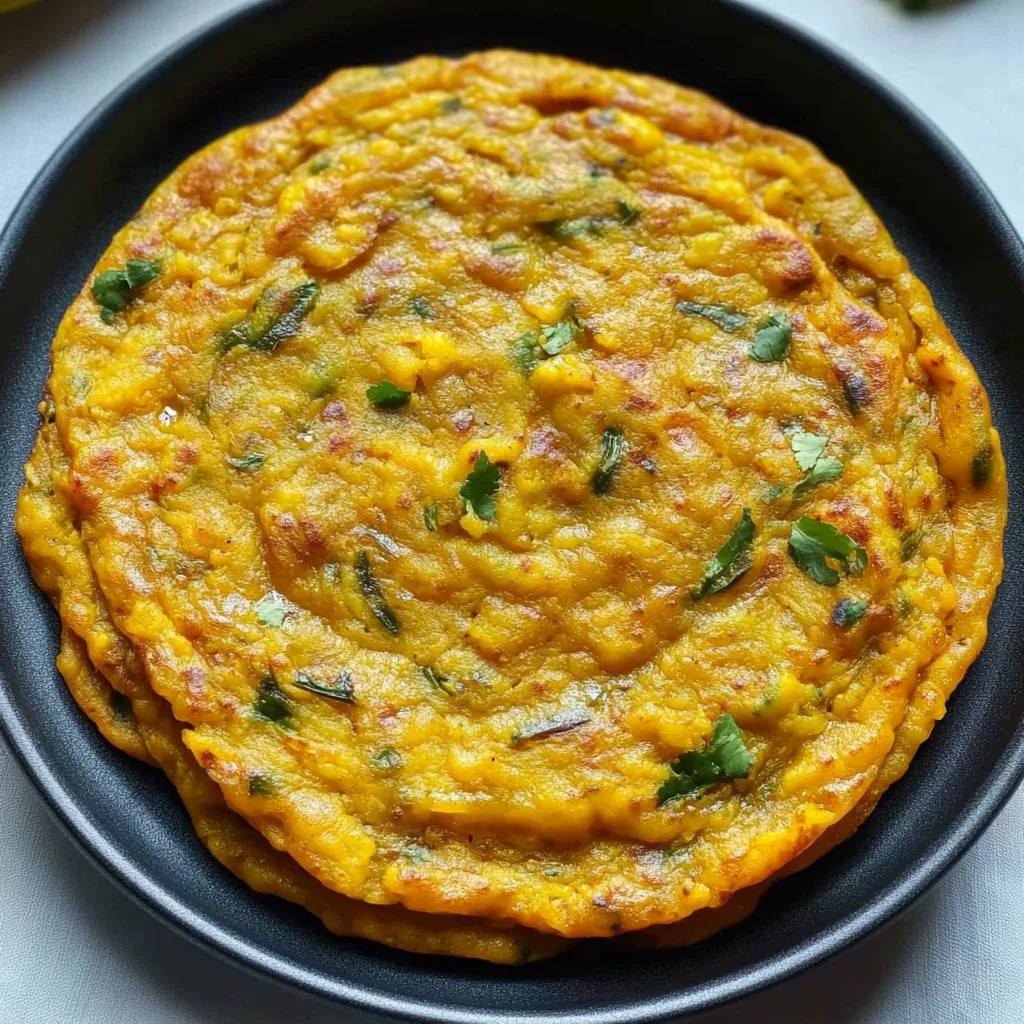
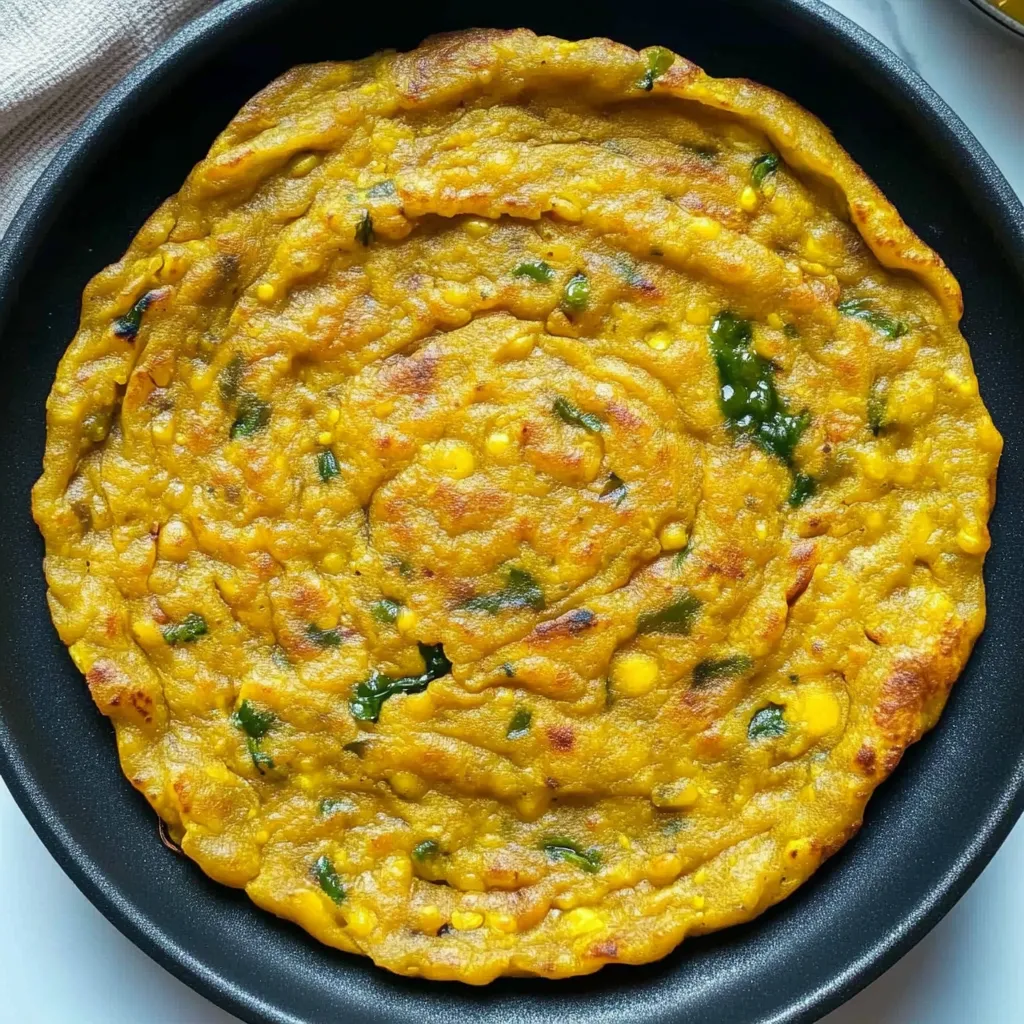
Grinding soaked yellow lentils into batter and cooking it like pancakes creates an Indian breakfast that's packed with protein and completely gluten-free. The moong dal gets blended with ginger, green chilies, and spices into a smooth mixture, then mixed with chopped onions and cilantro before cooking on a hot griddle. These savory pancakes develop crispy edges while staying tender inside, and they taste amazing with chutney or yogurt on the side. Soaking the lentils overnight means most of the work happens while you sleep, leaving just blending and cooking for the morning.
Indian breakfast recipes became fascinating to me after trying chilla at a friend's house and realizing savory pancakes could be this delicious and filling. The moong dal version specifically appealed because yellow lentils are so mild and easy to digest compared to heavier legumes. My first attempt failed because I didn't soak the dal long enough and the blender struggled, but once I learned to soak overnight, everything came together easily. Now I make the batter on Sunday nights and have breakfast ready for the entire week. My kids eat these willingly because I let them choose their own toppings and dipping sauces.
Ingredients and Why They Matter
- Split yellow moong dal (1 cup): Main ingredient that must be soaked; yellow split lentils that are easier to digest than whole beans
- Fresh ginger (1-inch piece): Adds warmth and helps digestion; ground ginger doesn't provide the same fresh flavor
- Green chili (1, or to taste): Provides heat; adjust based on spice tolerance or omit for kids
- Cumin seeds (1 teaspoon): Earthy flavor essential to Indian cooking
- Water (½ cup, or as needed for blending): Creates proper batter consistency
- Red onion (1 small, finely chopped): Adds flavor and texture; white or yellow onions substitute
- Fresh cilantro (2 tablespoons chopped): Fresh herbal notes
- Turmeric powder (½ teaspoon): Golden color and anti-inflammatory properties
- Kashmiri red chili powder (½ teaspoon): Mild heat and color; regular chili powder works but is spicier
- Salt (to taste): Essential for proper seasoning
- Oil or ghee (for cooking): Prevents sticking and adds flavor; any cooking oil works
How To Make It
- Soak the moong dal:
- Measure 1 cup of split yellow moong dal into a bowl. Rinse it thoroughly under cold running water 2-3 times, swishing with your hands and draining, until the water runs clear instead of cloudy. This removes dust and excess starch. Cover the rinsed dal with fresh water by about 2 inches. Let it soak at room temperature for at least 3 hours, though overnight works best. The dal will swell and soften significantly during soaking. Properly soaked dal feels soft when you press it between your fingers. If you're short on time, soak in hot water for 1-2 hours as a quicker alternative, though overnight cold-water soaking is ideal.
- Blend the batter:
- Drain all the soaking water from the dal using a strainer. Transfer the soaked dal to a blender along with the 1-inch piece of fresh ginger, 1 green chili, 1 teaspoon cumin seeds, and about ½ cup fresh water. Blend on high speed for 1-2 minutes until you achieve a completely smooth batter with no graininess remaining. Stop and scrape down the sides as needed. The consistency should be like thick pancake batter - pourable but not too thin. If it seems too thick to pour easily, add water a tablespoon at a time and blend again. If too thin, it won't hold shape on the pan. The batter should fall off a spoon in a thick ribbon.
- Mix in vegetables and spices:
- Pour the blended dal batter into a mixing bowl. Add the finely chopped onions, chopped fresh cilantro, turmeric powder, red chili powder, and salt to taste. Mix everything together thoroughly with a spoon. Make sure the onions and cilantro distribute evenly throughout. Let this batter rest for 5 minutes, which allows the flavors to meld and the batter to thicken slightly as the dal absorbs liquid. Check consistency again - add a tablespoon or two of water if it thickened too much, or let it sit longer if too thin. The batter is ready when it's pourable but not runny.
- Heat the pan:
- Place a flat griddle, tawa, or non-stick skillet over medium heat. Let it heat for 2-3 minutes until properly hot. Test by sprinkling a few drops of water on the surface - they should sizzle and evaporate immediately. Brush or drizzle a few drops of oil across the entire cooking surface. A well-seasoned cast iron pan or non-stick skillet works best for these. If using cast iron, make sure it's properly seasoned or the batter will stick. The pan needs to be hot enough that the batter sets immediately when it hits the surface.
- Cook the chilla:
- Pour a ladleful of batter (about ⅓ to ½ cup) into the center of the hot pan. Immediately use the back of the ladle in a circular motion to spread the batter outward from the center, creating a thin, round pancake about 6-7 inches in diameter. Work quickly because the batter starts setting as soon as it hits the hot surface. Don't worry about making it perfectly circular - rustic shapes are fine. Drizzle about ½ teaspoon of oil or ghee around the edges of the chilla and a few drops on top. Cook for 1-2 minutes without moving it, until the bottom turns golden brown and crispy and the top surface looks set with some bubbles.
- Flip and finish:
- Use a thin metal spatula to carefully lift and flip the chilla. If it's sticking, it needs more cooking time on that side. Cook the second side for another 1-2 minutes until you see golden brown spots developing. The chilla should feel firm and crispy around the edges with a tender center. Transfer to a serving plate. Repeat with remaining batter, re-oiling the pan lightly between each chilla. You should get about 6-8 chillas from this recipe depending on size. Serve immediately while hot and crispy, or keep warm in a low oven while you cook the remaining batch.
 Pin it
Yellow moong dal became my preferred lentil after learning it's the easiest to digest and doesn't cause bloating like some other legumes. In Indian cooking, moong dal is considered light and suitable for children, elderly people, and anyone with sensitive digestion. The split version cooks faster and blends smoother than whole moong beans. Finding it requires visiting Indian grocery stores or ordering online, though it's inexpensive and keeps for months in a sealed container. Once I started keeping it in my pantry, I found countless uses beyond just chilla.
Soaking Purpose and Time
Soaking lentils serves multiple purposes beyond just softening them. The process reduces cooking time dramatically by rehydrating dried legumes. It makes them easier to digest by breaking down complex sugars that cause gas. Soaking also reduces anti-nutrients like phytic acid that can interfere with mineral absorption. For moong dal specifically, 3-4 hours minimum or overnight is ideal. Very old dal may need longer soaking. If you're in a rush, soaking in hot water speeds things up to 1-2 hours, though cold-water overnight soaking is traditional and arguably better for texture.
Batter Consistency Mastery
Getting the right consistency determines whether your chillas turn out perfectly or become frustrating disasters. The batter should coat the back of a spoon but still drip off in a thick stream. When poured, it should spread slowly rather than running immediately. Too thick creates heavy, dense pancakes that don't cook through. Too thin creates delicate crepes that tear easily and lack substance. Adjust with water or dal batter as needed. Humidity, dal freshness, and soaking time all affect moisture content, so trust your judgment over exact measurements. The batter should look like thick pancake batter or thin cake batter.
Pan Temperature Control
Proper heat makes the difference between golden, crispy chillas and pale, rubbery ones. Medium heat works for most pans - high enough that the batter sets quickly but not so hot that it burns before cooking through. Cast iron retains heat well but heats unevenly, so medium-low might be better. Non-stick pans cook more evenly at slightly higher heat. Electric stoves require preheating longer than gas. Test with water drops - if they sit and boil, it's not hot enough; if they immediately bounce and disappear, it's too hot; if they sizzle and evaporate in a few seconds, it's perfect. Adjust between each chilla based on how the previous one cooked.
Spreading Technique
The spreading motion creates thin, even chillas rather than thick, doughy ones. Pour batter in the center and immediately start spreading outward in concentric circles using the back of your ladle. Work quickly before it sets. Apply gentle pressure to encourage spreading but don't scrape so hard you tear holes. Some recipes suggest tapping the pan on the counter to help spreading, but this works better with thinner batters. Practice makes perfect - your first few might be irregularly shaped or too thick, but you'll develop rhythm and confidence. Thinner chillas cook faster and develop more crispy edges.
Variations and Add-Ins
The base recipe welcomes countless customizations. Add grated vegetables like carrots, zucchini, or beets directly to the batter for nutrition and color. Finely chopped spinach or methi leaves create green chillas packed with vitamins. Crumbled paneer or tofu adds protein and richness. For stuffed versions, cook one side, add filling like spiced potatoes or paneer bhurji, fold in half, and finish cooking. Cheese lovers can sprinkle shredded cheese on the cooked chilla, fold, and let it melt. Each variation uses the same base technique while creating different flavors and nutrition profiles.
Serving and Accompaniments
Traditional accompaniments enhance chillas from simple to memorable. Serve with green chutney made from cilantro, mint, green chili, and lemon. Tamarind chutney provides sweet-tangy contrast. Plain yogurt or spiced raita cools and adds creaminess. Indian pickles add sharp, spicy pops of flavor. Hot masala tea or coffee completes the meal. For lunch or dinner, serve alongside dal, sabzi, or curry to make it substantial. Some people roll chillas around fillings like wraps. Others tear pieces and use them to scoop accompaniments. There's no wrong way to enjoy them.
Storage and Meal Prep
Make-ahead capability makes these practical for busy mornings. Prepare batter up to 2 days ahead and refrigerate in a covered container. Stir well before using as it may thicken and separate. Add onions and cilantro right before cooking for freshest flavor, or include them immediately if convenience matters more. Cooked chillas keep refrigerated for 2-3 days stacked with parchment between layers. Reheat on a dry skillet, in the microwave, or in a toaster. Freeze cooked chillas for up to 2 months. Thaw overnight in the fridge and reheat before serving. Having batter or cooked chillas ready means breakfast happens in minutes.
 Pin it
These moong dal chillas represent the kind of global breakfast that expands your morning repertoire beyond the usual eggs and toast. The savory, protein-rich pancakes satisfy in ways sweet breakfasts never do, keeping hunger at bay until lunch. When you serve a stack of golden chillas with colorful chutneys and watch everyone eagerly dig in, you know you've made something special. Sometimes the best recipes are the ones that introduce you to entirely new cuisines and cooking techniques, and these lentil pancakes definitely accomplish that goal perfectly every single time you make them.
Frequently Asked Questions
- → Can I make moong dal cheela without soaking the lentils?
- Soaking is really important because it softens the lentils and makes them easier to blend into a smooth batter. Without soaking, you'll end up with a grainy texture that won't spread well on the pan.
- → What should I serve with moong dal cheela?
- These go great with coconut chutney, mint chutney, or tomato ketchup. You can also enjoy them with yogurt, pickle, or just a cup of hot chai.
- → How do I know if my batter is the right consistency?
- The batter should be thick enough to coat the back of a spoon but thin enough to spread easily on the pan. If you can pour it and spread it smoothly in circles, you've got it right.
- → Can I make the batter ahead of time?
- Yes, you can make the batter a day ahead and keep it in the fridge. Just give it a good stir before using and add a splash of water if it's gotten too thick.
- → Why are my cheelas sticking to the pan?
- Make sure your pan is properly heated before adding the batter, and use enough oil. A well-seasoned cast iron pan or a good non-stick pan works best for this recipe.
- → Can I freeze moong dal cheela?
- Absolutely! Cook them first, let them cool completely, then stack them with parchment paper in between. They'll keep in the freezer for up to a month. Just reheat on a pan when you're ready to eat.
- → What can I add to make them more filling?
- Try adding grated vegetables like carrots or zucchini, or sprinkle some cheese on top while cooking. You can also stuff them with paneer or potato filling for a heartier meal.