
 Pin it
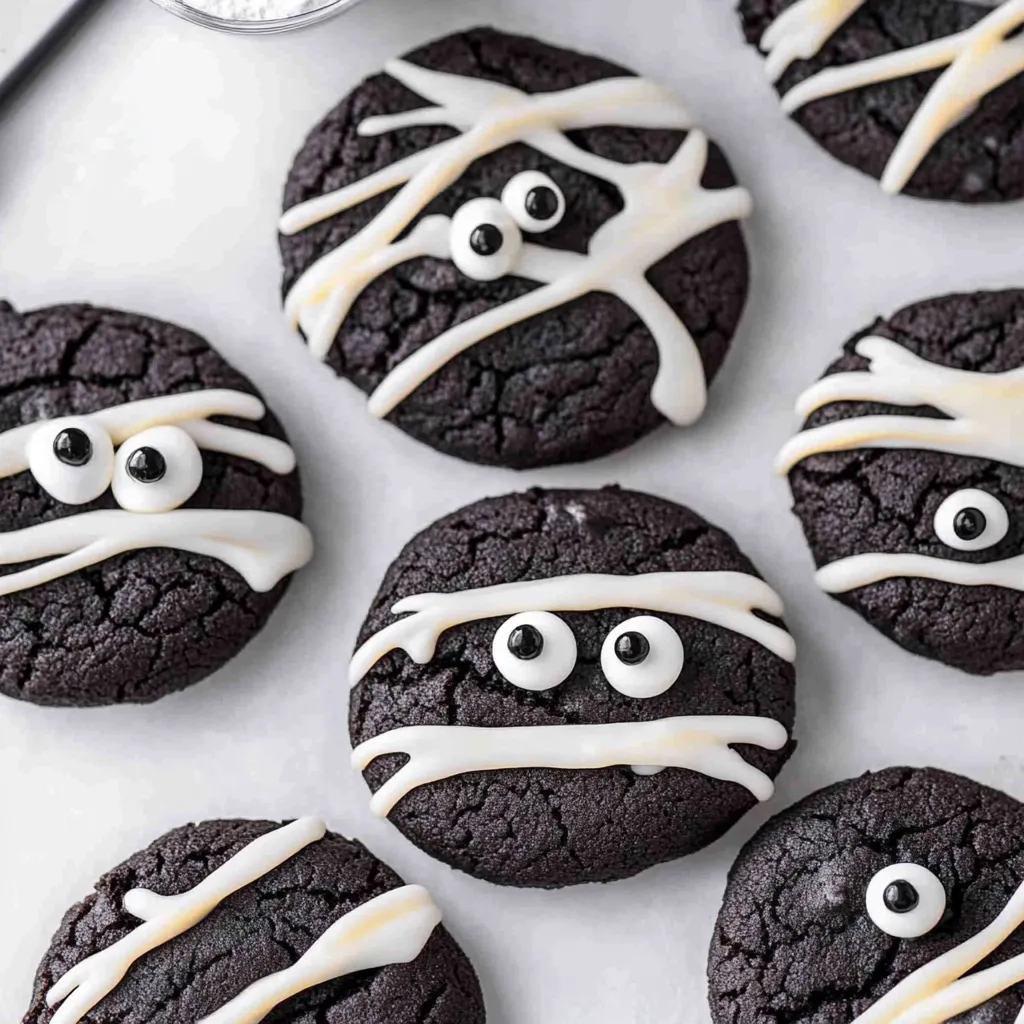
Black cocoa powder transforms regular cookies into something that looks supernatural without using any artificial food coloring. These cookies taste remarkably like Oreos but with a chewier texture and crisp edges that make them better than the store-bought version. The deep black color comes entirely from the cocoa itself, which gets processed differently than regular cocoa to achieve that dark shade. When you press the warm cookies flat right after baking, they create perfect canvases for decorating with white icing stripes and candy eyes that turn them into mummies. The whole process stays simple enough for kids to help, though the icing requires some patience if you want neat lines.
I made these for the first time three years ago when my neighbor asked if I had any eggless Halloween cookie recipes because her daughter had developed an egg allergy. After testing different versions with various cocoa powders, I finally landed on black cocoa and realized these tasted exactly like Oreos without trying to copy them. My own kids preferred these to the packaged cookies, which shocked me until I tried them myself and understood why. The texture feels more substantial and less likely to crumble into dust when you bite down.
Ingredients and Why They Matter
- All-purpose flour or alternatives: (2 cups) - Regular all-purpose flour creates the most traditional cookie texture, but white whole wheat, regular whole wheat, or gluten-free 1:1 baking blends all work without changing the recipe; pick King Arthur Measure for Measure if going gluten-free for the best results
- Black cocoa powder: (½ cup) - This ultra-dark cocoa gives cookies their black color and Oreo flavor naturally without any dyes; look for brands like The Cocoa Trader in the US or Cacao Barry Noir Intense in Europe, and store it in an airtight container away from moisture
- Refined coconut oil: (½ cup, melted) - Refined coconut oil provides fat without adding coconut flavor that would clash with the chocolate; unrefined works if you actually want coconut notes, but most people find that weird in these cookies
- Granulated white sugar: (½ cup) - White sugar keeps the color pure black rather than adding brown tones, and it creates the right texture; liquid sweeteners won't work here because they throw off moisture ratios
- Brown sugar: (½ cup packed) - Adding brown sugar alongside white creates more chewiness and deeper flavor, though you can substitute coconut sugar if needed even though it diminishes the Oreo taste slightly
- Baking powder: (1 teaspoon) - This leavening agent gives cookies their slight rise and helps create that chewy-crisp texture combination
- Vanilla extract: (1 teaspoon) - Pure vanilla enhances the chocolate flavor and adds depth
- Salt: (¼ teaspoon) - A small amount of salt balances sweetness and makes chocolate taste more chocolatey
- Water: (3-4 tablespoons) - Water binds everything together since there are no eggs; add gradually because you might need slightly more or less depending on flour type
- Powdered sugar for icing: (1½ cups) - White powdered sugar creates the mummy bandages when mixed with milk; no substitutes work for this because you need that bright white color
- Milk of any type: (2-3 tablespoons for icing) - Any milk or even water thins the powdered sugar into pipeable icing; unsweetened varieties work best to avoid extra sweetness
- Candy eyeballs: (as many as needed) - Store-bought candy eyes from Wilton work but aren't vegan; homemade versions using powdered sugar, cornstarch, vanilla, water, and black cocoa let you control ingredients and sizes
How To Make It
- Mix your dry ingredients:
- Get out a medium mixing bowl and add the flour, black cocoa powder, baking powder, and salt. Use a whisk to stir everything together thoroughly, breaking up any lumps in the cocoa powder and making sure the baking powder distributes evenly. Whisking for about 30 seconds ensures no pockets of concentrated cocoa or leavening remain. The mixture will look very dark, almost black already. Set this bowl aside while you work on the wet ingredients. Having the dry ingredients fully combined before adding liquid prevents overmixing later, which would make cookies tough.
- Combine wet ingredients:
- In a larger mixing bowl, pour your melted coconut oil - make sure it's liquid but not hot, just room temperature after melting. Add both the granulated white sugar and brown sugar to the oil. Use an electric mixer on medium speed or beat vigorously by hand with a wooden spoon for about a minute until the sugars dissolve into the oil and everything looks smooth and slightly lighter in color. This beating incorporates air that helps cookies rise. Add the vanilla extract and beat briefly to combine. The mixture will look grainy from the sugar but that's completely normal at this stage.
- Form the dough:
- Pour your dry ingredient mixture into the bowl with the wet ingredients. Stir with a sturdy spoon or spatula, folding and mixing until you see no more dry flour streaks. The dough will seem dry and crumbly at first. Start adding water one tablespoon at a time, stirring well after each addition. You'll probably need 3-4 tablespoons total, but add gradually because different flours absorb liquid differently. The finished dough should hold together when you squeeze it in your hand without being sticky or wet. It will feel quite stiff compared to other cookie doughs. If you accidentally make it too wet, stir in a tablespoon more flour. The dough is ready when you can roll it into balls that hold their shape without cracking or sticking to your hands.
- Shape and prepare for baking:
- Preheat your oven to 350°F and line two baking sheets with parchment paper or silicone baking mats. Take about 1½ tablespoons of dough and roll it between your palms into a smooth ball. Place it on the prepared baking sheet. Repeat with remaining dough, spacing balls about 2 inches apart because they'll spread slightly during baking. You should get around 20-24 cookies depending on size. Don't flatten the balls before baking - they need to bake as rounds first. Work relatively quickly during this shaping process because the dough doesn't need to chill, and you want to get everything in the oven while the dough is still at room temperature.
- Bake the cookies:
- Slide your baking sheets into the preheated oven and bake for 10-12 minutes. The cookies are done when they look set on top and perhaps slightly cracked, though they'll still feel a bit soft when you touch them. Don't overbake thinking they need to be hard, because they'll firm up as they cool. Different ovens vary, so start checking at 10 minutes. If you're baking two sheets at once, rotate them halfway through for even baking. The cookies will puff up slightly in the oven and might dome a little in the center.
- Press cookies flat:
- This step is crucial and must happen immediately after removing cookies from the oven while they're still hot. Take a flat-bottomed glass or measuring cup - something with a smooth bottom surface - and gently but firmly press down on each cookie. Press until the cookie flattens and spreads to about ¼ inch thick. The hot cookies will cooperate and flatten easily, but if you wait until they cool, they'll crack instead of flattening. This pressing creates the smooth, flat surface you need for decorating with icing later. Don't worry if a few cookies crack around the edges during pressing - that's normal and adds character. Once all cookies are pressed, leave them on the baking sheet for 5 minutes to set, then carefully transfer to a wire cooling rack. Let them cool completely before decorating, usually about 30 minutes.
- Make the icing:
- While cookies cool, prepare your white icing for decorating. Put the powdered sugar in a medium bowl and add 2 tablespoons of milk or water. Stir with a spoon until smooth, adding more liquid a teaspoon at a time until the icing reaches a thick but pipeable consistency. You want it thin enough to squeeze through a piping bag or plastic bag but thick enough that it doesn't run off the cookies. Test the consistency by lifting your spoon - the icing should slowly drip off in a ribbon that briefly holds its shape before melting back into the bowl. Too thick and it won't pipe smoothly; too thin and your mummy bandages will spread and look sloppy. Getting the right consistency matters more than exact measurements.
- Decorate as mummies:
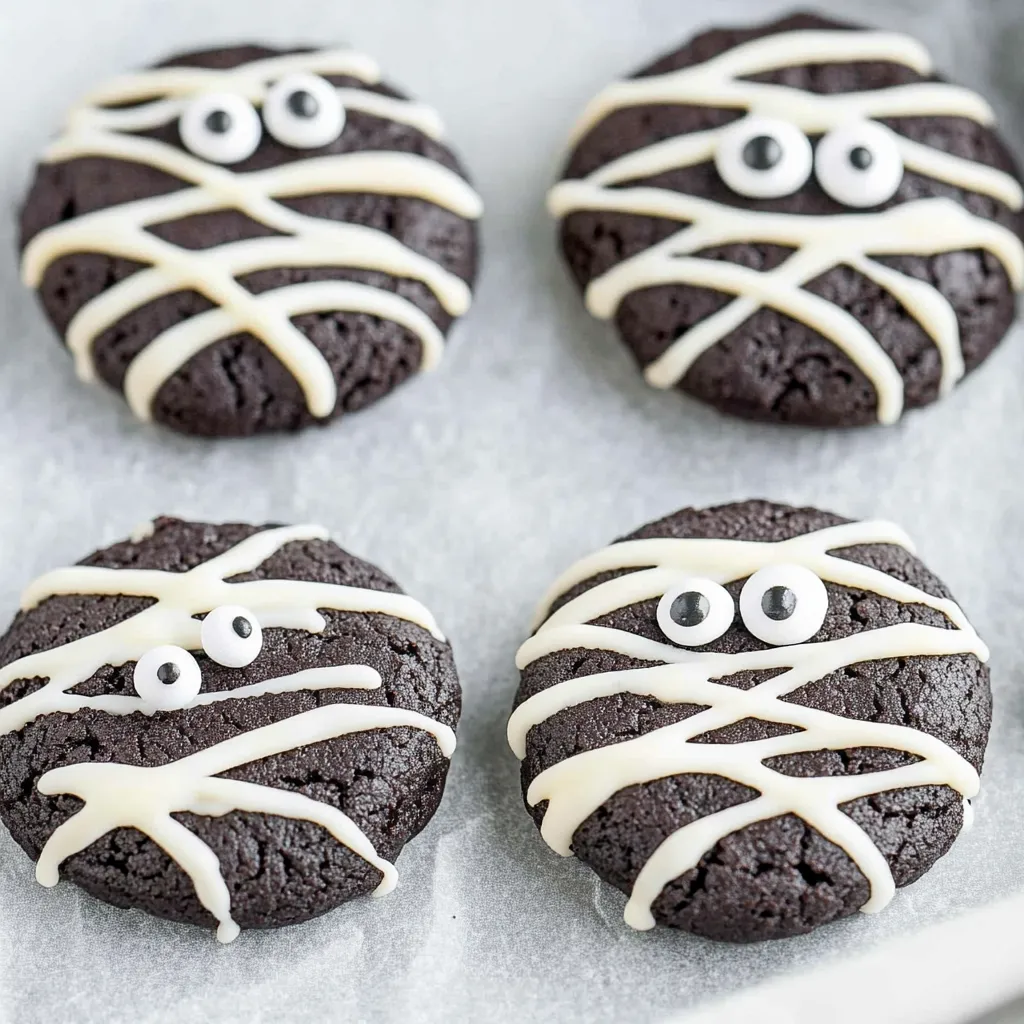
- Transfer your icing to a piping bag fitted with a small round tip, or use a plastic zip-top bag with one tiny corner snipped off. Working with one cookie at a time, pipe horizontal white lines across the cookie to look like mummy bandages. Make the lines irregular - some thick, some thin, some straight, some wavy - because mummy wrappings wouldn't be perfectly uniform. Leave a gap somewhere in the middle area for placing the eyes. Don't stress about making perfect lines because messy, uneven stripes actually look more realistic. Once you've piped lines on a cookie, immediately press two candy eyeballs into the gap you left, using a tiny dot of icing as glue if the eyes don't stick on their own. Repeat with all remaining cookies. The icing will set and harden within about an hour at room temperature, making the cookies safe to stack and store.
 Pin it
Black cocoa powder became my favorite baking ingredient after I discovered you could make naturally black treats without food coloring. My son went through a phase where he refused anything with artificial colors, which eliminated most Halloween treats until I found this cocoa. The first batch of cookies came out looking so dark that my daughter thought I'd burned them, but one bite changed her mind completely. Now we make these cookies for every Halloween party and sometimes just because we're craving that Oreo flavor without actually buying Oreos.
Understanding Black Cocoa
Regular cocoa powder and black cocoa powder come from the same cacao beans but undergo different processing that dramatically changes their properties. Standard cocoa gets dutched or alkalized to reduce acidity, creating that familiar brown chocolate powder. Black cocoa takes this alkalizing process much further, continuing until the cocoa reaches an extremely dark, almost black color. This extended processing removes most of the natural chocolate flavor and replaces it with something closer to burnt sugar or charcoal with subtle chocolate notes - exactly what Oreos taste like. Black cocoa has less fat than regular cocoa and absorbs liquid differently, which is why you can't just substitute it one-for-one in regular recipes. These cookies are specifically formulated around black cocoa's unique properties.
Flour Flexibility
This recipe accommodates different flour types better than most cookie recipes because the structure doesn't rely heavily on gluten development. All-purpose flour creates the most neutral-tasting cookies with a tender crumb. White whole wheat flour adds slight nuttiness and more fiber without making cookies taste overwhelmingly wheaty. Regular whole wheat flour works but produces a denser, more substantial cookie with stronger wheat flavor that some people love and others find distracting. Gluten-free blends need to be the 1:1 substitution type specifically designed to replace all-purpose flour directly - King Arthur Measure for Measure delivers the best texture while Bob's Red Mill 1:1 works acceptably. Single-ingredient flours like almond, coconut, or oat flour won't work because they lack the binding properties these cookies need.
Why Skip Chilling
Most cookie recipes insist on chilling dough to prevent excessive spreading and improve texture, but this particular dough behaves differently. The combination of coconut oil and the specific ratios here means the dough holds its shape during baking without needing cold temperatures first. If you do refrigerate this dough, it becomes rock-hard and strangely crumbly, difficult to roll into balls without cracking. Room temperature dough rolls smoothly and bakes into cookies with the ideal chewy-crisp texture. This characteristic makes the recipe more convenient because you can mix and bake immediately without waiting hours for dough to chill. If your kitchen runs very warm and the dough feels too soft, a brief 15-minute chill helps, but longer refrigeration creates problems.
The Pressing Technique
Pressing cookies flat right after baking rather than shaping them flat before baking seems counterintuitive but produces dramatically better results. When you flatten cookie dough balls before baking, they spread unevenly and develop rough, irregular surfaces covered in cracks and bumps. Baking them as balls first allows them to set up with a stable structure. The moment they come out of the oven, they're still hot enough to be pliable and will flatten smoothly under gentle pressure from a glass bottom. This creates that ideal flat surface with slightly rounded edges, perfect for decorating. The pressed cookies also develop better texture contrast - crispy edges with chewier centers - compared to cookies flattened before baking that turn uniformly crisp.
Icing Consistency Mastery
Getting royal icing or powdered sugar icing to the right consistency determines whether your decorations look professional or sloppy. Too thin and the icing runs everywhere, pooling on the cookie surface and dripping off the edges. Too thick and it won't pipe smoothly, coming out in clumps instead of clean lines. The target consistency should resemble thick glue or honey that flows slowly but holds its shape briefly before settling. When you pipe lines on the cookie, they should stay distinct for a few seconds before the edges soften and blend slightly. This gives you time to work but still creates smooth-looking bandages. Temperature affects consistency too - warm icing flows more easily while cold icing stiffens up, so make adjustments by adding tiny amounts of liquid or powdered sugar as needed.
Storage and Shelf Life
Undecorated cookies stay fresh longer than decorated ones because the icing introduces moisture that softens them over time. Plain cookies kept in an airtight container at room temperature remain good for up to a week, maintaining that desirable texture combination. Once you add icing and candy eyes, plan to eat the cookies within 3-4 days for best quality. The icing won't go bad, but it can make cookies less crisp as moisture transfers from the icing into the cookie over time. Layer decorated cookies carefully with parchment paper between layers to prevent the icing from smearing or eyes from getting knocked off. These cookies ship well for care packages or gifts if you pack them snugly so they can't shift around and damage the decorations.
 Pin it
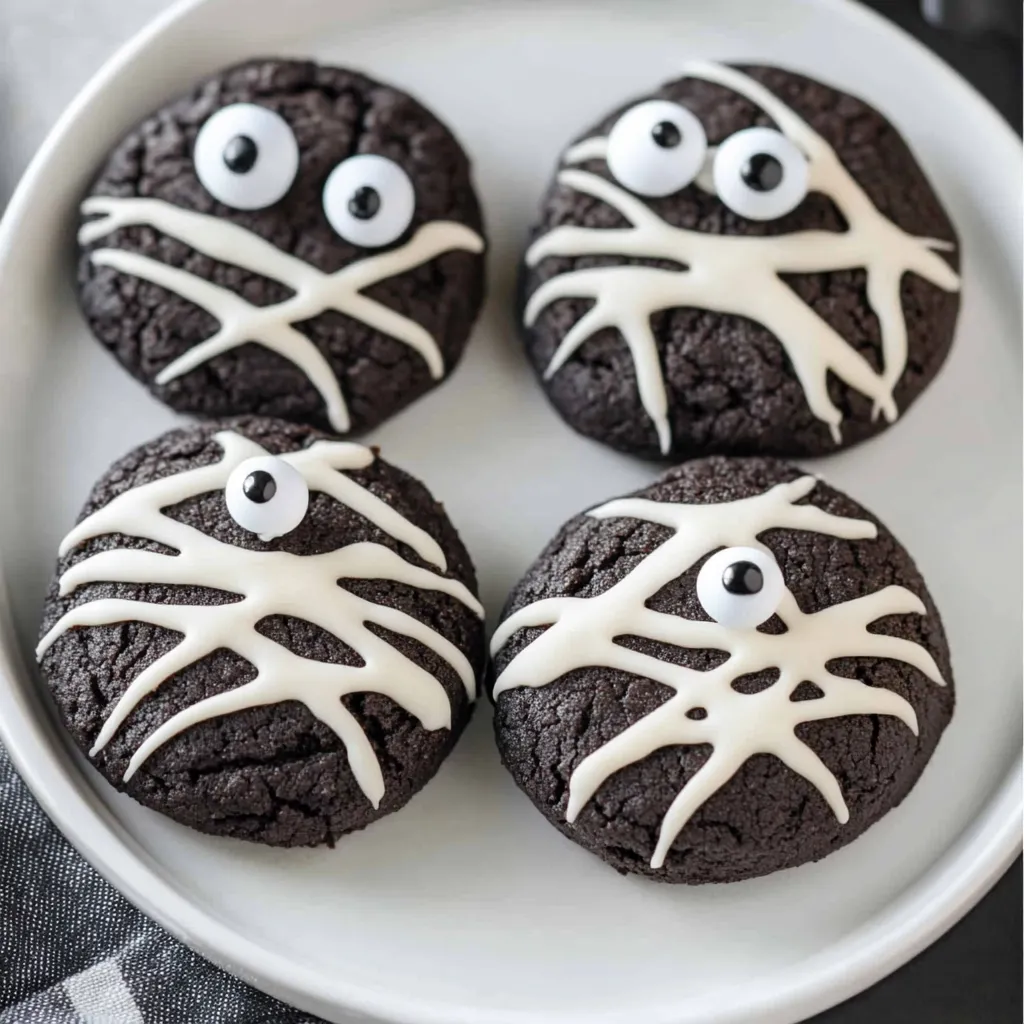
These mummy cookies represent everything I appreciate about Halloween baking that prioritizes flavor alongside appearance. The black color impresses people who expect food coloring, and explaining that it comes from cocoa powder always starts interesting conversations about different cocoa processing methods. The Oreo flavor appeals to kids and adults equally, making these cookies universally popular at parties unlike some Halloween treats that only children enjoy. Decorating them doesn't require artistic talent or steady hands - imperfect mummy bandages actually look better than overly neat ones. When you pull these out at a Halloween gathering, people assume they're complicated specialty cookies from a bakery, not something you threw together in under an hour on a weeknight.
Frequently Asked Questions
- → What makes these cookies look so dark?
- Black cocoa powder gives them their deep, dark color naturally. It tastes like Oreos and you don't need any food coloring at all.
- → Can I make these cookies ahead of time?
- Yes, baked cookies last up to 5 days in a container. You can also freeze the dough or baked cookies for up to 3 months before decorating.
- → What if my coconut oil is too soft?
- If the oil is melted or too soft, the cookies might turn out greasy. Use it slightly softened but still solid for best results.
- → Can I make these dairy-free or vegan?
- Yes, use plant-based milk for the icing and vegan candy eyes. The cookies already use coconut oil instead of butter.
- → Do I need special equipment to decorate?
- A piping bag with a small tip works best for neat bandages, but you can also use a ziplock bag with the corner snipped off.
- → Where can I find black cocoa powder?
- The Cocoa Trader brand works great and you can find it online. Regular dark cocoa won't give the same deep black color.