
 Pin it
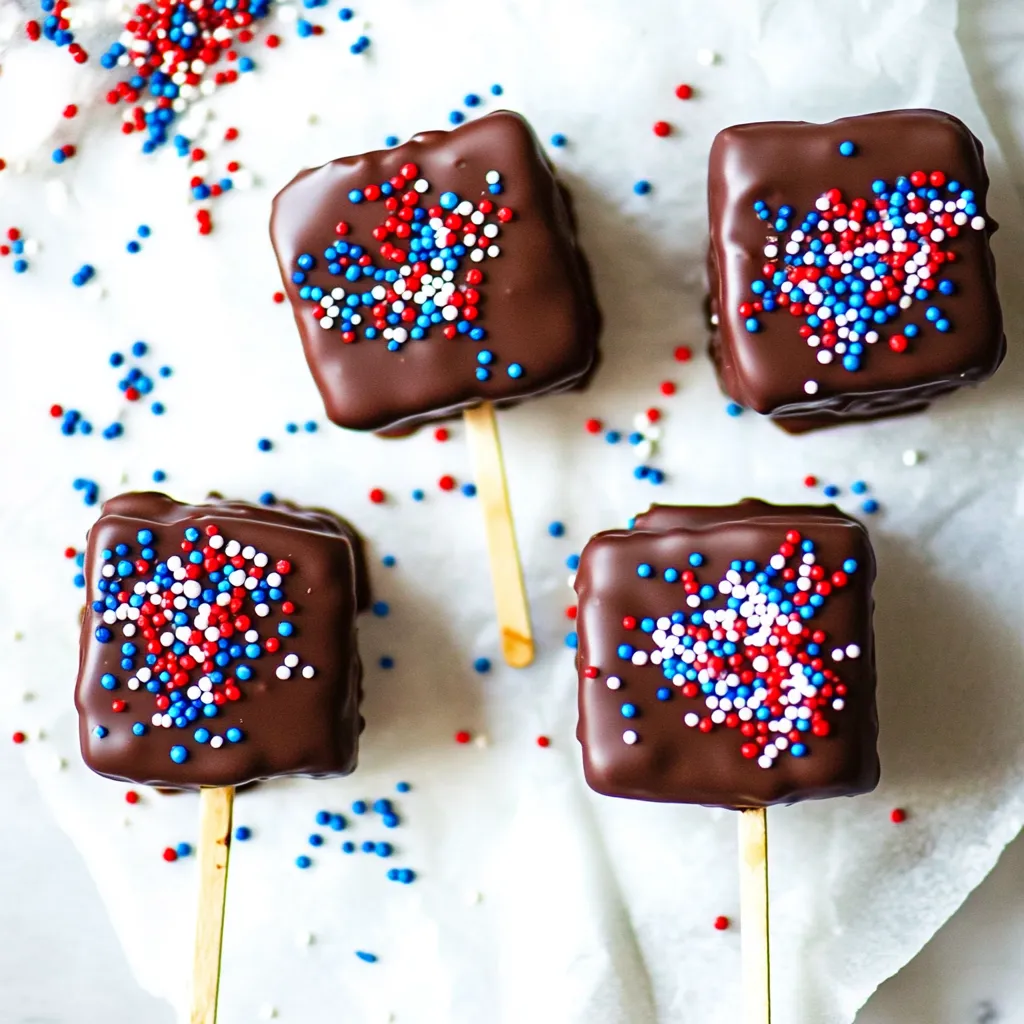
These delightfully simple patriotic ice cream sandwiches transform ordinary store-bought treats into stunning handheld desserts that look like they came from a fancy ice cream shop. With just a quick dip in melted chocolate and a sprinkle of red, white, and blue decorations, you create something that's both impressive to look at and absolutely delicious to eat. The best part is how this project brings families together in the kitchen, giving kids a fun activity that results in a treat everyone can enjoy while staying cool during those hot summer days.
I started making these with my kids during a particularly hot Fourth of July when we wanted to contribute something homemade to our block party but couldn't bear the thought of turning on the oven. The kids were fascinated by the chocolate dipping process, and seeing their excitement when the plain sandwiches transformed into these gorgeous treats was absolutely priceless. Now it's become our go-to project whenever we need a fun kitchen activity that doesn't heat up the house, and neighbors actually request them specifically because they know how good they look and taste.
Ingredients
- Ice cream sandwiches (8-10) - Choose your favorite brand, though smaller sandwiches are easier to dip and handle, while premium brands like Fat Boy create more impressive final results
- Chocolate dipping wafers (2 cups) - Found in the baking aisle or craft stores, these melt smoothly and create the perfect coating consistency without added oils
- Alternative chocolate option: chocolate chips (1 cup) plus coconut oil (1 teaspoon) - If you can't find dipping wafers, this combination melts beautifully and coats evenly
- Red, white, and blue sprinkles (1/2 cup total) - Mix patriotic colors for Fourth of July, or choose any color combination that matches your celebration
- Popsicle sticks or cookie sticks (8-10) - Popsicle sticks provide more stability for larger sandwiches, while decorative cookie sticks look adorable on smaller treats
- Optional: white chocolate or colored candy melts - For creating multiple coating colors or drizzle effects
Instructions
- Prepare your ice cream sandwiches for dipping.
- Unwrap each ice cream sandwich and carefully insert a popsicle stick or cookie stick about halfway into one end, making sure it's secure but not pushing so hard that you crack the sandwich. Arrange them on a parchment-lined baking sheet and return to the freezer for at least 30 minutes to ensure they're completely solid.
- Set up your dipping station efficiently.
- Gather a shallow microwave-safe bowl for melting chocolate, your sprinkles in small bowls for easy access, and a clean parchment-lined baking sheet for the finished sandwiches. Having everything ready before you start is crucial since you'll be working quickly with cold ice cream and warm chocolate.
- Melt the chocolate to perfect consistency.
- If using dipping wafers, follow package directions exactly for the smoothest results. For chocolate chips and coconut oil, microwave in 20-30 second intervals at 50% power, stirring thoroughly between each interval until completely smooth and flowing easily off a spoon.
- Work with one sandwich at a time for best results.
- Remove just one ice cream sandwich from the freezer, holding it by the stick, and quickly dip it into the melted chocolate. Tilt the bowl and use a spoon to help coat all sides evenly, working fast to prevent melting.
- Add sprinkles while the chocolate is still wet.
- Immediately after dipping, hold the sandwich over a bowl and sprinkle the patriotic decorations generously over all the chocolate-covered surfaces. The sprinkles will stick best when the chocolate is still warm and slightly wet.
- Return to freezer immediately.
- Place each decorated sandwich on your prepared baking sheet and return it to the freezer right away. This stops the melting process and helps the chocolate set up with a beautiful glossy finish.
- Repeat the process efficiently.
- Continue with the remaining sandwiches, working with one at a time and keeping the rest frozen until their turn. If your chocolate starts to thicken, gently reheat it for 10-15 seconds in the microwave.
- Final freeze before serving.
- Once all sandwiches are dipped and decorated, freeze the entire batch for at least 15 minutes to ensure the chocolate coating is completely set and won't smudge when handled.
 Pin it
Mastering the Chocolate Dipping Technique
The key to professional-looking dipped ice cream sandwiches lies in understanding the balance between chocolate temperature and ice cream firmness. Your chocolate should be warm enough to flow smoothly but not so hot that it melts the ice cream on contact. Test the temperature by dipping a spoon - it should coat the spoon in a thin, even layer without being steaming hot.
Working quickly is essential, but don't rush so much that you get sloppy. A smooth, confident dipping motion creates the most even coating, while hesitation often leads to thick spots or drips. If you notice the chocolate getting too thick as you work, a quick 10-15 second reheat in the microwave will restore the perfect consistency.
Choosing the Right Ice Cream Sandwiches
Not all ice cream sandwiches are created equal when it comes to dipping, and your choice can make the difference between success and frustration. Smaller sandwiches are definitely easier to handle and dip evenly, especially when working with kids. However, premium brands with thicker cookies and denser ice cream hold up better to the dipping process and create more impressive final results.
Look for sandwiches that feel solid and well-constructed rather than soft or flimsy. The cookies should be sturdy enough to support the stick without cracking, and the ice cream should be firmly frozen rather than soft. If you're using larger sandwiches, consider using wooden craft sticks instead of regular popsicle sticks for better stability and easier handling.
Storage and Serving Tips
These decorated ice cream sandwiches are best enjoyed within a day or two of making them, as the chocolate coating can start to lose its glossy appearance over time in the freezer. Store them in an airtight container or individually wrapped in plastic wrap to prevent freezer burn and protect the decorative sprinkles from falling off.
For parties, you can make these several hours ahead and keep them frozen until serving time. Consider setting up a small freezer or cooler with ice packs if you're taking them to outdoor events, as they'll start to melt quickly in hot weather. Provide napkins when serving, as the chocolate coating can be a bit messy but absolutely worth it.
Creative Variations for Different Occasions
While patriotic colors are perfect for summer holidays, this same technique works beautifully for any celebration throughout the year. Christmas calls for red and green sprinkles, Halloween for orange and black, and Valentine's Day for pink and white. You can even match school colors for graduation parties or team celebrations.
Consider using different types of chocolate for variety - white chocolate creates a beautiful base for colored sprinkles, while dark chocolate offers a more sophisticated flavor profile. You can also drizzle contrasting chocolate colors over the base coating for even more visual interest. Mini chocolate chips, crushed cookies, or chopped nuts make excellent alternatives to sprinkles for different textures and flavors.
Working with Kids Successfully
This project is absolutely perfect for involving children in the kitchen, but a little preparation makes the experience much more enjoyable for everyone. Set up individual workstations with small bowls of sprinkles so each child can decorate their own sandwich without fighting over supplies. Have plenty of paper towels ready for inevitable spills and sticky fingers.
Consider having kids focus on the sprinkling while adults handle the chocolate dipping, which can be a bit tricky for small hands to manage safely. This division of labor keeps everyone involved while ensuring the best results. Don't worry about perfection - sometimes the most charming treats are the ones with generous, enthusiastic sprinkle coverage that only kids can create.
I love how this simple project has become one of our family's favorite summer traditions. There's something so satisfying about transforming ordinary grocery store treats into something that looks bakery-quality, and the kids always feel so proud when they see the finished results. Every time we make these, I'm reminded that some of the best family memories come from the simplest activities - standing together in the kitchen, creating something fun, and enjoying the sweet results of our teamwork.
This recipe embodies everything I love about summer entertaining - it's fun, festive, and completely stress-free while still creating something beautiful that makes people smile. Whether we're making them for a backyard barbecue or just because it's a hot Tuesday and we need a kitchen project, these dipped ice cream sandwiches never fail to bring joy to whoever makes them and whoever gets to eat them. That's the kind of cooking that really matters - simple, accessible, and guaranteed to create happy memories around food.
Frequently Asked Questions
- → Can I use any type of ice cream sandwich?
- Yes, any store-bought frozen ice cream sandwich works great for this recipe.
- → What if I don't have chocolate melting wafers?
- You can use regular chocolate chips mixed with a little coconut oil for smooth melting.
- → How long do these stay good in the freezer?
- They keep well for up to one week when stored in an airtight container in the freezer.
- → Can I make these ahead of time?
- Absolutely! These are perfect for making a day or two before your party or celebration.
- → What other sprinkle colors can I use?
- Use any colors you like - try pink and white for Valentine's Day or orange and black for Halloween.