
 Pin it
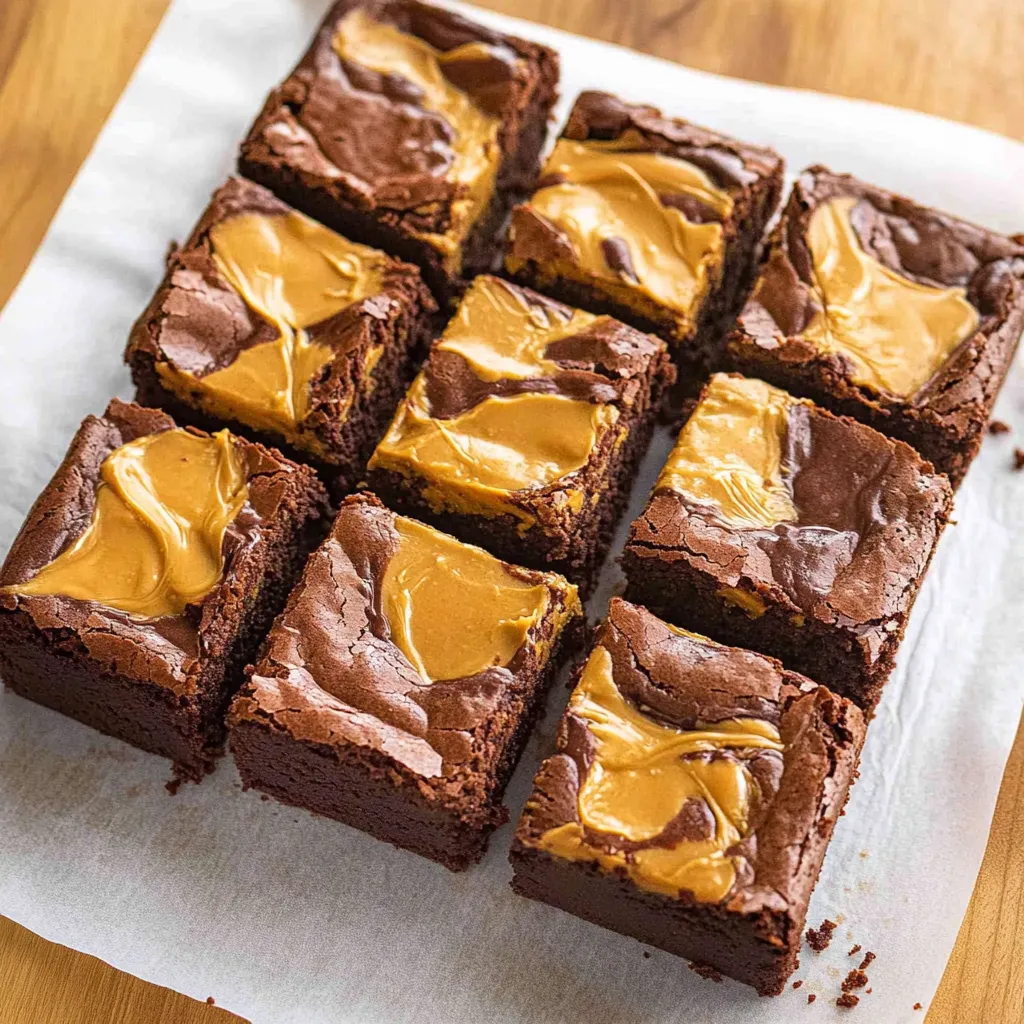
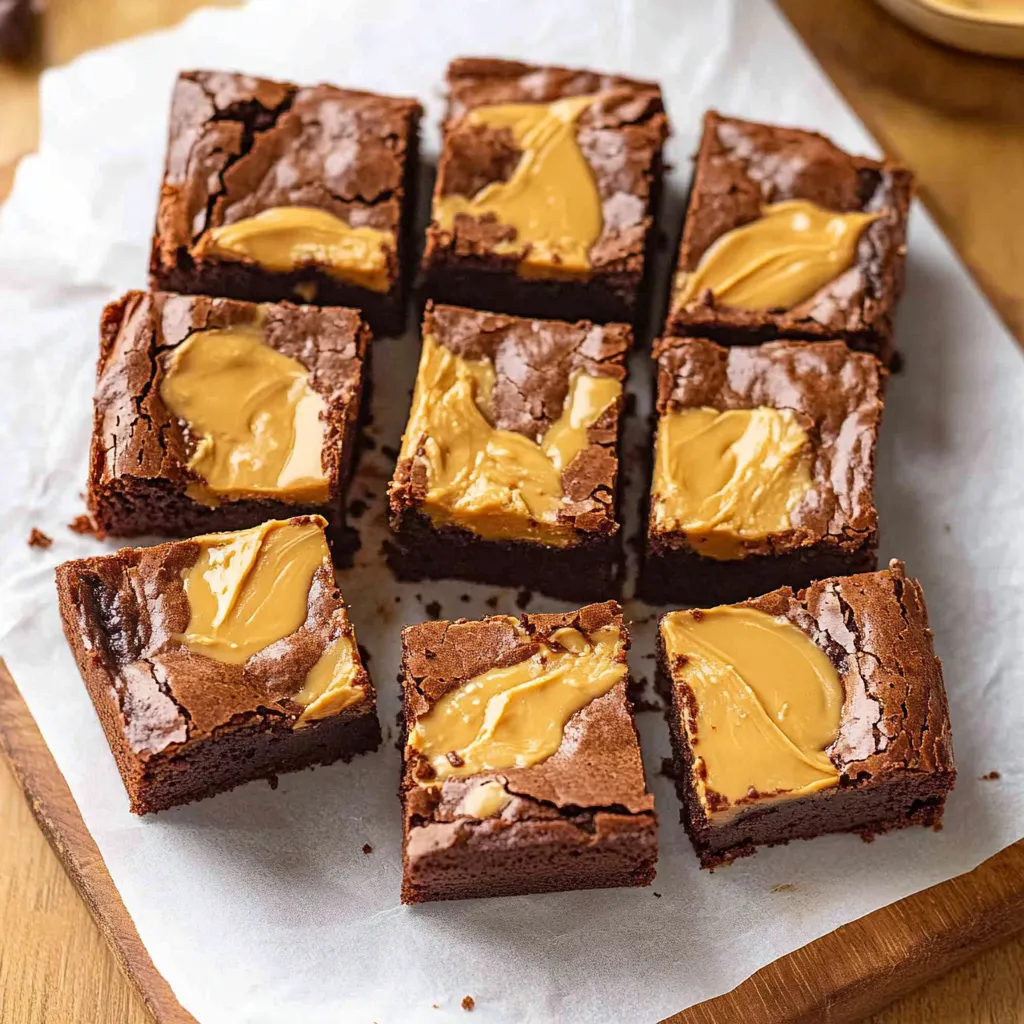
These incredibly fudgy peanut butter brownies combine the best of both worlds - rich, chocolatey brownie base swirled with creamy peanut butter that creates beautiful marbled patterns and delivers that irresistible peanut butter cup flavor in every bite. Made completely from scratch without any mixers, these brownies prove that the most decadent treats often come from the simplest techniques and highest quality ingredients. The combination of melted chocolate and cocoa powder creates an intensely chocolate base, while the swirled peanut butter adds both visual appeal and that perfect salty-sweet contrast that makes these brownies absolutely addictive.
I developed this recipe when I was craving something that combined my two favorite flavors but wanted something more sophisticated than just adding peanut butter chips to regular brownies. The swirling technique creates these gorgeous marble patterns while ensuring every bite has that perfect balance of chocolate and peanut butter. What I love most is how the peanut butter doesn't just sit on top - it actually gets incorporated throughout the batter during baking, creating pockets of creamy richness that complement the fudgy brownie texture. These have become my go-to treat for potlucks and bake sales because they disappear faster than anything else I bring.
Essential Ingredients and Selection Tips:
- High-quality chocolate: Use good semi-sweet chocolate chips or chopped chocolate bars; avoid low-quality chips that don't melt smoothly
- Natural cocoa powder: Use regular unsweetened cocoa powder rather than Dutch-processed for the best chocolate flavor
- Commercial peanut butter: Stick with brands like Jif or Skippy; natural peanut butter with oil separation doesn't work well
- Brown and white sugar combination: Brown sugar adds moisture and fudginess while white sugar contributes to the chewy texture
- Room temperature eggs: Essential for smooth mixing; take them out of the fridge 30 minutes before baking
- Quality butter: Use real unsalted butter for the best flavor and texture
Step-by-Step Instructions:
- Prepare your baking setup:
- Preheat your oven to 350°F and line an 8x8-inch square baking pan with parchment paper, leaving some overhang for easy removal. Lightly grease the parchment paper to ensure the brownies don't stick. Having everything ready before you start mixing prevents the batter from sitting too long and losing its optimal texture.
- Create the chocolate base properly:
- In a small saucepan over medium heat, melt the butter completely, then remove from heat and whisk in half of the chocolate chips (about 1/2 cup) until completely smooth and melted. The residual heat should be enough to melt the chocolate - if needed, return to very low heat briefly. Transfer to a large mixing bowl and let cool for 5 minutes to prevent cooking the eggs.
- Prepare dry ingredients systematically:
- In a separate bowl, sift together the all-purpose flour and cocoa powder to eliminate any lumps and ensure even distribution. Whisk in the salt until evenly combined. Sifting is crucial for preventing dense brownies and ensuring the cocoa powder distributes evenly throughout the batter.
- Combine wet ingredients smoothly:
- To the cooled chocolate mixture, whisk in both brown sugar and granulated sugar until well combined and slightly glossy. Add the room temperature eggs one at a time, whisking until each is fully incorporated before adding the next. Finally, whisk in the vanilla extract until the mixture is smooth and unified.
- Fold in dry ingredients gently:
- Using a rubber spatula, gently fold the flour mixture into the chocolate mixture just until no streaks of flour remain. Don't overmix, which would develop too much gluten and create tough brownies. The batter should be thick and glossy. Fold in the remaining chocolate chips for extra chocolatey bursts throughout.
- Transfer and prepare for swirling:
- Spread the brownie batter evenly in the prepared pan, smoothing the top with your spatula. The batter should reach all corners and be level across the surface. This creates the perfect canvas for the peanut butter swirl that will make these brownies so visually appealing.
- Create the signature swirl pattern:
- Drop spoonfuls of peanut butter evenly across the surface of the brownie batter, spacing them about an inch apart. You want enough coverage to ensure every piece gets some peanut butter, but not so much that it overwhelms the chocolate base. The dollops should be roughly teaspoon-sized.
- Execute perfect swirling technique:
- Using the tip of a knife or a wooden skewer, gently drag through the peanut butter dollops to create swirl patterns. Work in both straight lines and curves, but don't overdo it - you want distinct ribbons of peanut butter rather than completely mixed batter. Less is more when it comes to swirling.
- Bake to ideal doneness:
- Bake for 40-45 minutes, until the center no longer wobbles when gently shaken and a toothpick inserted in the center comes out with a few moist crumbs. The top should look set but not dry. For extra gooey brownies, err on the side of underbaking slightly, as they'll continue cooking from residual heat.
- Cool for perfect texture:
- Let the brownies cool completely in the pan before cutting, about 2 hours. This cooling time allows the texture to set properly and makes clean cutting much easier. Use the parchment paper overhang to lift the entire block out of the pan before slicing for the neatest edges.
 Pin it
The technique I'm most passionate about in this recipe is the swirling method that creates those beautiful marbled patterns. When I first started making these brownies, I would either mix the peanut butter completely into the batter or just drop it on top without swirling, and neither approach gave me the results I wanted. The key breakthrough came when I learned to drop the peanut butter in strategic dollops and then use just a few deliberate swirls to create ribbons throughout the batter. This technique ensures every bite has both chocolate and peanut butter while maintaining distinct flavors and that gorgeous visual appeal that makes these brownies so special.
Chocolate Quality and Melting Technique
The foundation of exceptional brownies lies in using high-quality chocolate and proper melting technique. Good chocolate contains more cocoa butter and fewer stabilizers, which creates a smoother melt and richer flavor. The gentle melting process with butter prevents seizing while creating a glossy base that contributes to the fudgy texture. Understanding how chocolate behaves when heated helps achieve consistent results.
Sugar Chemistry and Texture Development
The combination of brown and white sugars serves specific purposes in creating the ideal brownie texture. Brown sugar contains molasses, which adds moisture and contributes to the fudgy, dense texture, while granulated sugar helps create the slightly crispy top and chewy edges. This balance is crucial for achieving brownies that are neither too cakey nor too dense.
Mixing Technique and Gluten Control
The hand-mixing method prevents overworking the batter, which would develop too much gluten and create tough, chewy brownies instead of the desired fudgy texture. Gentle folding incorporates ingredients without building gluten structure, while proper technique ensures even distribution without overmixing. Understanding when to stop mixing is key to perfect brownie texture.
Peanut Butter Selection and Behavior
Commercial peanut butter works best for baking because it has stabilizers that prevent oil separation and create consistent results. Natural peanut butter with separated oils can create uneven distribution and affect the final texture. The consistency of commercial peanut butter also makes it easier to create clean swirl patterns that maintain their definition during baking.
Swirling Technique and Visual Appeal
Creating beautiful swirl patterns requires understanding how the peanut butter behaves in the brownie batter. The key is strategic placement of dollops followed by minimal, deliberate swirling motions. Too much swirling completely incorporates the peanut butter, while too little leaves large unmixed areas. The goal is distinct ribbons that provide both visual interest and flavor contrast.
Doneness Testing and Texture Control
Determining proper doneness in brownies requires understanding visual and tactile cues rather than relying solely on time. The center should be set but still soft, with just a slight wobble when shaken. The toothpick test should show moist crumbs rather than wet batter or completely clean results, which would indicate overbaking.
These peanut butter brownies have become one of my most requested recipes because they represent the perfect marriage of two beloved flavors in a format that's both beautiful and delicious. There's something so satisfying about cutting into that dark chocolate brownie and seeing those gorgeous ribbons of peanut butter swirled throughout, knowing that every bite will deliver that perfect combination of rich chocolate and creamy peanut butter. Every time I make them, whether for family gatherings or special occasions, they disappear faster than I can cut them, and I'm always reminded that sometimes the best desserts are the ones that combine familiar flavors in ways that feel both comforting and exciting.
Frequently Asked Questions
- → How long do these brownies take to bake?
- Bake for 40-45 minutes at 350°F until the center is set and doesn't jiggle when shaken.
- → Can I use crunchy peanut butter instead?
- Yes, crunchy peanut butter works great and adds nice texture to the brownies.
- → How do I know when the brownies are done?
- The center should be set and not wobble when you gently shake the pan.
- → Can I make these ahead of time?
- Yes, these brownies keep well covered at room temperature for up to 5 days.
- → What size pan should I use?
- Use an 8x8 inch square baking pan for the perfect thickness and baking time.
- → Why do I need to sift the flour and cocoa?
- Sifting removes lumps and helps create lighter, more tender brownies.