
 Pin it
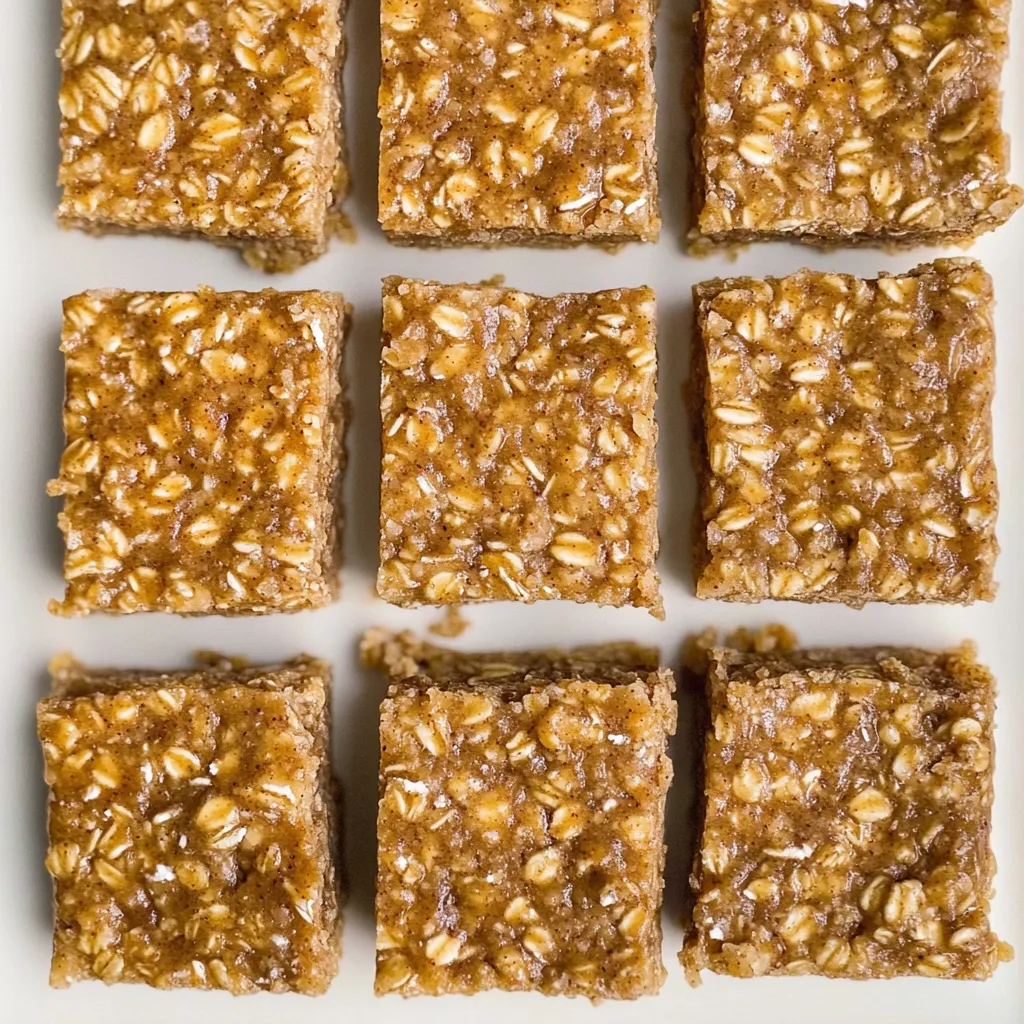
Healthy peanut butter oatmeal bars deliver the comforting flavors of a classic oatmeal cookie in a convenient, nutritious form perfect for busy mornings. These bars combine wholesome ingredients like instant oats, whole wheat flour, and natural peanut butter to create a chewy, satisfying texture with just the right amount of sweetness. Ready in under 20 minutes of prep time, they're ideal for meal prep and on-the-go snacking whether you're rushing to morning lectures or need a pre-workout boost.
I first started making these during my teaching years when I needed something quick but substantial for those mornings when my alarm seemed to ring minutes after I fell asleep. My colleague who claimed she "doesn't do breakfast" would regularly stop by my classroom hoping I'd brought extras. There's something about the combination of peanut butter and oats that creates an irresistible comfort food that still feels virtuous enough for breakfast.
Essential Ingredients
- Instant Oats: These smaller, thinner oats are crucial for the perfect chewy texture – old-fashioned rolled oats won't soften enough during baking
- Whole Wheat Flour: Adds fiber, nutrients, and a nutty flavor that complements the oats beautifully
- Natural Peanut Butter: Look for the creamy kind that contains only peanuts and salt for the best flavor and proper consistency
- Pure Maple Syrup: Provides natural sweetness without refined sugar while adding subtle caramel notes
- Cinnamon: Just a hint brings warmth and enhances the cozy flavors of the oats without overpowering the peanut butter
Step-by-Step Instructions
- Step 1: Prepare your baking pan.
- Preheat your oven to 350°F and line an 8-inch square baking pan with parchment paper, leaving overhang on two sides for easy removal. Lightly coat any exposed areas with nonstick cooking spray. This preparation ensures your bars won't stick and will lift out cleanly.
- Step 2: Combine dry ingredients.
- In a medium bowl, whisk together 1½ cups instant oats, ¾ cup whole wheat flour, 1 teaspoon cinnamon, ½ teaspoon baking powder, and ¼ teaspoon salt until thoroughly combined. Whisking the dry ingredients separately ensures even distribution of the leavening agents and spices throughout the bars.
- Step 3: Mix wet ingredients.
- In a large bowl, whisk 1 large egg white until frothy. Add ½ cup natural creamy peanut butter, ¼ cup pure maple syrup, 2 tablespoons milk, and 1 teaspoon vanilla extract. Stir until smooth and well-blended. The mixture should be thick but pourable.
- Step 4: Combine wet and dry mixtures.
- Add the dry ingredients to the wet ingredients, stirring just until incorporated. Be careful not to overmix – this can develop the gluten in the flour and make your bars tough rather than tender. The batter will be thick and somewhat sticky.
- Step 5: Transfer to baking pan.
- Spread the batter evenly in your prepared pan, pressing it into the corners and smoothing the top with a spatula. For perfectly even bars, use the bottom of a measuring cup to press and smooth the surface.
- Step 6: Bake with care.
- Place the pan in the preheated oven and bake for 14-16 minutes, or until the edges are set but the center still looks slightly underdone and glossy. This careful timing is crucial – overbaking will result in dry, cakey bars instead of moist, chewy ones.
- Step 7: Cool completely.
- Allow the bars to cool in the pan on a wire rack until they reach room temperature. This step is non-negotiable for achieving the perfect texture. Patience here will be rewarded with that classic oatmeal cookie chewiness.
- Step 8: Set and slice.
- For the best texture, allow the bars to set for at least 4 hours after reaching room temperature before cutting. You can speed this process by refrigerating them for 2 hours after they've cooled to room temperature. Use the parchment paper overhang to lift the entire slab out of the pan, then cut into 12-16 bars.
 Pin it
I'm particularly meticulous about measuring ingredients for these bars. My grandmother taught me that oats especially need to be measured properly since they absorb so much moisture. When I make these with my niece, I've turned it into a game where she levels off each measuring cup with a knife, teaching her early baking precision. After forgetting the cinnamon once, I discovered that this small addition makes a remarkable difference in highlighting the natural sweetness of the oats.
Make-Ahead and Storage Options
One of the greatest attributes of these peanut butter oatmeal bars is their make-ahead potential. I regularly prepare a batch on Sunday for breakfasts throughout the week. Once cooled and set, individually wrap each bar in parchment paper or plastic wrap, then store them in an airtight container. They'll keep at room temperature for 5 days or in the refrigerator for up to a week. They also freeze beautifully – wrap each bar separately and store in a freezer bag for up to 3 months. Just thaw overnight or pop a frozen bar in your bag in the morning to enjoy by snack time.
Perfect Pairings
While these bars are delicious on their own, they shine as part of a balanced breakfast or snack. Pair with a piece of fresh fruit and a dollop of Greek yogurt for a complete morning meal. For an afternoon pick-me-up, enjoy alongside a glass of milk or cup of coffee. When I'm heading to an early morning workout, I'll grab a bar and a banana for sustained energy without feeling weighed down.
Customization Options
The beauty of this recipe lies in its versatility. For additional protein, fold in ¼ cup hemp hearts or collagen peptides. When I'm craving something more indulgent, I'll add in ⅓ cup mini dark chocolate chips or dried cranberries. For extra nutritional punch, substitute ground flaxseed for 2 tablespoons of the flour. No matter what variation I try, I maintain the crucial ratios of wet to dry ingredients to preserve that perfect chewy texture.
Chef's Helpful Tips
Temperature matters: Make sure your peanut butter is at room temperature for easier mixing and better incorporation Pan selection: Using metal versus glass pans affects baking time – metal conducts heat more efficiently, so you may need to add 1-2 minutes if using a glass dish Storage technique: To maintain freshness, place a slice of bread in the container with the bars – the bread will go stale while the bars stay moist
I discovered this recipe during my own hectic graduate school days when I needed something sustaining that could withstand being tossed in my backpack. What began as a practical solution for busy mornings has become a staple in my kitchen. There's something deeply satisfying about transforming simple, nutritious ingredients into something that tastes indulgent while still providing genuine nourishment. These bars represent the perfect balance between wholesome and delicious – proof that healthy eating doesn't require sacrifice.
Frequently Asked Questions
- → Can I use crunchy peanut butter instead of creamy?
- Creamy peanut butter works best for this recipe. Crunchy peanut butter will change the texture of the bars and may not blend as smoothly with the other ingredients.
- → How do I know when the bars are done baking?
- The bars are ready when the edges feel firm but the center still looks slightly glossy. Don't overbake them or they'll become dry instead of chewy.
- → Can I substitute the maple syrup?
- Yes, you can use honey or agave instead. You could also use brown sugar mixed with a bit of extra milk if you prefer.
- → Why do my bars turn out dry?
- The most common reason is measuring the flour or oats incorrectly. Use the spoon and level method or a kitchen scale for best results.
- → Can I add chocolate chips to this recipe?
- Absolutely! Fold in 1/4 cup of mini chocolate chips to the batter just before spreading it in the pan for a sweeter treat.
- → Are these bars freezer-friendly?
- Yes! These bars freeze very well. Wrap individually and store in a freezer container for up to 3 months.