
 Pin it
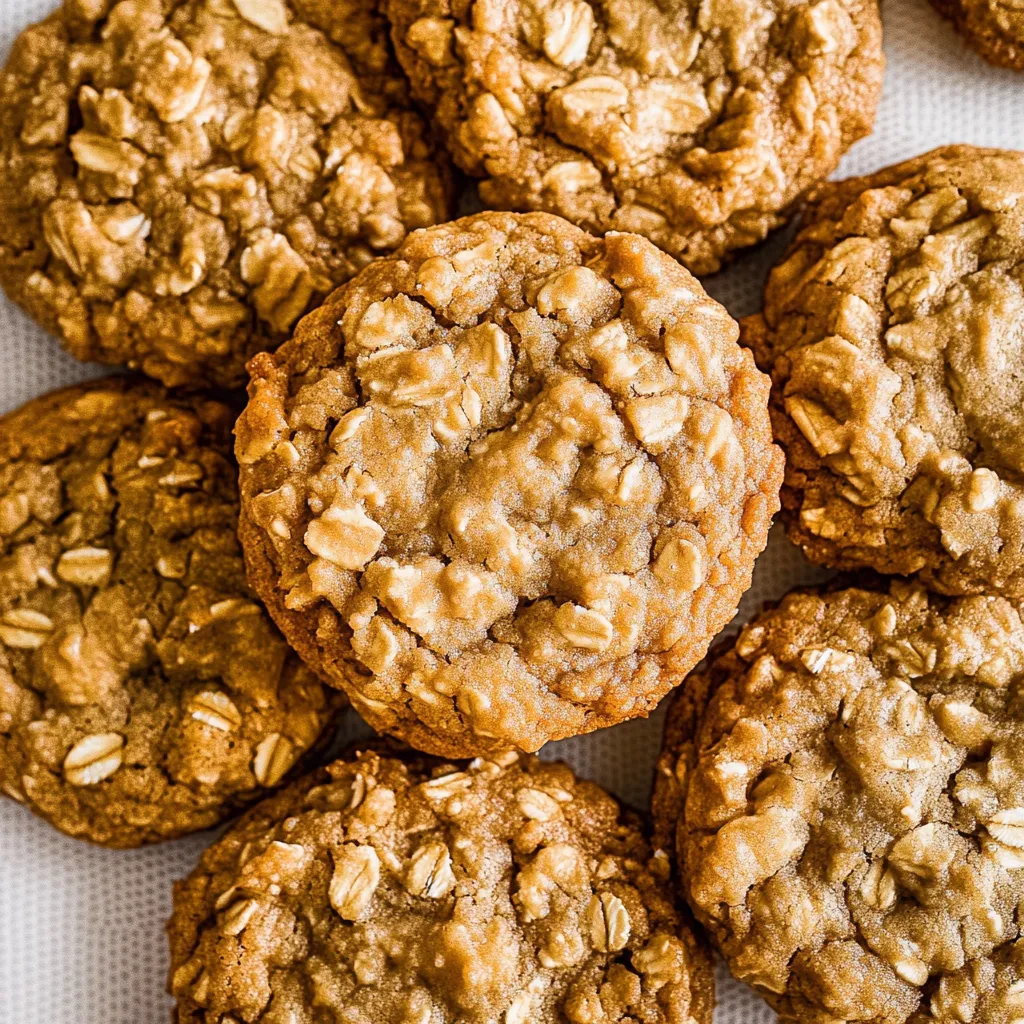
These peanut butter oatmeal cookies combine two beloved classics into one irresistible treat. Each bite delivers the rich, nutty flavor of peanut butter with the satisfying chewiness of oatmeal cookies. The edges crisp up beautifully while the centers stay perfectly soft and bendy. They're the ultimate cookie hybrid that manages to improve on both originals.
I discovered this recipe years ago when looking for something different to bring to a neighborhood cookie exchange. While everyone else showed up with the usual suspects, these cookies disappeared first! My friend's husband, who claimed to dislike peanut butter cookies, ate four before asking for the recipe. The oatmeal somehow enhances the peanut butter flavor while taming its sometimes overwhelming richness.
Ingredients
- 1/2 cup (1 stick) butter, softened: I prefer salted butter for these cookies as it enhances the flavor, but unsalted works fine too – just add an extra pinch of salt
- 3/4 cup creamy peanut butter: Stick with processed brands like Jif or Skippy for the most reliable results – natural peanut butter can separate and affect the texture
- 3/4 cup packed brown sugar: This adds moisture and a deeper caramel flavor that complements both the peanut butter and oats beautifully
- 1/2 cup granulated sugar: The combination of two sugars creates that perfect chewy-crisp balance that makes these cookies special
- 2 large eggs: These bind everything together and add structure to the cookies
- 1 teaspoon vanilla extract: Even with all the peanut butter flavor, this small amount of vanilla makes a noticeable difference in the depth of flavor
- 1 cup all-purpose flour: Measured correctly, this provides just enough structure without making the cookies cakey
- 1 1/2 cups quick-cooking oats: These give the cookies their distinctive chewy texture without overwhelming the peanut butter flavor
- 1 teaspoon baking soda: This provides just the right amount of lift and spread
- 1/2 teaspoon salt: Enhances all the flavors and balances the sweetness
Step-by-Step Cooking Instructions
- Step 1: Prepare your baking sheets and oven:
- Preheat your oven to 350°F and line two baking sheets with parchment paper or silicone baking mats. This prevents sticking and makes cleanup incredibly easy. Make sure your oven rack is positioned in the center of the oven for even baking.
- Step 2: Cream the butter and sugars:
- In a large bowl, combine the softened butter, peanut butter, brown sugar, and granulated sugar. Beat with an electric mixer on medium speed for 2-3 minutes until the mixture becomes light and fluffy. Don't rush this step – proper creaming incorporates air into the dough, creating that perfect cookie texture. You'll know it's ready when the color lightens slightly and the mixture looks almost whipped.
- Step 3: Add the wet ingredients:
- Add the eggs one at a time, beating well after each addition until fully incorporated. Scrape down the sides of the bowl with a rubber spatula to ensure everything mixes evenly. Add the vanilla extract and beat just until combined. The mixture should look smooth and uniform at this point.
- Step 4: Mix in the dry ingredients:
- In a separate bowl, whisk together the flour, oats, baking soda, and salt until evenly combined. This ensures the leavening agent is distributed throughout the dough. Gradually add this dry mixture to the wet ingredients, mixing on low speed just until incorporated. Be careful not to overmix – stop as soon as the flour disappears to prevent tough cookies.
- Step 5: Portion the dough:
- Using a cookie scoop or two tablespoons, portion the dough into balls about 2 tablespoons in size. Place them on your prepared baking sheets, leaving plenty of room between each ball – I recommend no more than 6-8 cookies per sheet as they will spread considerably. For perfectly round cookies, you can roll each portion between your palms, but I prefer the rustic look of simply scooped dough.
- Step 6: Bake to perfection:
- Place one sheet of cookies in the oven and bake for 10-12 minutes, until the edges are set and just beginning to turn golden brown while the centers still look slightly underdone. They'll continue cooking on the hot baking sheet after removal from the oven. Let the cookies cool on the baking sheet for 10 minutes – this cooling period is crucial as it allows them to firm up enough to move without breaking.
- Step 7: Cool completely:
- After the initial cooling period, transfer the cookies to a wire rack to cool completely. This prevents the bottoms from becoming soggy from trapped steam. While they're delicious warm, these cookies develop even better flavor once fully cooled, as the peanut butter and oatmeal notes become more pronounced.
 Pin it
The Magic of Quick-Cook Oats
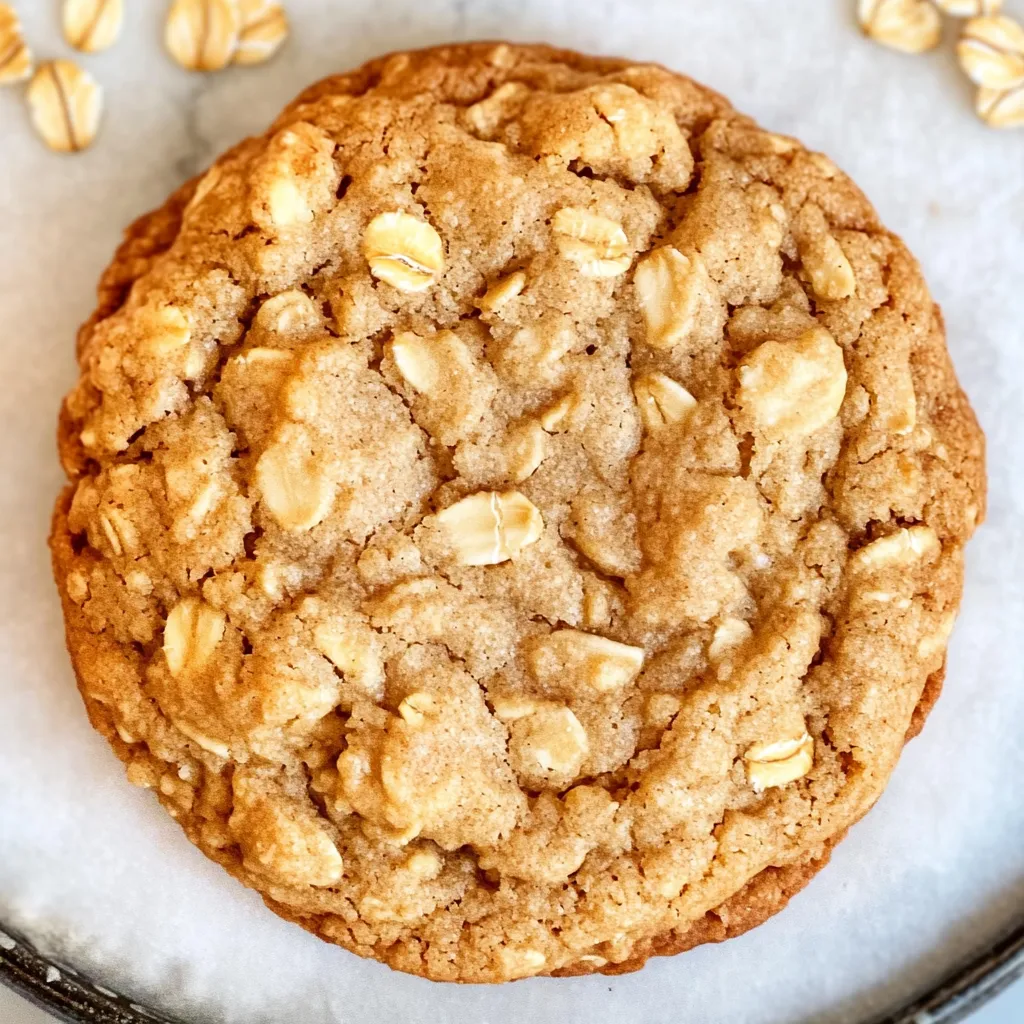
The secret to the perfect texture in these cookies lies in using quick-cook oats rather than old-fashioned rolled oats. Quick oats have been partially processed and cut into smaller pieces, which gives the cookies just enough texture without overwhelming the peanut butter flavor or making them too dense and chewy.
I learned this the hard way after making my first batch with old-fashioned oats straight from the container. The cookies were still delicious but had a much more prominent oat flavor and texture that competed with the peanut butter. Quick oats create that perfect middle ground where you get the benefits of both cookies without either one dominating.
Don't have quick oats on hand? No problem! I often make my own by pulsing regular old-fashioned oats in the food processor a few times. Just a few pulses will break them down to the right size – you don't want oat flour, just smaller pieces. Two cups of old-fashioned oats usually processes down to about the 1½ cups of quick oats needed for this recipe.
Last Christmas, I baked these for my daughter's teacher as a holiday gift. She later told me she hid them from her family so she could enjoy them all herself! That's when I knew this recipe was truly special – when even people who work around treats all day can't resist them.
Make-Ahead and Freezer Tips
These cookies are perfect for stocking your freezer with ready-to-bake treats. I always make a double batch just so I can freeze half for cookie emergencies (yes, those are real things in my household!).
To freeze unbaked cookies, scoop the dough into balls and place them on a parchment-lined baking sheet. Pop the whole sheet in the freezer for about an hour until the dough is solid. Then transfer the frozen dough balls to a ziplock freezer bag, squeeze out the air, and store them in the freezer for up to three months.
The beauty of this method is that you can bake just a few cookies whenever the craving strikes. No need to thaw – just place the frozen dough balls on a baking sheet and add 2-3 minutes to the original baking time. There's nothing quite like fresh-baked cookies with practically no effort!
I've also found that these cookies freeze beautifully after baking. Once completely cooled, stack them with pieces of parchment between layers in an airtight container. They'll keep for about two months in the freezer. You can either thaw them at room temperature for about 30 minutes or (my personal favorite) eat them slightly frozen for a chewy, refreshing treat.
I've been making these cookies for nearly a decade now, tweaking the recipe slightly each time until reaching this perfect version. They've become my signature bring-along to gatherings, and I'm constantly asked for the recipe. There's something so satisfying about combining two classic cookies into something even better than either one alone – it's like getting the best of both cookie worlds in every bite!