
 Pin it
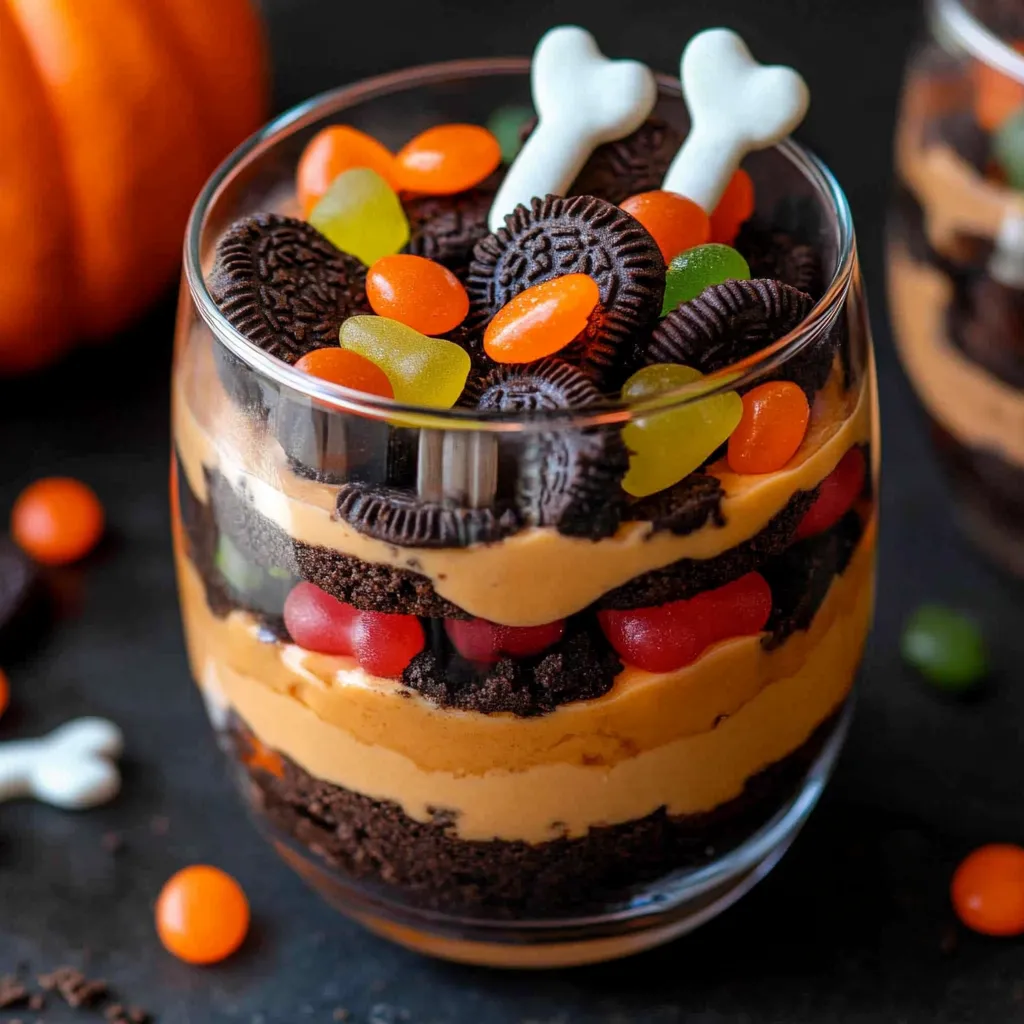
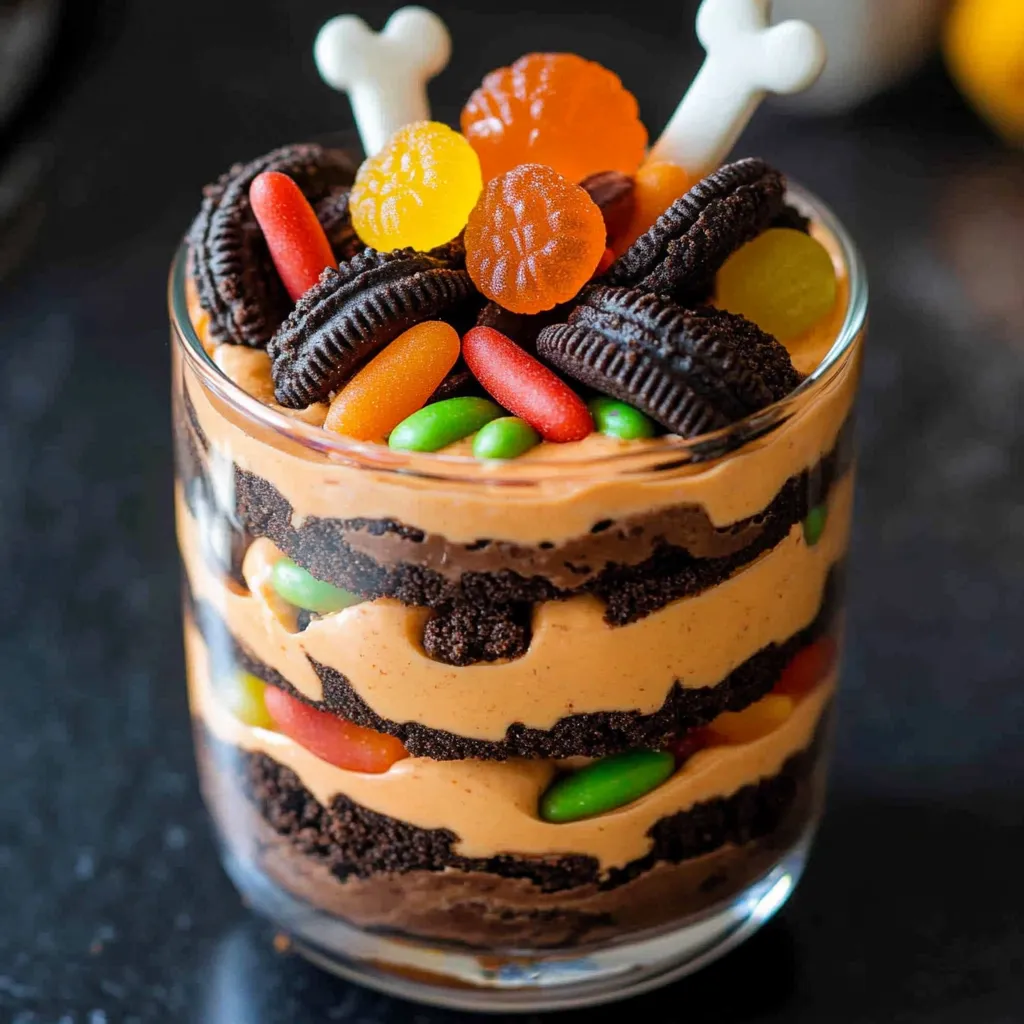
These absolutely adorable pumpkin patch dirt cups bring all the fun of Halloween and fall right to your dessert table with layers of creamy pudding, crushed cookies, and festive candy decorations. Perfect for classroom parties, Halloween gatherings, or just a fun family activity, these no-bake treats look impressively spooky while being simple enough for kids to help create their own edible pumpkin patches.
Halloween has always held such a special place in my heart ever since I was little, when our classroom parties were the absolute highlight of the season. I remember being so excited to bring treats that looked spooky but tasted amazing, and these dirt cups capture that exact feeling of playful Halloween magic. Now I love making them with my own kids, watching their faces light up as they create their own little pumpkin patches and seeing how creative they get with arranging the candy decorations.
Ingredients and Why They Matter
- Instant vanilla pudding mix: creates the perfect creamy base that can be easily colored orange to look like pumpkin patch soil
- Orange food coloring: transforms plain vanilla pudding into that perfect pumpkin orange that makes the theme come together
- Instant chocolate pudding mix: provides rich, dark layers that contrast beautifully with the orange and add delicious chocolate flavor
- Chocolate sandwich cookies (Oreos): when crushed, these create the most realistic-looking "dirt" that's both decorative and delicious
- Gummy worms: add that perfect gross-but-fun element that kids absolutely love and make the dirt theme even more convincing
- Candy pumpkins: these little mellowcreme pumpkins are essential for creating the pumpkin patch look on top
- Bone-shaped candy: adds an extra spooky Halloween touch that makes the whole presentation more festive and themed
Step-by-Step Instructions
- Prepare both pudding flavors:
- Make one package of instant vanilla pudding and one package of instant chocolate pudding according to their package directions, typically whisking each with 2 cups of cold milk until thickened. Let both puddings set in the refrigerator for about 5 minutes while you prepare the other components.
- Create the orange pumpkin pudding:
- Remove the vanilla pudding from the refrigerator and add 4 drops of red food coloring and 5 drops of yellow food coloring. Whisk thoroughly until you achieve a beautiful pumpkin orange color that's even throughout. Adjust the coloring if needed to get the perfect autumn shade.
- Crush the cookies perfectly:
- Place about 20-25 chocolate sandwich cookies in a large ziplock bag, seal tightly, and use a rolling pin to crush them into fine crumbs that resemble dirt. You want some texture but no large chunks that would make layering difficult. Alternatively, pulse them in a food processor until you reach the right consistency.
- Set up your assembly station:
- Arrange 4 clear plastic cups or parfait glasses, both puddings, the crushed cookies, gummy worms, candy pumpkins, and bone candies within easy reach. Having everything organized makes the layering process smooth and fun, especially when kids are helping.
- Start the first layer:
- Spoon about 2 tablespoons of chocolate pudding into the bottom of each cup, spreading it evenly to create a solid base layer. This dark foundation helps make the other layers pop visually.
- Add worms and first dirt layer:
- Place 1-2 gummy worms on top of the chocolate pudding in each cup, then sprinkle about 1 tablespoon of crushed cookie crumbs over the worms, covering them partially but leaving some visible for that realistic dirt-with-worms effect.
- Create the pumpkin layer:
- Add about 2 tablespoons of the orange-colored vanilla pudding on top of the cookie crumbs, spreading gently to create an even layer. This orange layer represents the pumpkin patch soil and adds beautiful color contrast.
- Add more dirt and final pudding:
- Sprinkle another tablespoon of cookie crumbs over the orange pudding, then add a final layer of chocolate pudding (about 2 tablespoons) to create depth and richness in your pumpkin patch.
- Create the final dirt topping:
- Generously sprinkle the remaining crushed cookies over the top chocolate pudding layer, creating that perfect "freshly tilled soil" look that makes these cups so convincing and fun.
- Decorate your pumpkin patch:
- Place 3 candy pumpkins on top of each cup, arranging them to look like they're growing from the dirt. Insert bone candies at random angles, pushing them partially into the cookie crumbs so they look like they're sticking out of the ground in a spooky way.
 Pin it
I've learned through making these countless times that the key to success lies in getting the cookie consistency just right and not being afraid to really load up on the "dirt" layers. The first time I made them, I was too conservative with the crushed cookies and they didn't have that convincing dirt appearance. Now I always make extra cookie crumbs because they're what really sell the whole pumpkin patch illusion and make kids gasp with delight.
Perfecting the Layering Technique
The secret to gorgeous dirt cups lies in understanding how each layer contributes to both the visual appeal and the eating experience. Starting with chocolate pudding at the bottom creates a rich foundation that anchors all the other flavors, while the orange layer in the middle provides that essential pumpkin patch color that ties the whole theme together. The alternating layers of pudding and cookie crumbs create textural contrast that makes every spoonful interesting. When adding the gummy worms, don't bury them completely - you want them partially visible through the clear sides of the cups to create that delightfully gross factor that kids love so much. The positioning of the worms should look random and natural, as if they really are living in the dirt. This attention to realistic details is what transforms simple pudding cups into something truly magical and memorable.
Choosing and Preparing Decorations
The candy selection really makes these dirt cups special and allows for so much creativity. Traditional mellowcreme pumpkins are perfect because they look incredibly realistic and have that classic Halloween candy taste that everyone loves. The bone candies add an extra spooky element that bridges the gap between fall harvest themes and Halloween scariness, making these appropriate for both autumn gatherings and Halloween parties. If you can't find the exact candies mentioned, don't worry - the beauty of this recipe is how adaptable it is to whatever Halloween decorations you can find. Candy corn works beautifully scattered on top, mini plastic spiders add creepy fun, and even chocolate chips can look like seeds in your pumpkin patch. The key is choosing decorations that complement the orange and brown color scheme while adding to the garden theme.
Making It a Family Activity
These dirt cups are absolutely perfect for getting kids involved in the kitchen because every step is safe, simple, and fun. Kids love the hands-on nature of crushing cookies, mixing colors, and especially decorating their own individual cups. I like to give each child their own cup to decorate, which keeps them engaged and gives them ownership over their creation. The assembly process becomes a wonderful opportunity to talk about gardening, Halloween traditions, or just to spend quality time together creating something special. Kids often come up with the most creative decoration ideas, like making faces with the candy or creating elaborate Halloween scenes on top of their cups. Their enthusiasm and creativity always make these treats even more special than I originally planned.
Storage and Make-Ahead Tips
These dirt cups are surprisingly practical for party planning because they can be assembled up to a day ahead of time and actually improve as the flavors meld together. Store them covered in the refrigerator, and the pudding layers will set up beautifully while the cookie crumbs soften slightly to create an even more realistic dirt texture. Just add the final candy decorations right before serving to keep them looking fresh and vibrant. For large parties, I often prepare the puddings and crush the cookies the day before, then set up an assembly line where kids can build their own cups. This approach keeps the activity fun and manageable while ensuring everyone gets exactly the decorations they want. The individual cups also make portion control easy and eliminate the need for serving utensils at parties.
Creative Variations and Themes
While the traditional pumpkin patch theme is absolutely perfect, this basic dirt cup concept can be adapted for so many different occasions and seasons. Spring versions with flower candies and green-tinted pudding create beautiful garden scenes, while winter versions with white pudding "snow" and evergreen candies make festive holiday treats. The technique remains the same, but the decoration possibilities are endless. For more elaborate presentations, consider adding themed elements like plastic toy farm animals, miniature scarecrows, or even small artificial fall leaves arranged around the cups. Some families like to create entire table-scapes with these cups as the centerpiece, surrounded by real mini pumpkins and autumn decorations to enhance the harvest theme.
These pumpkin patch dirt cups have become one of my absolute favorite ways to celebrate the magic of Halloween and fall because they perfectly capture that wonderful balance between spooky fun and delicious treats. Every time I watch kids discover that the "dirt" is actually cookies and see their amazement at how realistic everything looks, I'm reminded of why simple, creative recipes like this create the most lasting memories. They prove that the best holiday traditions often come from the simplest ideas that bring families together in the kitchen to create something special and sweet.
Frequently Asked Questions
- → Can I make these dirt cups ahead of time?
- Yes! You can make these up to 24 hours before serving. Just add the candy decorations right before serving to keep them fresh.
- → What can I use instead of gummy worms?
- Try chocolate chips, mini marshmallows, or any small Halloween candies. The key is having fun with the decorations!
- → How do I make the pudding orange?
- Add a few drops of orange food coloring to prepared vanilla pudding and mix until you get the color you want.
- → Can I use homemade pudding instead of instant?
- Absolutely! Just make sure your homemade pudding is completely cooled before assembling the cups.
- → What's the best way to crush the Oreos?
- Put them in a sealed bag and crush with a rolling pin, or pulse them in a food processor until they look like dirt crumbs.