
 Pin it
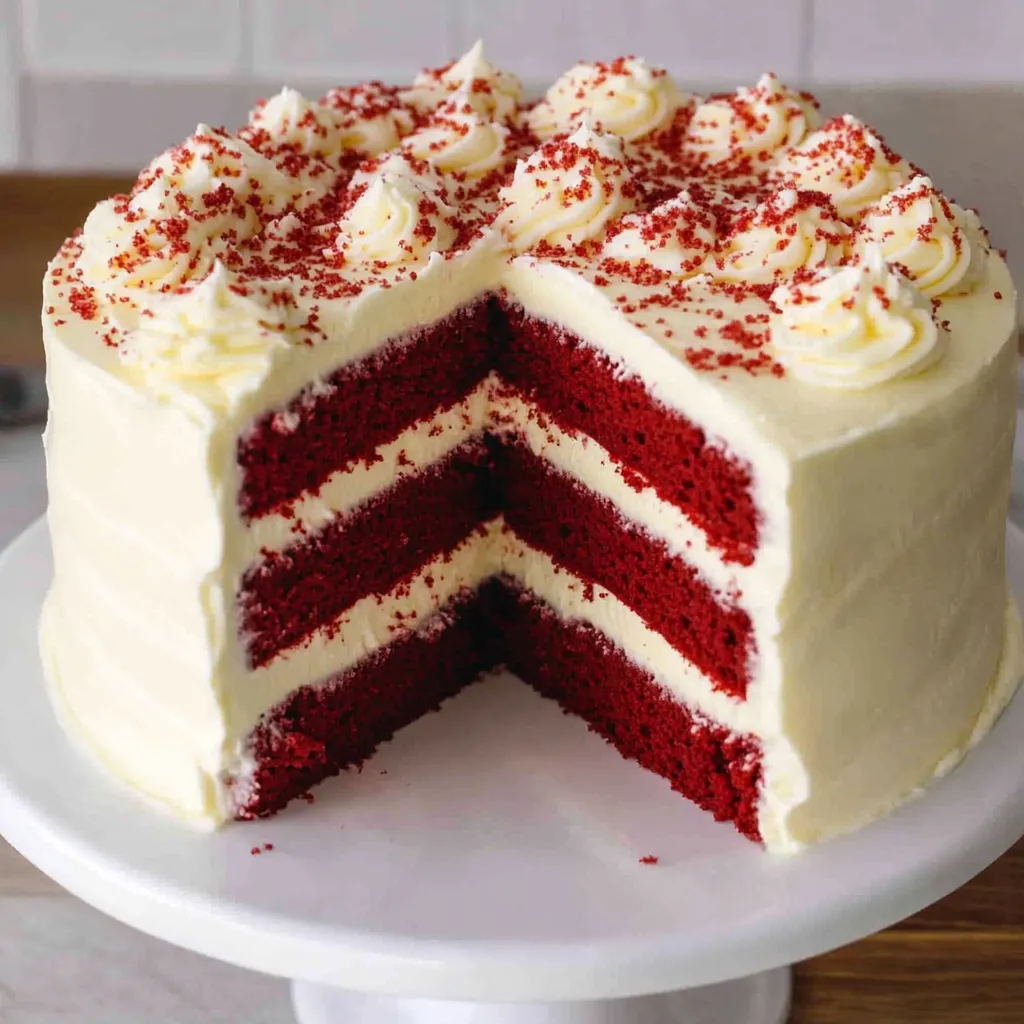
This spectacular red velvet cake delivers everything you want in a classic celebration dessert - a gorgeously colored, incredibly tender cake with just a hint of cocoa flavor paired with the most luxurious cream cheese frosting. The secret lies in the unique combination of buttermilk and vinegar that creates both the signature tangy flavor and the cake's famous velvety texture, while also enhancing that stunning red color. With its dramatic appearance and irresistible combination of flavors and textures, this homemade version far surpasses any boxed mix and creates those special moments that make celebrations memorable.
I fell in love with red velvet cake the first time I made it from scratch and realized how different it was from the overly sweet, artificially flavored versions I'd tried before. The combination of that gorgeous color with the incredibly tender crumb and tangy cream cheese frosting creates something truly special that feels both nostalgic and elegant. What amazed me most was how the buttermilk and vinegar work together not just for flavor but to create that signature texture that makes red velvet so distinctive. Now it's become my go-to cake for birthdays and celebrations because it never fails to create that "wow" moment when you slice into it.
Essential Ingredients and Selection Tips:
- Natural cocoa powder: Use regular unsweetened cocoa powder, not Dutch-processed; the acidity is essential for color and flavor
- Real buttermilk: Provides tang and reacts with baking soda for proper rise; don't substitute with milk and vinegar
- Room temperature ingredients: Butter, eggs, and cream cheese should all be at room temperature for proper mixing
- Quality food coloring: Gel food coloring provides more vibrant color with less liquid than standard liquid coloring
- Full-fat cream cheese: Use brick-style cream cheese, not spreadable; the fat content is crucial for proper frosting texture
- Fresh baking soda: Check expiration date as old baking soda won't provide proper lift and chemical reactions
Step-by-Step Instructions:
- Prepare for perfect mixing:
- Bring butter, eggs, and cream cheese to room temperature 1-2 hours before baking. Preheat your oven to 350°F and grease three 6-inch round cake pans (or two 9-inch pans) with butter, then dust with cocoa powder for easy release. Line the bottoms with parchment paper for extra insurance against sticking.
- Combine dry ingredients properly:
- In a medium bowl, sift together all-purpose flour, salt, and baking soda to remove any lumps and ensure even distribution. This step is crucial for the tender, fine crumb that defines red velvet cake. Sifting also helps prevent overmixing later in the process.
- Cream butter and sugar to perfection:
- In the bowl of a stand mixer fitted with the paddle attachment, cream the room temperature butter on medium speed until light and fluffy, about 2 minutes. Gradually add granulated sugar and continue creaming for 3-4 minutes until the mixture is very light, pale, and increased in volume. This step creates the foundation for the cake's tender texture.
- Add eggs systematically:
- Add eggs one at a time, beating well after each addition until fully incorporated before adding the next. Scrape down the sides of the bowl as needed to ensure even mixing. The mixture should be smooth and cohesive without any streaks of egg remaining.
- Incorporate flavor elements:
- Beat in vanilla extract until combined, then sift the cocoa powder directly into the butter mixture to prevent lumps. Beat just until the cocoa is incorporated - don't overmix at this stage. The cocoa provides both flavor and the chemical foundation for the red color development.
- Prepare liquid mixture:
- In a liquid measuring cup, combine buttermilk, white vinegar, and red food coloring, whisking until evenly mixed. The amount of food coloring determines the final color intensity - use more for a brighter red, less for a more subtle hue. This mixture will react with the cocoa and leavening agents during baking.
- Alternate wet and dry ingredients:
- With the mixer on low speed, add one-third of the flour mixture to the butter mixture, mixing just until combined. Add half of the buttermilk mixture, mixing until just incorporated. Repeat with another third of flour, remaining buttermilk mixture, and finally the remaining flour. Mix only until no streaks of flour remain - overmixing creates tough cake.
- Bake to perfect doneness:
- Divide the batter evenly among prepared pans and gently tap to release air bubbles. Bake for 25-30 minutes (6-inch pans) or 20-25 minutes (9-inch pans) until the centers spring back when lightly touched and a toothpick inserted in the center comes out with just a few moist crumbs. Cool in pans for 10 minutes before turning out onto wire racks.
- Create silky cream cheese frosting:
- Beat room temperature cream cheese and butter together until completely smooth and fluffy, about 3-4 minutes. Add vanilla extract and a pinch of salt, then gradually add sifted powdered sugar, beating until smooth and spreadable. The frosting should hold its shape for piping but spread easily for smooth application.
- Assemble with professional technique:
- Place the first cake layer on your serving plate and spread about 1/2 cup of frosting evenly over the surface. Add the second layer, more frosting, then the third layer. Apply a thin crumb coat of frosting around the entire cake, chill for 30 minutes, then apply the final layer of frosting for a smooth, professional finish.
 Pin it
The technique I'm most passionate about in this recipe is the proper creaming of butter and sugar, which sets the foundation for red velvet cake's incredible texture. I used to rush through this step until I learned how much it affects the final result. When you really take the time to cream the butter and sugar until they're light, fluffy, and almost doubled in volume - which takes longer than you think - you're incorporating the air that creates that signature tender, velvety crumb. The mixture should be pale and noticeably increased in volume. This step alone is what separates good homemade red velvet from exceptional red velvet that rivals any bakery.
Chemical Reactions and Color Development
Red velvet cake's distinctive characteristics come from specific chemical reactions between acidic ingredients and cocoa powder. The buttermilk and vinegar create an acidic environment that reacts with the natural pH of cocoa powder, enhancing reddish tones while also activating the baking soda for proper rise. This is why natural cocoa powder is essential - Dutch-processed cocoa has been neutralized and won't produce the same reactions.
Texture Science and Ingredient Ratios
The velvety texture that gives this cake its name comes from the careful balance of ingredients and mixing techniques. The combination of butter for richness, buttermilk for tenderness, and proper creaming techniques creates a crumb that's both dense enough to hold its shape and light enough to melt on your tongue. The minimal cocoa powder ensures chocolate flavor doesn't overpower the delicate balance.
Frosting Mastery and Temperature Control
Perfect cream cheese frosting requires understanding how temperature affects texture and stability. All ingredients must be at room temperature to blend smoothly without lumps or separation. The gradual addition of powdered sugar and proper beating technique creates a frosting that's smooth enough for clean application but stable enough to hold decorative piping without melting or sliding.
Color Enhancement and Food Safety
Achieving the signature red color requires understanding how different types of food coloring behave in cake batter. Gel coloring provides more intense color with less liquid, preventing the batter from becoming too thin. The amount used is largely a matter of preference - some prefer the more subtle, natural reddish hue while others want the dramatic bright red associated with modern red velvet.
Make-Ahead Strategies and Storage
Red velvet cake is excellent for advance preparation because both the cake layers and frosting can be made ahead and stored properly. Wrapped cake layers freeze beautifully for up to three months, while the finished cake can be refrigerated for several days. The cream cheese frosting actually improves in flavor after a day as the ingredients meld together.
Assembly Techniques and Professional Presentation
Proper assembly creates both structural integrity and visual appeal. The crumb coat technique - applying a thin layer of frosting to seal the cake before the final coat - prevents crumbs from marring the smooth finish. Level layers and even frosting distribution ensure clean, professional-looking slices that showcase the beautiful red interior.
This red velvet cake represents everything I love about classic American baking - it takes simple ingredients and transforms them through understanding and technique into something truly spectacular. The first time I made this recipe and sliced into those gorgeous red layers with their perfect cream cheese frosting, I felt like I'd unlocked a secret that had been hiding in plain sight. Every time I serve this cake, whether for birthdays, holidays, or just because we need something special, it creates those moments of pure joy and celebration that remind me why baking is so much more than just mixing ingredients - it's about creating memories and sharing love through food.
Frequently Asked Questions
- → Why is my red velvet cake not red enough?
- Use more red food coloring - you can add up to 2 tablespoons. Liquid food coloring works better than gel for this recipe.
- → Can I make this cake ahead of time?
- Yes, you can bake the cake layers up to 2 days ahead. Wrap them tightly and store at room temperature until ready to frost.
- → What makes red velvet different from chocolate cake?
- Red velvet uses less cocoa powder and includes buttermilk and vinegar, which gives it a unique tangy flavor and tender texture.
- → Do I need to refrigerate this cake?
- The frosted cake should be refrigerated due to the cream cheese frosting, but can sit at room temperature for a few hours when serving.
- → Can I use a different size cake pan?
- Yes, you can use two 9-inch pans instead of three 6-inch pans. Just reduce the baking time by about 5 minutes and check for doneness.
- → What if I don't have buttermilk?
- Make your own by adding 1 tablespoon of lemon juice or vinegar to 1 cup of regular milk. Let it sit for 5 minutes before using.