
 Pin it
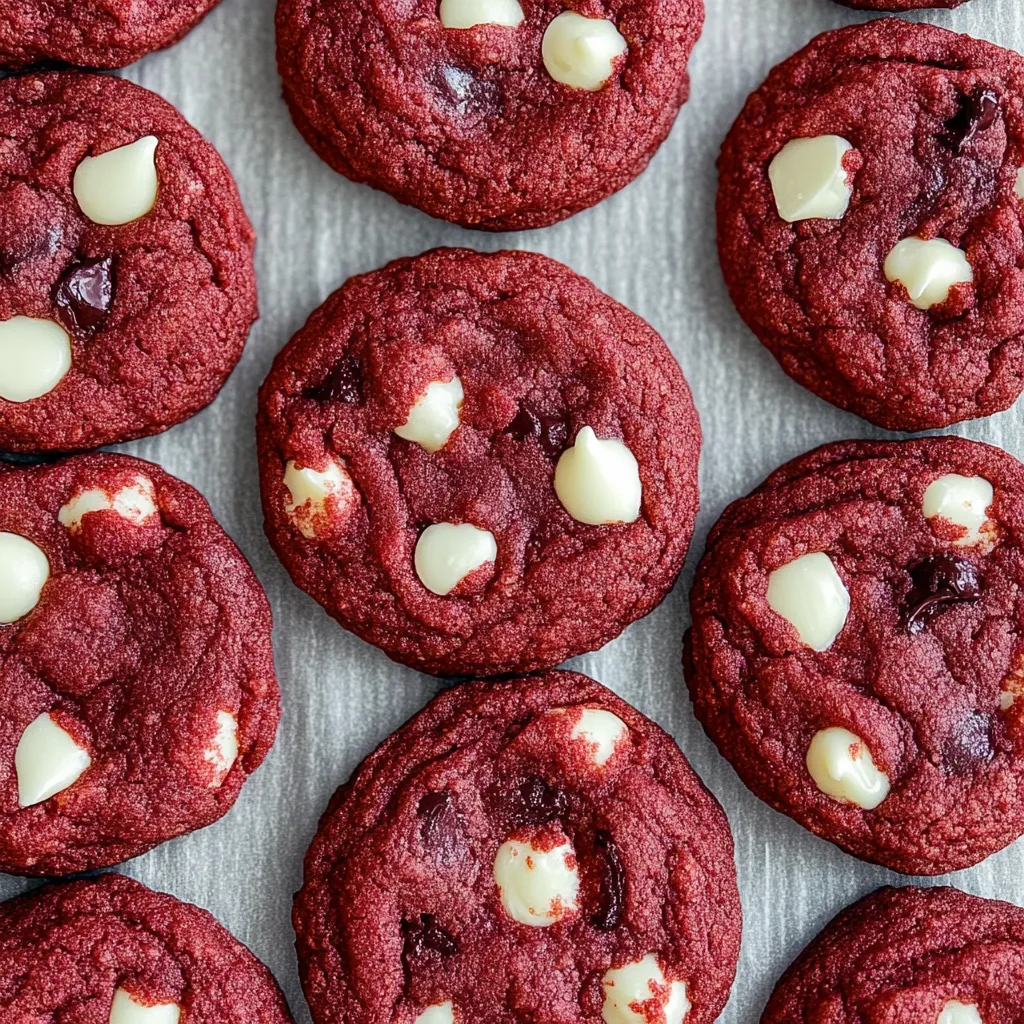
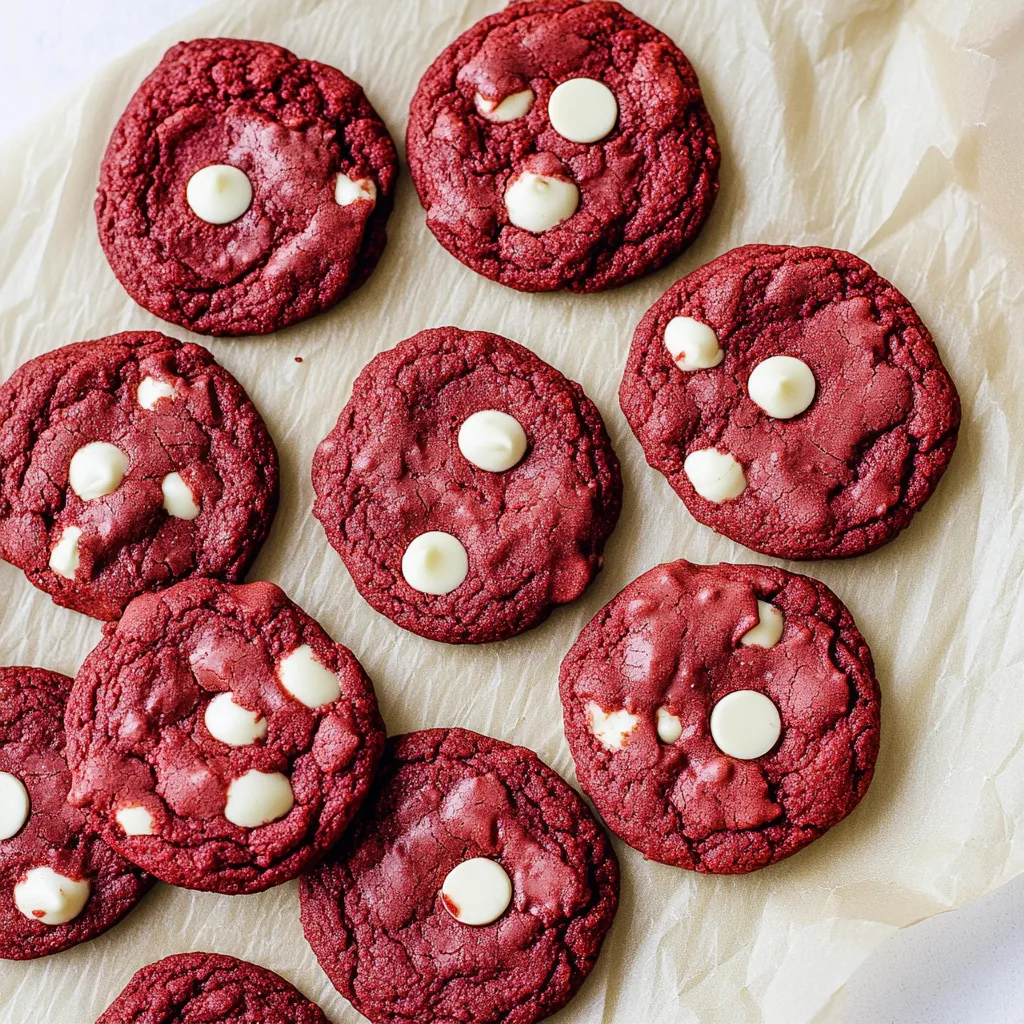
These stunning red velvet cake mix cookies deliver the perfect combination of soft, chewy centers and slightly crispy edges, all studded with creamy white chocolate chips that create beautiful contrast against the deep red color. Using a simple box of cake mix as the base, they come together in minutes with just a few pantry staples, making them the ideal treat when you want something special without spending hours in the kitchen. Each bite captures that distinctive red velvet flavor with its subtle cocoa notes and tangy sweetness, while the white chocolate chips add pockets of creamy richness that make these cookies absolutely irresistible.
I developed this recipe when I needed something special for a last-minute Valentine's Day gathering but didn't have time for my usual from-scratch cookie process. My husband, who's normally pretty reserved about my baking experiments, couldn't stop reaching for these cookies even when they were still warm from the oven. Now they've become our go-to treat whenever we need something that looks impressive but doesn't require a lot of effort. The kids love helping make them because the process is so simple, and I love that they consistently turn out perfect every single time.
Ingredients
- Red velvet cake mix (1 box, 15.25 oz): Choose a quality brand for the best flavor and color, as this forms the base of your entire cookie
- Cornstarch (2 tablespoons): Adds extra tenderness and creates that perfect soft, chewy texture that makes these cookies special
- Salt (1/4 teaspoon): Enhances all the flavors and adds to the overall chewiness of the finished cookies
- Unsalted butter (1/2 cup, cold and cubed): Creates better texture than oil while adding rich flavor that complements the red velvet taste
- Granulated sugar (1/2 cup): Provides sweetness and helps create those slightly crispy edges that contrast beautifully with the soft centers
- Large eggs (2): Bind everything together and provide structure while keeping the cookies tender and moist
- Pure vanilla extract (1 teaspoon): Enhances the overall flavor and prevents the cookies from tasting flat or one-dimensional
- White chocolate chips (1 cup): Choose high-quality chips that will hold their shape during baking while providing creamy contrast to the red velvet base
Instructions
- Combine the dry ingredients for even distribution:
- In a large mixing bowl, whisk together the red velvet cake mix, cornstarch, and salt until completely combined. This ensures the cornstarch and salt are evenly distributed throughout the cake mix for consistent texture in every cookie.
- Cream the butter and sugar to perfect consistency:
- In the bowl of a stand mixer or using a hand mixer, cream the cold, cubed butter with granulated sugar on medium speed for 2-3 minutes until light and fluffy. The mixture should look pale and increased in volume.
- Add eggs and vanilla for binding and flavor:
- Beat in the eggs one at a time, making sure each is fully incorporated before adding the next. Then mix in the vanilla extract until everything is well combined and the mixture looks smooth and cohesive.
- Gradually incorporate the dry ingredients:
- On low speed, gradually add the cake mix mixture to the wet ingredients, mixing just until combined. Don't overmix - stop as soon as no dry streaks remain to ensure tender cookies rather than tough ones.
- Fold in the white chocolate chips gently:
- Using a wooden spoon or spatula, gently fold in the white chocolate chips until they're evenly distributed throughout the dough. This gentle mixing prevents the chips from breaking while ensuring every cookie gets plenty of chocolate.
- Chill the dough for proper texture:
- Cover the bowl tightly with plastic wrap and refrigerate for at least 30 minutes. This chilling time is essential - it prevents the cookies from spreading too much during baking and helps achieve that perfect chewy texture.
- Prepare for baking with proper setup:
- Preheat your oven to 375°F and line baking sheets with parchment paper or silicone baking mats. Having everything ready before you start scooping ensures the cookies bake evenly and efficiently.
- Scoop and bake for perfect results:
- Using a 2-tablespoon cookie scoop or spoon, portion the chilled dough into balls and place them 2 inches apart on the prepared baking sheets. Bake for 10-11 minutes until the edges look set but the centers still appear soft and slightly underdone.
- Cool properly for best texture:
- Let the cookies cool on the baking sheet for 15-20 minutes before transferring to a wire rack. This cooling time on the pan allows them to finish setting while maintaining that perfect soft center and slightly crispy edge contrast.
 Pin it
Understanding the Cake Mix Advantage
Using cake mix as the base for these cookies isn't just a shortcut - it actually creates superior texture and flavor in many ways. Cake mix contains emulsifiers and stabilizers that help create incredibly tender, moist cookies that stay soft longer than traditional from-scratch versions. The balanced blend of flour, sugar, and leavening agents in quality cake mix also ensures consistent results every time.
The red velvet cake mix provides that distinctive flavor profile with just the right amount of cocoa and subtle tanginess that makes red velvet so special. Plus, the beautiful color is already perfectly balanced, eliminating the guesswork of adding food coloring and ensuring gorgeous, consistent results that look bakery-quality every single time.
The Secret to Perfect Texture
The combination of cornstarch and proper chilling technique is what sets these cookies apart from ordinary cake mix cookies. Cornstarch acts as a tenderizer, creating that incredibly soft, almost melt-in-your-mouth center while the edges develop just enough crispness for textural contrast. The cold butter also plays a crucial role, creating pockets of fat that steam during baking and contribute to the tender texture.
Chilling the dough serves multiple purposes beyond just making it easier to handle. Cold dough spreads more slowly in the oven, allowing the cookies to set before they spread too thin. This creates those perfect thick, chewy centers that make these cookies so addictive. Don't skip this step even if you're in a hurry - the texture difference is dramatic.
Timing and Temperature for Success
The baking time and temperature for these cookies requires a bit of trust because they'll look slightly underdone when you remove them from the oven. This is exactly what you want - the centers should appear soft and puffy while the edges look set. The cookies continue to cook on the hot baking sheet after removal, finishing up perfectly during the cooling period.
If you overbake these cookies, they'll lose that signature chewy texture and become too crispy throughout. It's better to err on the side of slightly underdone than overdone, as the residual heat from the pan will complete the cooking process. The 15-20 minute cooling period on the baking sheet is crucial for achieving the final perfect texture.
Storage and Make-Ahead Options
These cookies maintain their perfect texture for several days when stored in an airtight container at room temperature, making them excellent for meal prep or gift-giving. The cake mix base actually helps them stay softer longer than traditional cookies, so they're perfect for situations where you need treats that will still taste fresh after a few days.
For make-ahead convenience, you can prepare the dough and refrigerate it for up to three days, or freeze scooped cookie dough balls for up to three months. Frozen dough balls can be baked directly from the freezer - just add an extra minute or two to the baking time. This makes it easy to have fresh-baked cookies ready whenever you need them.
Creative Variations and Seasonal Adaptations
While the white chocolate chips are absolutely perfect with red velvet, this basic recipe welcomes many delicious variations throughout the year. Dark chocolate chips create a more intense chocolate experience, while milk chocolate chips offer a sweeter, more mellow flavor. For holidays, consider rolling the dough balls in powdered sugar before baking to create beautiful crinkle cookies.
A cream cheese frosting drizzle or spread transforms these from simple cookies into elegant dessert cookies perfect for special occasions. You can also experiment with different mix-ins like chopped pecans, dried cranberries, or even mini marshmallows for unique flavor and texture combinations that keep this basic recipe fresh and exciting.
I love how this recipe has become such a reliable go-to in our house for both everyday treats and special occasions. There's something so satisfying about creating something that looks and tastes so impressive with such simple techniques and readily available ingredients. My kids have learned to make these completely independently, which gives them confidence in the kitchen while still producing bakery-quality results that make them proud to share with friends.
This recipe embodies everything I love about approachable baking - taking a simple shortcut like cake mix and elevating it with proper technique to create something that tastes completely homemade and special. Every time I make these cookies, I'm reminded that some of the best treats come from finding that perfect balance between convenience and quality, creating something that brings joy without requiring hours of work or complicated techniques.
Frequently Asked Questions
- → Can I use a different cake mix flavor?
- Yes, you can substitute with chocolate, vanilla, or strawberry cake mix for different flavored cookies.
- → Why do I need to chill the cookie dough?
- Chilling prevents the cookies from spreading too much and makes the sticky dough easier to handle and shape.
- → Can I freeze the cookie dough?
- Yes, you can freeze the dough for up to 3 months. Thaw in the fridge before baking or bake from frozen with extra time.
- → What can I use instead of white chocolate chips?
- Try dark chocolate chips, milk chocolate chips, or even cream cheese chips for different flavors.
- → How do I know when the cookies are done?
- The edges should look set and cooked while the centers remain soft and slightly puffy. They'll firm up as they cool.
- → How long do these cookies stay fresh?
- Store in an airtight container at room temperature for up to 5 days or freeze for up to 3 months.