
 Pin it
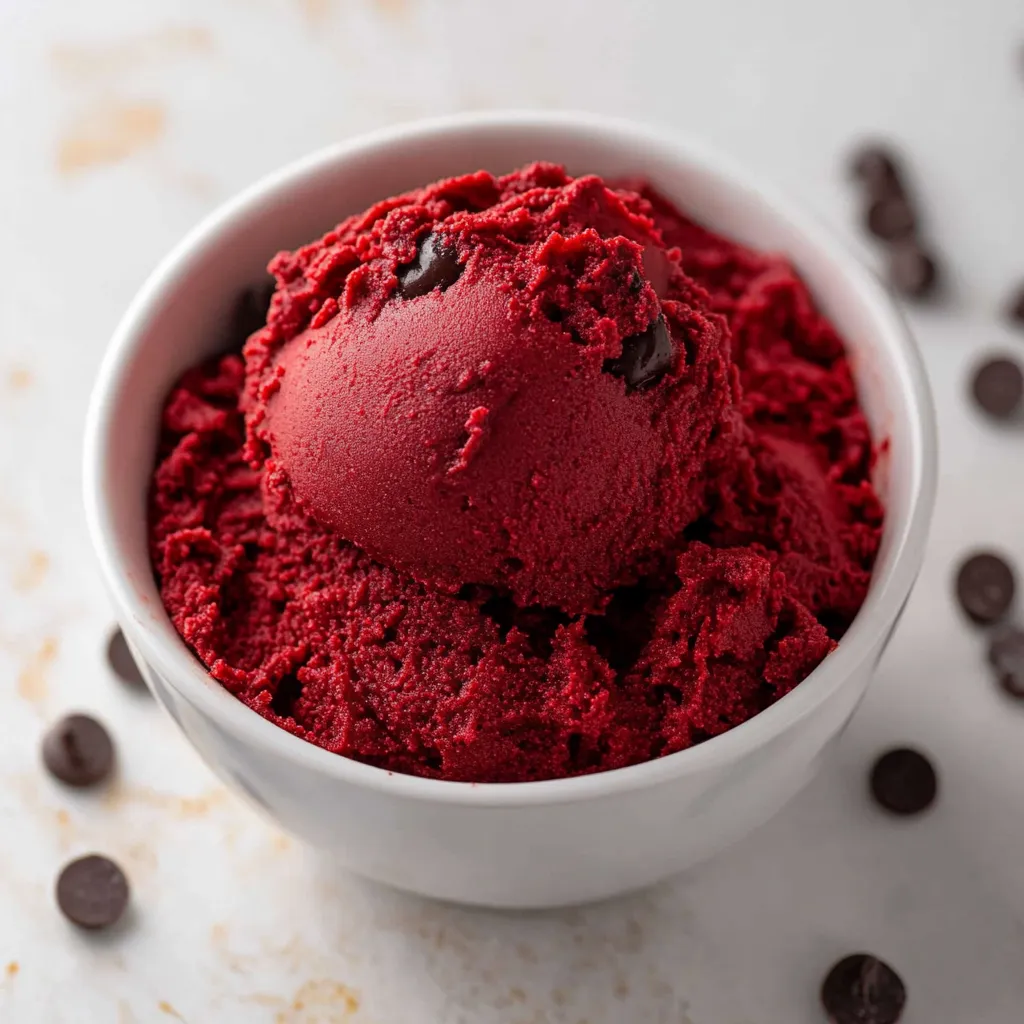
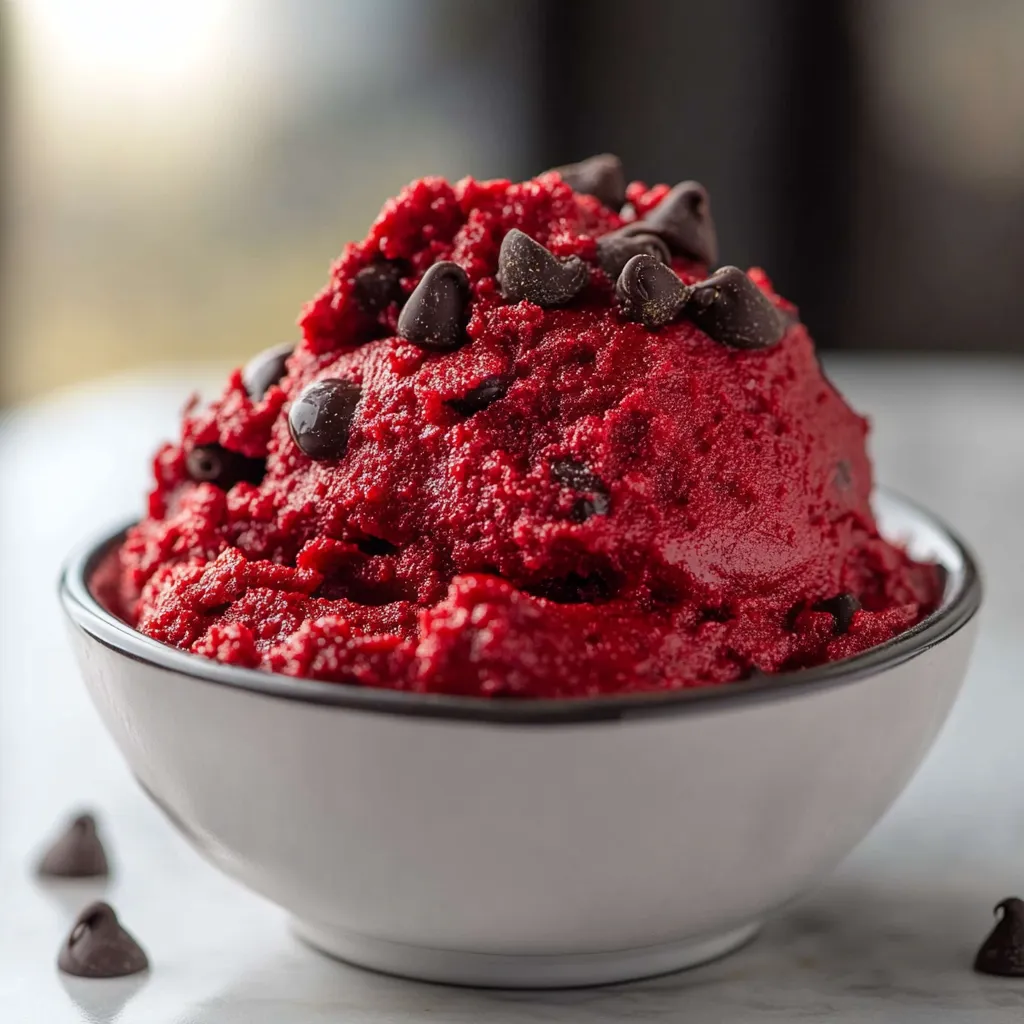
Edible red velvet cookie dough gives you all the pleasure of sneaking spoonfuls from the mixing bowl with none of the worry. This decadent treat delivers the signature crimson hue and subtle cocoa flavor of classic red velvet, studded with creamy white chocolate chips and safe to eat by the spoonful. With heat-treated flour and no eggs, this recipe transforms forbidden temptation into a perfectly acceptable indulgence that's ready in minutes.
I first made this red velvet cookie dough for a Valentine's Day movie night with friends. My roommate, who typically exhibits impressive self-control around sweets, kept reaching for "just one more spoonful" until half the bowl was gone! There's something nostalgic yet sophisticated about the red velvet flavor – that subtle hint of cocoa paired with vanilla and a slight tanginess that keeps you coming back for more. Now it's become my signature contribution to holiday gatherings, and friends actually request it instead of baked goods.
Essential Ingredients
- Flour: Heat-treated all-purpose flour forms the safe base for our cookie dough – this crucial step eliminates any bacteria concerns
- Cocoa Powder: Dutch-processed cocoa provides that distinctive red velvet flavor with subtle chocolate notes rather than an overwhelming chocolate taste
- Red Food Coloring: Creates the signature vibrant color that makes this treat instantly recognizable
- Butter: Use high-quality butter at room temperature for the richest flavor and best texture
- White Chocolate Chips: The perfect creamy complement to the slight cocoa flavor in the dough
Step-by-Step Instructions
- Step 1: Heat-treat the flour.
- This critical safety step eliminates any harmful bacteria that may be present in raw flour. Spread 1¼ cups all-purpose flour on a baking sheet and bake at 350°F for 5 minutes, or microwave in 30-second intervals, stirring between each, until it reaches 165°F (about 1 minute and 30 seconds total). Allow the flour to cool completely before using, as hot flour will melt the butter in your dough.
- Step 2: Cream the butter and sugars.
- In a large mixing bowl, combine ½ cup softened butter, ¼ cup granulated sugar, and ½ cup packed brown sugar. Beat with an electric mixer on medium speed until light and fluffy, about 2-3 minutes. This thorough creaming incorporates air into the mixture, creating a lighter texture in the finished dough.
- Step 3: Add wet ingredients.
- Reduce the mixer speed to low and add 2 tablespoons milk and 1 teaspoon vanilla extract. Mix until well combined. For a more authentic red velvet flavor, substitute buttermilk for regular milk – the subtle tanginess creates that classic red velvet taste.
- Step 4: Incorporate dry ingredients.
- In a separate bowl, whisk together the cooled heat-treated flour, 3 tablespoons Dutch-processed cocoa powder, and ¼ teaspoon salt. Gradually add this mixture to the wet ingredients with the mixer on low speed, mixing just until combined. Overmixing can make the dough tough rather than tender.
- Step 5: Add the signature color.
- Carefully add 1-2 teaspoons of red food coloring (adjust amount for desired intensity) and mix until evenly distributed throughout the dough. Gel food coloring provides the most vibrant color with the least amount of liquid, but regular food coloring works well too.
- Step 6: Fold in the chocolate chips.
- Gently stir in ½ cup white chocolate chips (or your preferred mix-ins) by hand using a spatula. This gentle folding prevents breaking the chips while ensuring even distribution throughout the dough.
- Step 7: Serve immediately or store.
- The dough is ready to enjoy right away, or you can refrigerate it in an airtight container if you prefer a firmer texture. Let refrigerated dough come to room temperature for about 15 minutes before serving for the best flavor and texture.
 Pin it
I'm particularly attentive to the color development in this recipe. My first attempt was disappointing – the dough ended up more brown than red because I added the food coloring too late in the process. Now I add it immediately after the wet ingredients, before the cocoa powder and flour go in. This ensures that vibrant red color that makes red velvet so appealing. My sister, who's a professional baker, taught me that buttermilk makes all the difference in achieving that authentic red velvet flavor with its subtle tanginess.
Creative Serving Ideas
While delicious straight from the bowl with a spoon (my preferred method), this versatile dough can be transformed into numerous impressive treats. Roll it into truffle-sized balls and dip in melted white chocolate for elegant red velvet cookie dough truffles. Press into silicone molds or mini muffin tins and top with a chocolate ganache for cookie dough cups. For a show-stopping dessert, layer it between slices of chocolate cake as a surprise filling. One of my favorite ways to serve it is to fold small balls of the dough into vanilla ice cream for a red velvet cookie dough ice cream that never fails to impress guests.
Make It Your Own
The beauty of this recipe lies in its adaptability. Dark chocolate chips create a more intense chocolate experience, while a mix of white and semisweet provides delightful variety in each bite. For a cream cheese frosting-inspired twist, fold in 2 ounces of softened cream cheese with the butter. During the holidays, I often add a teaspoon of peppermint extract and crushed candy canes for a festive variation. For a more sophisticated adult version, a tablespoon of coffee liqueur enhances the cocoa notes beautifully.
Storage Tips
This cookie dough keeps remarkably well, making it perfect for advance preparation. Store in an airtight container in the refrigerator for up to one week – the flavor actually improves after a day as the ingredients meld together. For longer storage, freeze portions in a sealed container for up to three months. I often roll the dough into individual balls before freezing, which allows me to thaw only what I need for impromptu sweet cravings or unexpected guests.
Chef's Helpful Tips
Temperature matters: Allow the butter to properly soften at room temperature (not melted) for the best texture Color control: Add food coloring gradually until you reach your desired shade – different brands vary in intensity Consistency adjustment: If your dough seems too dry, add milk one teaspoon at a time; if too wet, add a bit more heat-treated flour
I discovered this recipe during a particularly challenging time when I craved comfort but had little energy for baking. What began as a simple indulgence has become one of my most requested treats. There's something deeply satisfying about creating a safe version of something traditionally "forbidden," transforming a childhood temptation into a perfectly acceptable pleasure. The vibrant color makes it a conversation starter at gatherings, while the familiar flavor provides that nostalgic comfort we all occasionally need.
Frequently Asked Questions
- → Why do you need to heat-treat flour?
- Raw flour can contain harmful bacteria. Heat-treating it to 165°F kills any potential pathogens, making it safe to eat in no-bake recipes.
- → Can I make this recipe ahead of time?
- Absolutely! Store it in an airtight container in the refrigerator for up to 5 days. Let it sit at room temperature for a few minutes before serving.
- → Is there a substitute for red food coloring?
- You can use natural alternatives like beet powder or red berry juice, though the color won't be as vibrant and you may need to adjust the liquid ratio.
- → Can I freeze this cookie dough?
- Yes! Portion it into scoops, freeze on a baking sheet, then transfer to a freezer bag. It'll keep for up to 3 months and makes a great cold treat.
- → Can I turn this into actual baked cookies?
- This recipe is designed for eating as-is and lacks leavening agents. For baked cookies, you'd need to add eggs and baking soda, following a standard red velvet cookie recipe.
- → What can I use instead of mini chocolate chips?
- White chocolate chips work great for contrast, or try using chopped nuts, sprinkles, or even crushed Oreo cookies for different flavor variations.