
 Pin it
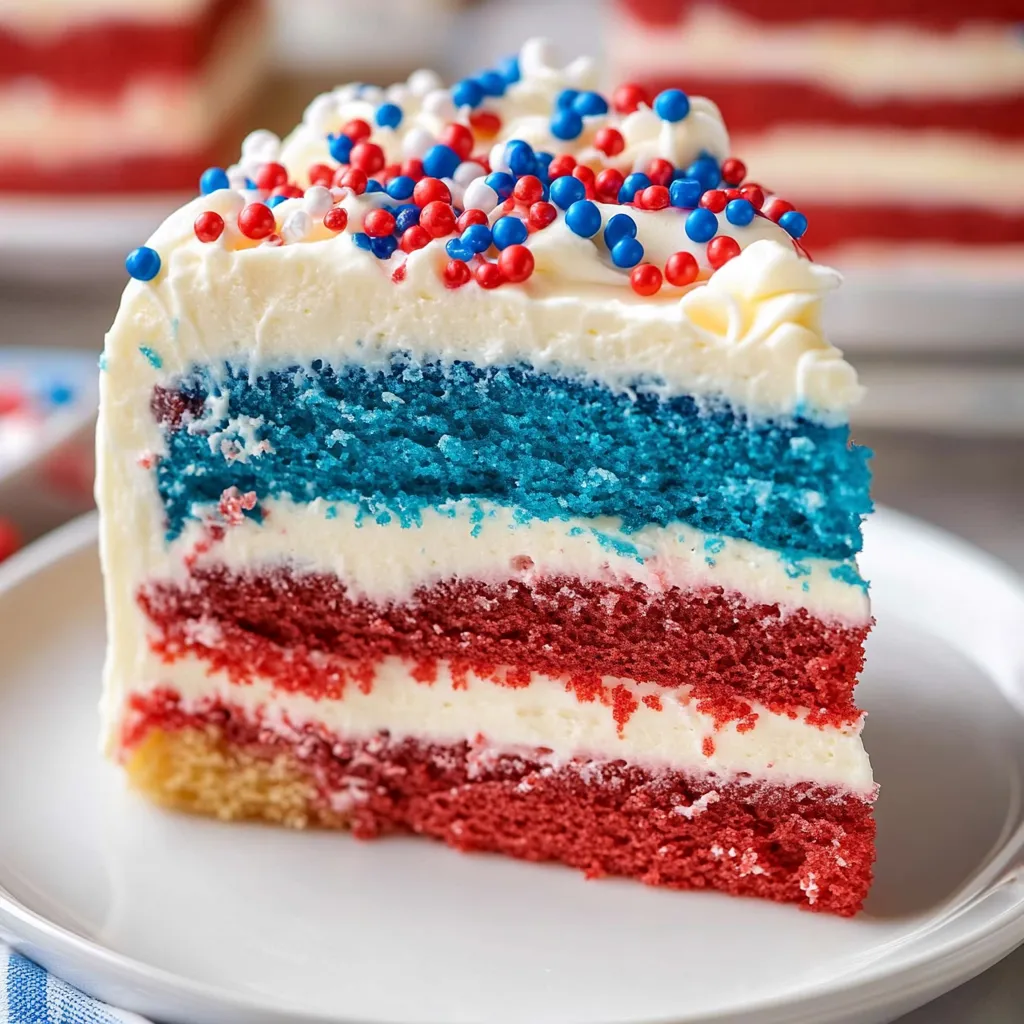
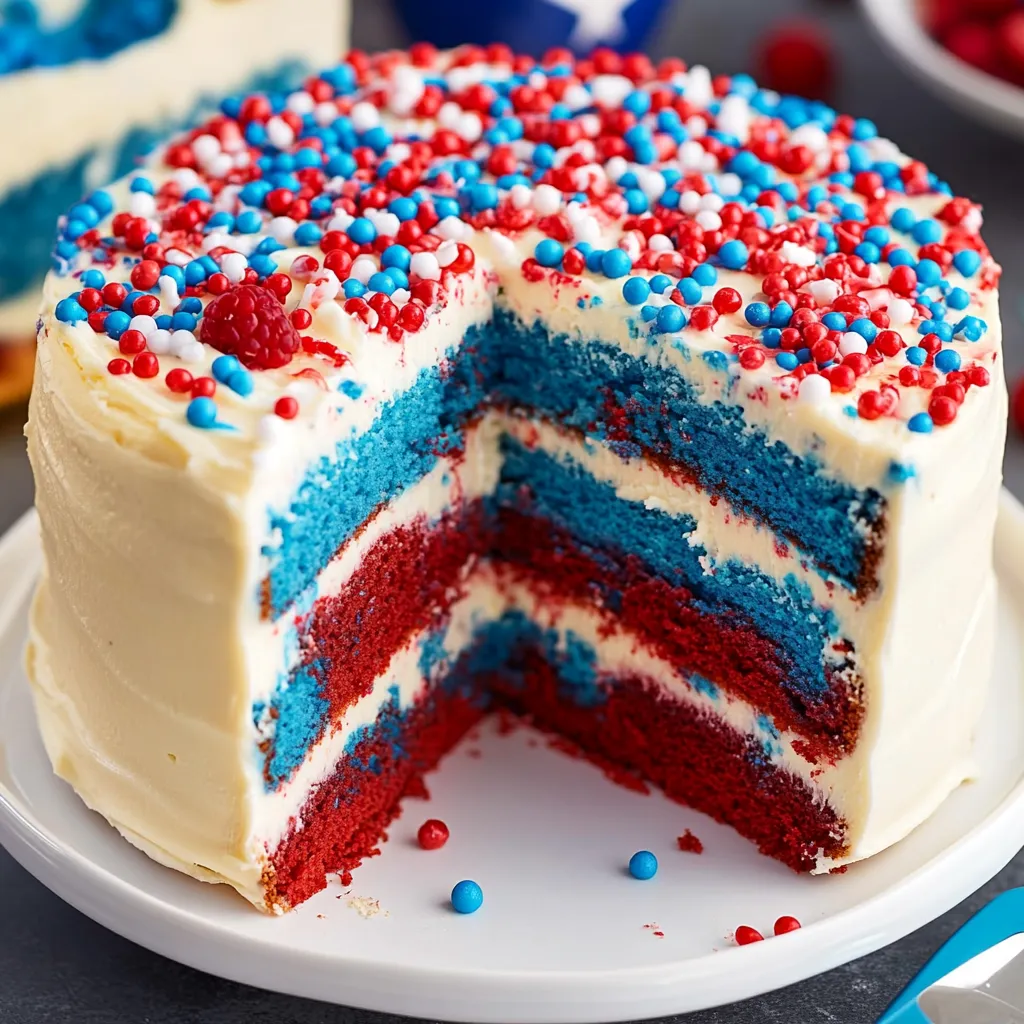
This stunning patriotic marble cake brings together tender white cake swirled with vibrant red and blue colors, creating beautiful marbled layers that look like edible fireworks. Each slice reveals gorgeous swirls of color while delivering the most incredibly moist and fluffy texture you'll ever taste in a homemade cake. Topped with silky vanilla buttercream and festive sprinkles, it's the kind of showstopper dessert that makes everyone gather around for photos before diving in for a slice.
I'll never forget the first time I made this cake for our neighborhood 4th of July party - people literally gasped when I cut into it and revealed those gorgeous swirled layers inside. My neighbor asked if I'd special-ordered it from a bakery, and when I told her I'd made it from scratch, she immediately wanted the recipe. Now it's become my signature cake for summer gatherings, and I love how it never fails to impress while still being something I can confidently make in my own kitchen.
Ingredients
- For the Vanilla White Cake:
- Granulated sugar (1½ cups) - Provides sweetness and helps create the tender crumb structure that makes this cake so light and fluffy
- Vegetable oil (½ cup) - This is the secret to keeping the cake incredibly moist for days, as oil doesn't solidify like butter does when cooled
- Large eggs (3) - Room temperature eggs incorporate better and create a smoother batter that bakes more evenly
- Light sour cream (¾ cup) - Adds incredible moisture and a subtle tang that balances the sweetness perfectly
- All-purpose flour (2¼ cups) - Measure by spooning into the cup and leveling off for the most accurate measurement
- Baking powder (2½ teaspoons) - Fresh baking powder is crucial for proper rise, so check your expiration date
- Salt (½ teaspoon) - Enhances all the other flavors and balances the sweetness beautifully
- Pure vanilla extract (2 teaspoons) - Use real vanilla for the best flavor depth in your cake layers
- Whole milk (1 cup) - Room temperature milk blends smoothly without creating lumps in the batter
- Food coloring gel - Americolor Super Red and Royal Blue create the most vibrant colors without thinning the batter
- For the Vanilla Buttercream:
- Unsalted butter (1 cup, cold) - Cold butter whips up better and creates the smoothest, most stable frosting
- Powdered sugar (4-5 cups) - Sift if lumpy to prevent grainy frosting texture
- Pure vanilla extract (2 teaspoons) - Or use clear vanilla if you want the whitest possible frosting
- Heavy whipping cream (3-4 tablespoons) - Helps achieve the perfect spreading consistency
- Pinch of salt - Balances the sweetness and enhances the vanilla flavor
Instructions
- Prepare your baking setup and preheat oven to 350°F.
- Grease three 8-inch round cake pans thoroughly with butter or cooking spray, then line the bottoms with parchment paper circles. Lightly flour the sides, tapping out any excess. This double protection ensures your beautiful marbled layers will release perfectly from the pans without sticking or breaking.
- Create the wet mixture base.
- In the bowl of a stand mixer fitted with the paddle attachment, combine granulated sugar, vegetable oil, eggs, and vanilla extract. Beat on medium speed for 2-3 minutes until the mixture is well incorporated and slightly lighter in color. Add the sour cream and continue beating until completely smooth and well combined.
- Prepare the dry ingredients separately.
- In a large bowl, whisk together flour, baking powder, and salt until evenly distributed. This ensures the leavening agents are properly dispersed throughout the flour for even rising during baking.
- Combine wet and dry ingredients carefully.
- Add half of the dry ingredient mixture to the wet ingredients, mixing on low speed just until barely combined. Pour in half the milk and mix gently, then add the remaining dry ingredients followed by the remaining milk. Mix just until no dry streaks remain - overmixing will create a tough, dense cake.
- Divide and color the batter.
- Divide the finished batter evenly among three mixing bowls, using a kitchen scale for the most accurate division if you have one. Leave one bowl of batter plain white. Add red food coloring gel to one bowl and blue food coloring gel to another, mixing each until you achieve vibrant, even colors throughout.
- Create the marbled effect in the pans.
- Using a large spoon or ice cream scoop, alternate dropping spoonfuls of each colored batter randomly into each prepared pan. Don't worry about making them perfectly even - the random placement creates more interesting marble patterns. Once all batter is distributed, use a knife or skewer to gently swirl through the batter in figure-eight motions, being careful not to overmix and muddy the colors.
- Bake until perfectly done.
- Bake for 22-26 minutes, rotating the pans halfway through for even browning. The cakes are done when they spring back lightly when touched in the center and a toothpick inserted in the middle comes out with just a few moist crumbs. Don't overbake, as this will dry out your beautiful moist cake.
- Cool completely before handling.
- Let the cakes cool in their pans for 10 minutes, then turn them out onto wire racks to cool completely. This patience is crucial - warm cake layers will tear when you try to frost them, and the buttercream will melt and slide right off.
- Prepare the silky buttercream frosting.
- In a clean mixer bowl, whip the cold butter on medium-high speed until light, fluffy, and pale in color, about 3-4 minutes. Gradually add 2 cups of powdered sugar, then the vanilla and cream. Continue adding powdered sugar one cup at a time until you reach your desired consistency, then beat on high speed for 2-3 minutes until silky smooth.
- Level and assemble the layers.
- If your cake layers have domed tops, use a large serrated knife or cake leveler to create flat, even surfaces. Place the first layer on your serving plate, then pipe or spread about ¾ cup of frosting evenly over the top. Add the second layer, more frosting, then the final layer. Apply a thin crumb coat all around the cake, then refrigerate for 30 minutes before adding the final decorative frosting layer.
- Finish with beautiful decoration.
- Apply the remaining frosting smoothly around the sides and top, using an offset spatula to create clean, professional-looking edges. Decorate with patriotic sprinkles while the frosting is still soft, and refrigerate for at least one hour before serving to let everything set properly.
 Pin it
The Magic Behind the Moisture
This cake stays incredibly tender and moist for several days thanks to a few key ingredient choices that work together beautifully. The vegetable oil provides lasting moisture because unlike butter, it doesn't solidify when cooled, keeping the cake tender even when refrigerated. The sour cream adds both moisture and a subtle tanginess that prevents the cake from being overly sweet while contributing to that perfectly soft crumb.
The technique of not overmixing the batter is equally important for maintaining tenderness. When flour is mixed too vigorously, it develops gluten strands that create a tough, chewy texture instead of the light, fluffy cake we're after. That's why I always stress mixing just until the ingredients are barely combined - a few small lumps are much better than a dense, heavy cake.
Make-Ahead and Storage Strategies
This cake is actually perfect for making ahead, which takes so much stress out of party planning. You can bake the cake layers up to two days in advance, wrap them tightly in plastic wrap, and store them at room temperature. The buttercream can be made a full day ahead and stored in the refrigerator - just let it come to room temperature and give it a quick re-whip before using.
Once assembled and frosted, the cake stays fresh at room temperature for up to three days when covered with a cake dome or large overturned bowl. For longer storage, you can freeze the unfrosted cake layers for up to three months when wrapped properly in plastic wrap, then foil, then placed in airtight containers. Just thaw them overnight in the refrigerator before assembling.
Troubleshooting Common Issues
If your marble effect isn't showing up as dramatically as you'd like, make sure you're using gel food coloring rather than liquid, as gel creates more vibrant colors without thinning the batter. Also, resist the urge to swirl too much - a few gentle figure-eight motions with your knife are all you need. Over-swirling will blend the colors together into a muddy mess instead of distinct, beautiful marbles.
Temperature is crucial for both the cake and frosting success. Room temperature ingredients blend more easily and create a smoother batter, while cold butter whips up to the fluffiest, most stable buttercream. If your buttercream looks curdled or separated, it's usually because the butter was too warm - just pop the whole bowl in the refrigerator for 15 minutes, then whip again until smooth.
Customizing Your Celebration Cake
While the red, white, and blue color scheme is perfect for patriotic holidays, this same technique works beautifully for any celebration throughout the year. Try pink and purple for a birthday party, green and gold for St. Patrick's Day, or orange and black for Halloween. You can even create rainbow layers by dividing the batter into more bowls and using different colors in each.
The beauty of this recipe is how adaptable it is to different flavor profiles too. Add lemon zest and replace some of the milk with lemon juice for a citrus version, or fold in mini chocolate chips for extra indulgence. The base recipe is so reliable that it welcomes these kinds of creative additions without compromising the texture or moisture.
My grandmother taught me that baking is equal parts technique and patience, and this cake really proves that point. The first time I tried to rush the cooling process and frost warm layers, I ended up with a melted buttercream disaster that had to be scraped off and started over. Now I always plan my timing so the cakes have plenty of time to cool completely, and the results are consistently beautiful. There's something so satisfying about cutting into this cake and seeing those perfect swirls that never get old, no matter how many times I make it.
This cake has become such a centerpiece at our family gatherings that people actually plan their summer party menus around whether I'm bringing "the marble cake." There's something magical about how food can become part of your family traditions and create lasting memories. Every time I make this cake, I think about all the celebrations it's been part of and all the smiles it's created. That's the real reward of baking from scratch - not just the delicious results, but the joy and connection it brings to the people you care about most.
Frequently Asked Questions
- → Can I make this cake ahead of time?
- Yes, you can bake the layers up to 2 days ahead. Wrap them tightly and store at room temperature, then frost when ready to serve.
- → What if I don't have gel food coloring?
- Liquid food coloring works too, but you'll need more drops to get vibrant colors. Start with 15-20 drops and add more as needed.
- → How do I get the marble effect right?
- Drop spoonfuls of each color randomly in the pans, then gently swirl with a knife. Don't overmix or the colors will blend together.
- → Can I use a different frosting?
- Absolutely! Cream cheese frosting or whipped cream work great too. Just make sure it's thick enough to hold the cake layers together.
- → How long does this cake stay fresh?
- The cake stays fresh for 3-4 days covered at room temperature, or up to a week in the refrigerator. Bring to room temperature before serving.
- → What size pans should I use?
- This recipe is designed for three 8-inch round pans. You can use 9-inch pans but reduce the baking time by 3-5 minutes.