
 Pin it
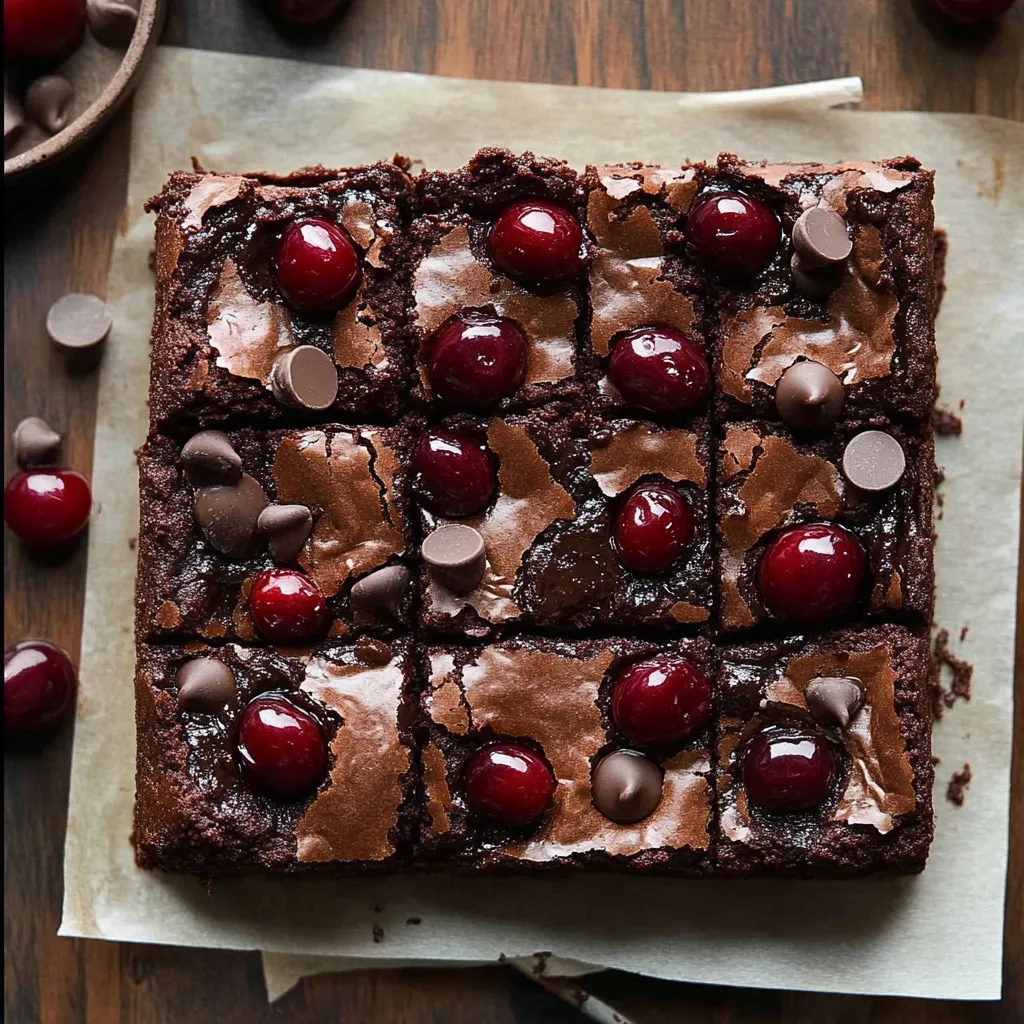
These incredibly fudgy roasted chocolate cherry brownies combine rich, decadent chocolate with sweet, caramelized cherries for the most indulgent dessert that's perfect for any special occasion. The secret lies in roasting the fresh cherries first, which intensifies their flavor while removing excess moisture, creating brownies that are perfectly fudgy without being soggy.
I developed this recipe after several failed attempts at adding fresh cherries directly to brownie batter, which always resulted in soggy, sunken disasters. The breakthrough came when I realized that roasting the cherries first would concentrate their flavor while removing the excess liquid that was ruining the texture. Now these brownies have become my go-to dessert for Valentine's Day, summer gatherings, and anytime I want to create something that feels truly special and indulgent.
Ingredients and Why They Matter
- Fresh sweet cherries: provide the perfect balance of tartness and sweetness, and fresh cherries roast much better than frozen varieties
- Large eggs plus one extra egg yolk: the additional yolk adds richness and contributes to that coveted fudgy texture
- Unsalted butter and vegetable oil: butter gives incredible flavor while oil ensures the brownies stay moist and fudgy
- Dutch-process cocoa powder: creates deeper, richer chocolate flavor and that gorgeous dark color that makes these brownies so appealing
- Cornstarch: helps create that perfect fudgy texture by absorbing moisture and preventing the brownies from becoming cakey
- Semisweet chocolate chips: add pockets of melted chocolate throughout and extra richness in every bite
- Granulated sugar: sweetens both the brownies and helps caramelize the roasted cherries
Step-by-Step Instructions
- Prepare your oven and roast the cherries:
- Preheat your oven to 400°F and line a large baking sheet with parchment paper. Wash and pit 2 cups of fresh sweet cherries, then cut them in half. Spread the cherry halves on the prepared baking sheet and sprinkle with 2 tablespoons of granulated sugar. Roast for 10-12 minutes until they're slightly caramelized and have released some of their juices. Remove from the oven and let them cool completely while you prepare the brownie batter. Reduce oven temperature to 350°F.
- Prepare your baking pan:
- Line an 8x8 inch square baking pan with parchment paper, leaving some overhang for easy removal later. Lightly grease the parchment with butter or cooking spray to prevent sticking.
- Sift and combine dry ingredients:
- In a medium bowl, sift together 3/4 cup all-purpose flour, 1/2 cup Dutch-process cocoa powder, 1 tablespoon cornstarch, and 1/2 teaspoon salt. Sifting is crucial here to prevent lumps and ensure a smooth batter. Whisk the sifted ingredients together until evenly combined.
- Whip eggs and sugar to perfection:
- In the bowl of a stand mixer fitted with the whisk attachment, combine 2 large eggs, 1 large egg yolk, and 1 cup granulated sugar. Beat on high speed for exactly 5 minutes - this step is critical for creating the signature crinkly top. The mixture should become very pale, thick, and ribbon-like when you lift the whisk.
- Add fats and vanilla:
- With the mixer running on medium speed, slowly drizzle in 1/4 cup melted unsalted butter, 1/4 cup vegetable oil, and 1 teaspoon vanilla extract. Mix until just combined and the mixture looks smooth and glossy.
- Fold in dry ingredients carefully:
- Remove the bowl from the mixer and use a rubber spatula to gently fold in the sifted dry ingredients. Fold just until no dry streaks remain - overmixing will make the brownies tough. Add half of the roasted cherries (reserve the other half for topping) and 1/2 cup chocolate chips, folding them in gently.
- Bake to fudgy perfection:
- Pour the batter into your prepared pan and spread it evenly. Bake for 40-45 minutes, until the top looks set and has developed cracks, but the center still looks slightly underdone. A toothpick inserted in the center should come out with a few moist crumbs attached - not wet batter, but not completely clean either.
- Cool and finish:
- Let the brownies cool completely in the pan on a wire rack, then place them in the freezer for 15 minutes to firm up for clean cutting. Remove from the pan using the parchment overhang and top with the remaining roasted cherries before cutting into squares.
 Pin it
I learned through trial and error that the timing of when to add the cherries makes all the difference in the world. My first attempts included all the cherries in the batter, which created a soggy mess that never set properly. Now I always reserve half for topping after baking, which gives you cherry flavor throughout while maintaining that perfect fudgy texture that makes these brownies so irresistible.
The Magic of Roasted Cherries
Roasting fresh cherries transforms them completely, concentrating their natural sweetness while developing deeper, more complex flavors that pair beautifully with rich chocolate. The high heat causes the natural sugars in the cherries to caramelize slightly, creating little pockets of intense cherry flavor that burst in your mouth. More importantly, the roasting process removes excess moisture that would otherwise make your brownies soggy and prevent them from setting properly. The added sugar during roasting isn't just for sweetness - it helps draw out moisture from the cherries while promoting that beautiful caramelization. I've experimented with different roasting times, and 10-12 minutes at 400°F gives you the perfect balance of concentrated flavor without making the cherries too dry or leathery. The roasted cherries should still have some juiciness but not be swimming in liquid.
Achieving the Perfect Fudgy Texture
The combination of butter, oil, eggs, and that extra egg yolk creates the ultimate fudgy brownie texture that's rich without being heavy. Butter provides incredible flavor depth, while oil keeps the brownies moist and prevents them from drying out over time. The additional egg yolk adds fat and richness that contributes to that dense, fudgy consistency that serious brownie lovers crave. The cornstarch might seem like an unusual addition, but it plays a crucial role in creating the perfect texture. It absorbs excess moisture from the cherries and helps bind everything together without making the brownies cakey. This ingredient is what allows you to add fruit to brownies without compromising that dense, fudgy texture that makes them so special.
Understanding the Whipping Technique
That 5-minute whipping time for the eggs and sugar isn't arbitrary - it's what creates the signature crinkly top that makes these brownies look bakery-professional. When you whip eggs and sugar together at high speed, you're incorporating air that creates a light foam. As the brownies bake, this foam sets on top while the dense, fudgy layer beneath stays perfectly moist. Using a stand mixer with a whisk attachment is really important here because you need that consistent, high-speed whipping to achieve the right texture. Hand mixing or even using a hand mixer won't incorporate enough air to create that distinctive crackled surface. The mixture should become very pale yellow and thick enough to hold a ribbon when you lift the whisk.
Baking and Doneness Indicators
Getting the baking time exactly right is crucial for achieving that perfect fudgy texture without underbaking to the point where the brownies don't set. The top should look set and have developed those characteristic cracks, but the center should still have a slight jiggle when you gently shake the pan. This might feel wrong if you're used to baking cakes, but brownies continue cooking in the hot pan after you remove them from the oven. The toothpick test for brownies is different from other baked goods - you want a few moist crumbs clinging to the toothpick, not a completely clean stick. If the toothpick comes out completely clean, your brownies are probably overbaked and will be more cakey than fudgy. Trust the process and pull them when they still look slightly underdone in the center.
Storage and Serving Suggestions
These brownies actually improve in flavor and texture after sitting for a day, as the cherry and chocolate flavors meld together beautifully. Store them covered at room temperature for up to four days, though they rarely last that long in my house. The roasted cherries on top stay fresh and flavorful, adding that perfect burst of fruit with each bite. For serving, I love cutting these into small squares because they're so rich and decadent. They're incredible on their own, but a scoop of vanilla ice cream turns them into an elegant dessert worthy of any dinner party. The contrast between the warm, fudgy brownies and cold, creamy ice cream is absolutely divine.
These roasted chocolate cherry brownies have become my signature dessert because they perfectly balance rich, intense chocolate with bright, sweet cherry flavors in a way that feels both comforting and sophisticated. Every time I make them, I'm reminded of why taking the extra step to roast the cherries makes such a dramatic difference - it transforms what could be an ordinary fruity brownie into something truly extraordinary that people remember long after the last bite.
Frequently Asked Questions
- → Can I use frozen cherries instead of fresh?
- Yes, just thaw and drain them well before roasting. Pat dry with paper towels to remove excess moisture.
- → How do I know when the brownies are done?
- The edges should be set but the center still slightly jiggly. A toothpick will have a few moist crumbs attached.
- → Can I make these without roasting the cherries first?
- Roasting concentrates the flavor and prevents soggy brownies, but you can skip it if needed. Just pat fresh cherries dry.
- → How should I store leftover brownies?
- Cover tightly and keep at room temperature for up to 4 days, or wrap well and freeze for up to 3 months.
- → What size pan should I use?
- An 8x8 inch square pan works best. A 9x9 pan will make thinner brownies that bake faster.
- → Can I double this recipe?
- Yes, use a 9x13 inch pan and increase baking time by 10-15 minutes. Check for doneness with the same tests.