
 Pin it
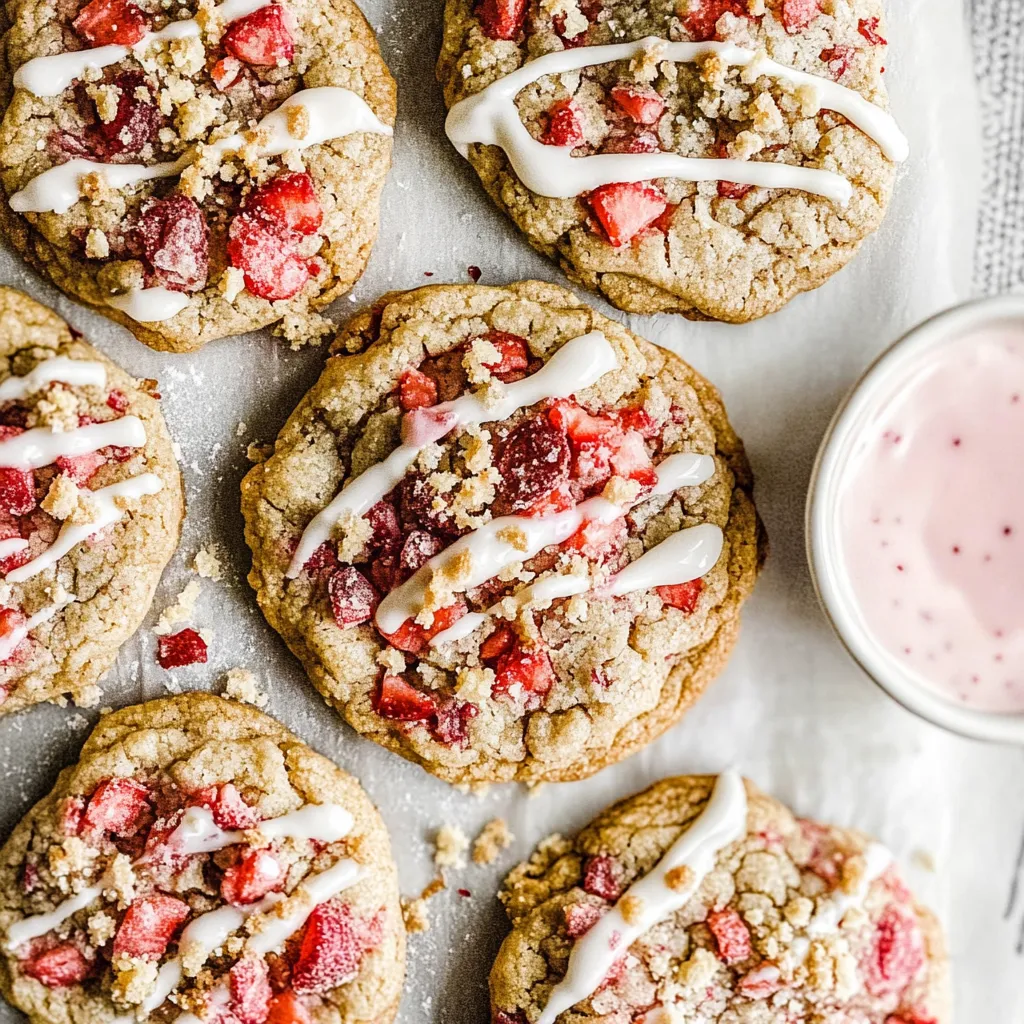
These incredibly soft strawberry crunch cookies capture all the nostalgic flavors of those beloved strawberry shortcake ice cream bars from childhood, transformed into the most delicious bakery-style cookies you'll ever taste. Made completely from scratch using real freeze-dried strawberries instead of artificial cake mix, these thick and chewy cookies are topped with homemade strawberry crunch and finished with a sweet vanilla glaze.
Growing up in the South, I have the most vivid memories of chasing down the ice cream truck with my cousin during those sweltering summer afternoons. I always ordered the same thing - a strawberry shortcake ice cream bar with that incredible crunchy coating that made the whole experience so special. Years later, I became determined to recreate those exact flavors in cookie form, and after countless attempts, this recipe perfectly captures that magical combination of sweet strawberries, vanilla cream, and that unforgettable crunch.
Ingredients and Why They Matter
- Freeze-dried strawberries: provide intense, concentrated strawberry flavor without adding moisture that would make the cookies soggy
- Golden Oreo cookies: create the perfect vanilla base for the crunch topping and add sweetness to complement the tart strawberries
- Melted unsalted butter: gives these cookies their signature soft, chewy texture rather than the crispier texture you'd get from creamed butter
- Brown sugar and granulated sugar combination: brown sugar adds moisture and chewiness while granulated sugar helps with structure and spreading
- All-purpose flour: provides the foundation for perfectly textured cookies that hold their shape
- Cornstarch: creates incredibly tender cookies by interfering with gluten development and helps them stay thick and soft
- Large eggs at room temperature: bind everything together and contribute to that perfect chewy texture
- Heavy cream for the glaze: creates a smooth, pourable consistency that sets beautifully on the finished cookies
Step-by-Step Instructions
- Prepare the mix-ins first:
- Place 1/2 cup freeze-dried strawberries and 8-10 Golden Oreo cookies in separate ziplock bags. Using a rolling pin, crush the strawberries until they're in small, pea-sized pieces - avoid making them too fine or they'll burn during baking. Crush the Oreos into similar-sized chunks and set both aside.
- Mix the dry ingredients:
- In a medium bowl, whisk together 2 1/4 cups all-purpose flour, 2 tablespoons cornstarch, 1 teaspoon baking soda, and 1/2 teaspoon salt. Sifting these ingredients together ensures no lumps and creates the smoothest cookie texture.
- Cream butter and sugars:
- In the bowl of a stand mixer fitted with the paddle attachment, beat 1/2 cup melted butter (cooled to room temperature), 3/4 cup packed brown sugar, and 1/2 cup granulated sugar on medium-high speed for 3-4 minutes until the mixture looks thick, creamy, and paste-like.
- Add eggs and vanilla carefully:
- With the mixer on medium speed, add 1 large egg and beat until fully incorporated. Add the second egg along with 2 teaspoons vanilla extract, mixing until the batter is smooth and well combined.
- Incorporate dry ingredients gradually:
- Reduce mixer speed to low and add the flour mixture in three separate additions, mixing just until combined after each addition. Stop mixing when you still see a few streaks of flour - you'll finish combining everything by hand.
- Fold in the strawberries and Oreos:
- Remove the bowl from the mixer and use a rubber spatula to gently fold in the crushed freeze-dried strawberries and Golden Oreo pieces. Mix just until everything is evenly distributed - overmixing will make the cookies tough.
- Chill the dough completely:
- Cover the bowl tightly with plastic wrap and refrigerate for at least 3 hours or overnight. This chilling step is crucial for achieving thick, chewy cookies that don't spread too much during baking.
- Shape and prepare for baking:
- Preheat your oven to 350°F and line baking sheets with parchment paper. Using a large cookie scoop or your hands, portion the chilled dough into 2.5-ounce balls (about 3 tablespoons each). Roll them smooth and place on a parchment-lined plate, then chill for another 10-15 minutes while the oven finishes preheating.
- Bake with the tapping technique:
- Place 5-6 cookie dough balls on each prepared baking sheet, spacing them about 2 inches apart. Bake for 6-7 minutes, then remove and firmly tap the baking sheet on the counter to deflate the cookies slightly. Rotate the pan and continue baking for 5-7 more minutes until the edges are just set and lightly golden.
- Shape while warm:
- As soon as the cookies come out of the oven, use a large round cookie cutter or glass to gently scoot the edges of each cookie in a circular motion, creating perfectly round shapes. This technique gives them that professional bakery appearance.
- Make the strawberry crunch topping:
- In a food processor, combine 6-8 Golden Oreos, 1/4 cup freeze-dried strawberries, 2 tablespoons granulated sugar, 1/2 teaspoon vanilla extract, and a pinch of salt. Pulse while slowly drizzling in 3 tablespoons melted butter until the mixture resembles coarse crumbs.
- Top and finish:
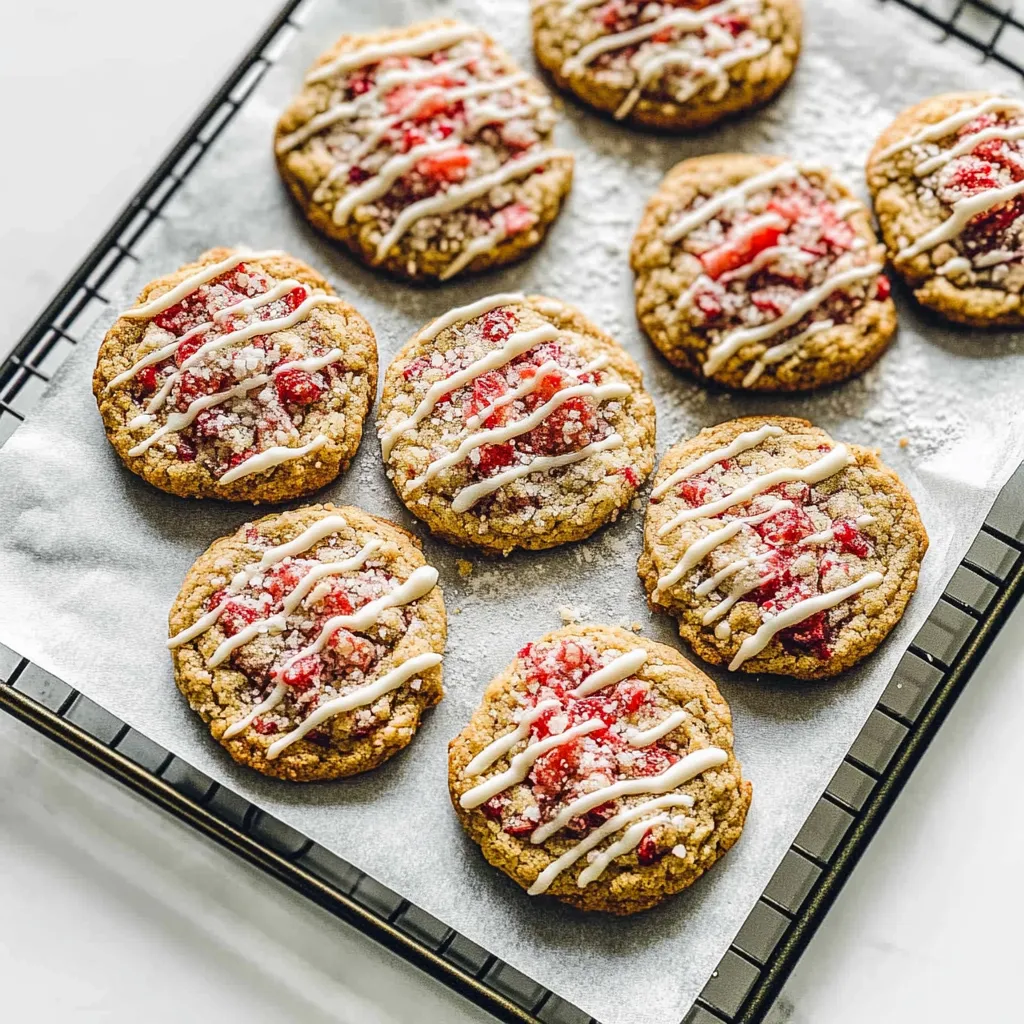
- While the cookies are still warm, generously sprinkle the strawberry crunch topping over each cookie, pressing gently to help it adhere. Let cookies cool completely on the baking sheet for 5 minutes, then transfer to a wire rack.
- Prepare vanilla glaze and finish:
- Whisk together 1 cup powdered sugar, 1 teaspoon vanilla extract, and 2-3 tablespoons heavy cream until smooth. Drizzle over the completely cooled cookies in a zigzag pattern and sprinkle with any remaining crunch topping.
 Pin it
I learned through many batches that the secret to these cookies lies in patience - both with the chilling time and with not overbaking them. The first time I made them, I was impatient and tried to bake the dough right away, which resulted in flat, crispy cookies that spread all over the pan. Now I always plan ahead and let the dough chill properly, which creates those beautiful thick cookies that look like they came from an expensive bakery.
The Magic of Freeze-Dried Strawberries
Using freeze-dried strawberries instead of fresh or cake mix makes all the difference in achieving authentic strawberry flavor without compromising the cookie texture. Fresh strawberries would add too much moisture and make the cookies soggy, while cake mix often tastes artificial and overly sweet. Freeze-dried strawberries concentrate all the natural strawberry flavor while removing the water content that would interfere with proper baking. The key is crushing them to the right size - small enough that they distribute evenly throughout the dough but large enough that you get bursts of intense strawberry flavor in every bite. I've found that pea-sized pieces work perfectly because they won't burn during the relatively short baking time, and they rehydrate slightly from the moisture in the dough to create little pockets of concentrated strawberry goodness.
Understanding Cookie Texture and Chilling
The extended chilling time does so much more than just prevent spreading - it actually transforms the texture of the finished cookies. As the dough sits in the refrigerator, the flour fully hydrates by absorbing moisture from the other ingredients, which creates a more cohesive dough that bakes into incredibly tender cookies. The melted butter also has time to solidify again, which slows down spreading and helps create those thick, chewy centers. The cornstarch in this recipe works alongside the chilling process to create an almost cake-like tenderness while still maintaining that satisfying cookie texture. It interferes with gluten development, which prevents the cookies from becoming tough, and it also absorbs moisture during baking to create that perfect soft, dense center that makes these cookies so addictive.
Creating the Perfect Strawberry Crunch
The homemade strawberry crunch topping is what really makes these cookies special - it tastes exactly like that iconic coating from childhood ice cream bars. The combination of Golden Oreos and freeze-dried strawberries creates the perfect sweet and tart balance, while the melted butter helps everything stick together and adds richness. Using a food processor ensures the texture is just right - not too fine that it disappears, but not so chunky that it falls off the cookies. The timing of when you add this topping is crucial for getting it to stick properly. Adding it while the cookies are still warm from the oven allows it to adhere beautifully, creating that perfect textural contrast against the soft cookie base. I always make extra crunch topping because it's delicious sprinkled on ice cream, yogurt, or even eaten by the spoonful as a snack.
Baking Techniques for Professional Results
The tapping technique during baking might seem unusual, but it's what creates that coveted slightly underbaked center that makes these cookies so special. When you tap the pan halfway through baking, you're allowing the cookies to settle and create those beautiful crinkled tops while ensuring the centers stay soft and gooey. This technique is used in professional bakeries to achieve that perfect texture contrast. The shaping technique right after baking is equally important for that polished, bakery-style appearance. Using a round cookie cutter or large glass to gently push the edges into perfect circles while the cookies are still warm takes them from homemade-looking to professionally gorgeous. The cookies are pliable enough when warm that this technique works beautifully without breaking them.
Storage and Make-Ahead Tips
These cookies actually improve in flavor after sitting for a day, as all the strawberry and vanilla flavors have time to meld together beautifully. Store them in an airtight container at room temperature for up to five days, though the crunch topping will soften slightly over time. If you want to maintain maximum crunchiness, you can store the topping separately and add it to individual cookies just before serving. The cookie dough freezes exceptionally well, making these perfect for meal prep or having homemade cookies ready on demand. After the initial chilling period, scoop the dough into balls and freeze them on a baking sheet before transferring to freezer bags. You can bake them straight from frozen with just an extra minute or two added to the baking time.
These strawberry crunch cookies have become my absolute favorite way to capture the magic of those childhood ice cream bar memories in a form that's even more satisfying and shareable. Every bite delivers that perfect combination of soft, chewy cookie, intense strawberry flavor, and that unforgettable crunch that makes them impossible to stop eating. They've proven that sometimes the best recipes come from chasing down those flavors that made us happiest as kids and finding ways to make them even better as adults.
Frequently Asked Questions
- → Can I skip the 3-hour chilling time?
- No, chilling is essential for the cookies to hold their shape and get the right chewy texture. Plan ahead for best results.
- → What if I can't find freeze-dried strawberries?
- You can find them in the dried fruit section or online. Regular dried strawberries won't work the same way for this recipe.
- → Can I make smaller cookies instead?
- These are designed as large bakery-style cookies. Smaller ones won't have the same gooey center and crispy edge contrast.
- → How do I know when the cookies are done?
- They should be golden brown on the edges but still look pale and slightly wet in the center. Don't overbake them.
- → How long do these cookies stay fresh?
- Store covered at room temperature for up to 5 days. The glaze may soften slightly but they'll still taste great.
- → Can I freeze the cookie dough?
- Yes, you can freeze the shaped dough balls for up to 3 months. Bake directly from frozen, adding 1-2 extra minutes.