
 Pin it
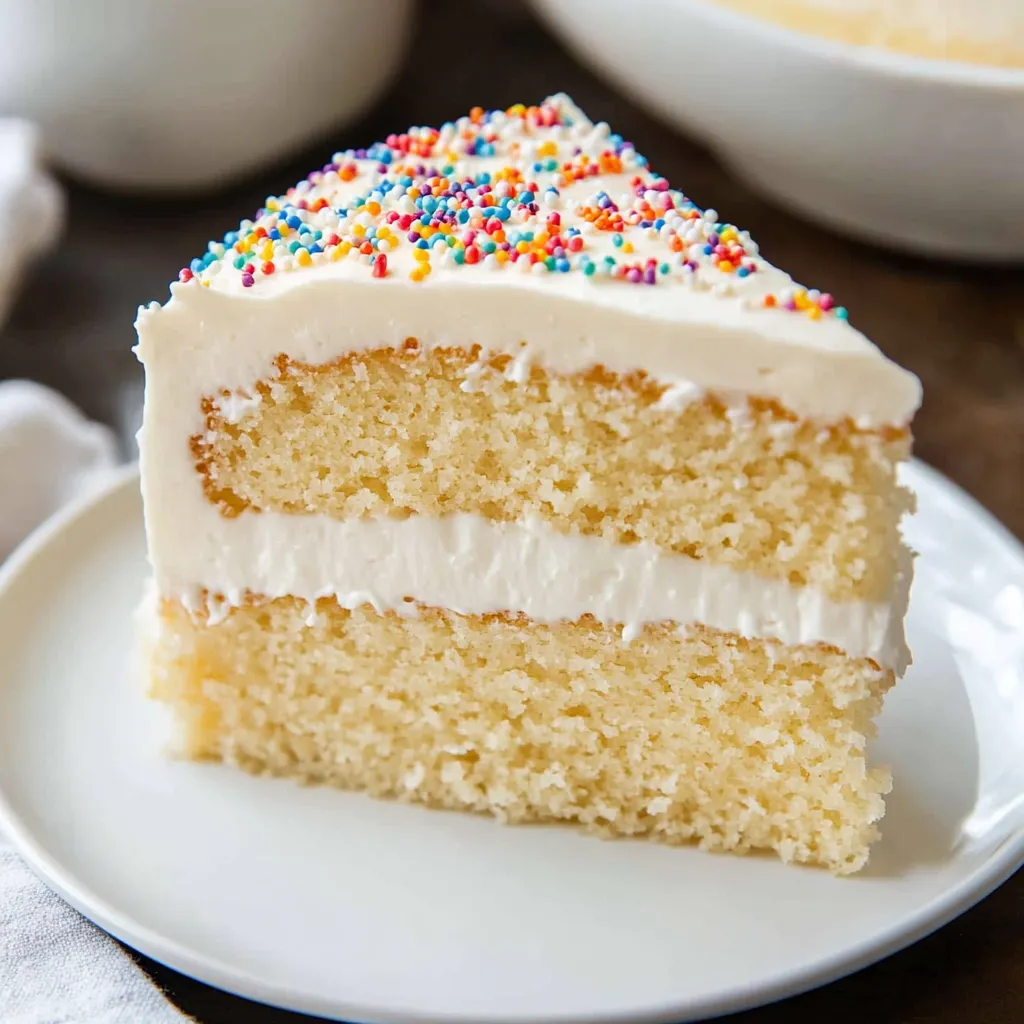
This absolutely perfect vanilla cake delivers everything you want in a classic dessert - tender, moist layers with incredible buttery flavor that practically melts in your mouth. Made completely from scratch with simple ingredients, this recipe creates a light, fluffy cake that's far superior to any box mix and versatile enough for birthdays, weddings, or any celebration where you want something truly special.
This vanilla cake has become my absolute go-to recipe for every celebration because it represents everything I love about homemade baking - simple ingredients transformed into something truly extraordinary through proper technique and attention to detail. I've made countless vanilla cakes over the years, and this particular recipe consistently produces the most tender, flavorful results that never fail to impress guests. There's something so satisfying about creating a cake this delicious from basic ingredients that most people already have in their kitchen.
Ingredients and Why They Matter
- High-quality vanilla extract: forms the flavor foundation of the entire cake, so investing in pure vanilla rather than artificial makes an enormous difference
- Unsalted butter at room temperature: creates rich flavor and tender texture while allowing you to control the salt content precisely
- Granulated sugar: provides sweetness and helps create the light, fluffy texture when properly creamed with butter
- Large eggs: add richness, moisture, and structure while contributing to the beautiful golden color
- All-purpose flour: gives the cake its structure without making it too dense or heavy
- Fresh buttermilk: adds subtle tang that balances the sweetness while keeping the cake incredibly moist
- Baking powder: provides the essential lift that creates those light, airy layers
- Salt: enhances all the other flavors and balances the sweetness perfectly
Step-by-Step Instructions
- Prepare your pans and oven:
- Preheat your oven to 350°F and grease two 9-inch round cake pans. Line the bottoms with parchment paper and lightly flour the sides. This ensures easy release and prevents sticking.
- Sift and combine dry ingredients:
- Sift together 2 1/2 cups all-purpose flour, 2 1/2 teaspoons baking powder, and 1/2 teaspoon salt into a medium bowl. Whisk to combine evenly and set aside. Sifting prevents lumps that could create dense spots in your finished cake.
- Cream butter until light:
- In the bowl of a stand mixer fitted with the paddle attachment, beat 3/4 cup room temperature unsalted butter on medium speed for 2-3 minutes until it becomes pale and fluffy. This step incorporates air that helps create the cake's light texture.
- Add sugar and cream thoroughly:
- Gradually add 1 1/2 cups granulated sugar to the butter and continue beating on medium-high speed for 4-5 minutes until the mixture is very pale, light, and fluffy. This extended creaming is crucial for achieving the proper texture.
- Incorporate vanilla and eggs:
- Beat in 2 teaspoons vanilla extract until combined. Add 3 large eggs one at a time, beating well after each addition and scraping down the bowl sides as needed. Each egg should be fully incorporated before adding the next.
- Alternate wet and dry ingredients:
- With the mixer on low speed, add the flour mixture in three additions alternating with 1 cup buttermilk in two additions, beginning and ending with flour. Mix just until each addition is incorporated - don't overmix.
- Finish mixing by hand:
- Remove the bowl from the mixer and use a rubber spatula to gently fold the batter a few times, ensuring no streaks of flour remain and everything is evenly combined. This prevents overmixing while ensuring thorough combination.
- Divide and bake:
- Divide the batter evenly between your prepared pans, spreading it to the edges with an offset spatula. Bake for 28-32 minutes, until the centers spring back when lightly touched and the edges just begin to pull away from the pan sides.
- Cool properly:
- Let the cakes cool in their pans for 10 minutes, then run a knife around the edges and turn them out onto wire racks. Remove the parchment paper and cool completely before frosting.
 Pin it
I learned the importance of proper creaming technique through years of trial and error. Early attempts where I rushed this step resulted in dense, heavy cakes that lacked that signature light texture. Now I always take the full time to cream the butter and sugar until the mixture looks noticeably paler and increases in volume - this patience is rewarded with consistently perfect results that showcase why homemade vanilla cake is so superior to anything from a box.
Understanding the Creaming Method
The creaming method used in this recipe is fundamental to creating exceptional vanilla cake texture. When you beat butter and sugar together for the full recommended time, you're incorporating air bubbles that act as the foundation for the cake's light, tender crumb. The butter should become visibly paler and the mixture should increase in volume significantly during this process.
Temperature plays a crucial role in successful creaming. Butter that's too cold won't incorporate air properly, while butter that's too warm will make a greasy mixture that can't hold air bubbles. Room temperature butter should be soft enough to leave a slight indent when pressed but not so soft that it's greasy or melting.
The Role of Buttermilk in Texture and Flavor
Buttermilk is what sets this vanilla cake apart from ordinary recipes. Its natural acidity reacts with the baking powder to create additional lift, resulting in a more tender crumb. The slight tang also balances the sweetness and adds complexity to the flavor profile that makes each bite more interesting than cakes made with regular milk.
If you don't have buttermilk on hand, you can substitute by adding one tablespoon of lemon juice or white vinegar to one cup of regular milk and letting it sit for five minutes. However, real buttermilk provides superior flavor and texture, so it's worth seeking out for the best results.
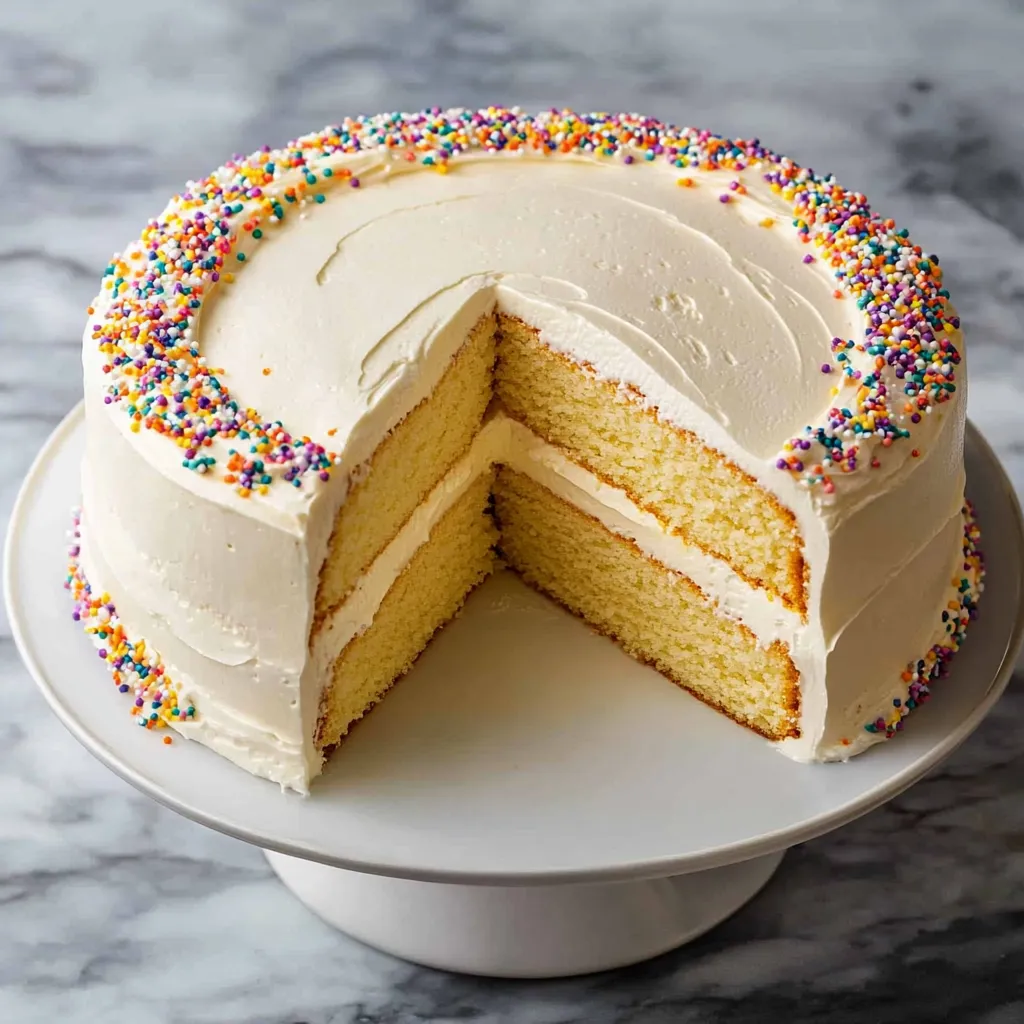
Achieving Perfect Layer Cake Structure
The key to layers that stack beautifully lies in proper mixing technique and even baking. The alternating method of adding dry and wet ingredients helps prevent overmixing while ensuring thorough combination. Start and end with the flour mixture to create the most stable batter that will bake evenly.
Even baking requires proper oven temperature and pan preparation. Make sure your oven is fully preheated and consider using an oven thermometer to verify accuracy. Dividing the batter evenly between pans ensures uniform layers - I like to weigh the filled pans to make sure they're equal.
Frosting and Decoration Considerations
This vanilla cake provides the perfect foundation for any type of frosting or decoration you have in mind. Its sturdy but tender structure holds up well to heavier frostings like cream cheese or buttercream, while its mild flavor complements everything from chocolate ganache to fresh fruit and whipped cream.
For best results, make sure the cake layers are completely cool before frosting. Warm cake will melt buttercream and make your decorating efforts difficult. I often wrap cooled layers in plastic wrap and refrigerate them for easier handling, especially when making elaborate decorated cakes.
Storage and Make-Ahead Strategies
This vanilla cake keeps beautifully and actually improves in flavor after sitting for a day as the crumb becomes more tender and the flavors meld. Store unfrosted layers wrapped tightly in plastic wrap at room temperature for up to three days, or freeze for up to three months. Frosted cake can be stored covered at room temperature for two days or refrigerated for up to a week.
For advance preparation, the cake layers can be made and frozen weeks ahead of your event. Thaw them overnight in the refrigerator, then bring to room temperature before frosting. This make-ahead capability makes this recipe perfect for special occasions when you want to spread out the work.
This vanilla cake recipe has taught me so much about the fundamentals of great baking and how attention to technique can transform simple ingredients into something truly extraordinary. Every time I make it, I'm reminded that some of the most satisfying cooking comes from mastering classic recipes that have stood the test of time. It's become my go-to choice for celebrations both large and small because it delivers that perfect combination of familiar comfort and special-occasion elegance that makes every gathering feel more memorable.
Frequently Asked Questions
- → Can I make this cake without a stand mixer?
- Yes! You can use an electric hand mixer or even mix by hand, though it will take more effort to get the butter properly creamed.
- → How do I know when the cake is done baking?
- The cake is ready when the edges pull away from the pan and a toothpick inserted in the center comes out clean. It should also be quiet when you listen closely.
- → Can I substitute the buttermilk with regular milk?
- You can make buttermilk by adding 1 tablespoon of lemon juice or vinegar to 1 cup of regular milk. Let it sit for 5 minutes before using.
- → How should I store leftover cake?
- Cover the cake and store it at room temperature for up to 3 days, or in the refrigerator for up to a week. Bring to room temperature before serving.
- → Can I freeze this vanilla cake?
- Yes! Wrap the unfrosted layers tightly in plastic wrap and freeze for up to 3 months. Thaw completely before frosting and serving.
- → What size pans should I use for this recipe?
- This recipe is designed for two 8-inch round pans. You can also use a 9x13 inch pan and bake for 25-30 minutes.